Optimum Optimill MH50V CNC conversion
26 Nov 2023 19:49 #286572
by Unlogic
Replied by Unlogic on topic Optimum Optimill MH50V CNC conversion
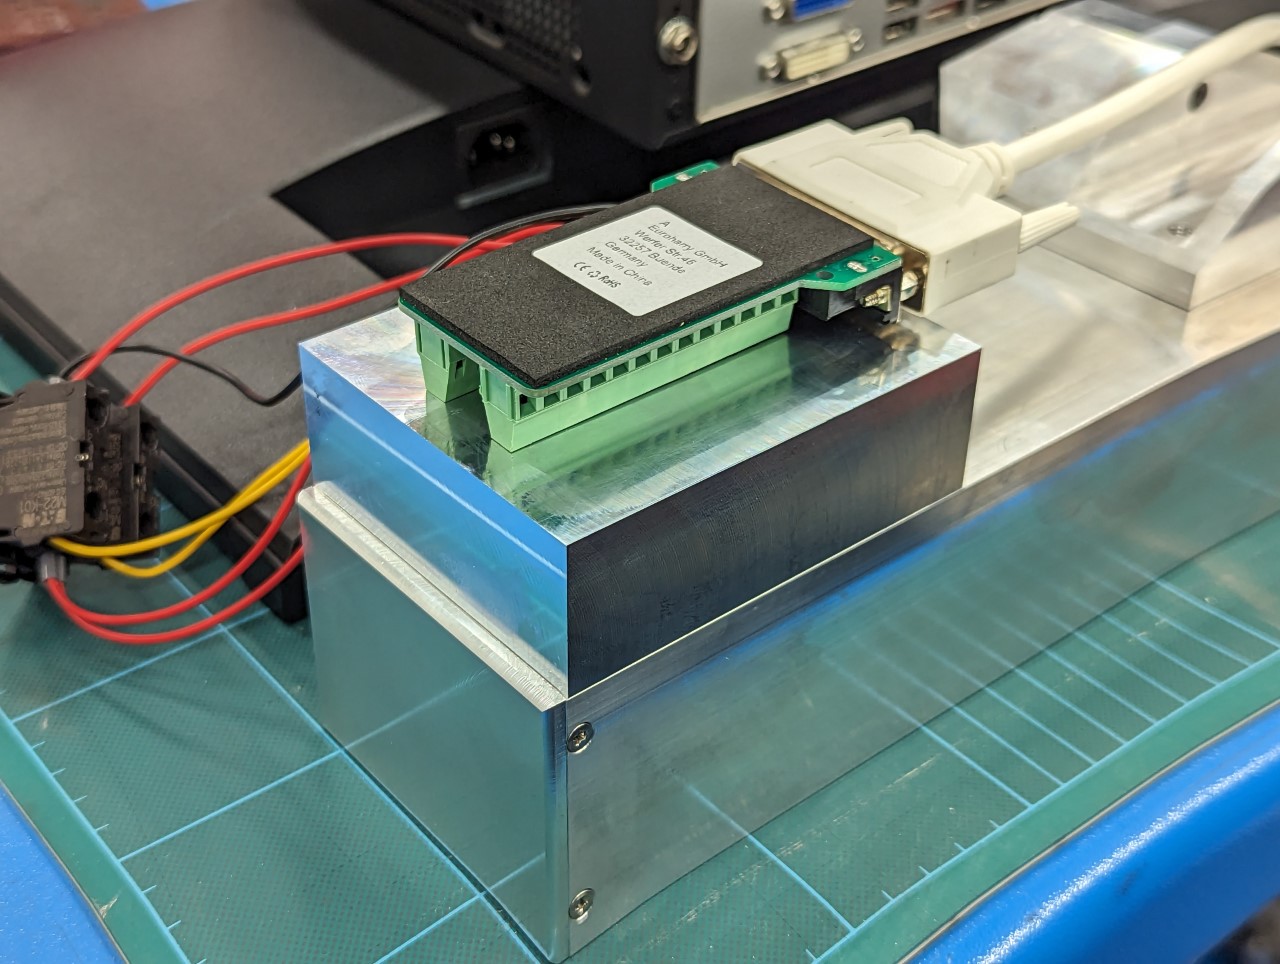
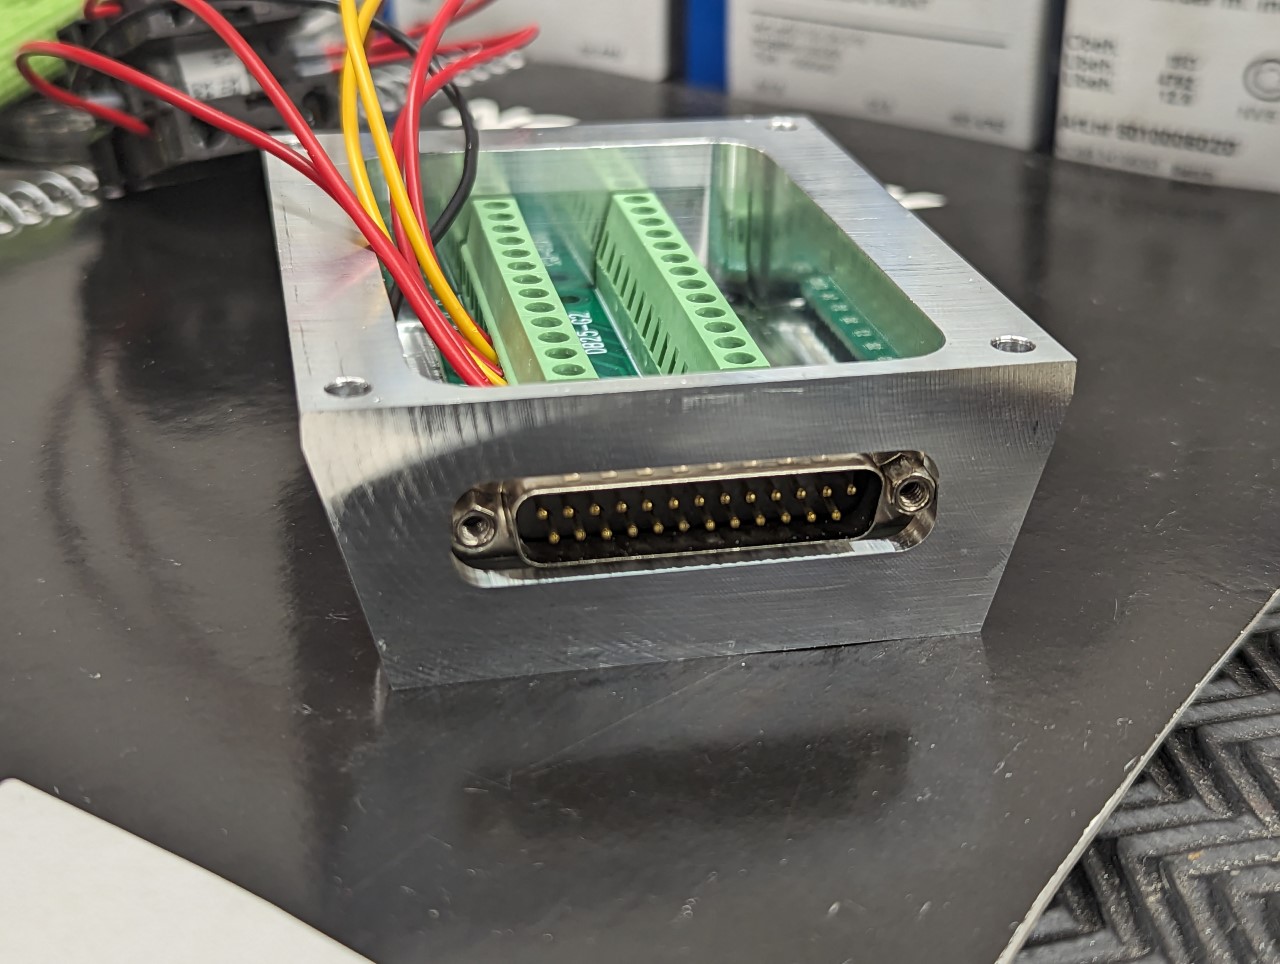
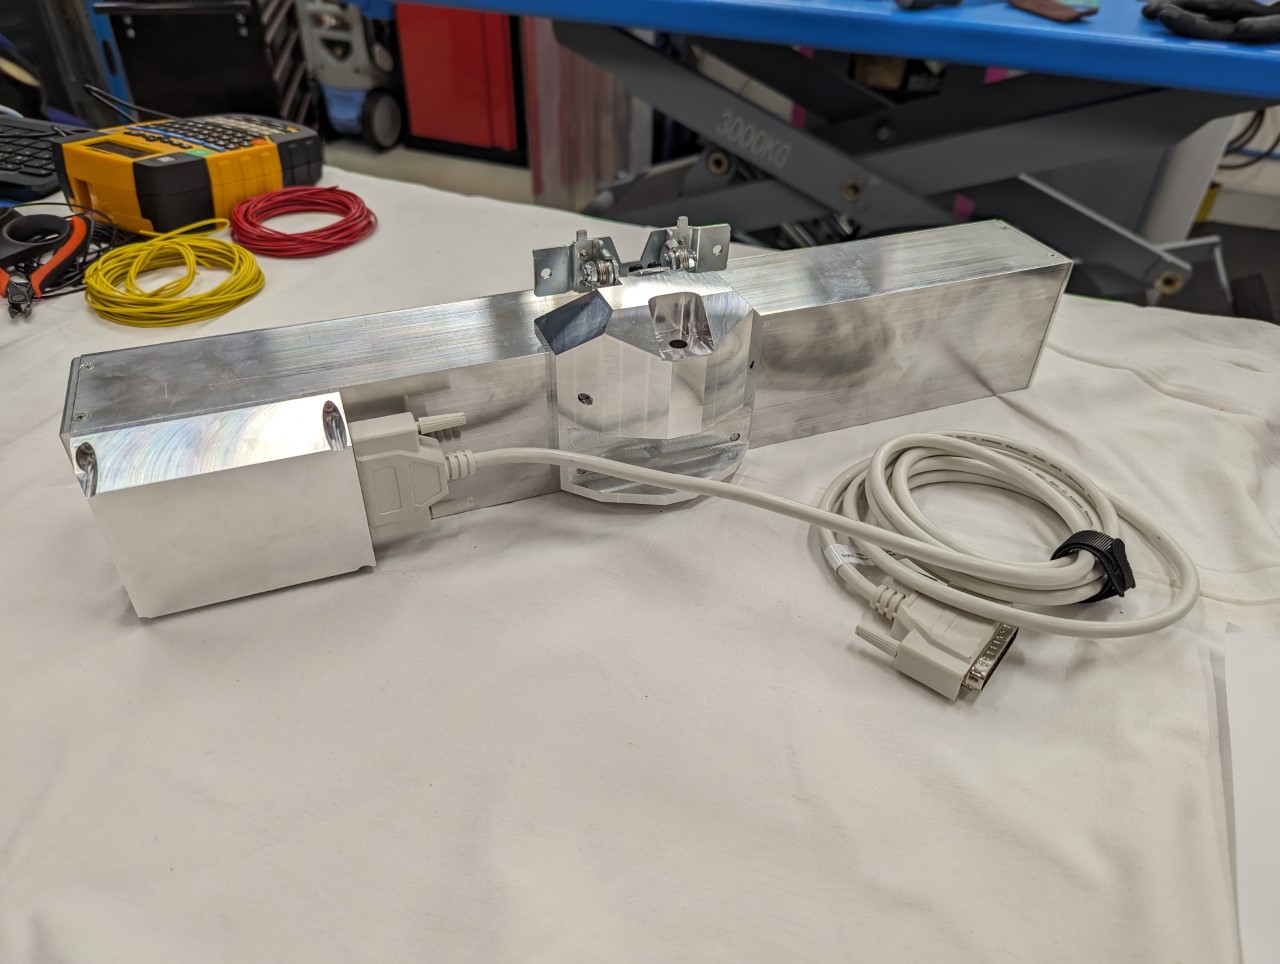
Next up I turned my attention to the little DB-25 breakout board that I use to connect the control panel to the enclosure.
This card is a bit too big to fit fully inside of the control panel so I made a small enclosure for it instead. This was a smart move because it improved the access to the wiring and allowed me to place the DB-25 connector in a good position on the back of control panel.

With that done it was time to start working on the wiring.
This card is a bit too big to fit fully inside of the control panel so I made a small enclosure for it instead. This was a smart move because it improved the access to the wiring and allowed me to place the DB-25 connector in a good position on the back of control panel.
With that done it was time to start working on the wiring.
Attachments:
Please Log in or Create an account to join the conversation.
26 Nov 2023 19:55 #286575
by Unlogic
Replied by Unlogic on topic Optimum Optimill MH50V CNC conversion
I started doing all the wiring without and sleeves on the cables but before I had even gotten halfway it looked like a rats nest. So I decided to use sleeves like in automotive applications and it helped to reduce the mess a bit.
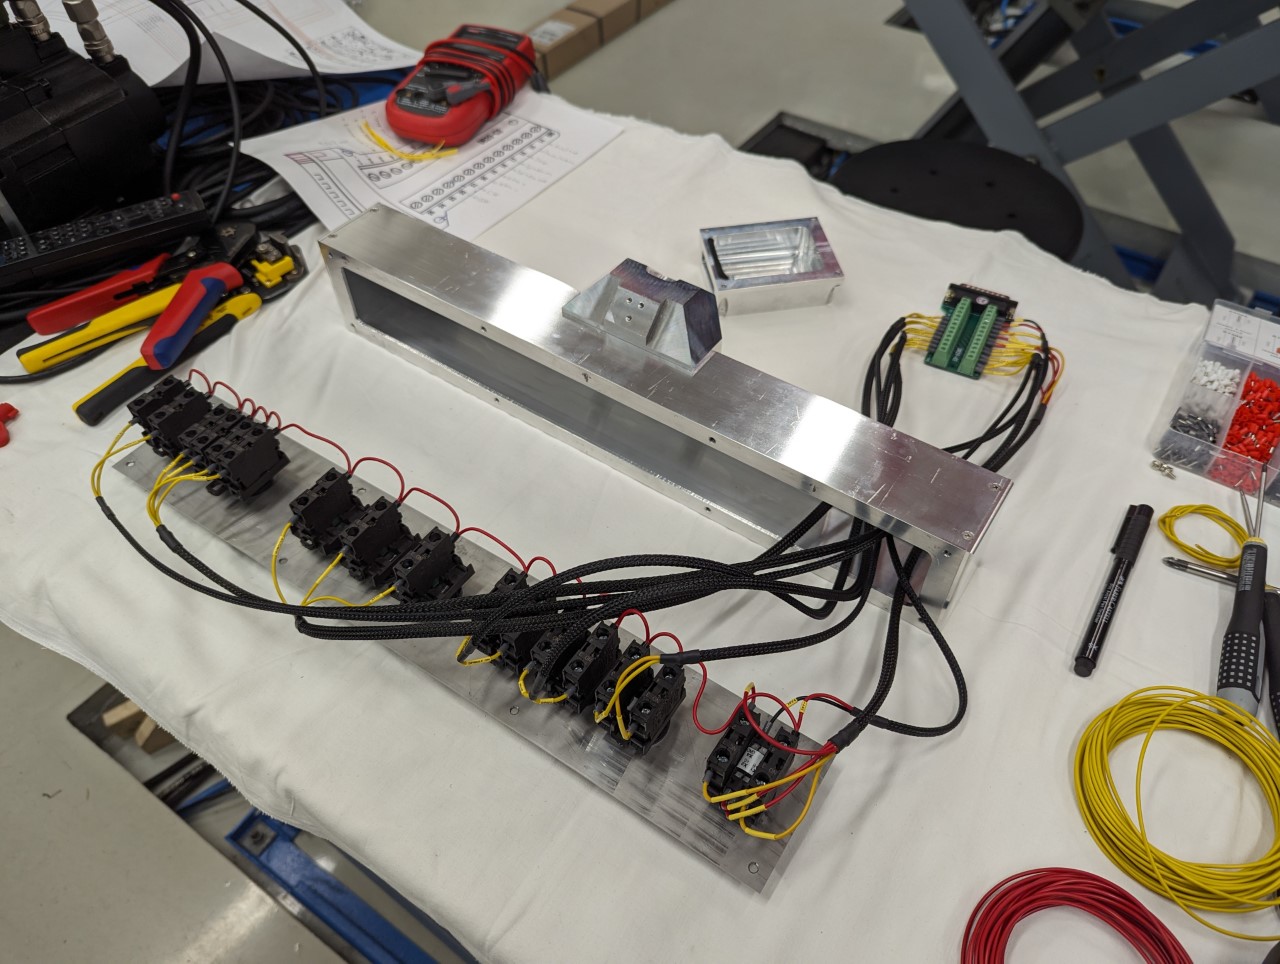
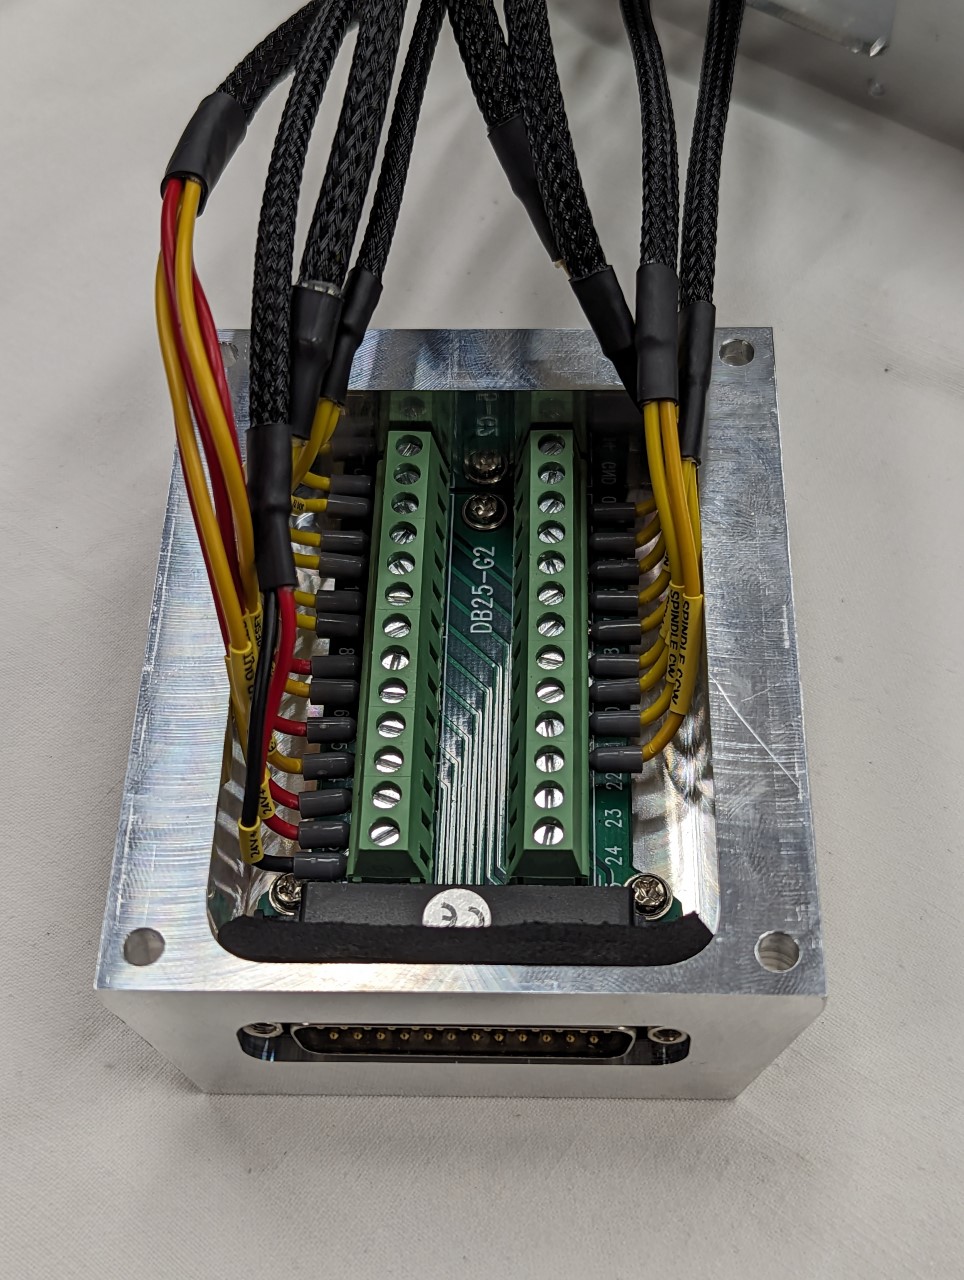
The cable length may seem excessive but I wanted to able to remove the front and back of the panel in order to service things without having to disconnect any cables so opted to use longer cables.
Here is how it ended up looking without the screen and computer attached.
The cable length may seem excessive but I wanted to able to remove the front and back of the panel in order to service things without having to disconnect any cables so opted to use longer cables.
Here is how it ended up looking without the screen and computer attached.
Attachments:
Please Log in or Create an account to join the conversation.
26 Nov 2023 20:06 #286578
by Unlogic
Replied by Unlogic on topic Optimum Optimill MH50V CNC conversion
At this point I thought I was done with the control panel until I realized how flimsy the vesa mount was that came with the Silverstone case I purchased.
I ended up doing a custom vesa mount based on aluminum profiles in a "rail" setup with bolts from the sides. This proved to be quite sturdy and should keep the computer secured even if the control panel gets an accidental bump.
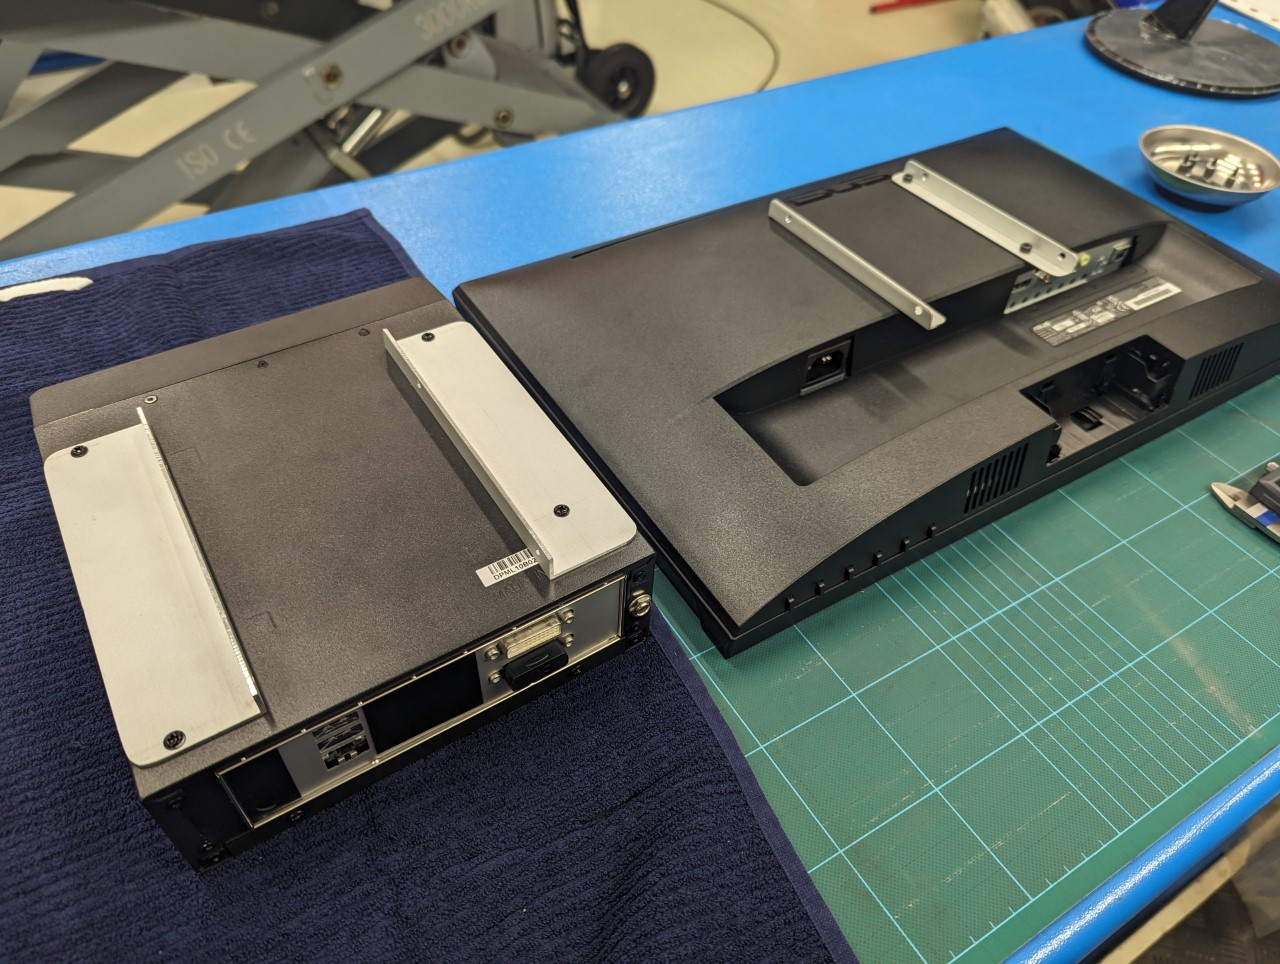
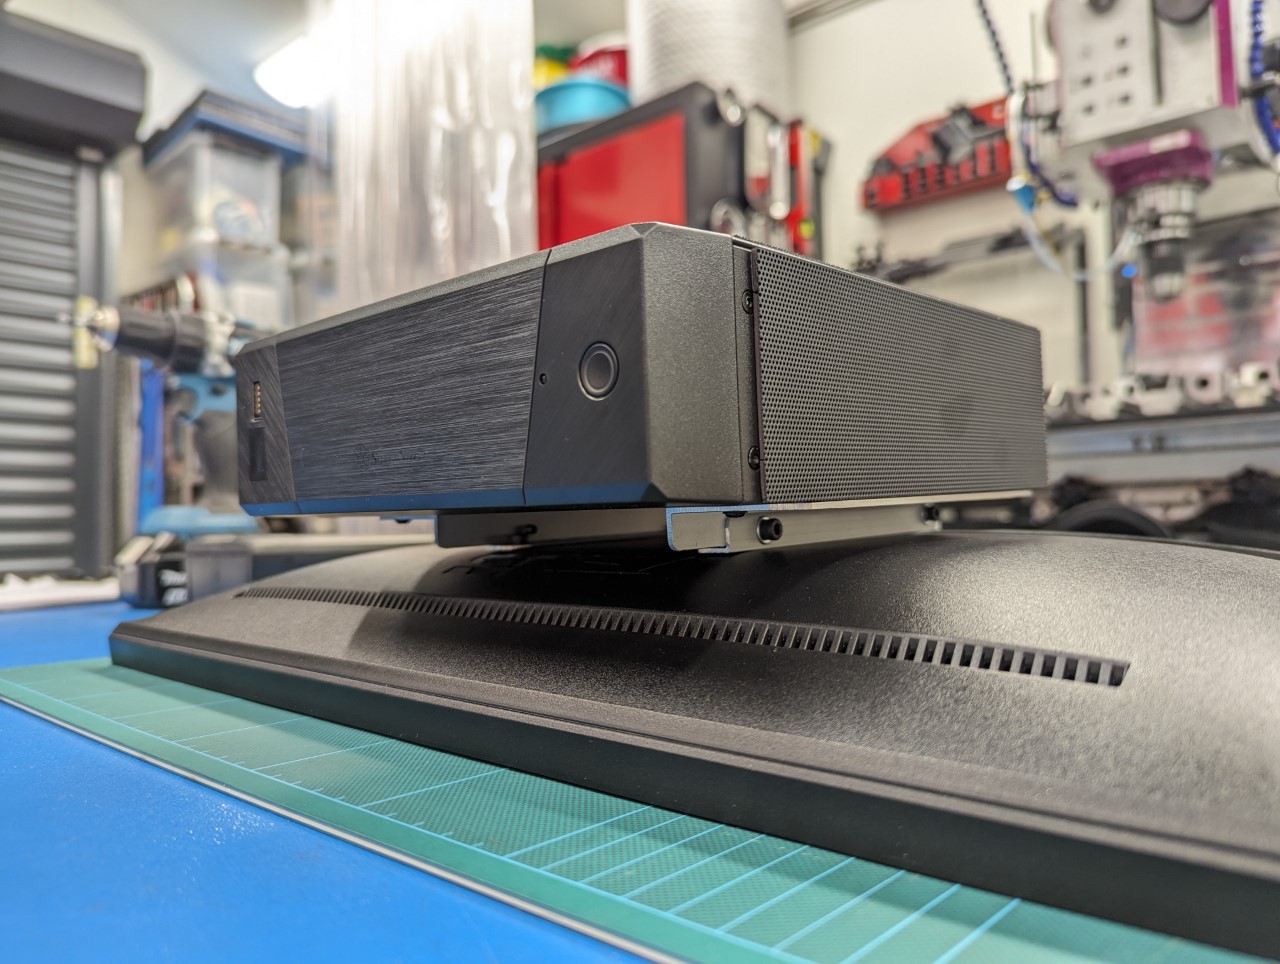
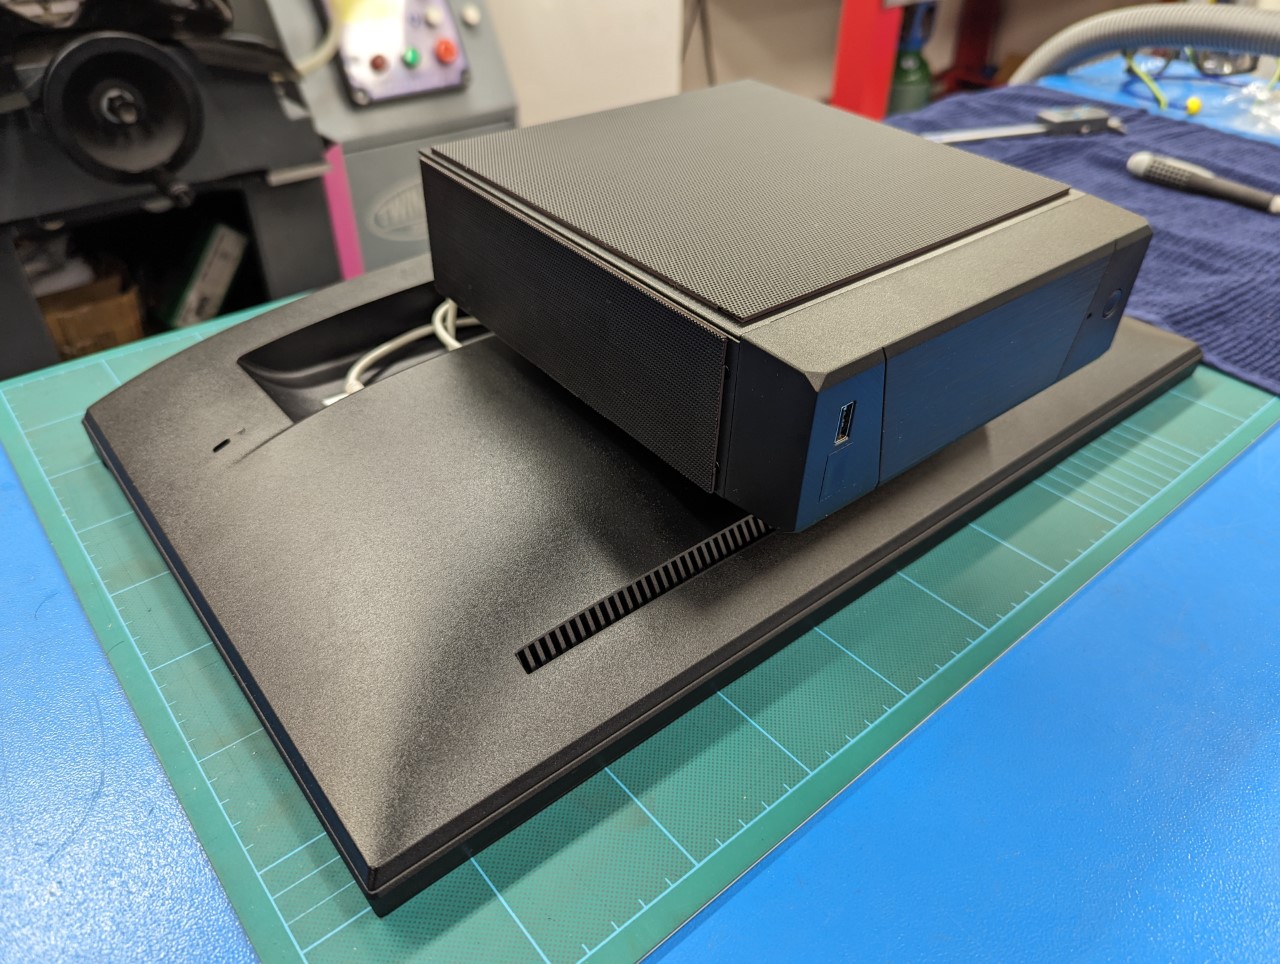
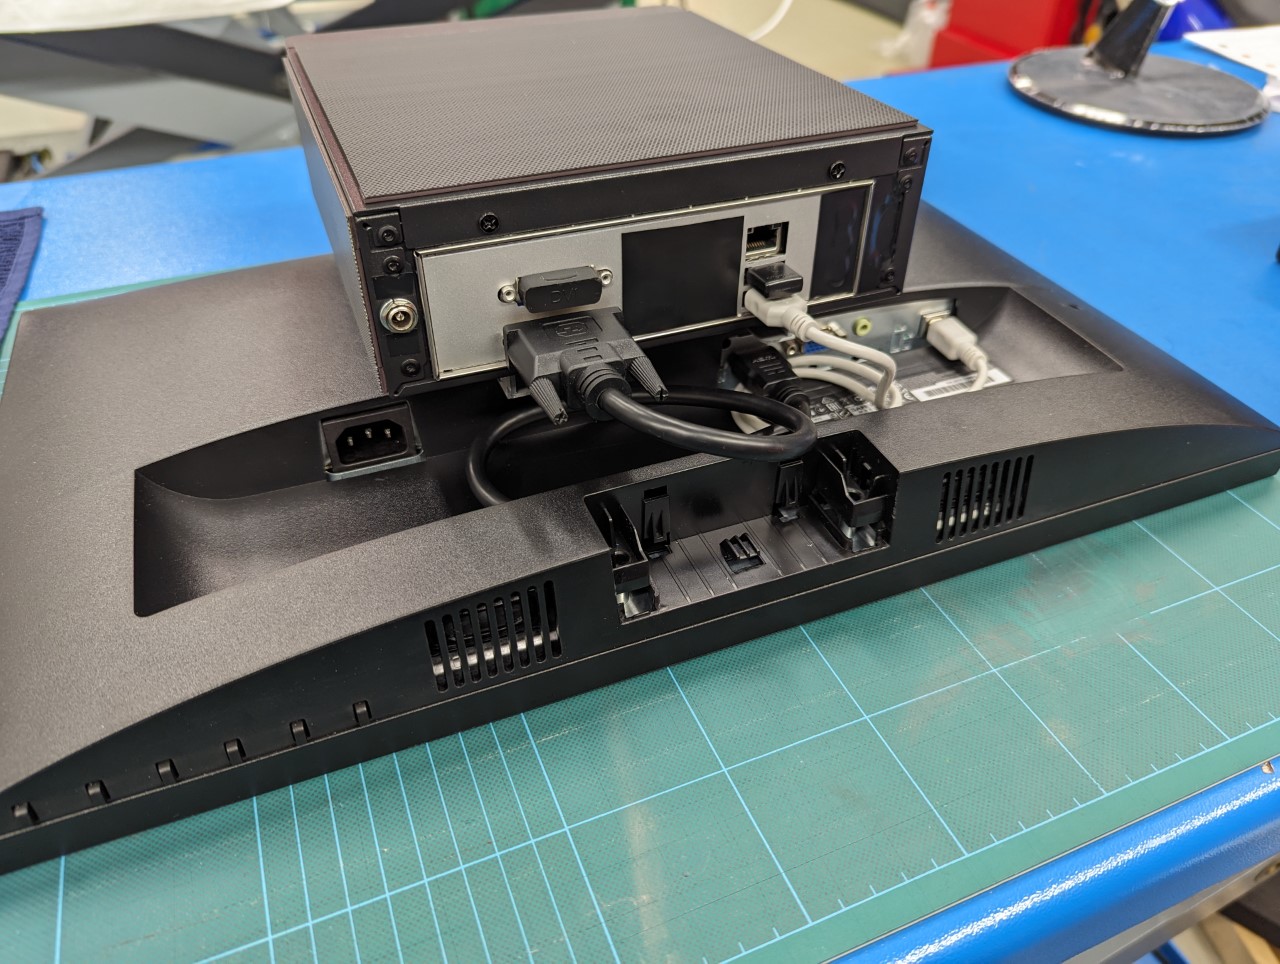
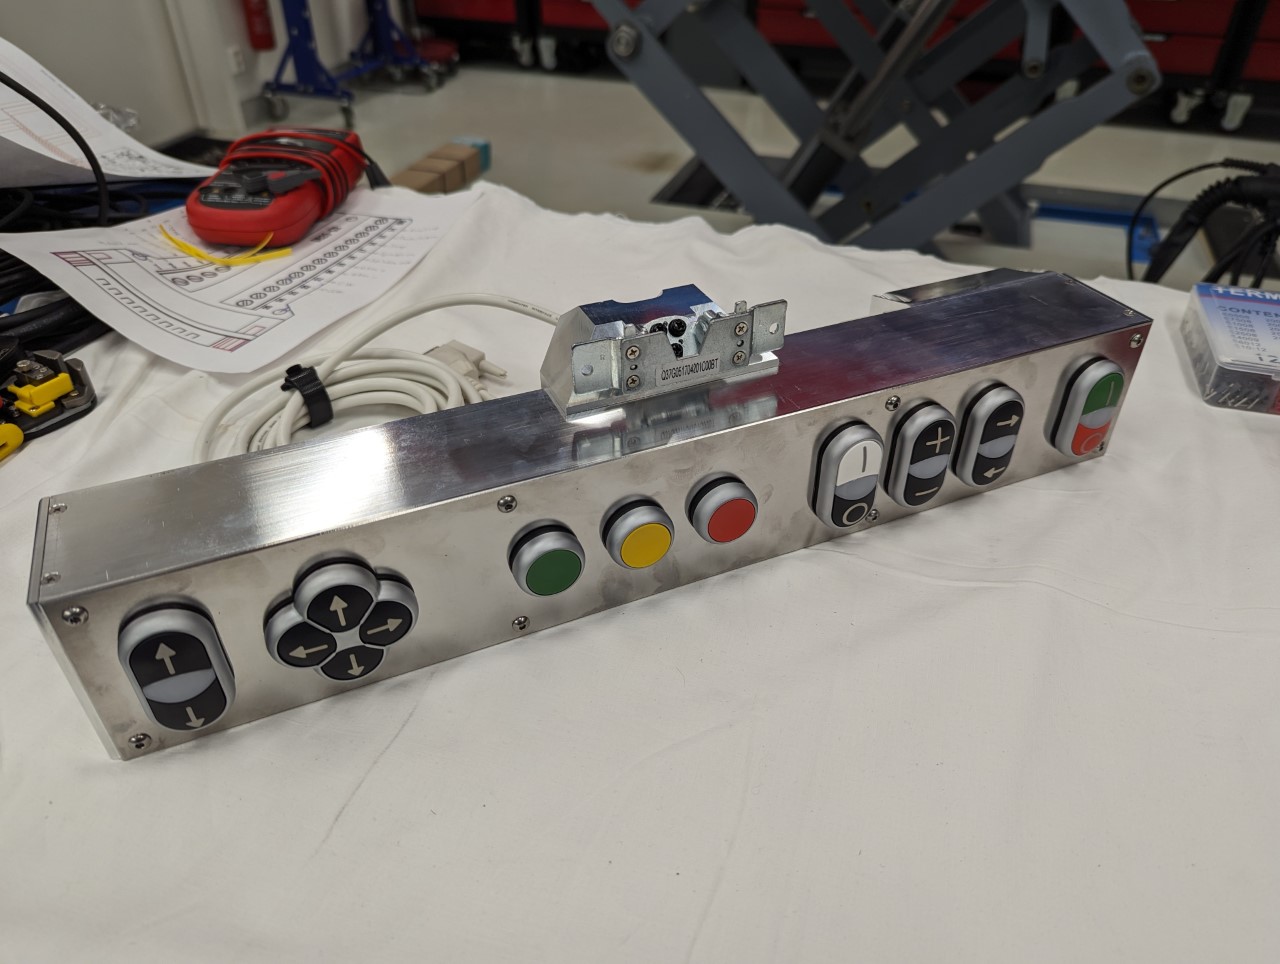
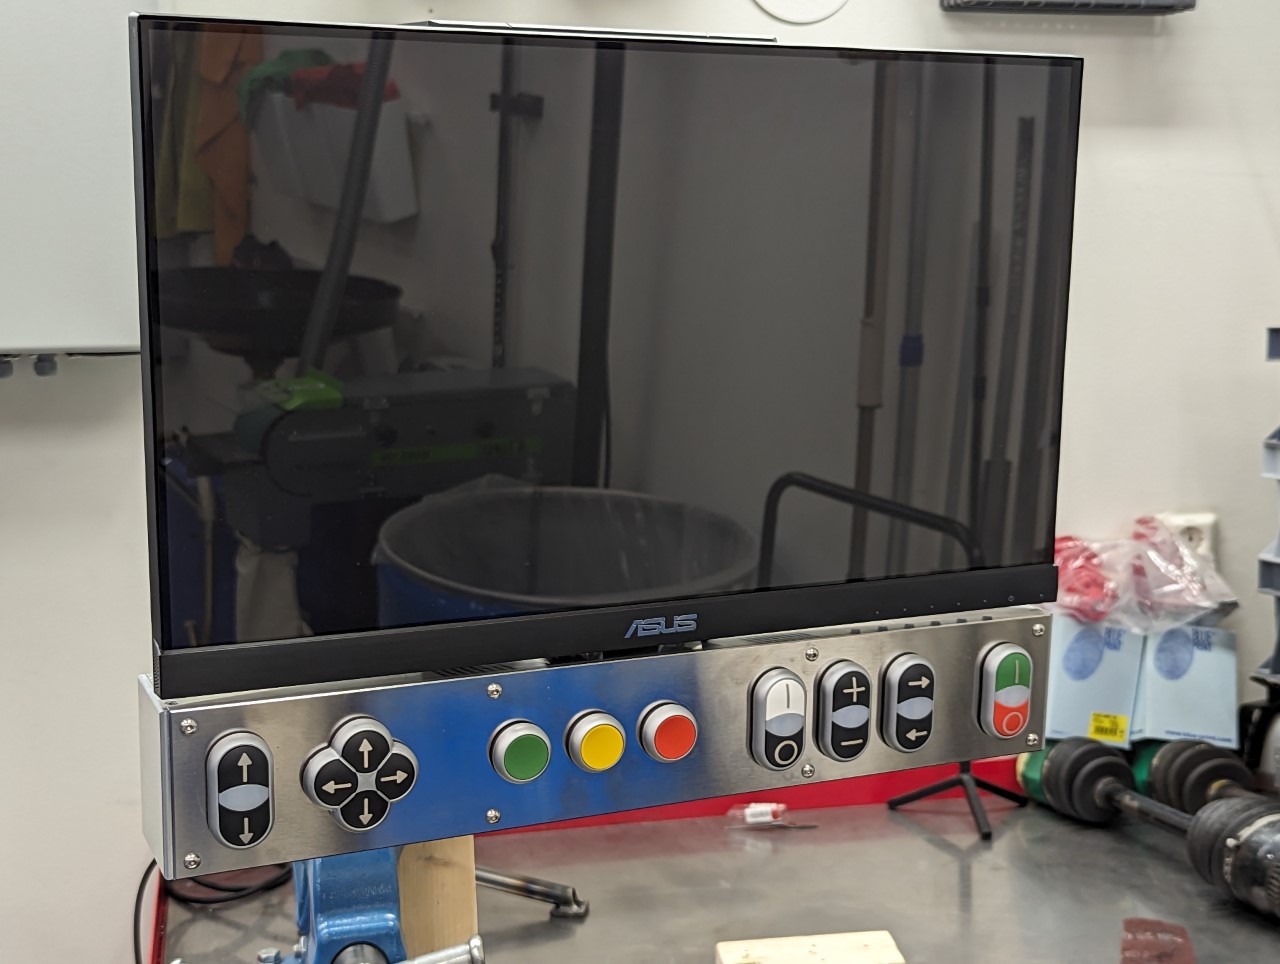
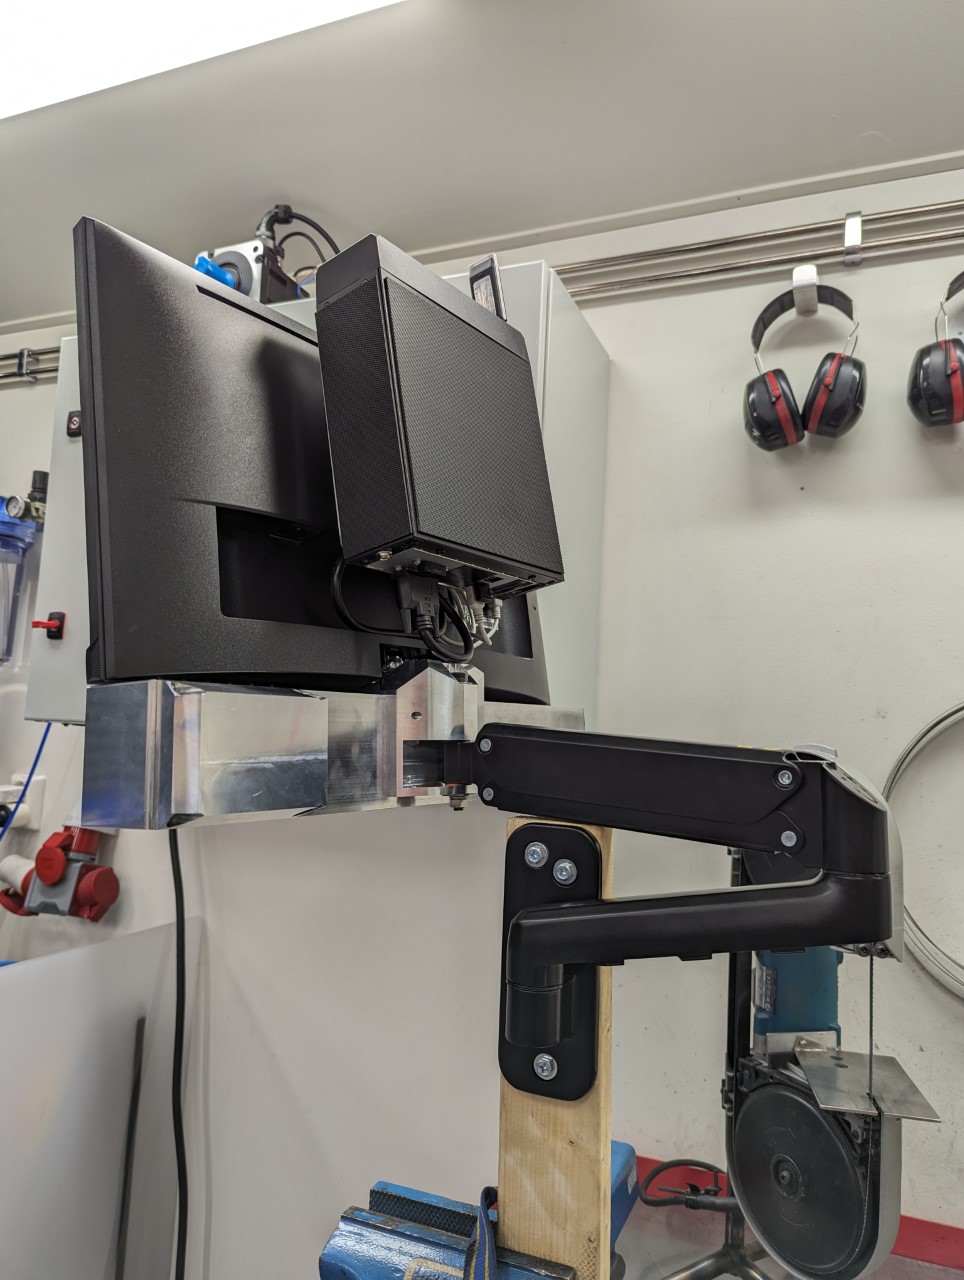
Here is how the control panel looks fully assembled on a temporary arm.
Next up is to get the physical buttons to play nice with Probe Basic. I'll post my progress on that subject in the thread linked below as it's not specific for this CNC conversion:
forum.linuxcnc.org/41-guis/50723-gui-for...ith-external-buttons
I ended up doing a custom vesa mount based on aluminum profiles in a "rail" setup with bolts from the sides. This proved to be quite sturdy and should keep the computer secured even if the control panel gets an accidental bump.
Here is how the control panel looks fully assembled on a temporary arm.
Next up is to get the physical buttons to play nice with Probe Basic. I'll post my progress on that subject in the thread linked below as it's not specific for this CNC conversion:
forum.linuxcnc.org/41-guis/50723-gui-for...ith-external-buttons
Attachments:
Please Log in or Create an account to join the conversation.
- tommylight
-

- Away
- Moderator
-

Less
More
- Posts: 17925
- Thank you received: 5951
26 Nov 2023 21:00 #286580
by tommylight
Replied by tommylight on topic Optimum Optimill MH50V CNC conversion
Magnificent! ")
The following user(s) said Thank You: Unlogic
Please Log in or Create an account to join the conversation.
- tightmopedman9
- Offline
- Senior Member
-

Less
More
- Posts: 69
- Thank you received: 7
26 Nov 2023 21:36 #286584
by tightmopedman9
Replied by tightmopedman9 on topic Optimum Optimill MH50V CNC conversion
Truly impressive work! More like artwork than an industrial machine.
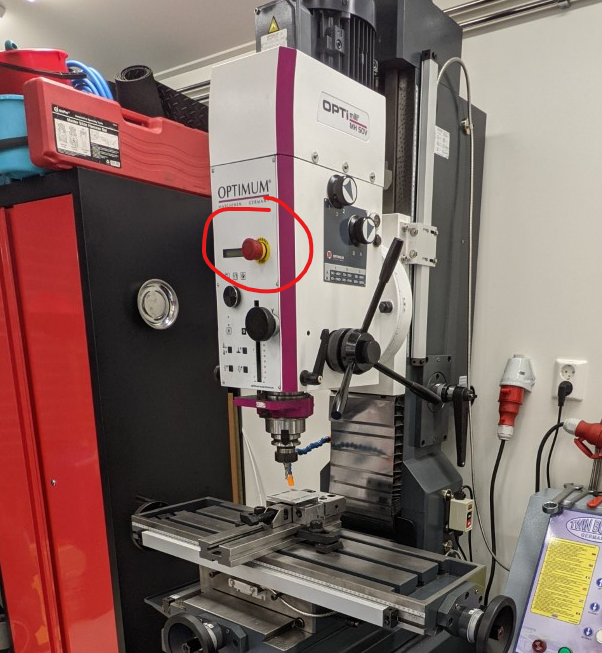
My only recommendation is replacing your E-stop button with a non-shrouded one. I have a large, fully exposed mushroom head E-stop button on my machine, and even that can be hard to hit when in 'oh shit' mode.
My only recommendation is replacing your E-stop button with a non-shrouded one. I have a large, fully exposed mushroom head E-stop button on my machine, and even that can be hard to hit when in 'oh shit' mode.
The following user(s) said Thank You: Unlogic
Please Log in or Create an account to join the conversation.
27 Nov 2023 08:16 #286608
by Unlogic
Replied by Unlogic on topic Optimum Optimill MH50V CNC conversion
Thanks for the feedback guys!
It might look like I don't have a proper non-shrouded mushroom style e-stop button. But actually I'm planning to keep the stock e-stop button that came with the machine. I've grown used to it over the two years I've had the machine so I figured it was probably I good Idea top keep it in the same location.
But that's pretty much the only electronic part along with the VFD which will be left from original setup when I'm done.
The whole cabinet on the back of the machine will be removed along with all the cables for it as none of it will be used anymore and it will allow me to move the machine closer to the wall.
I'm also a bit tempted to mount the machine to the wall for extra column support but I don't know if that's something which should be done or not given that the wooden construction of my garage probably has very different thermal expansion properties compared to the cast iron of the mill.
Attachments:
Please Log in or Create an account to join the conversation.
05 Dec 2023 17:52 #287296
by Unlogic
Replied by Unlogic on topic Optimum Optimill MH50V CNC conversion
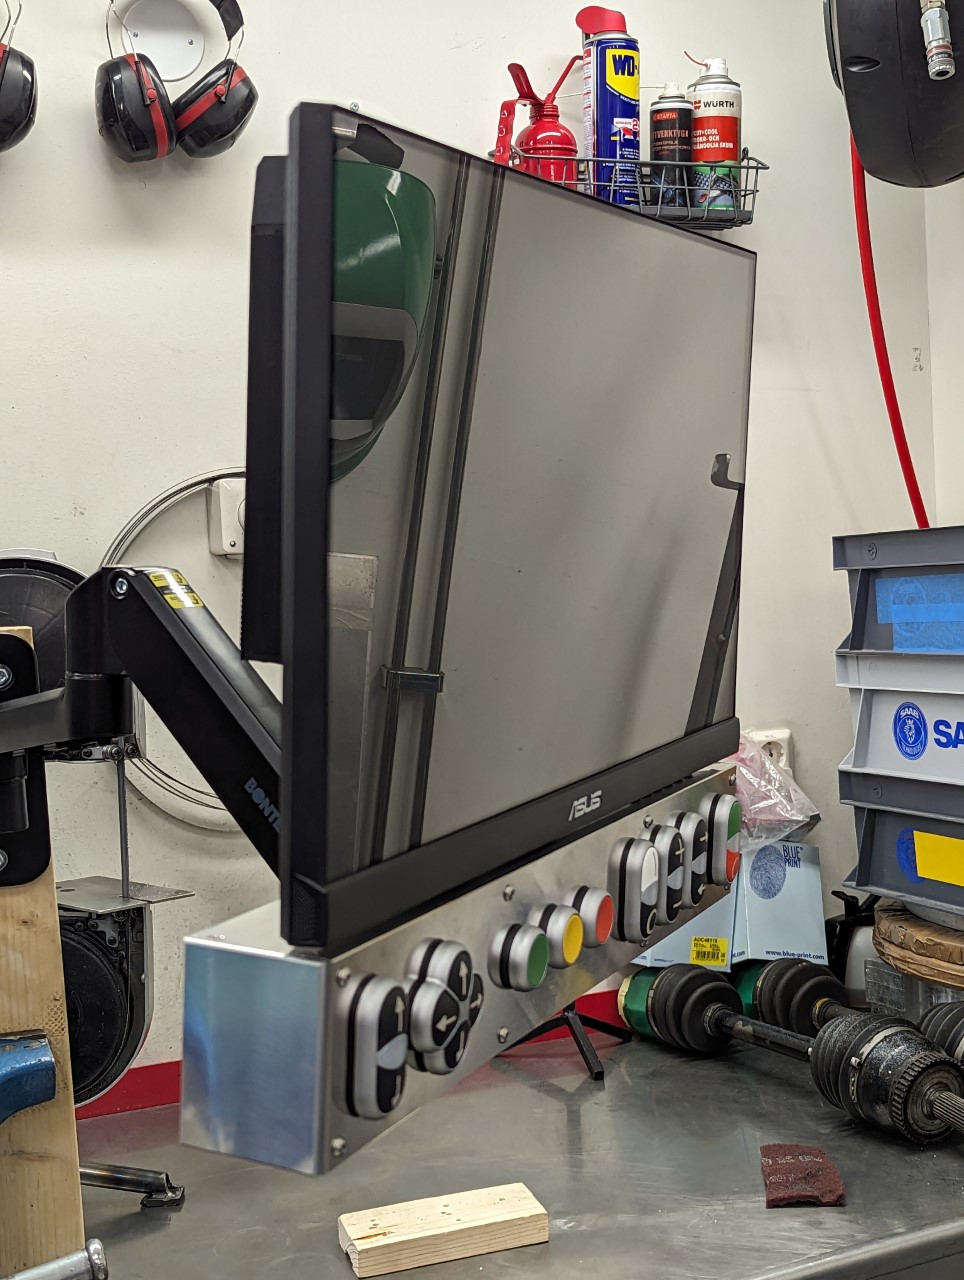
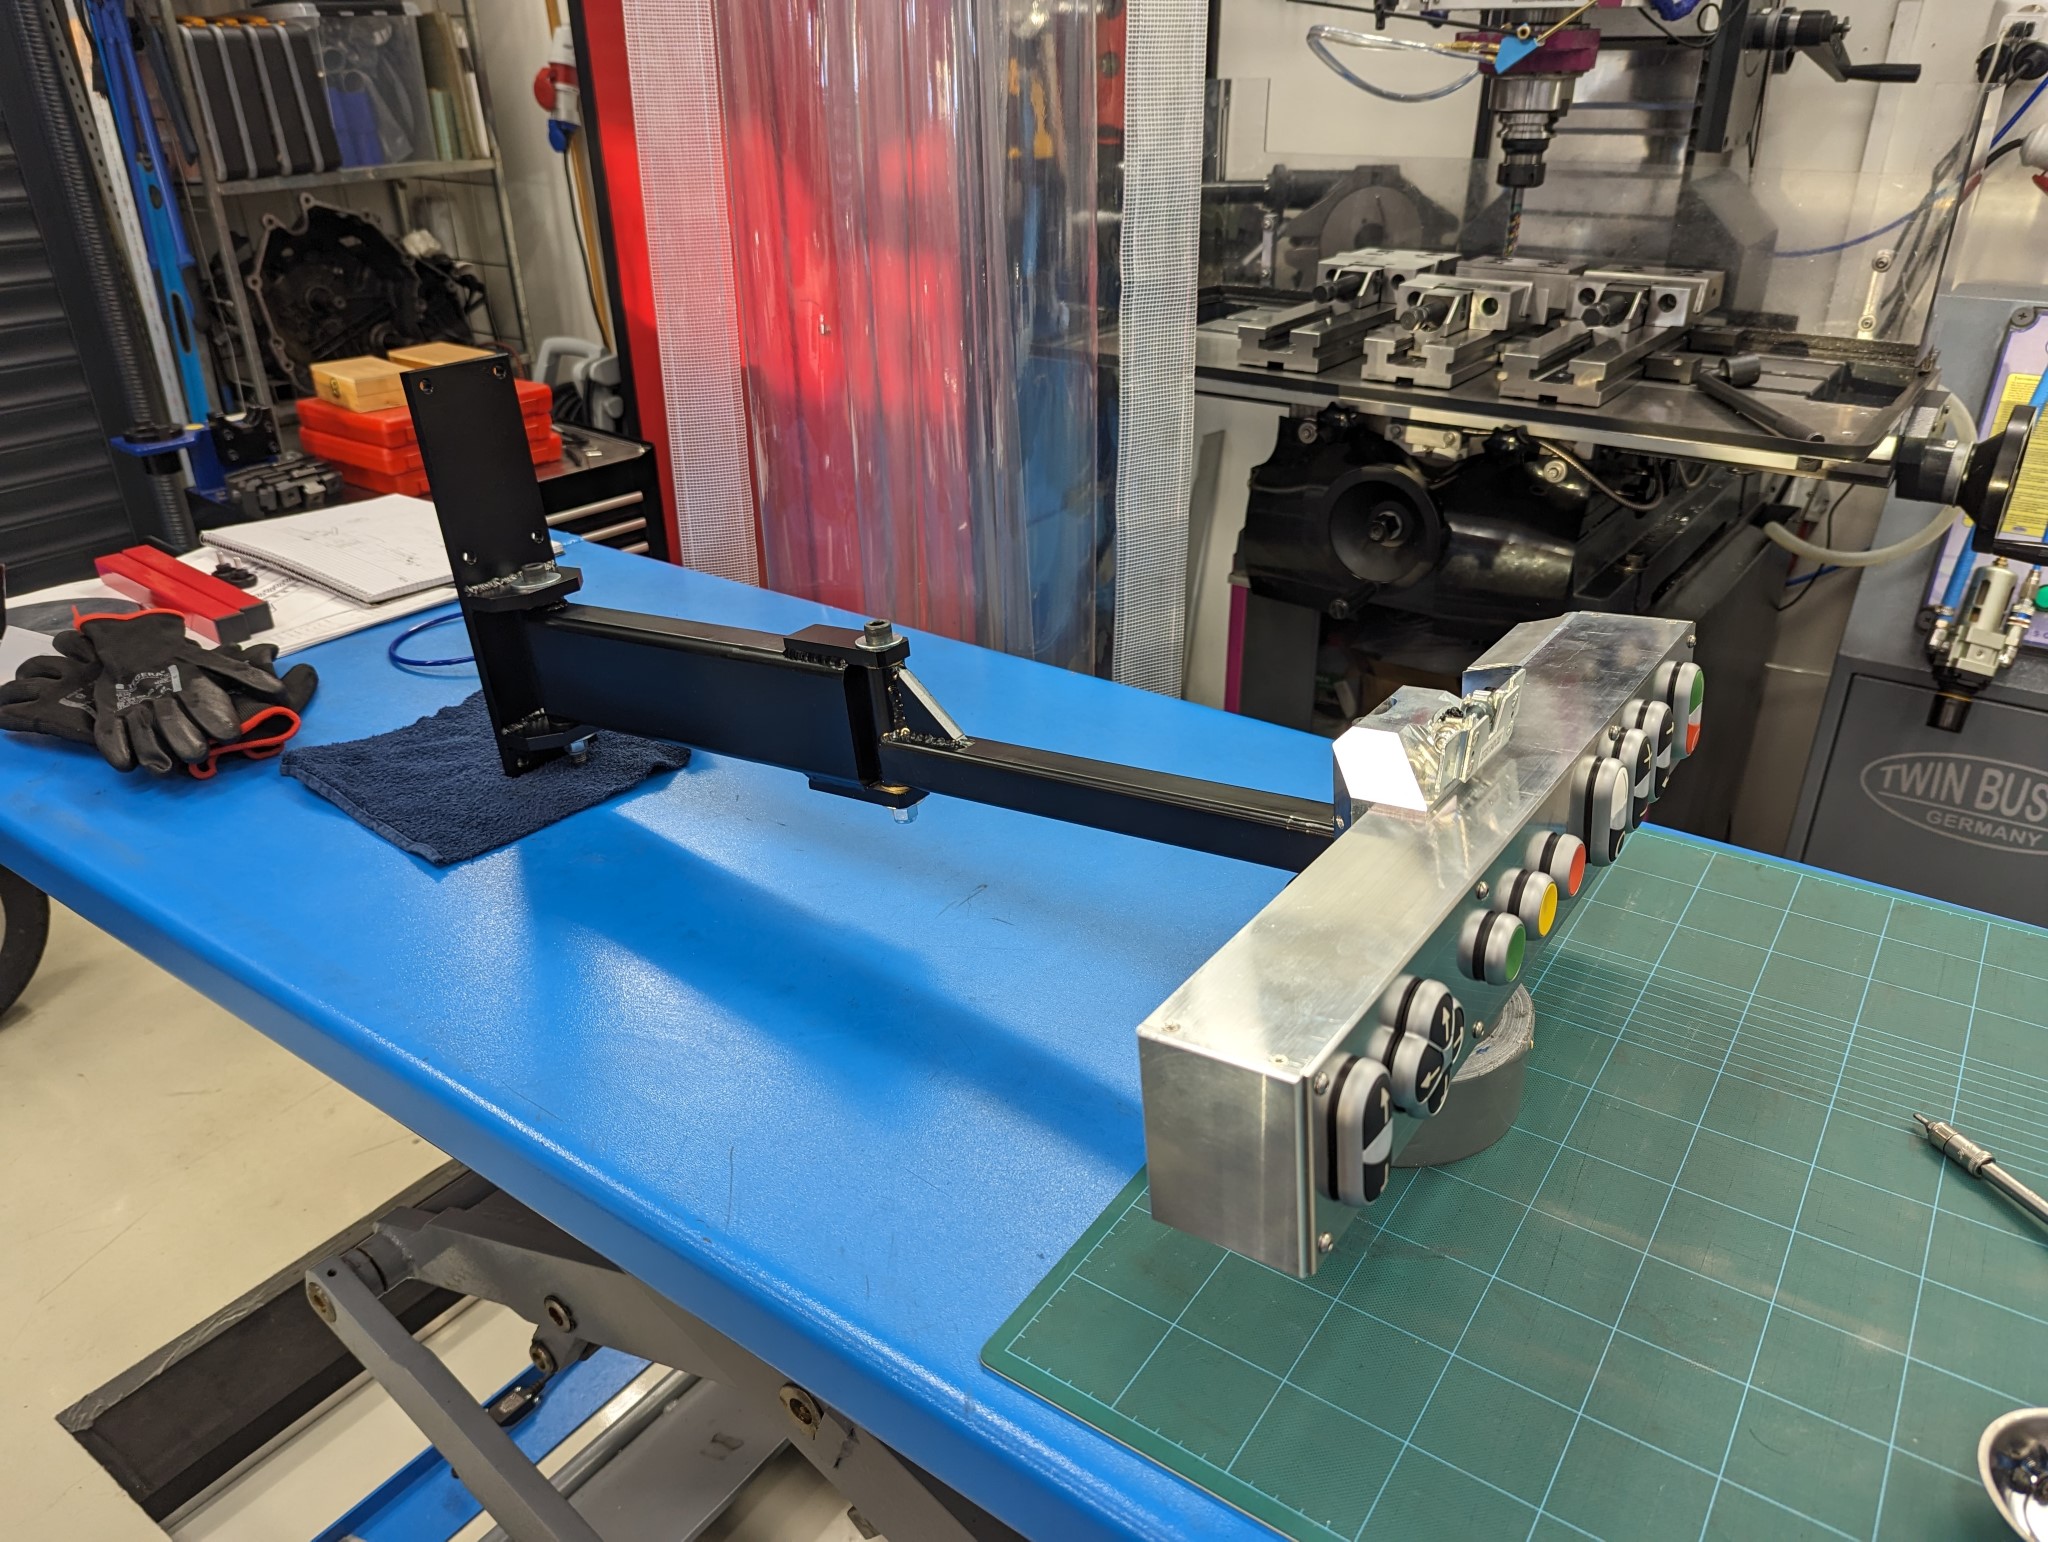
After finishing the control panel I had to do a little side project as the fancy adjustable gas spring equipped monitor mount I had purchased proved to be way to flimsy...
It would hold the weight just fine but if I pressed a button on the control panel the whole thing would flex and shake for a long time afterwards.
So I realized I needed something more heavy duty but I was unable to find anything more sturdy readily available so I decided to build one myself.
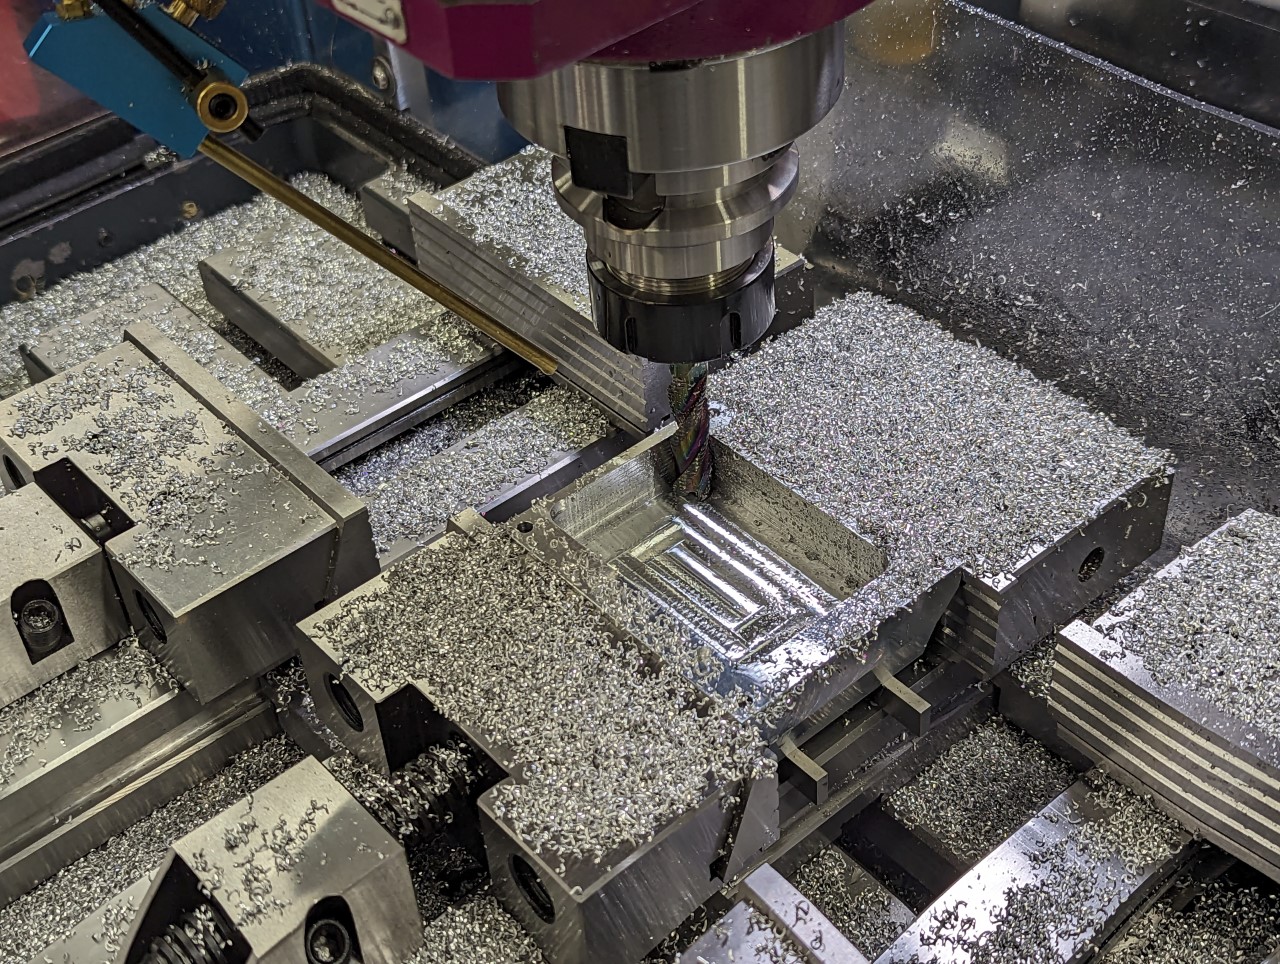
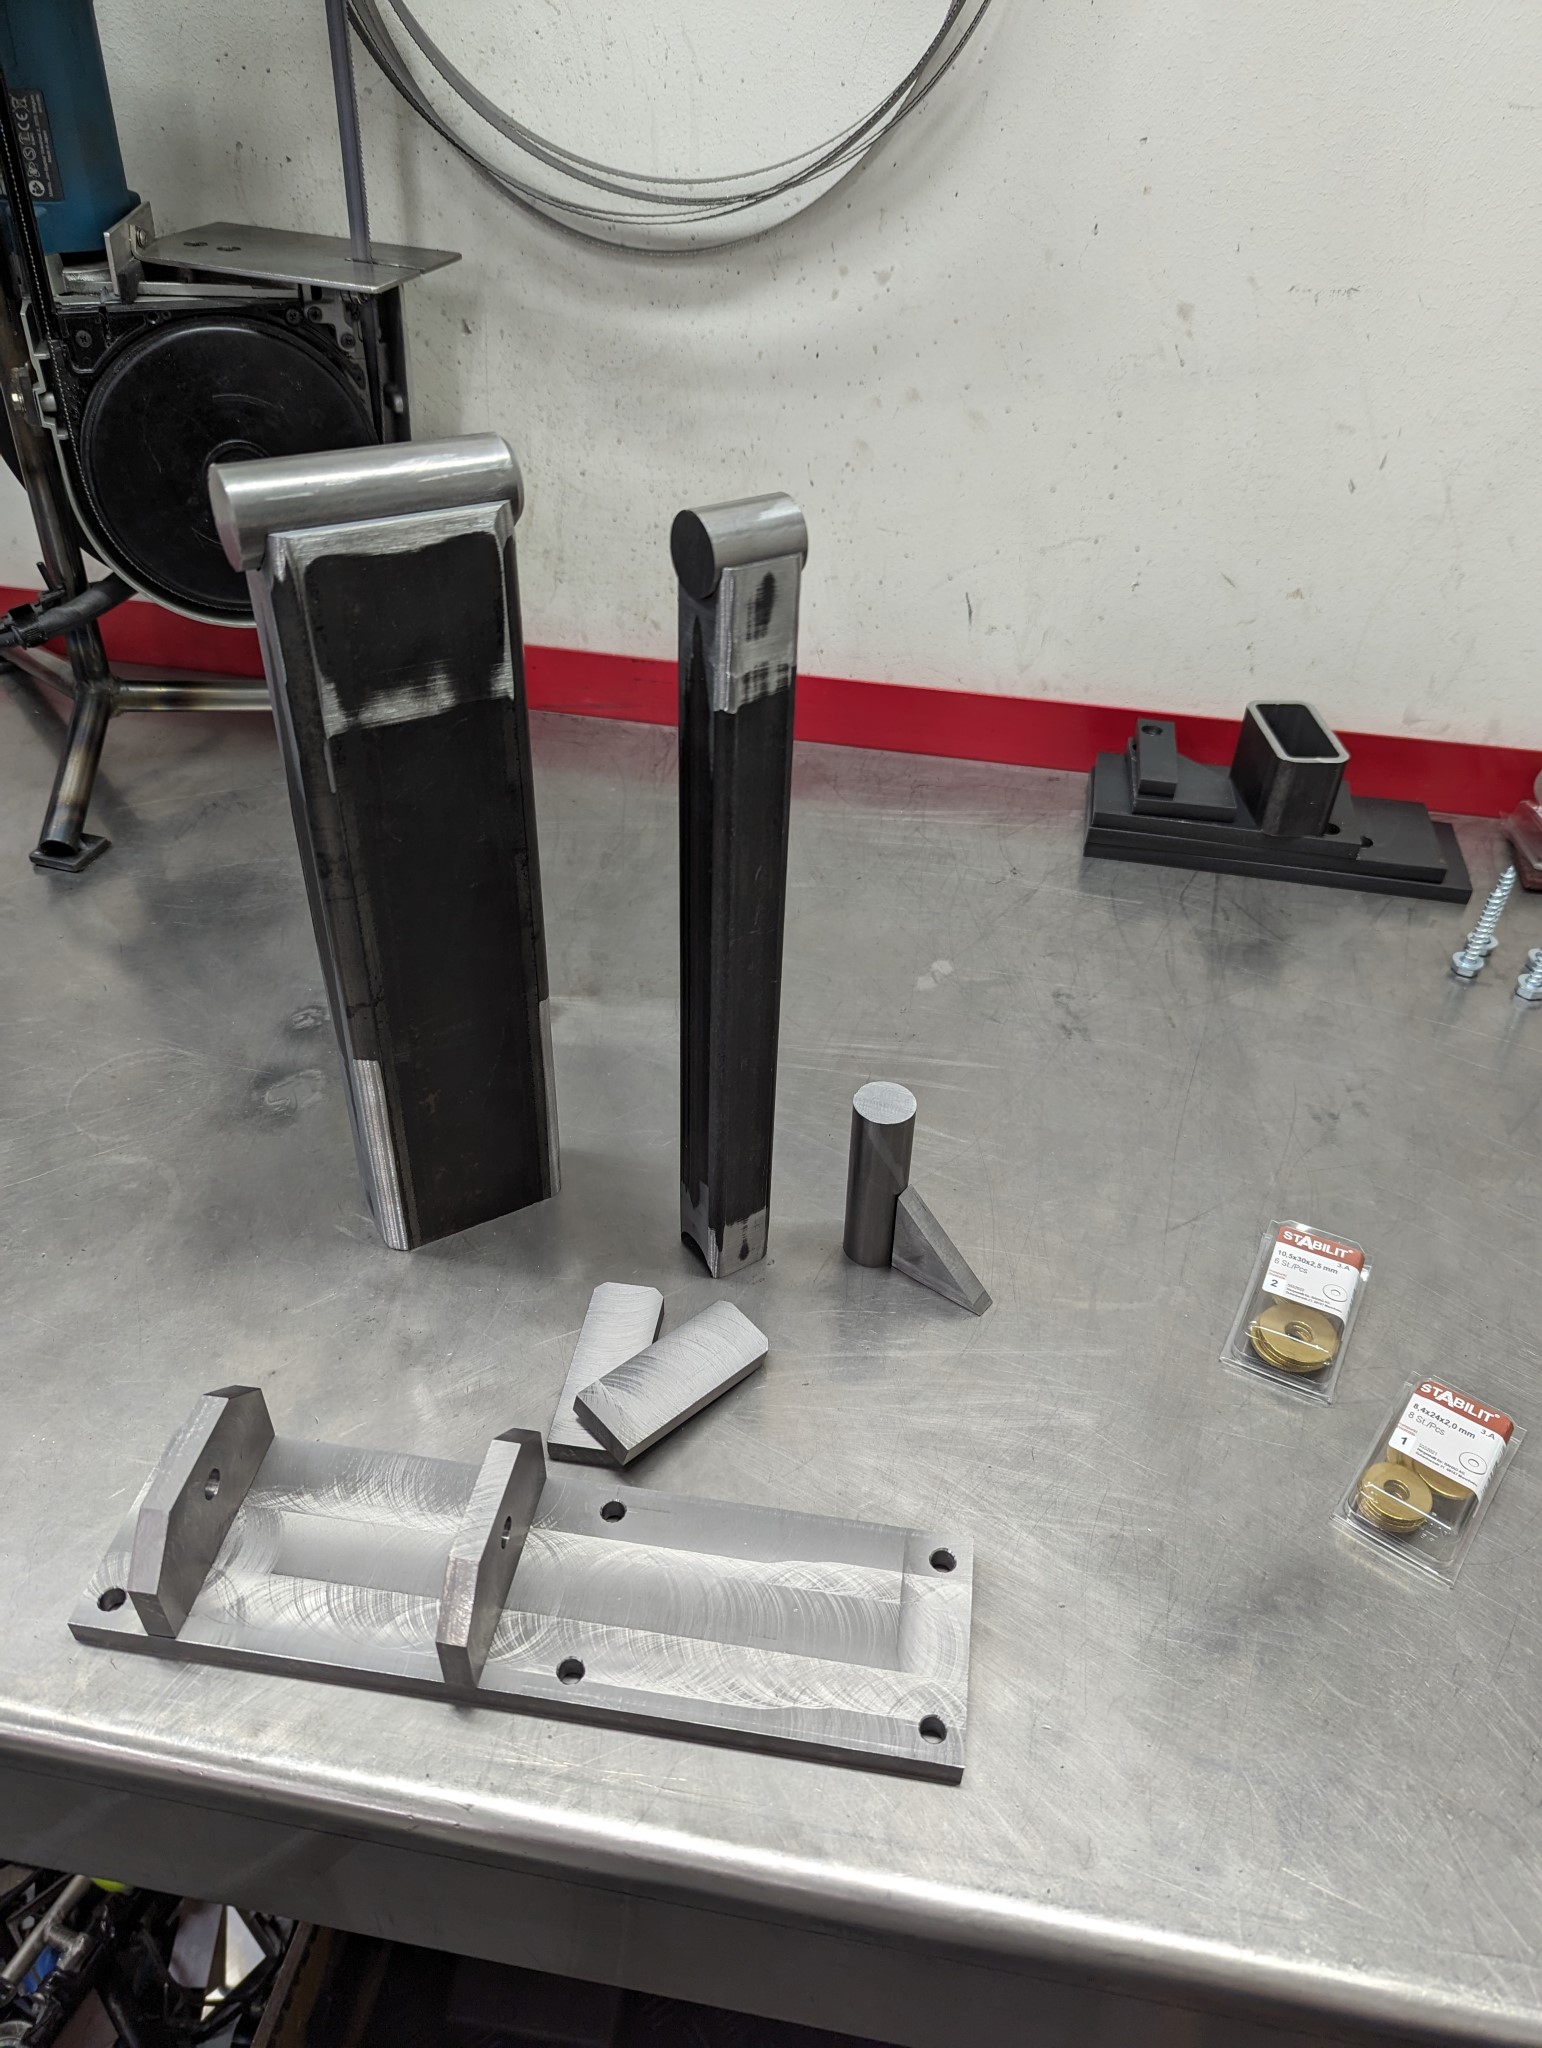
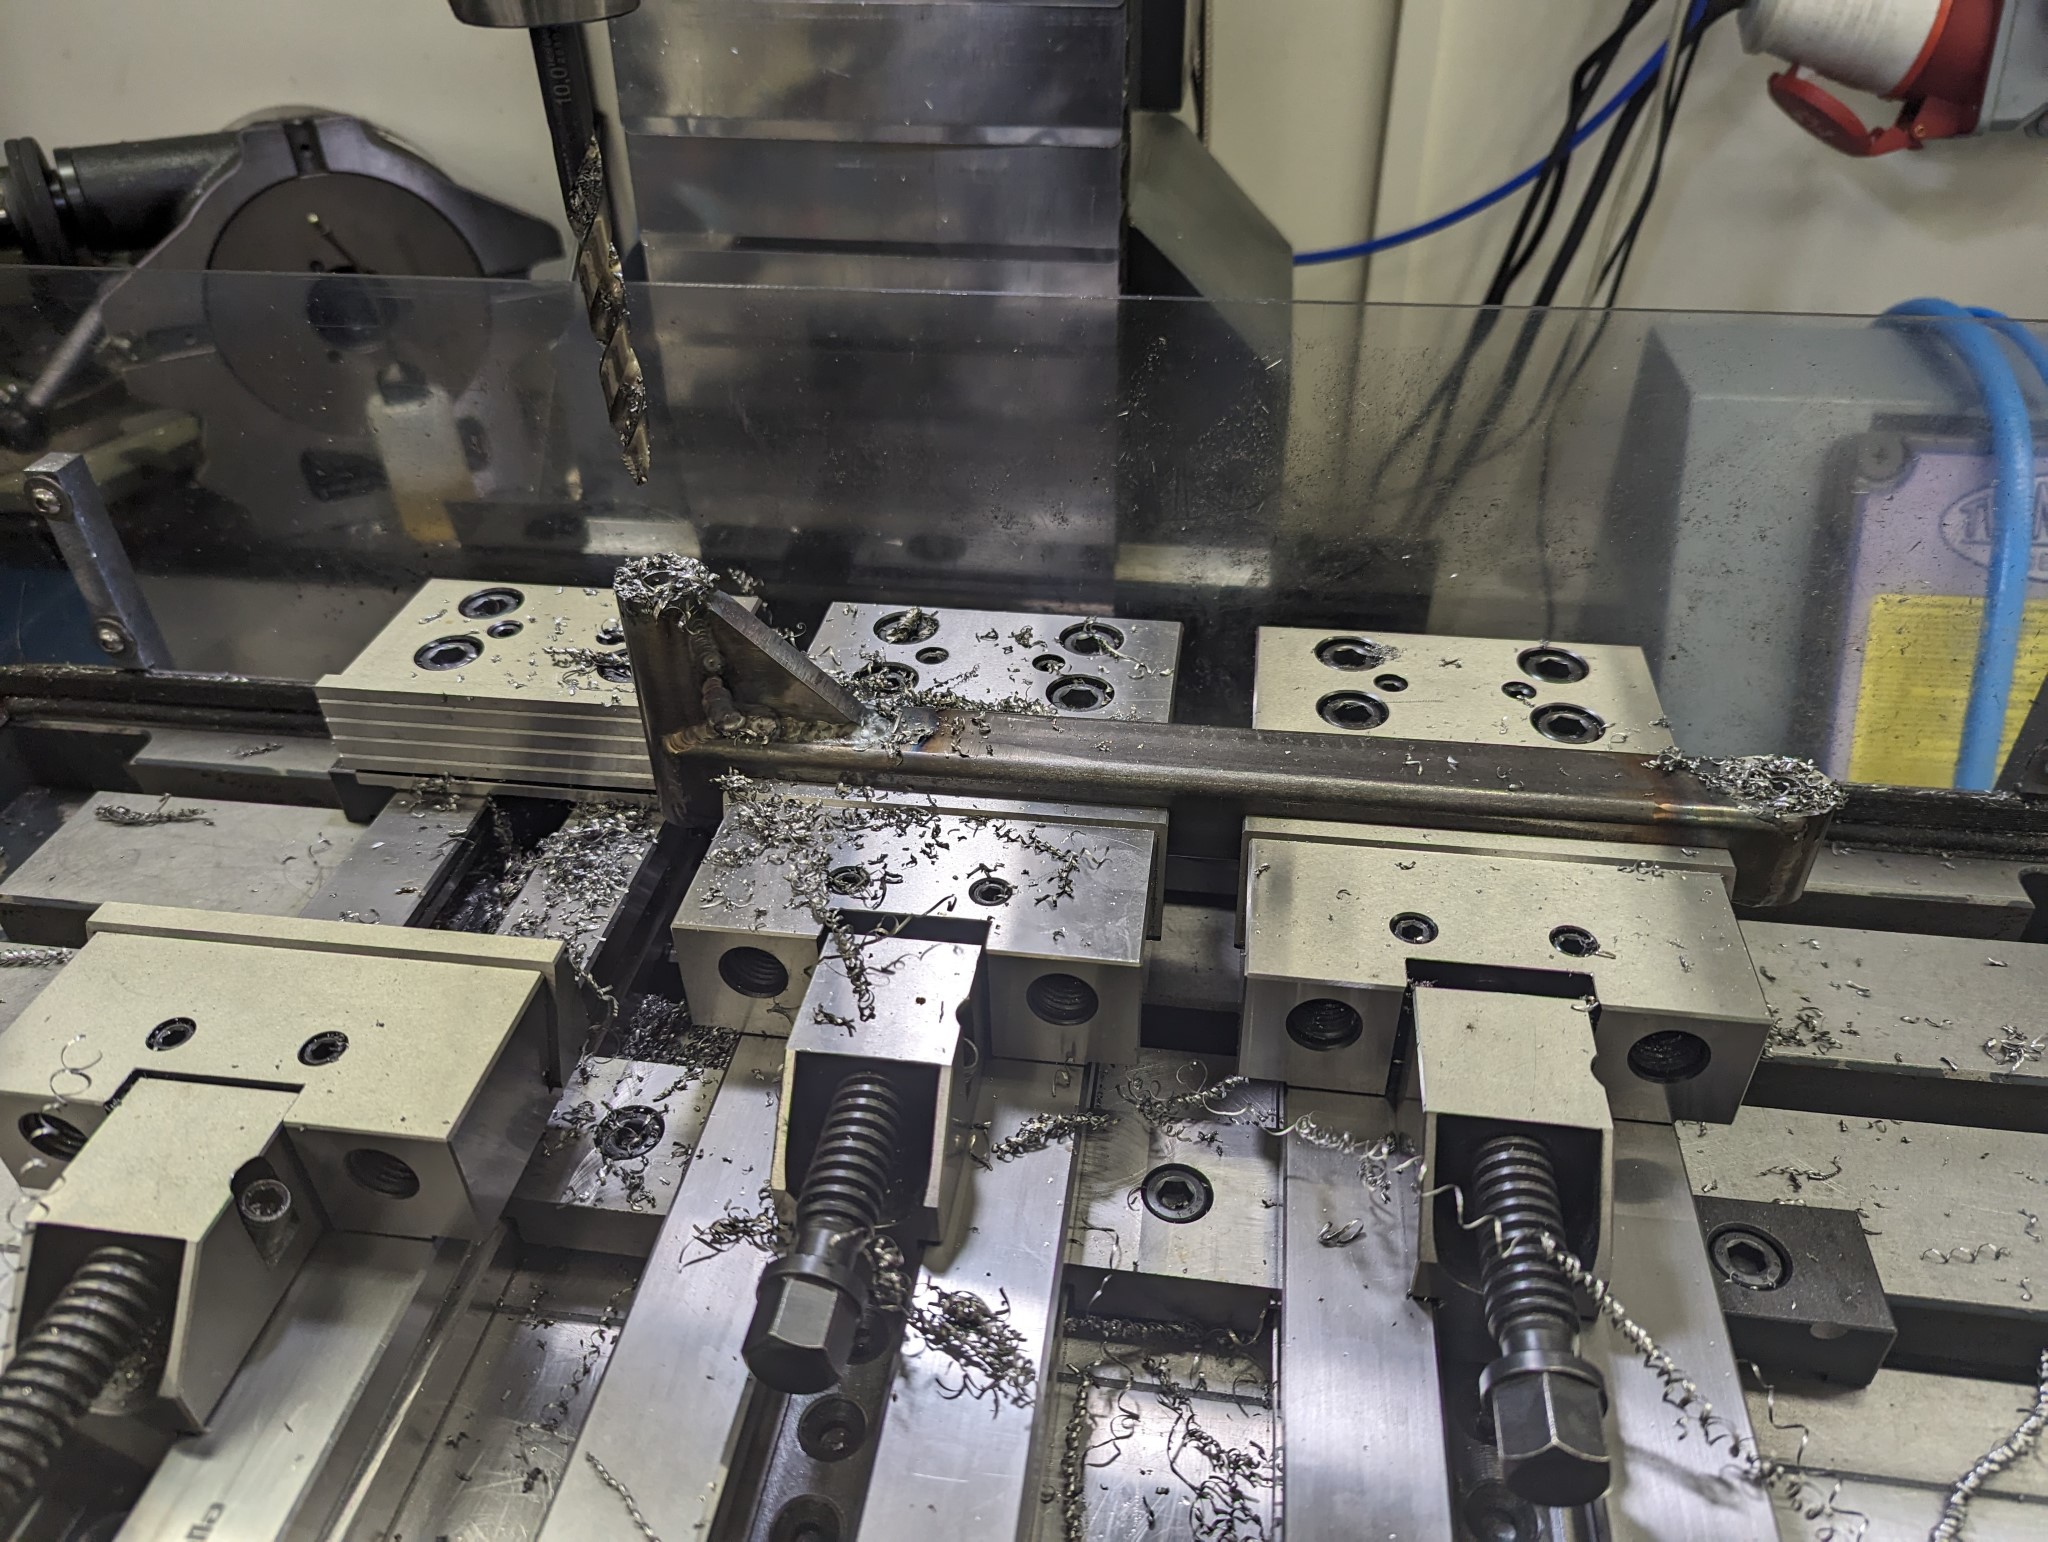
Went to the local metal supplier and picked up some rectangular and square tubing with thick walls along with some solid round bars of 30mm and 25mm diameter.
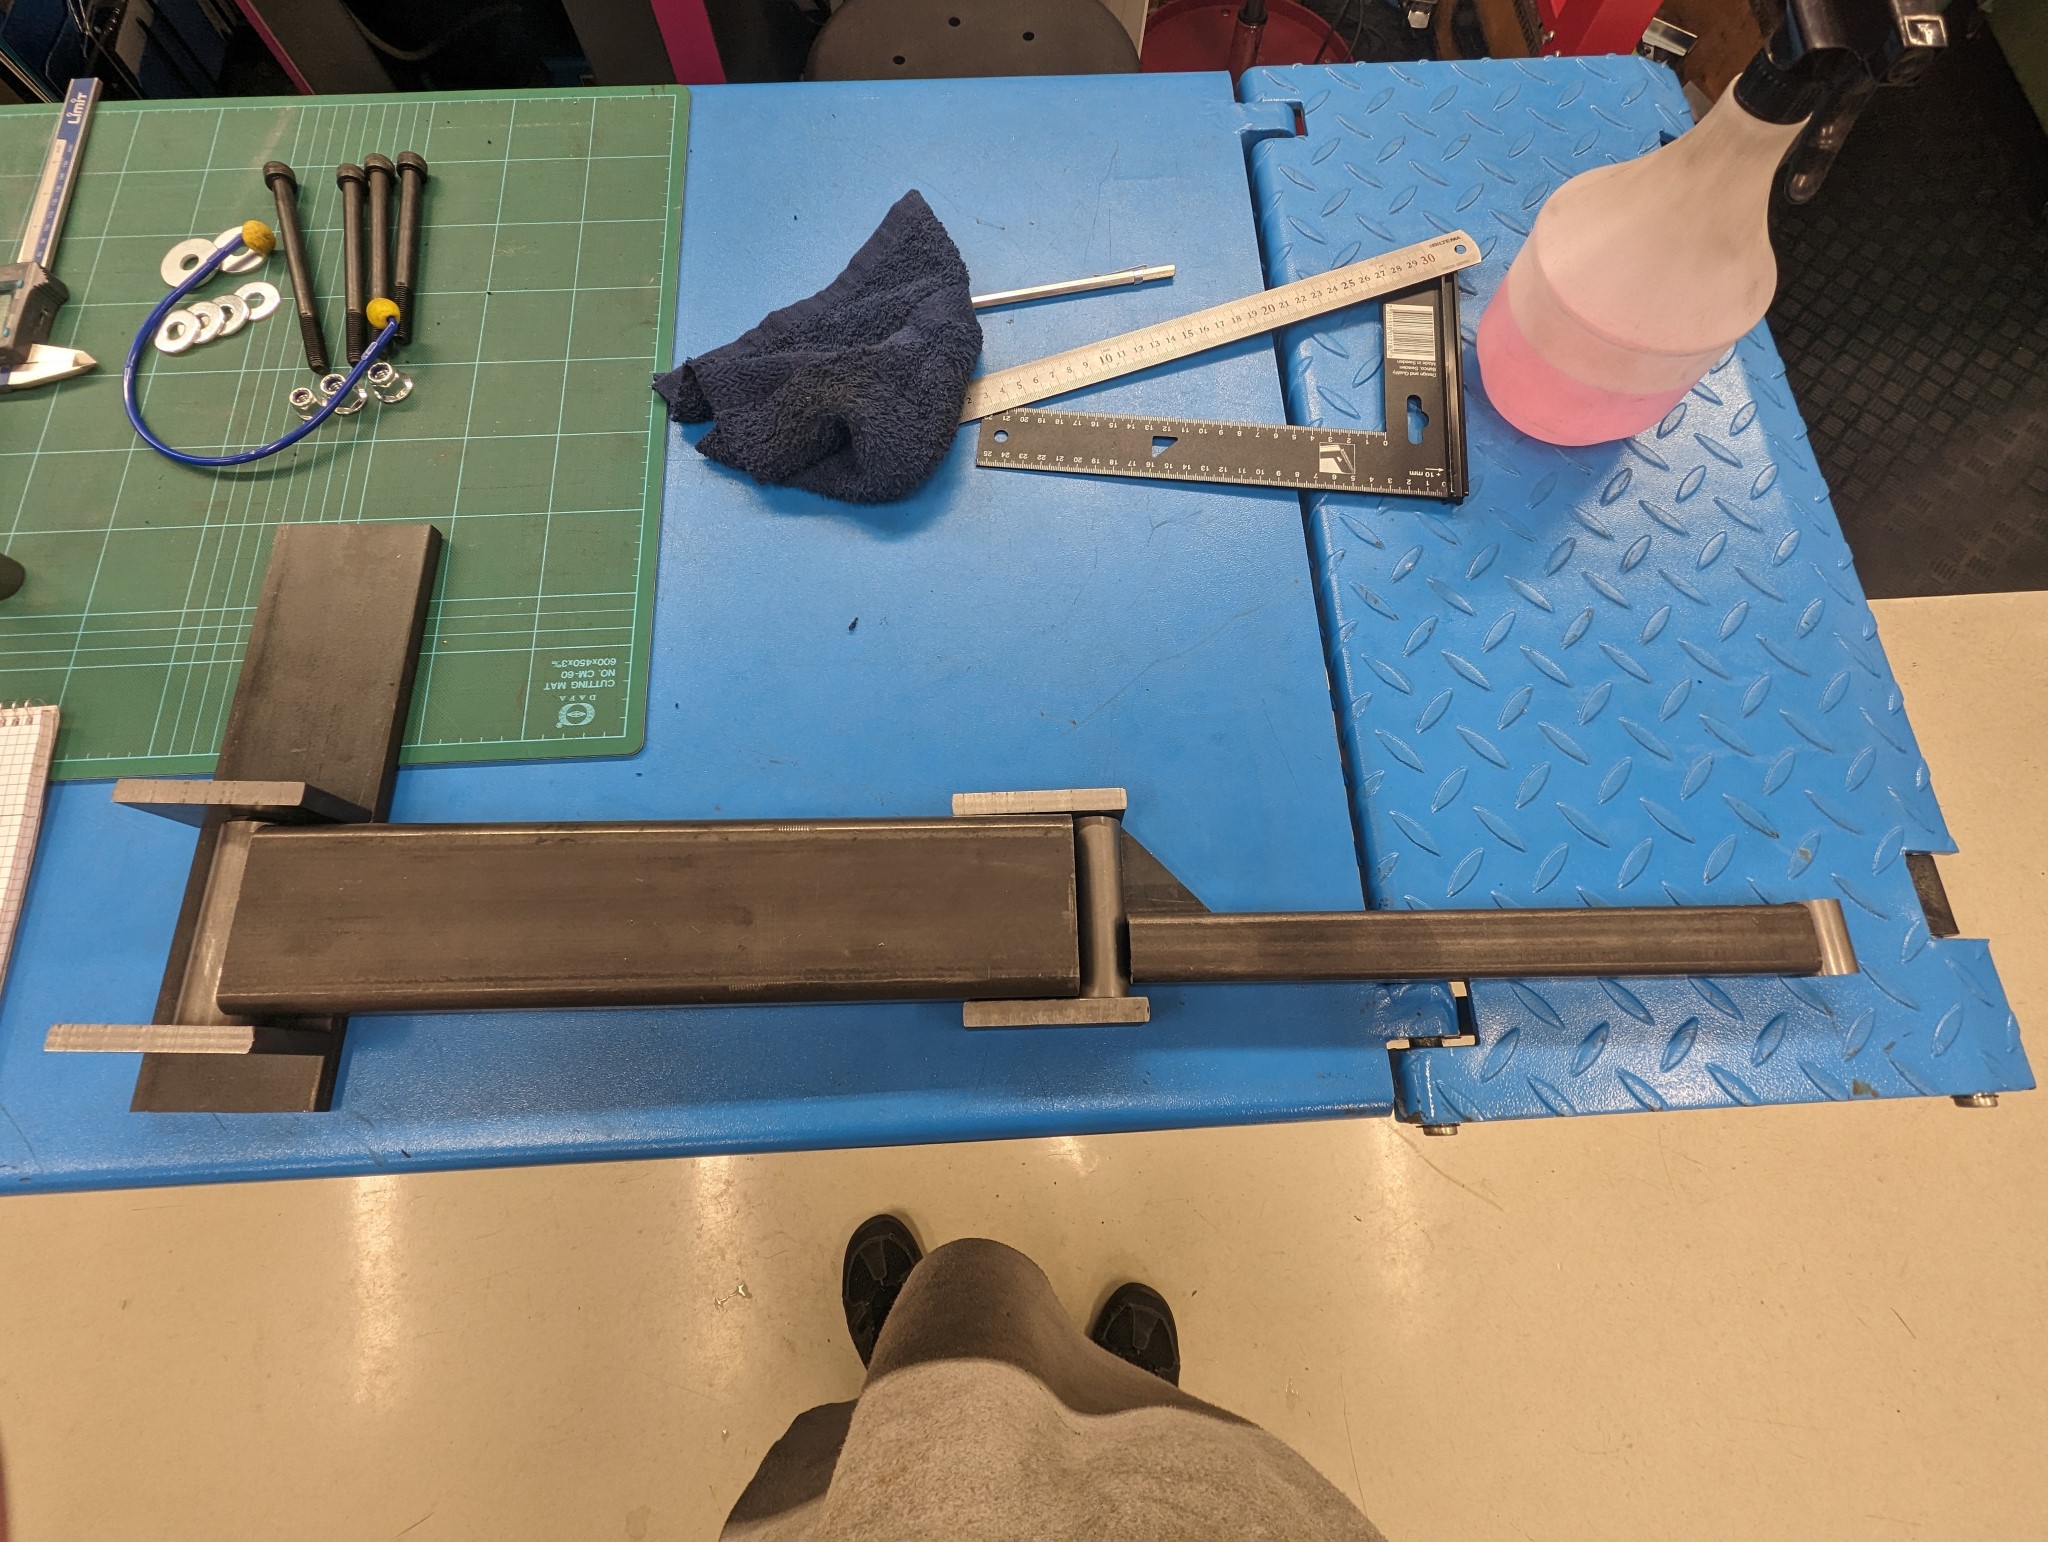
Everything temporarily laid out before machining.
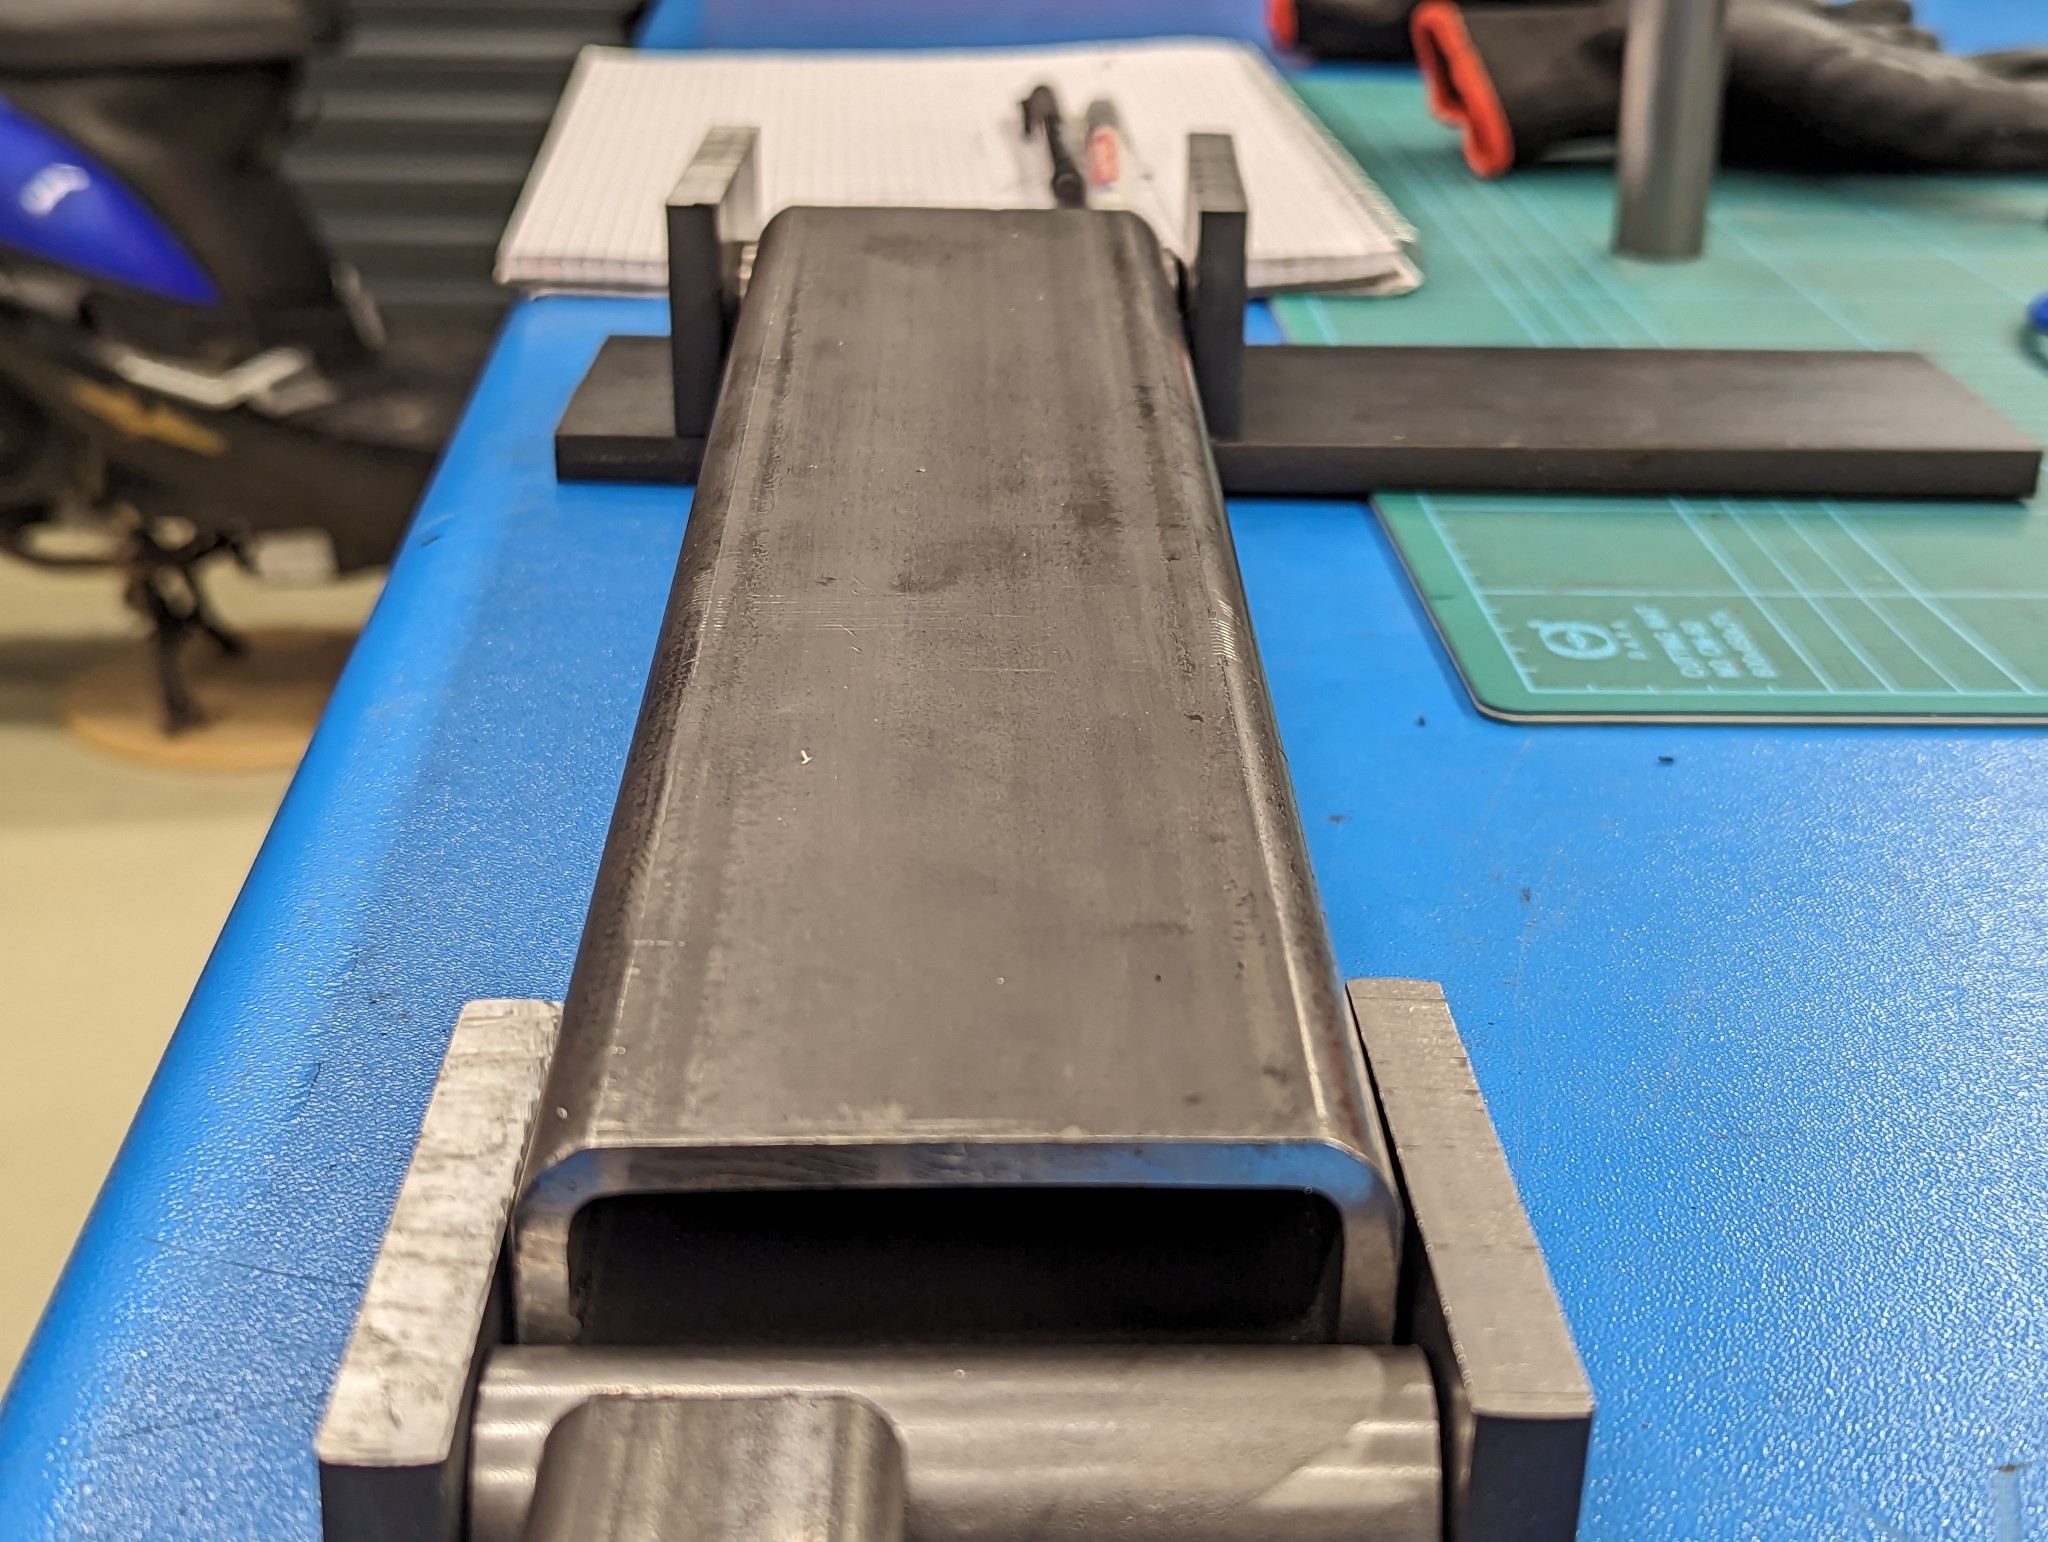
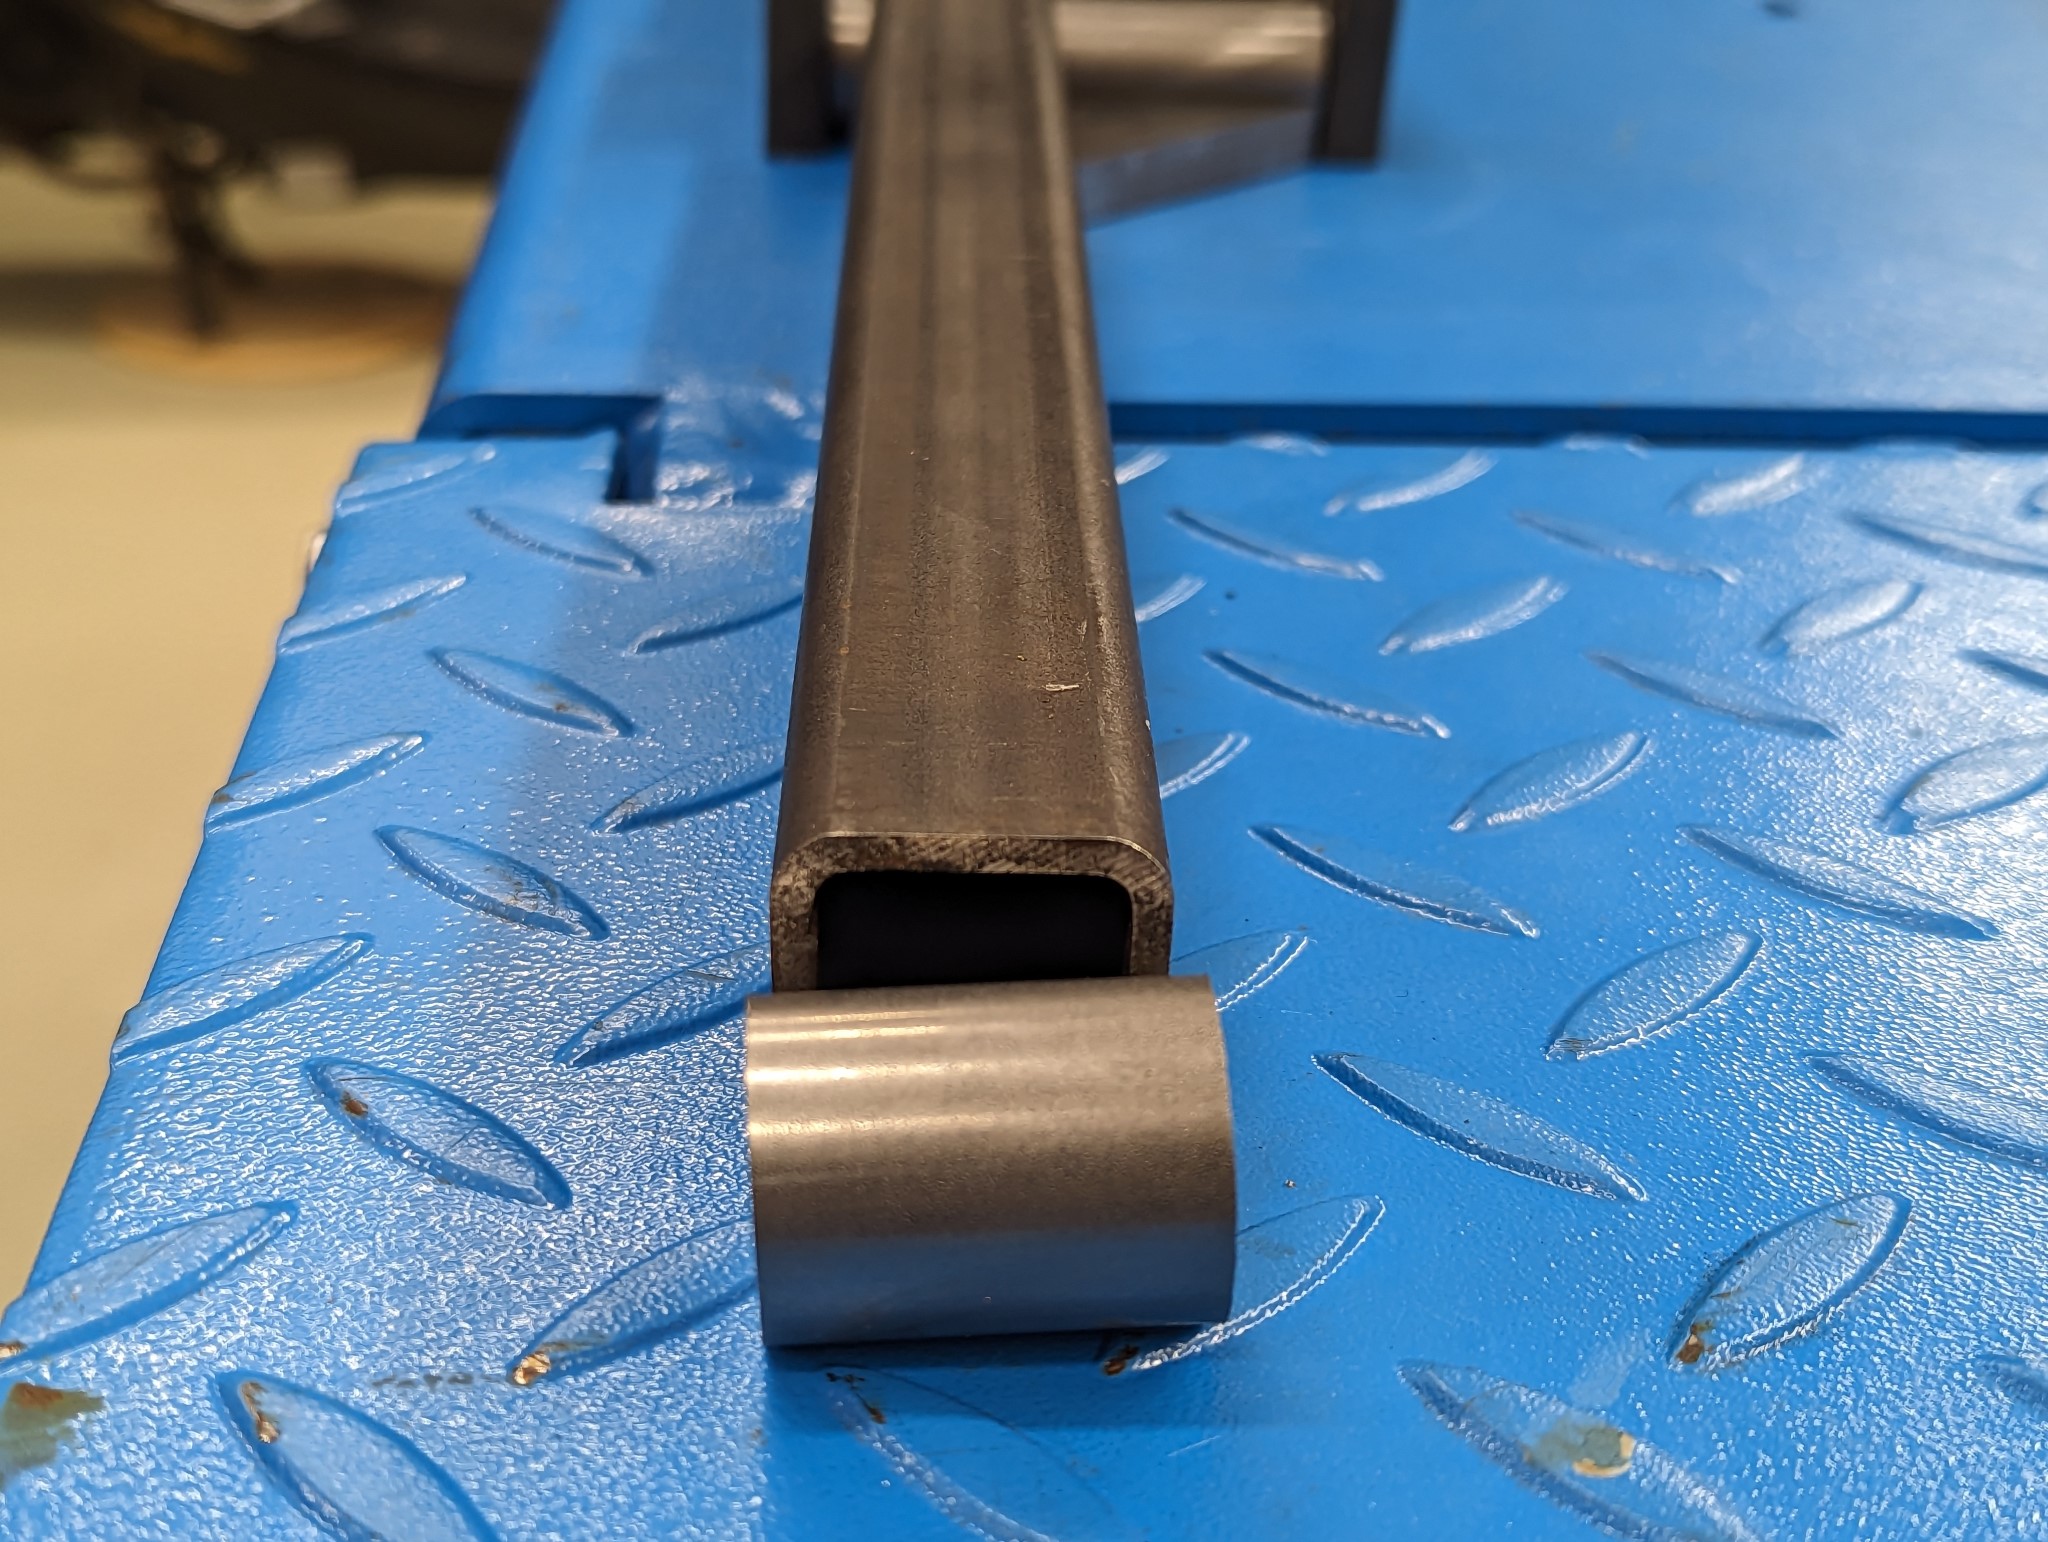
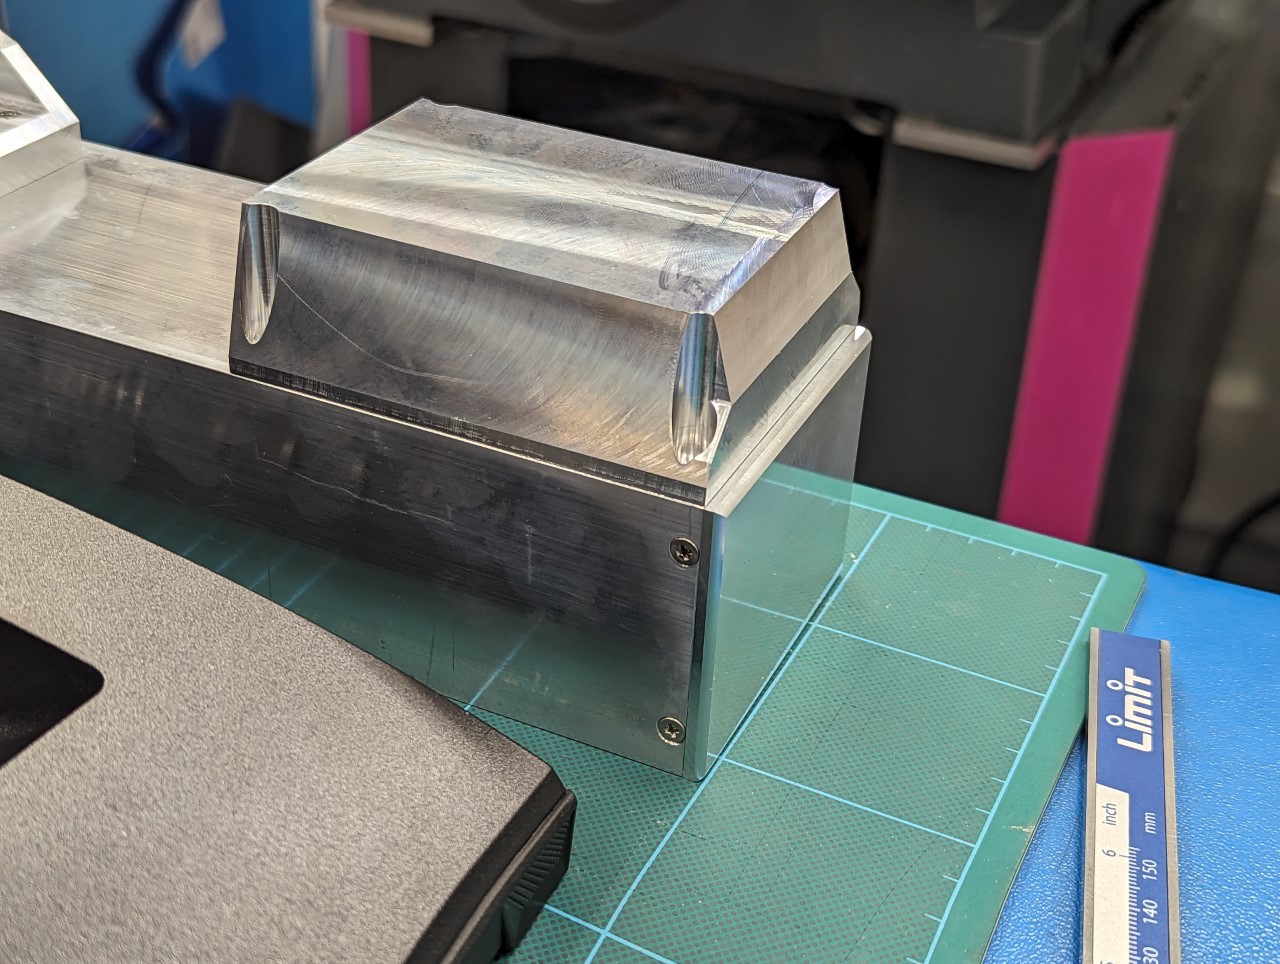
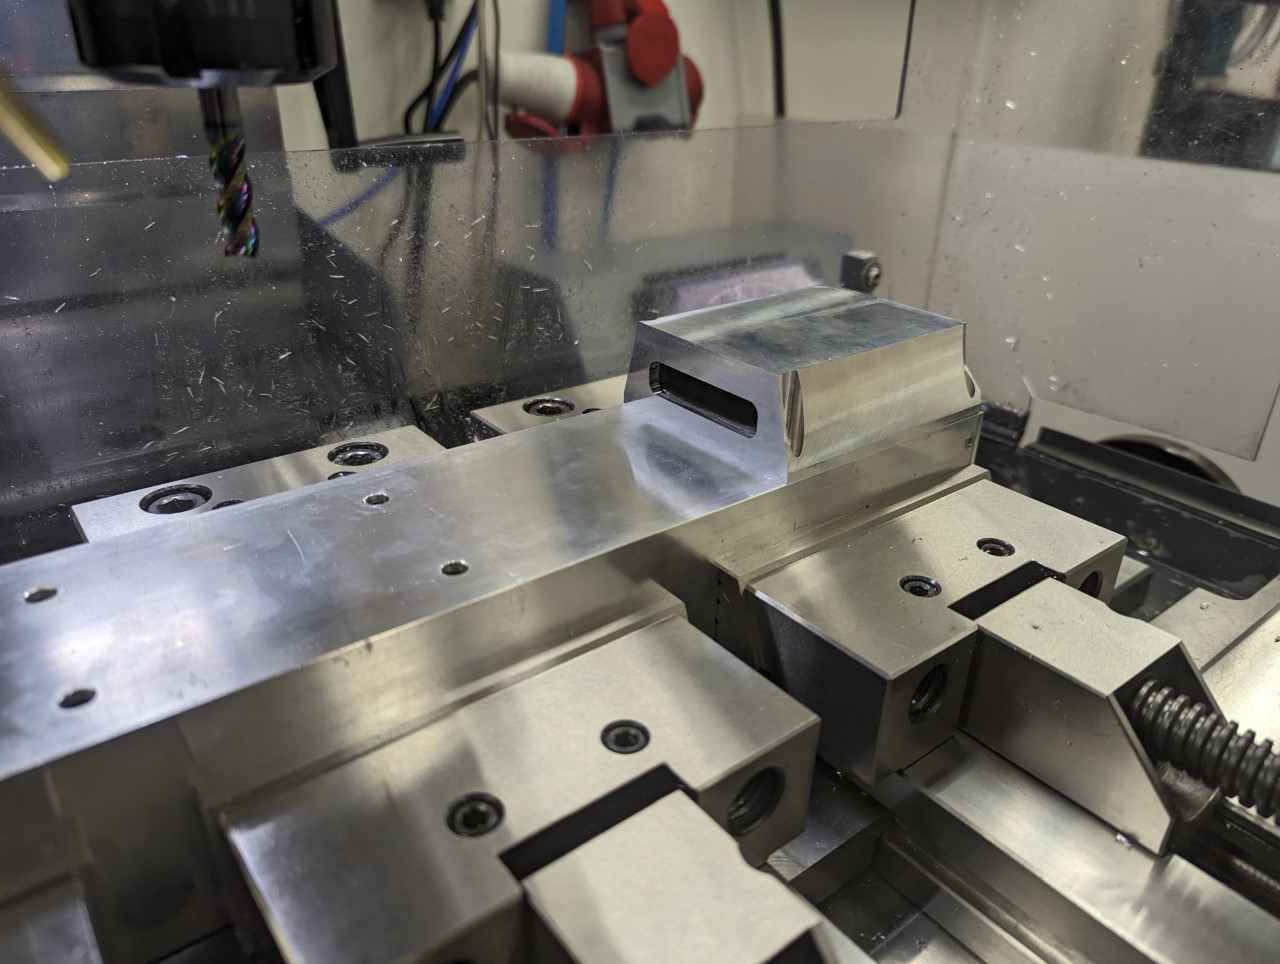
Everything machined ready for welding along with some brass washers that I managed to pick up at Bauhaus of all places.
It would hold the weight just fine but if I pressed a button on the control panel the whole thing would flex and shake for a long time afterwards.
So I realized I needed something more heavy duty but I was unable to find anything more sturdy readily available so I decided to build one myself.
Went to the local metal supplier and picked up some rectangular and square tubing with thick walls along with some solid round bars of 30mm and 25mm diameter.
Everything temporarily laid out before machining.
Everything machined ready for welding along with some brass washers that I managed to pick up at Bauhaus of all places.
Attachments:
Please Log in or Create an account to join the conversation.
05 Dec 2023 17:58 #287300
by Unlogic
Replied by Unlogic on topic Optimum Optimill MH50V CNC conversion
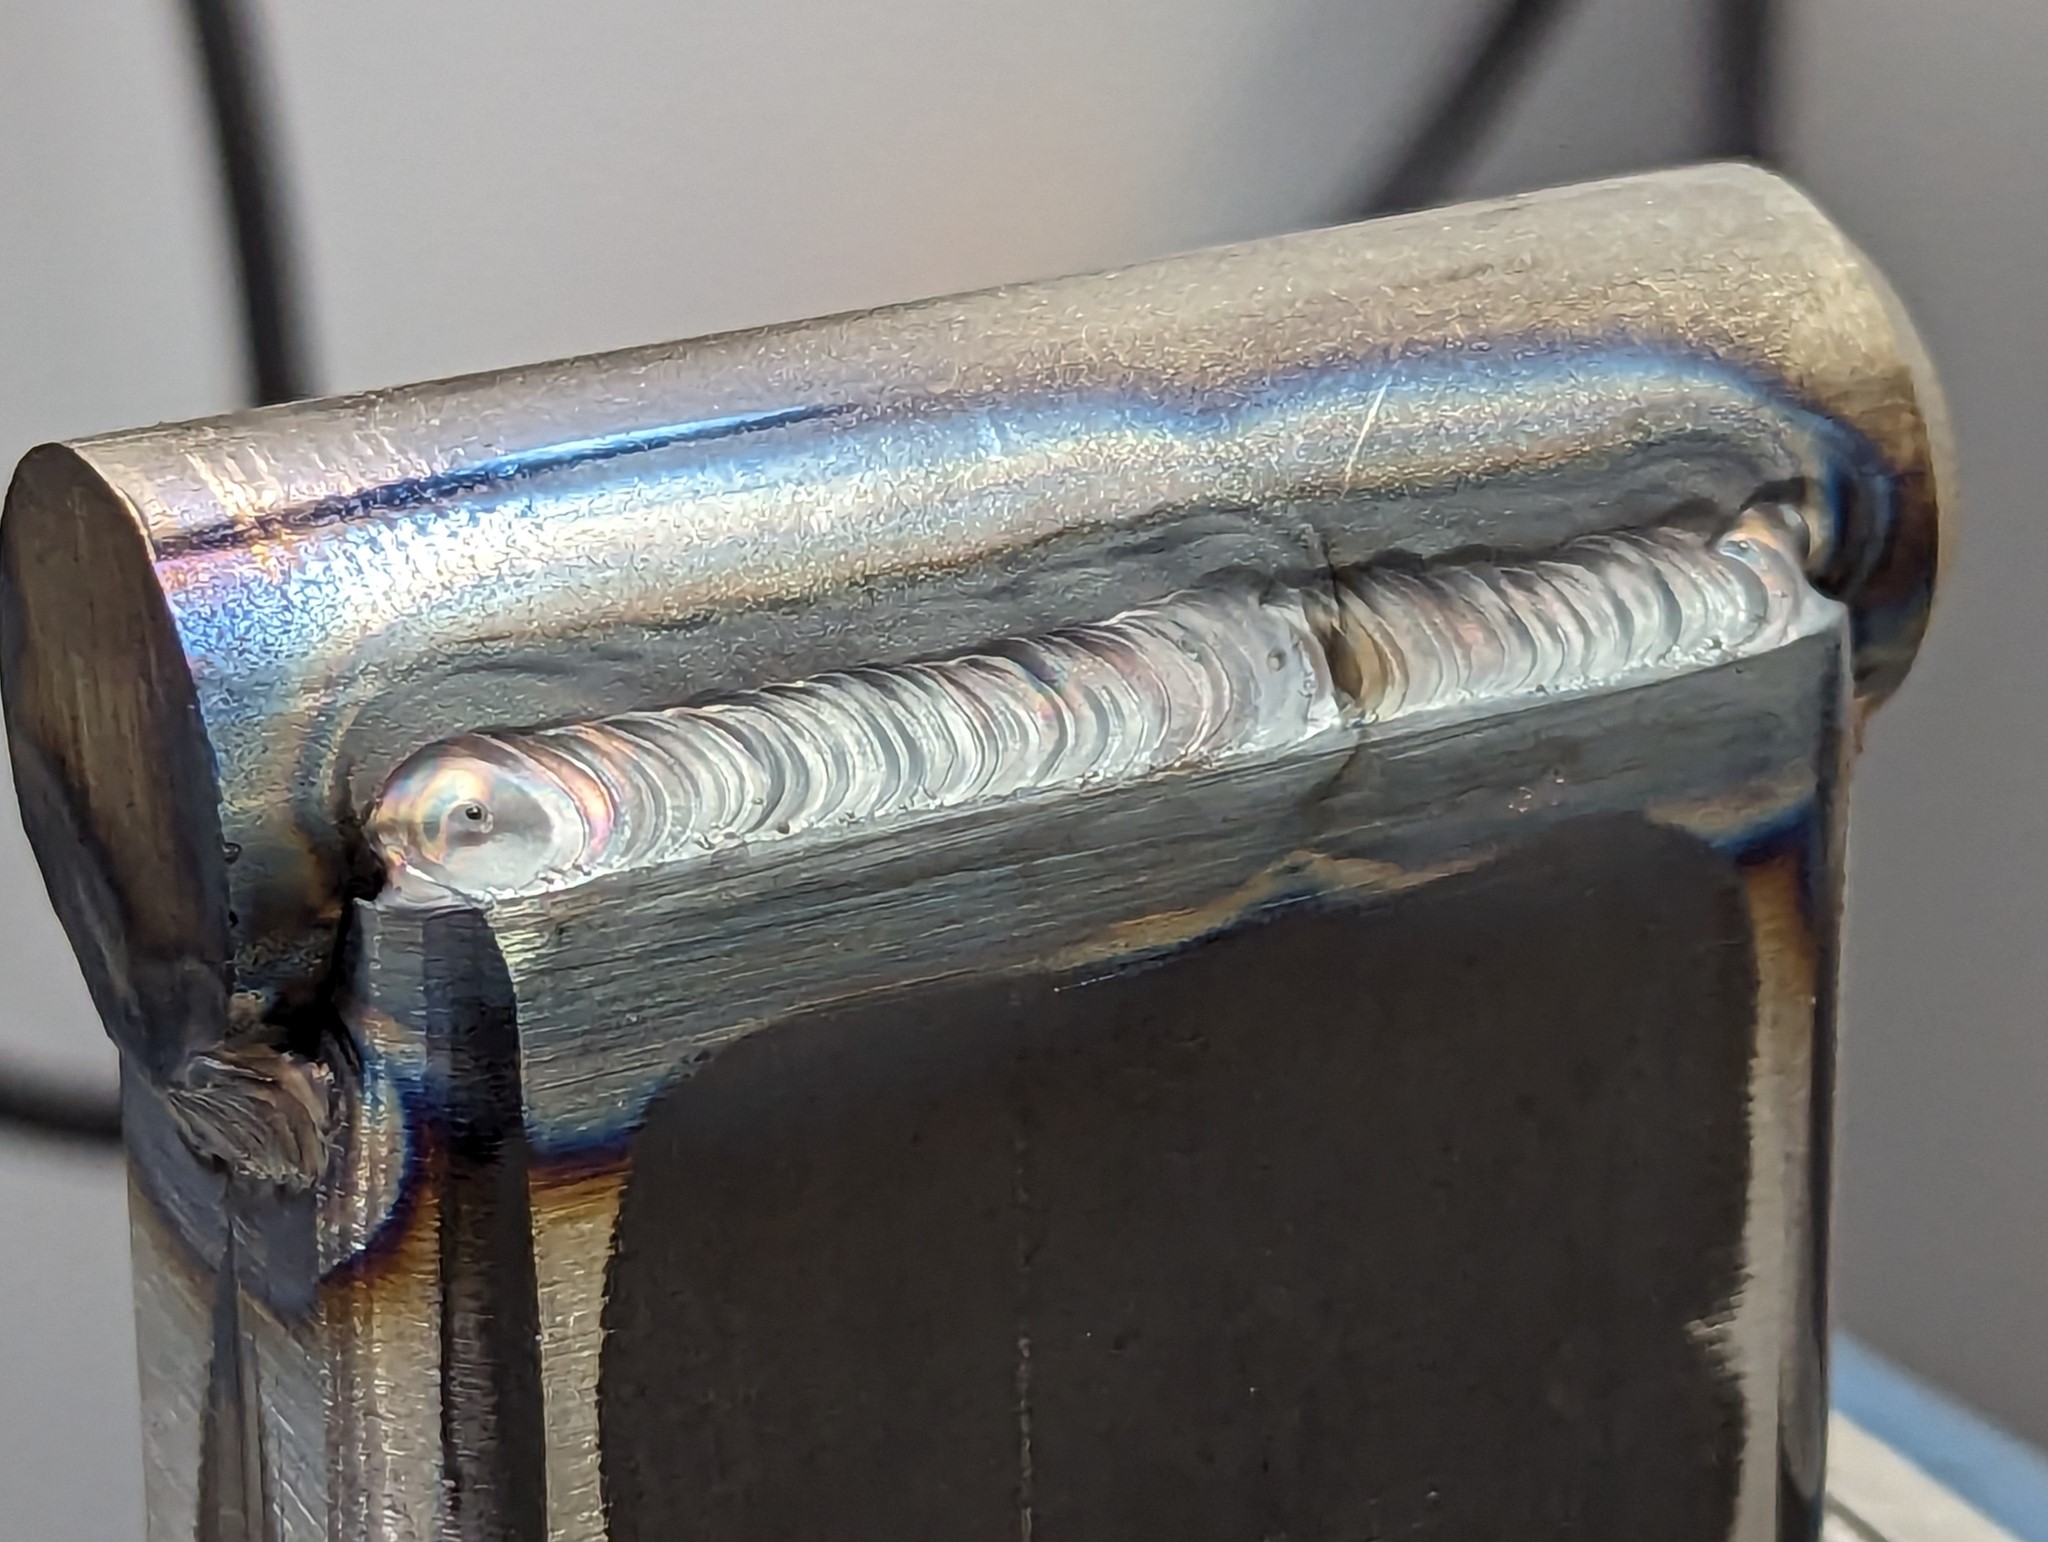
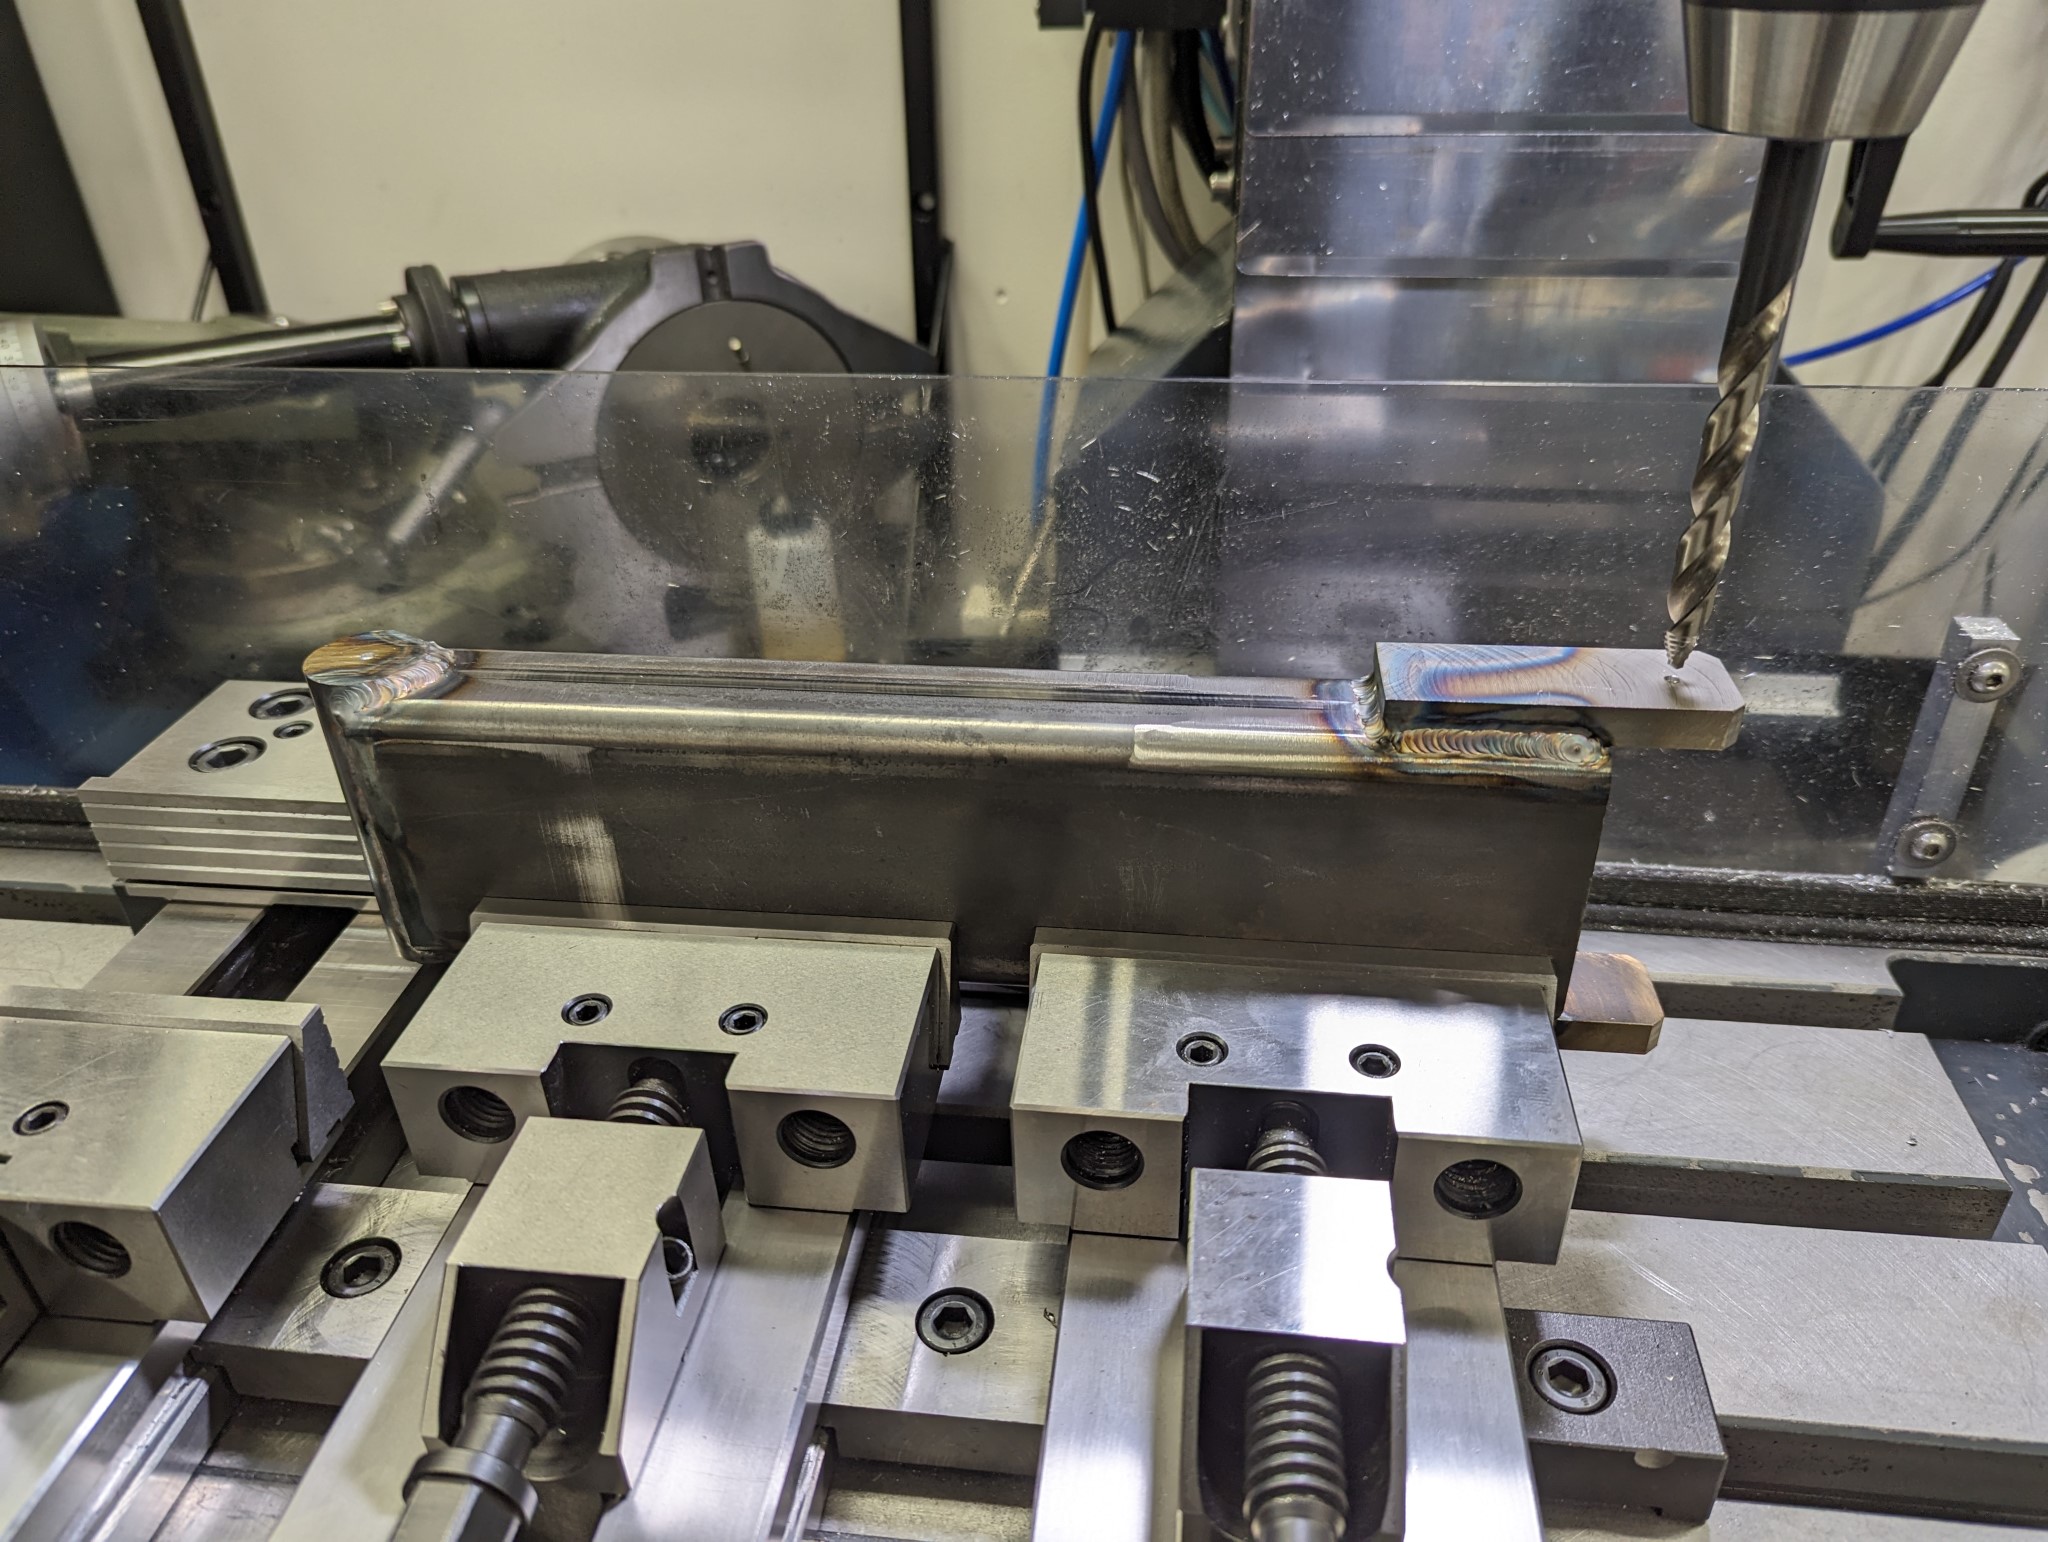
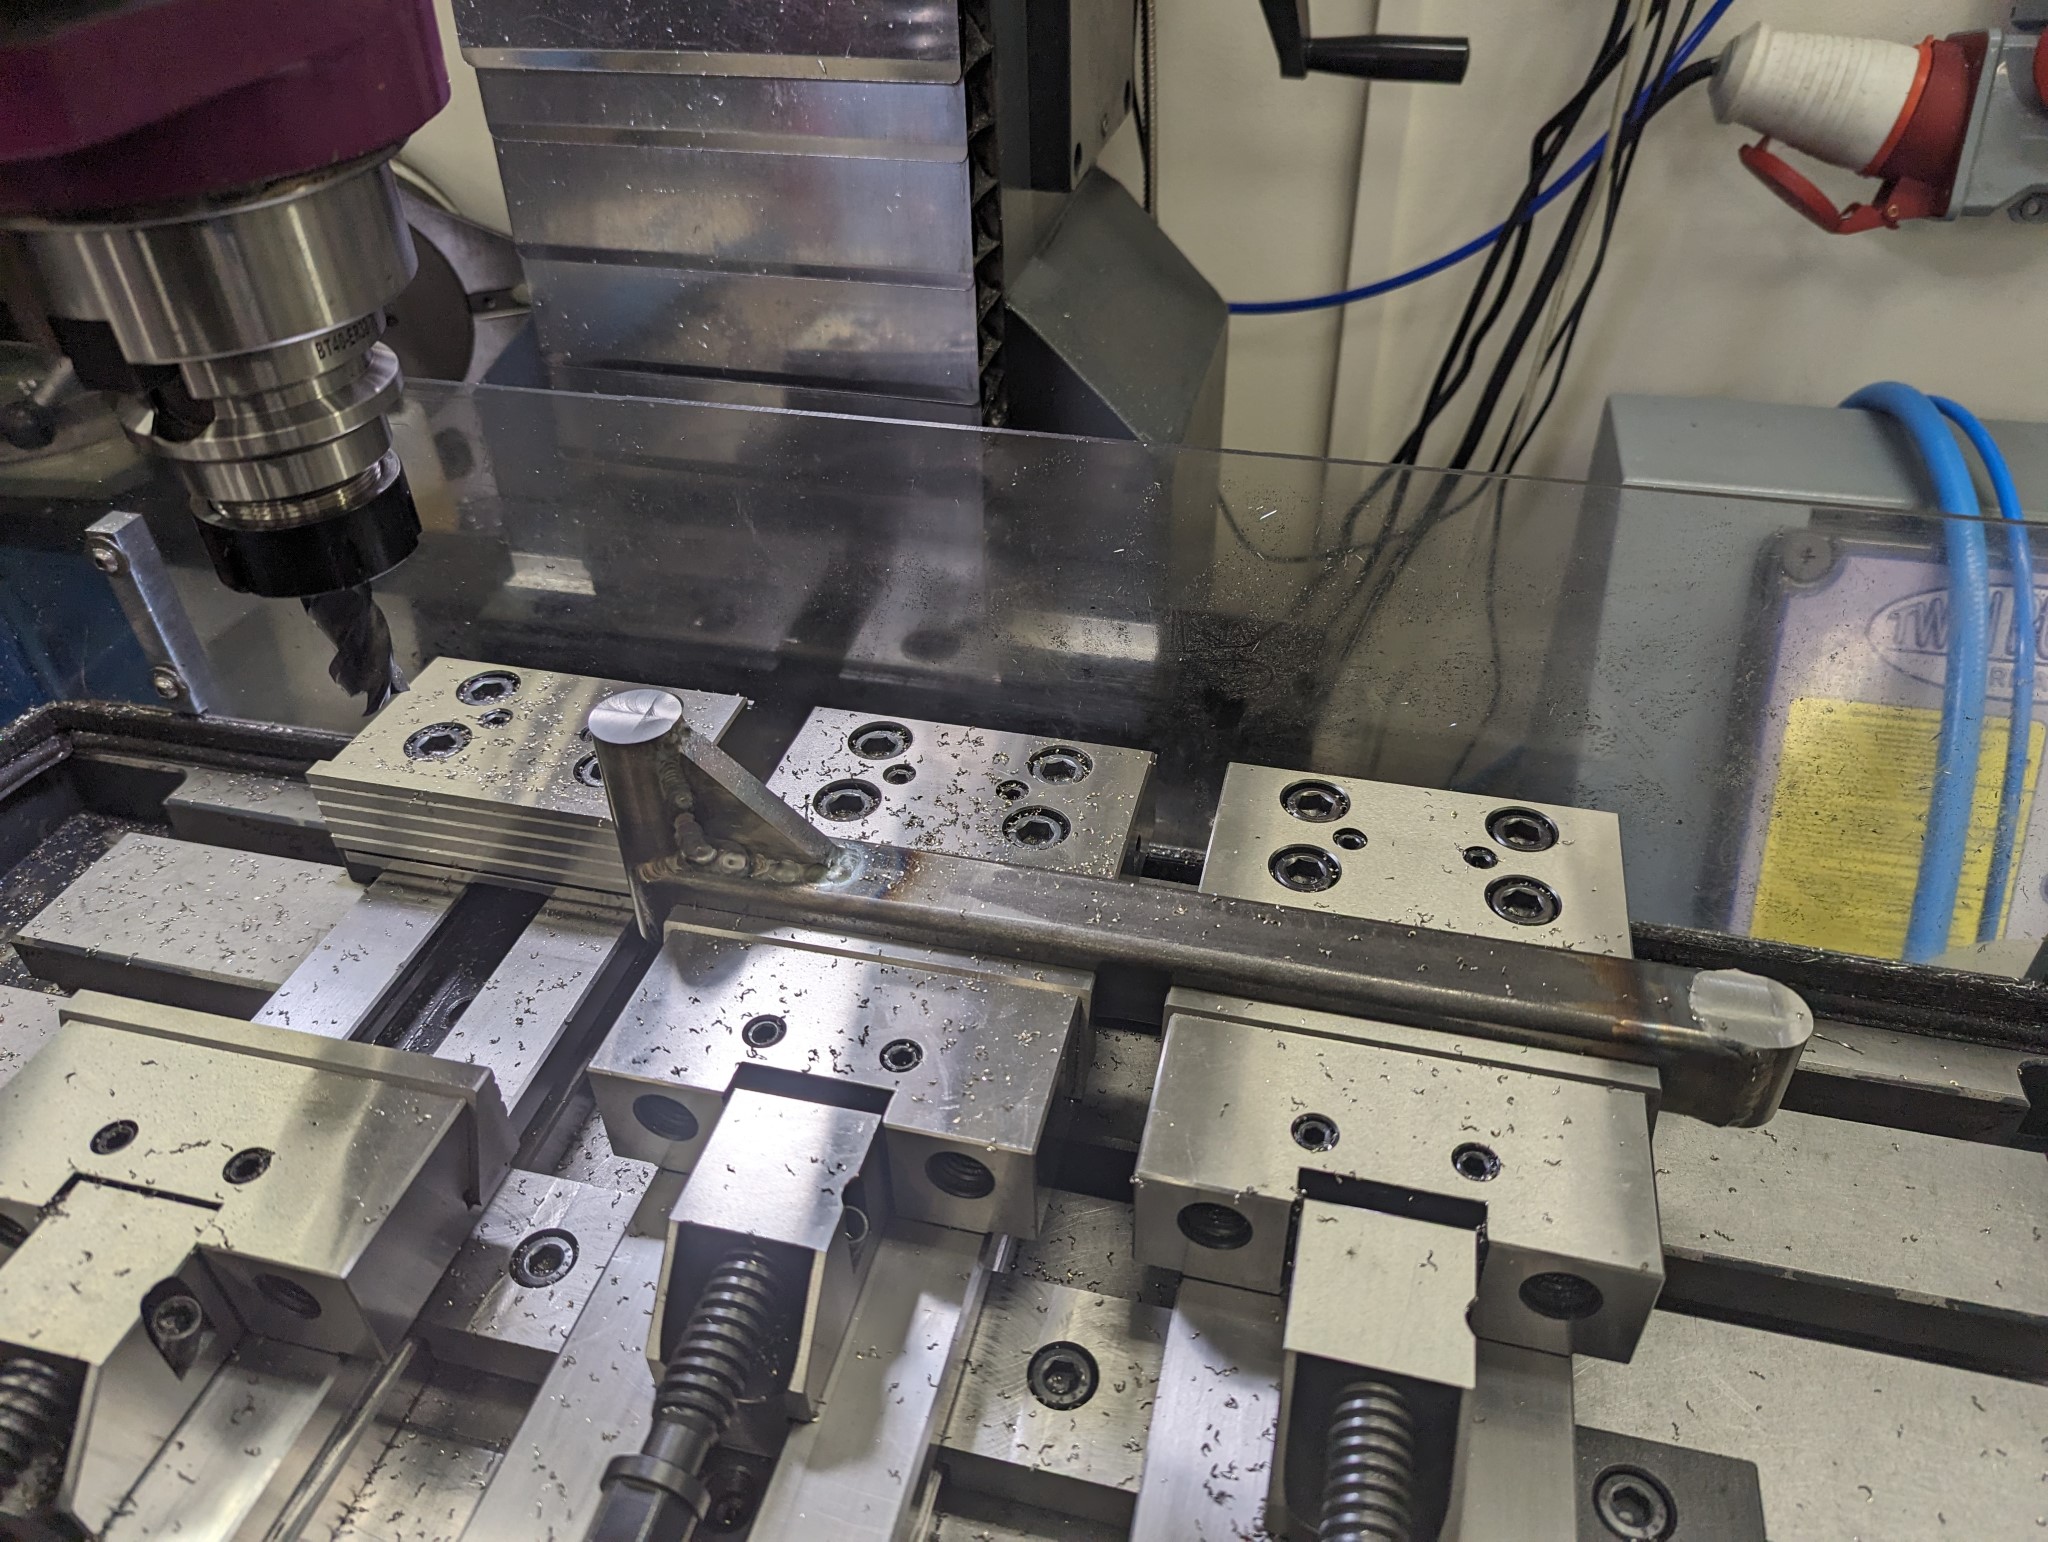
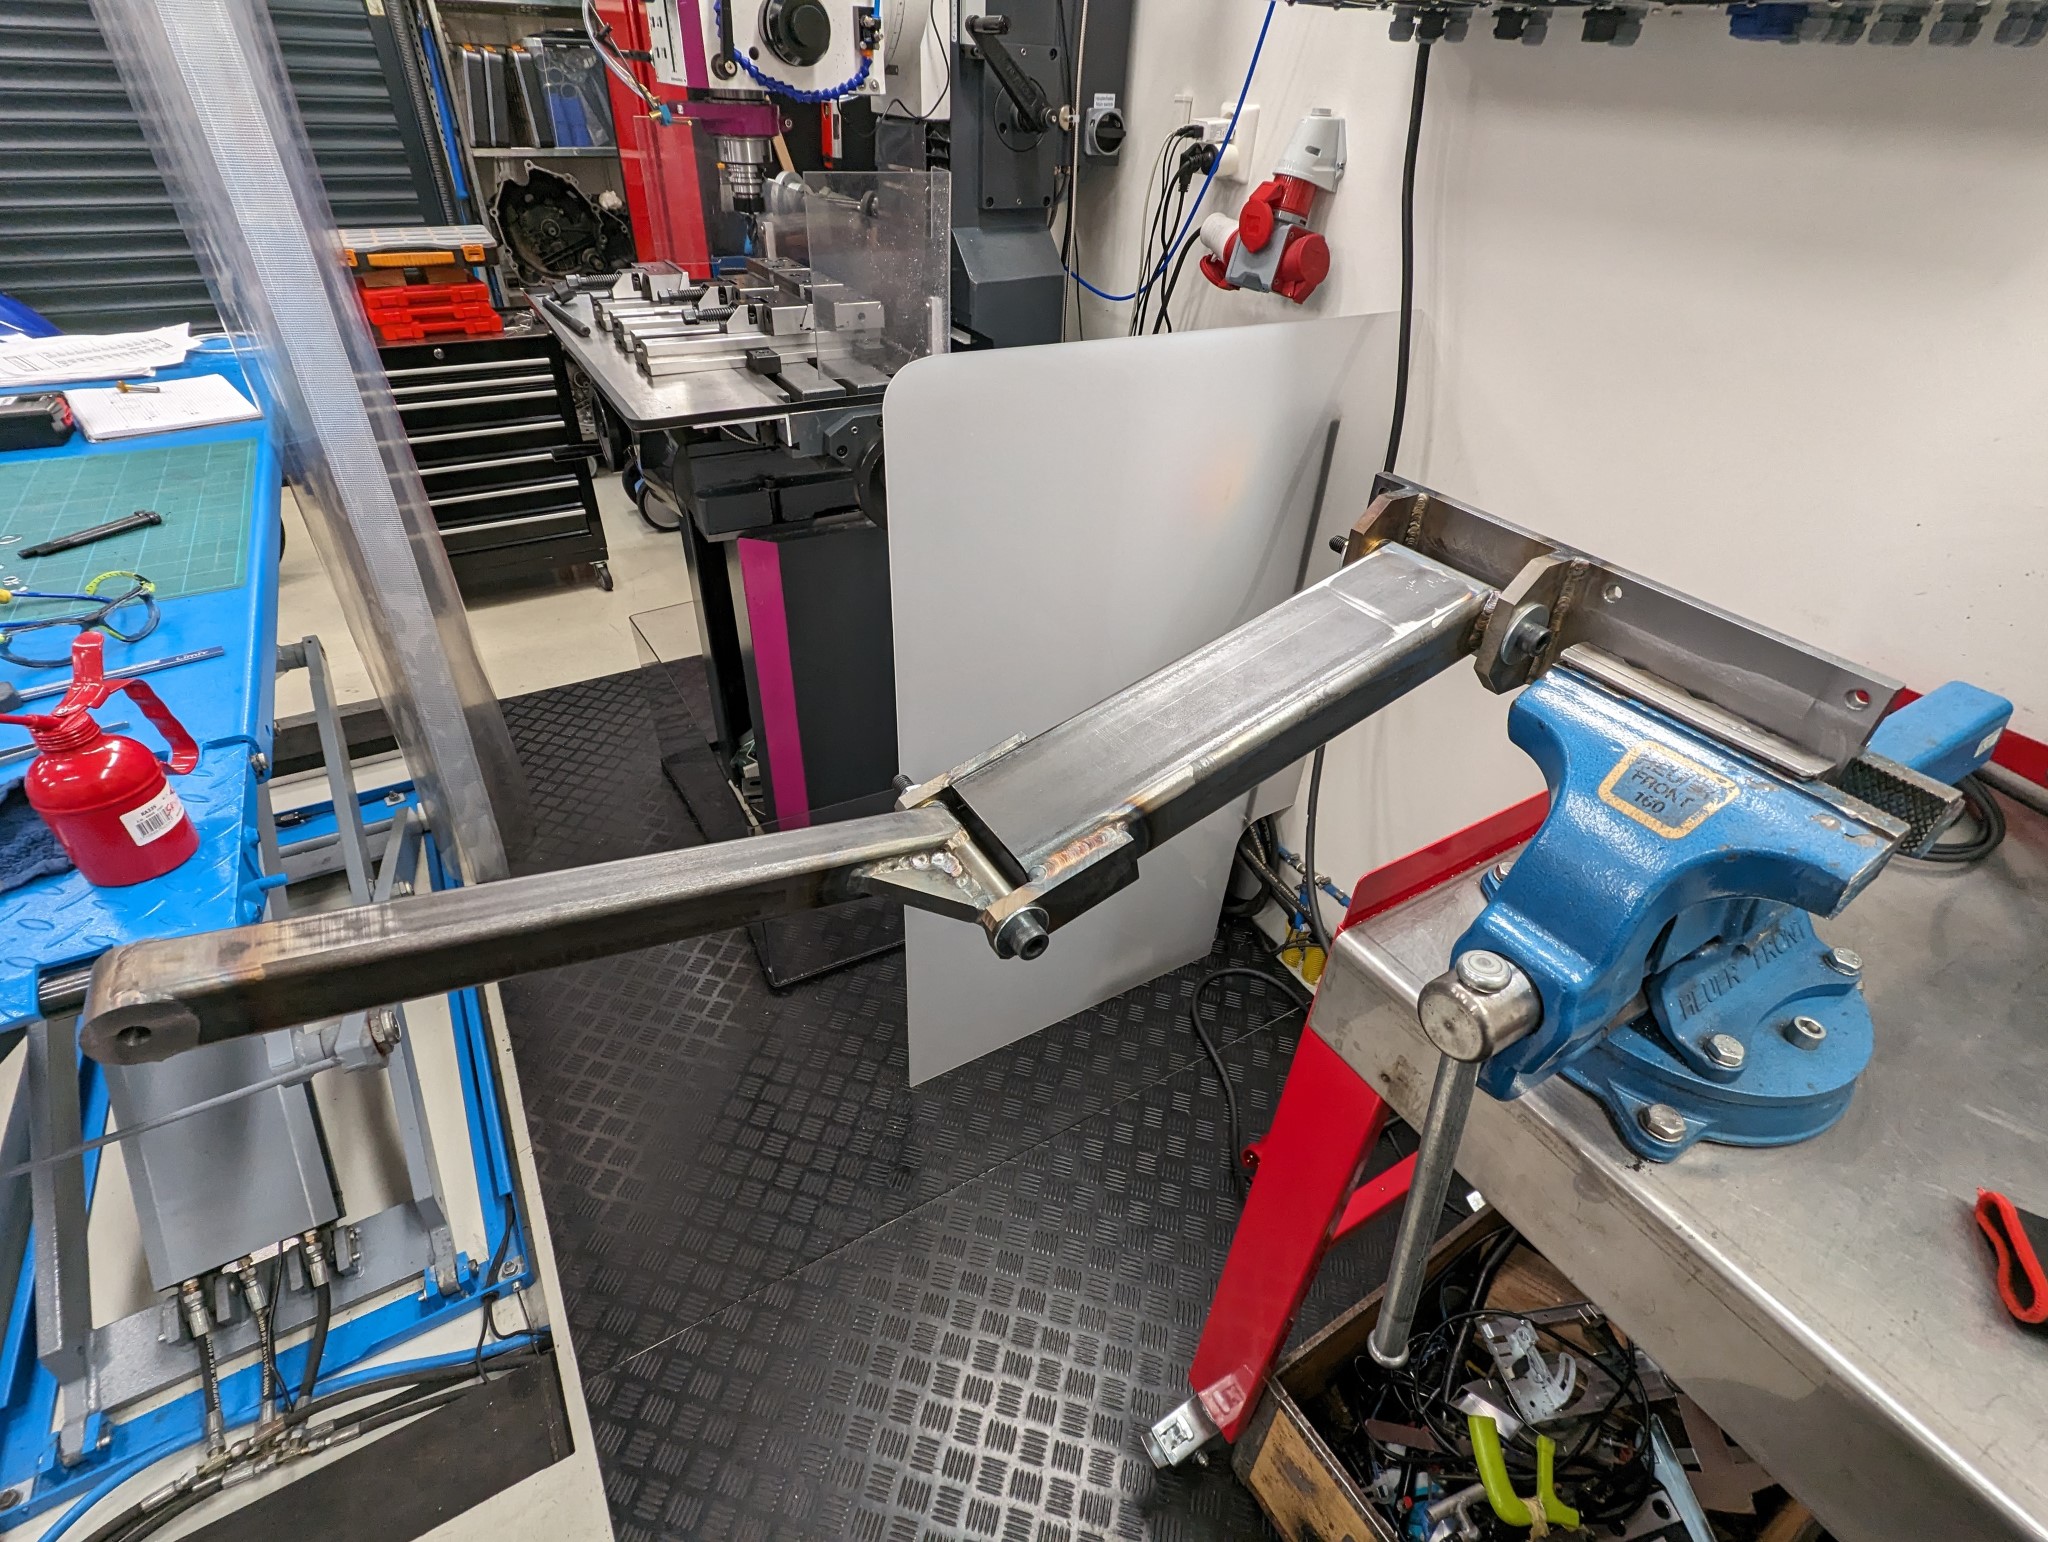
Things tend to move about during welding so I welded the arms first before doing the final machining and drilling the holes for the hinges in order to make sure everything was straight and aligned.
To prevent warping of the base plate during welding I made this little jig, but I'm not sure if it helped much at all because the plate became slightly warped anyway...
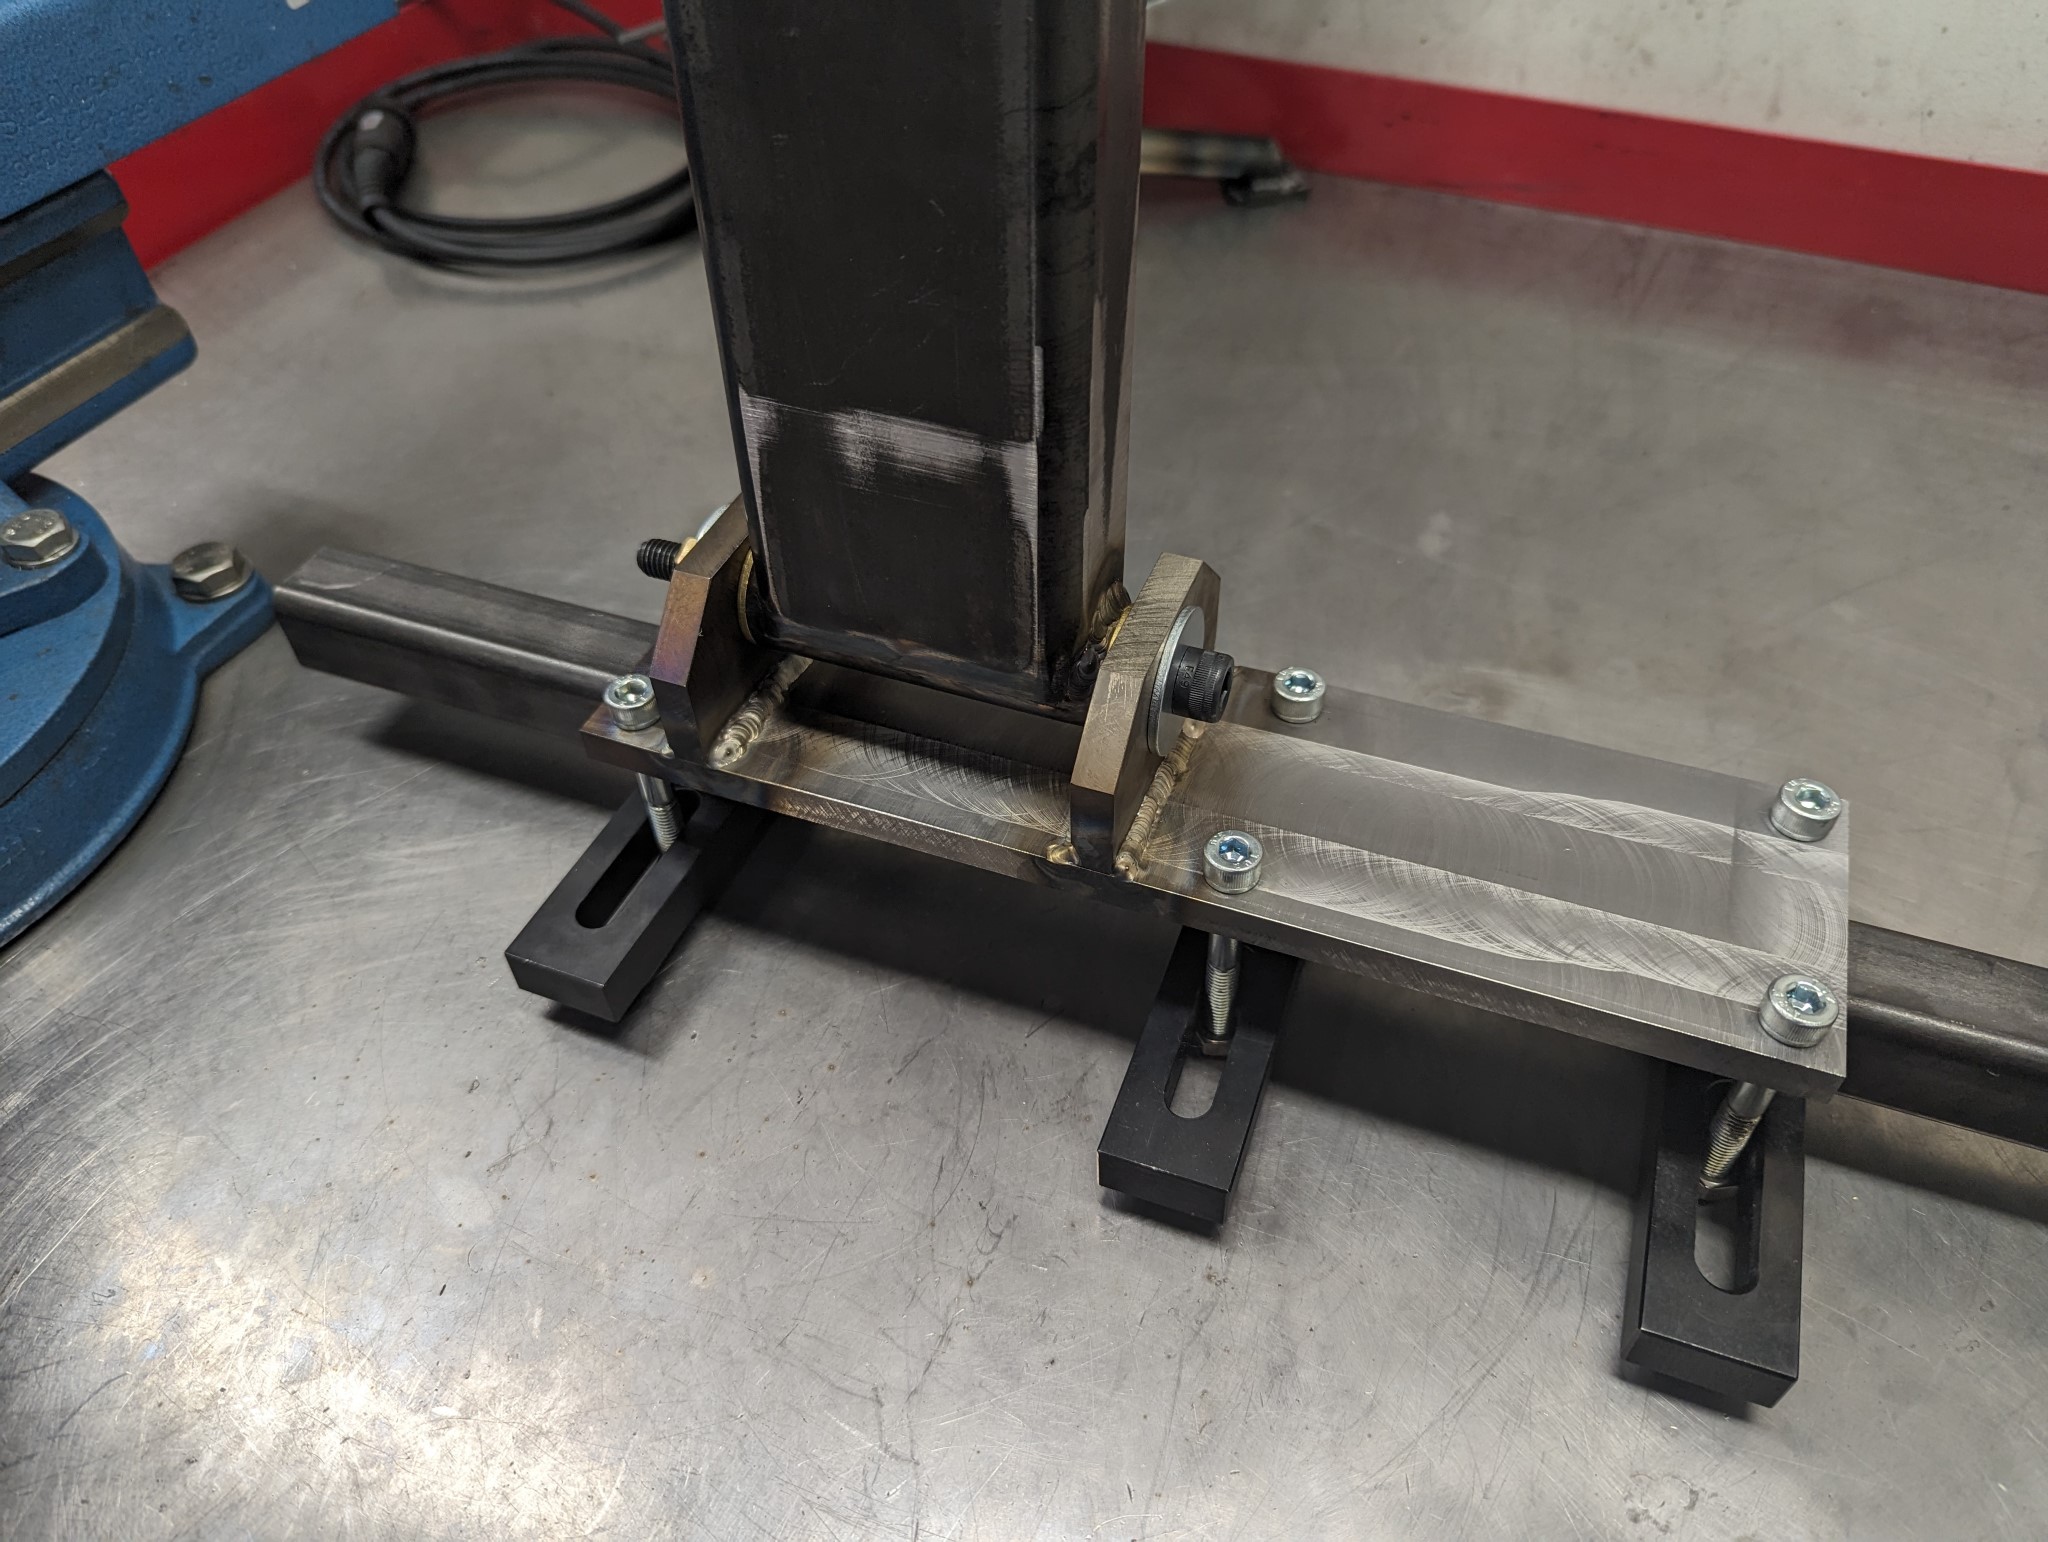
First test assembly of the finished parts.
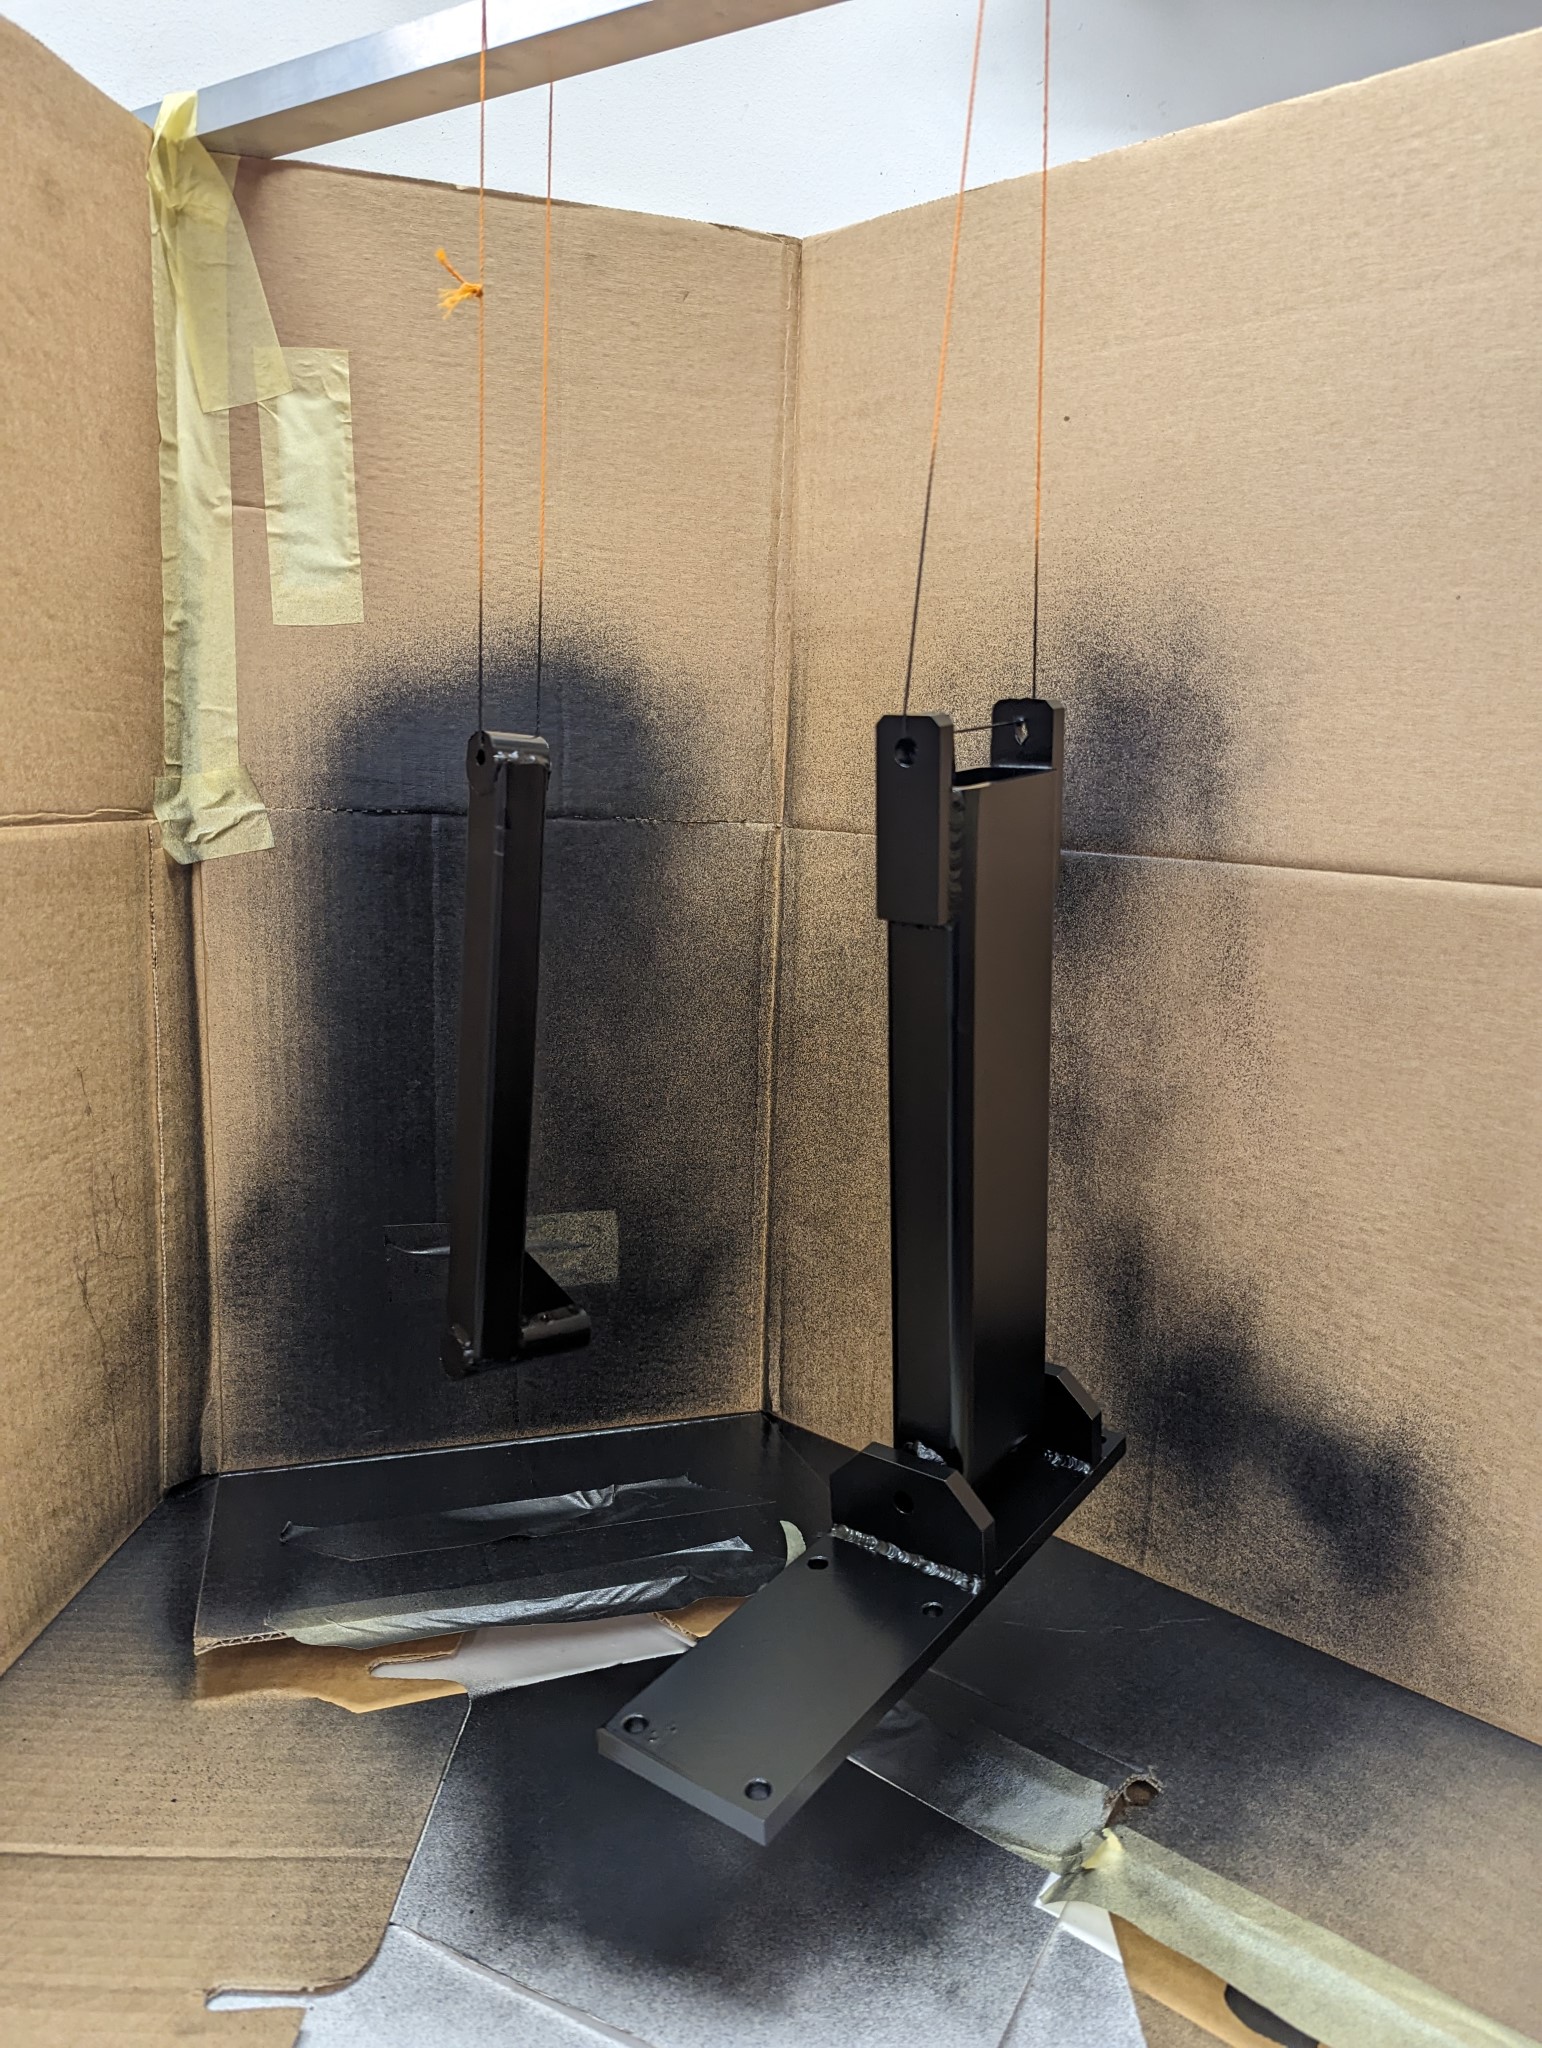
Time for a some paint.
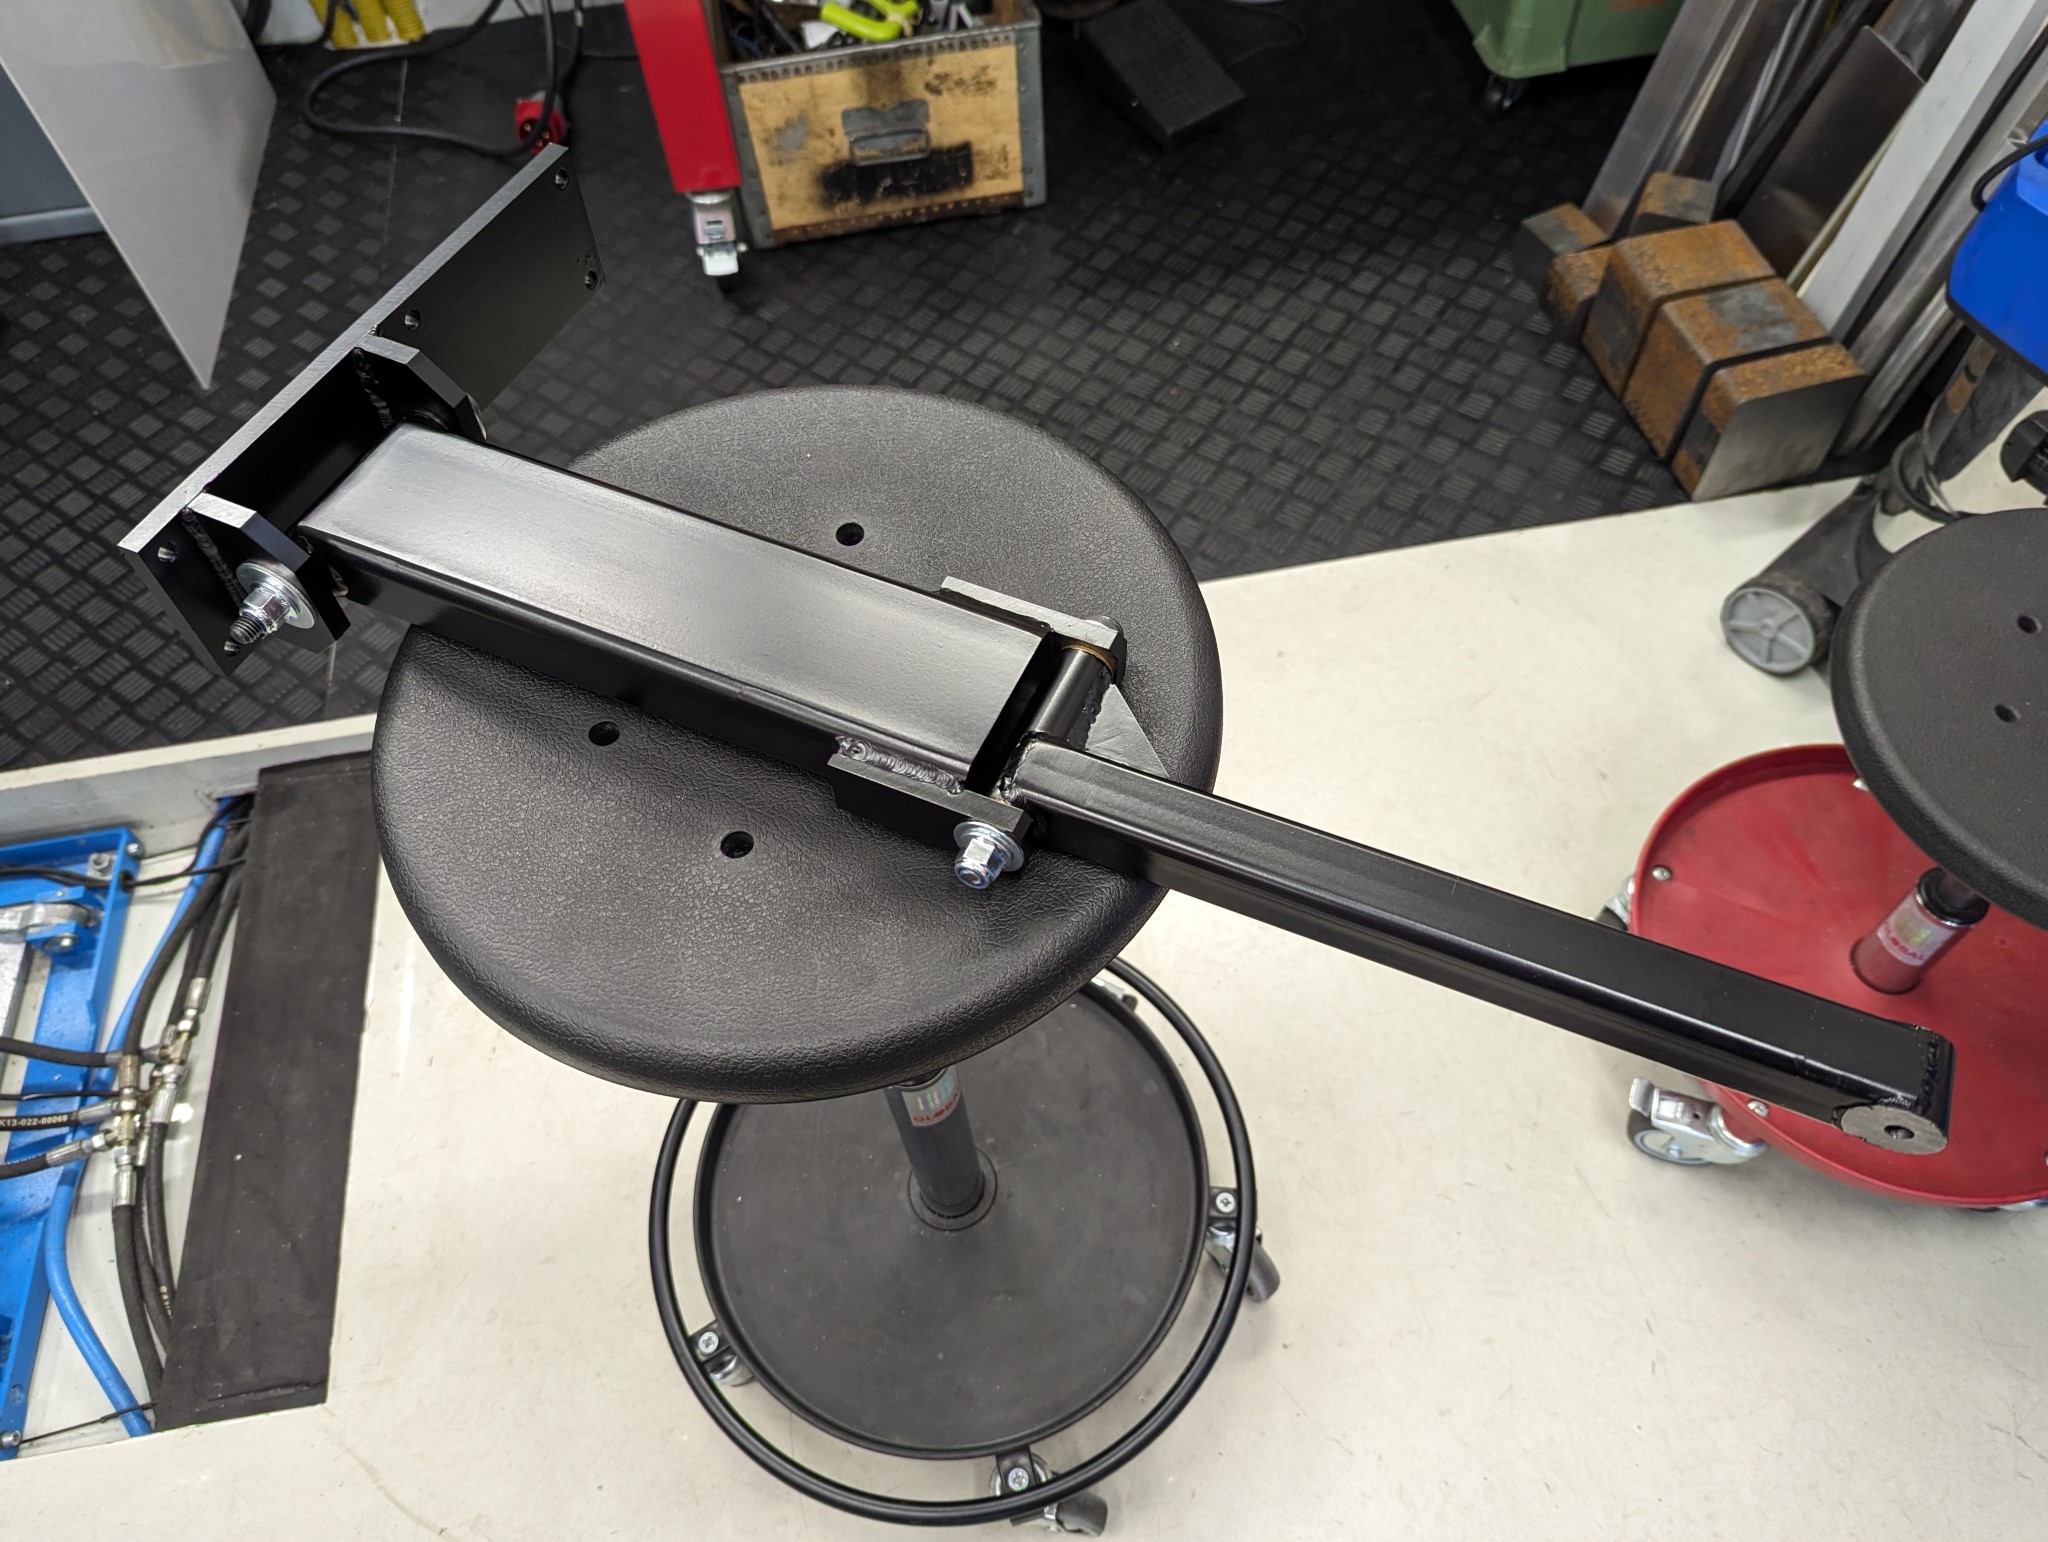
To prevent warping of the base plate during welding I made this little jig, but I'm not sure if it helped much at all because the plate became slightly warped anyway...
First test assembly of the finished parts.
Time for a some paint.
Attachments:
Please Log in or Create an account to join the conversation.
05 Dec 2023 18:05 #287302
by Unlogic
Replied by Unlogic on topic Optimum Optimill MH50V CNC conversion
In order to be sure the arm was correctly leveled I attached the control panel before mounting the arm to the wall. That way I could set the spirit level on top of the control panel.
The arm attached to the wall next to the cabinet.
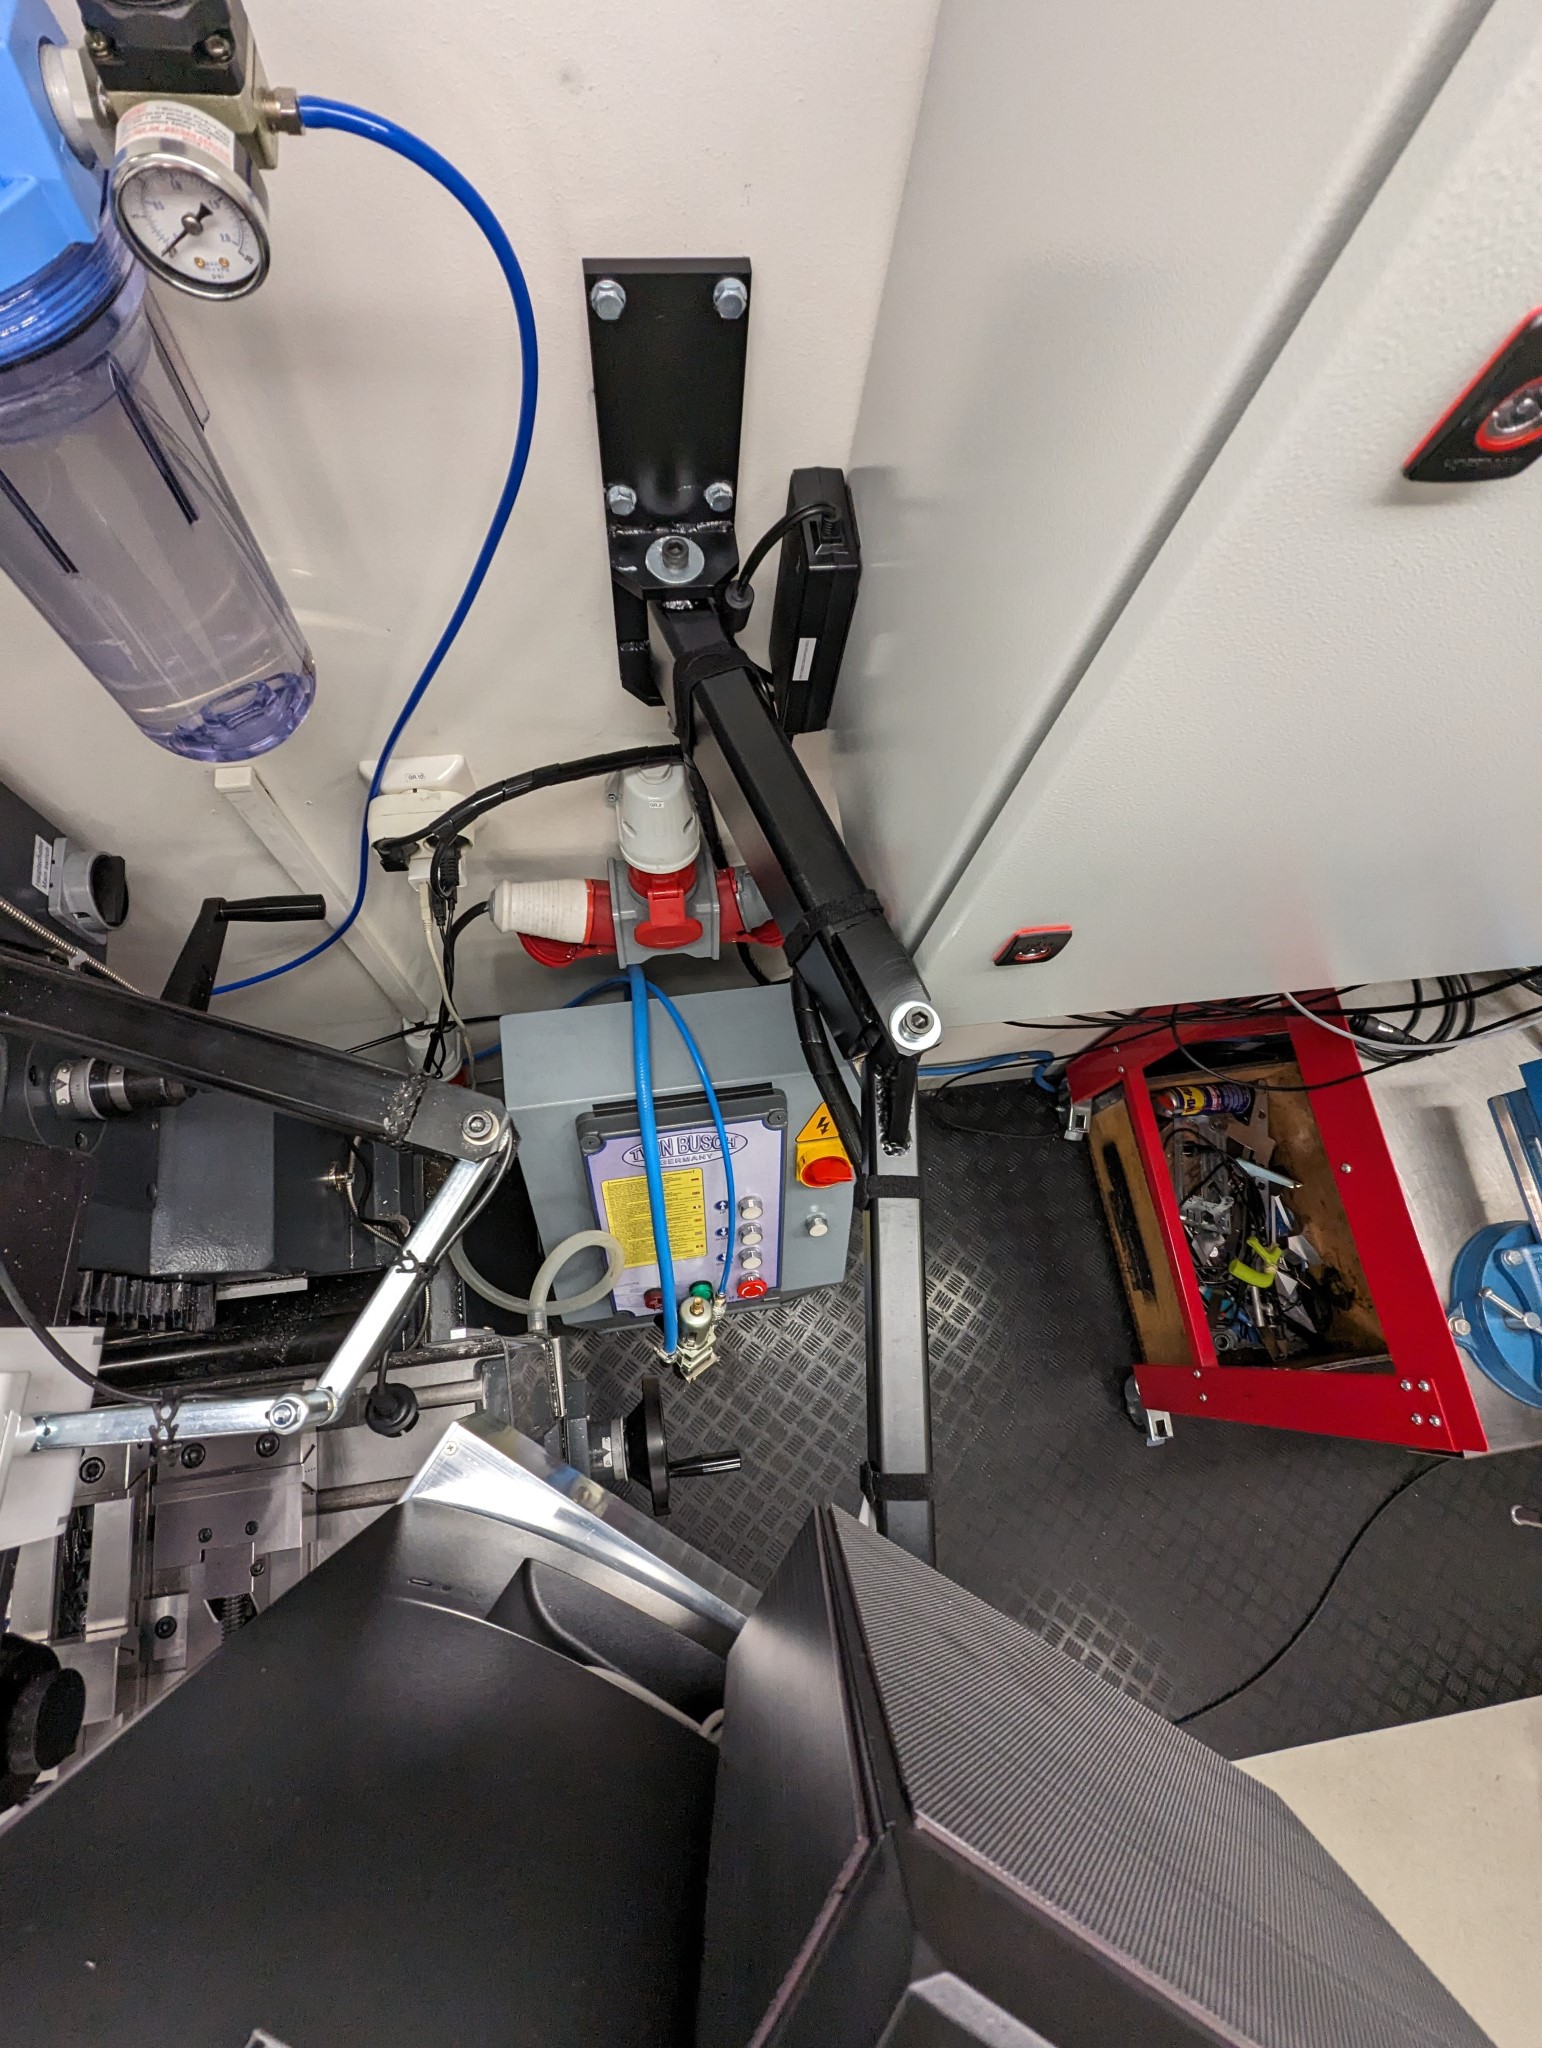
This is how it looks all assembled with the screen attached.
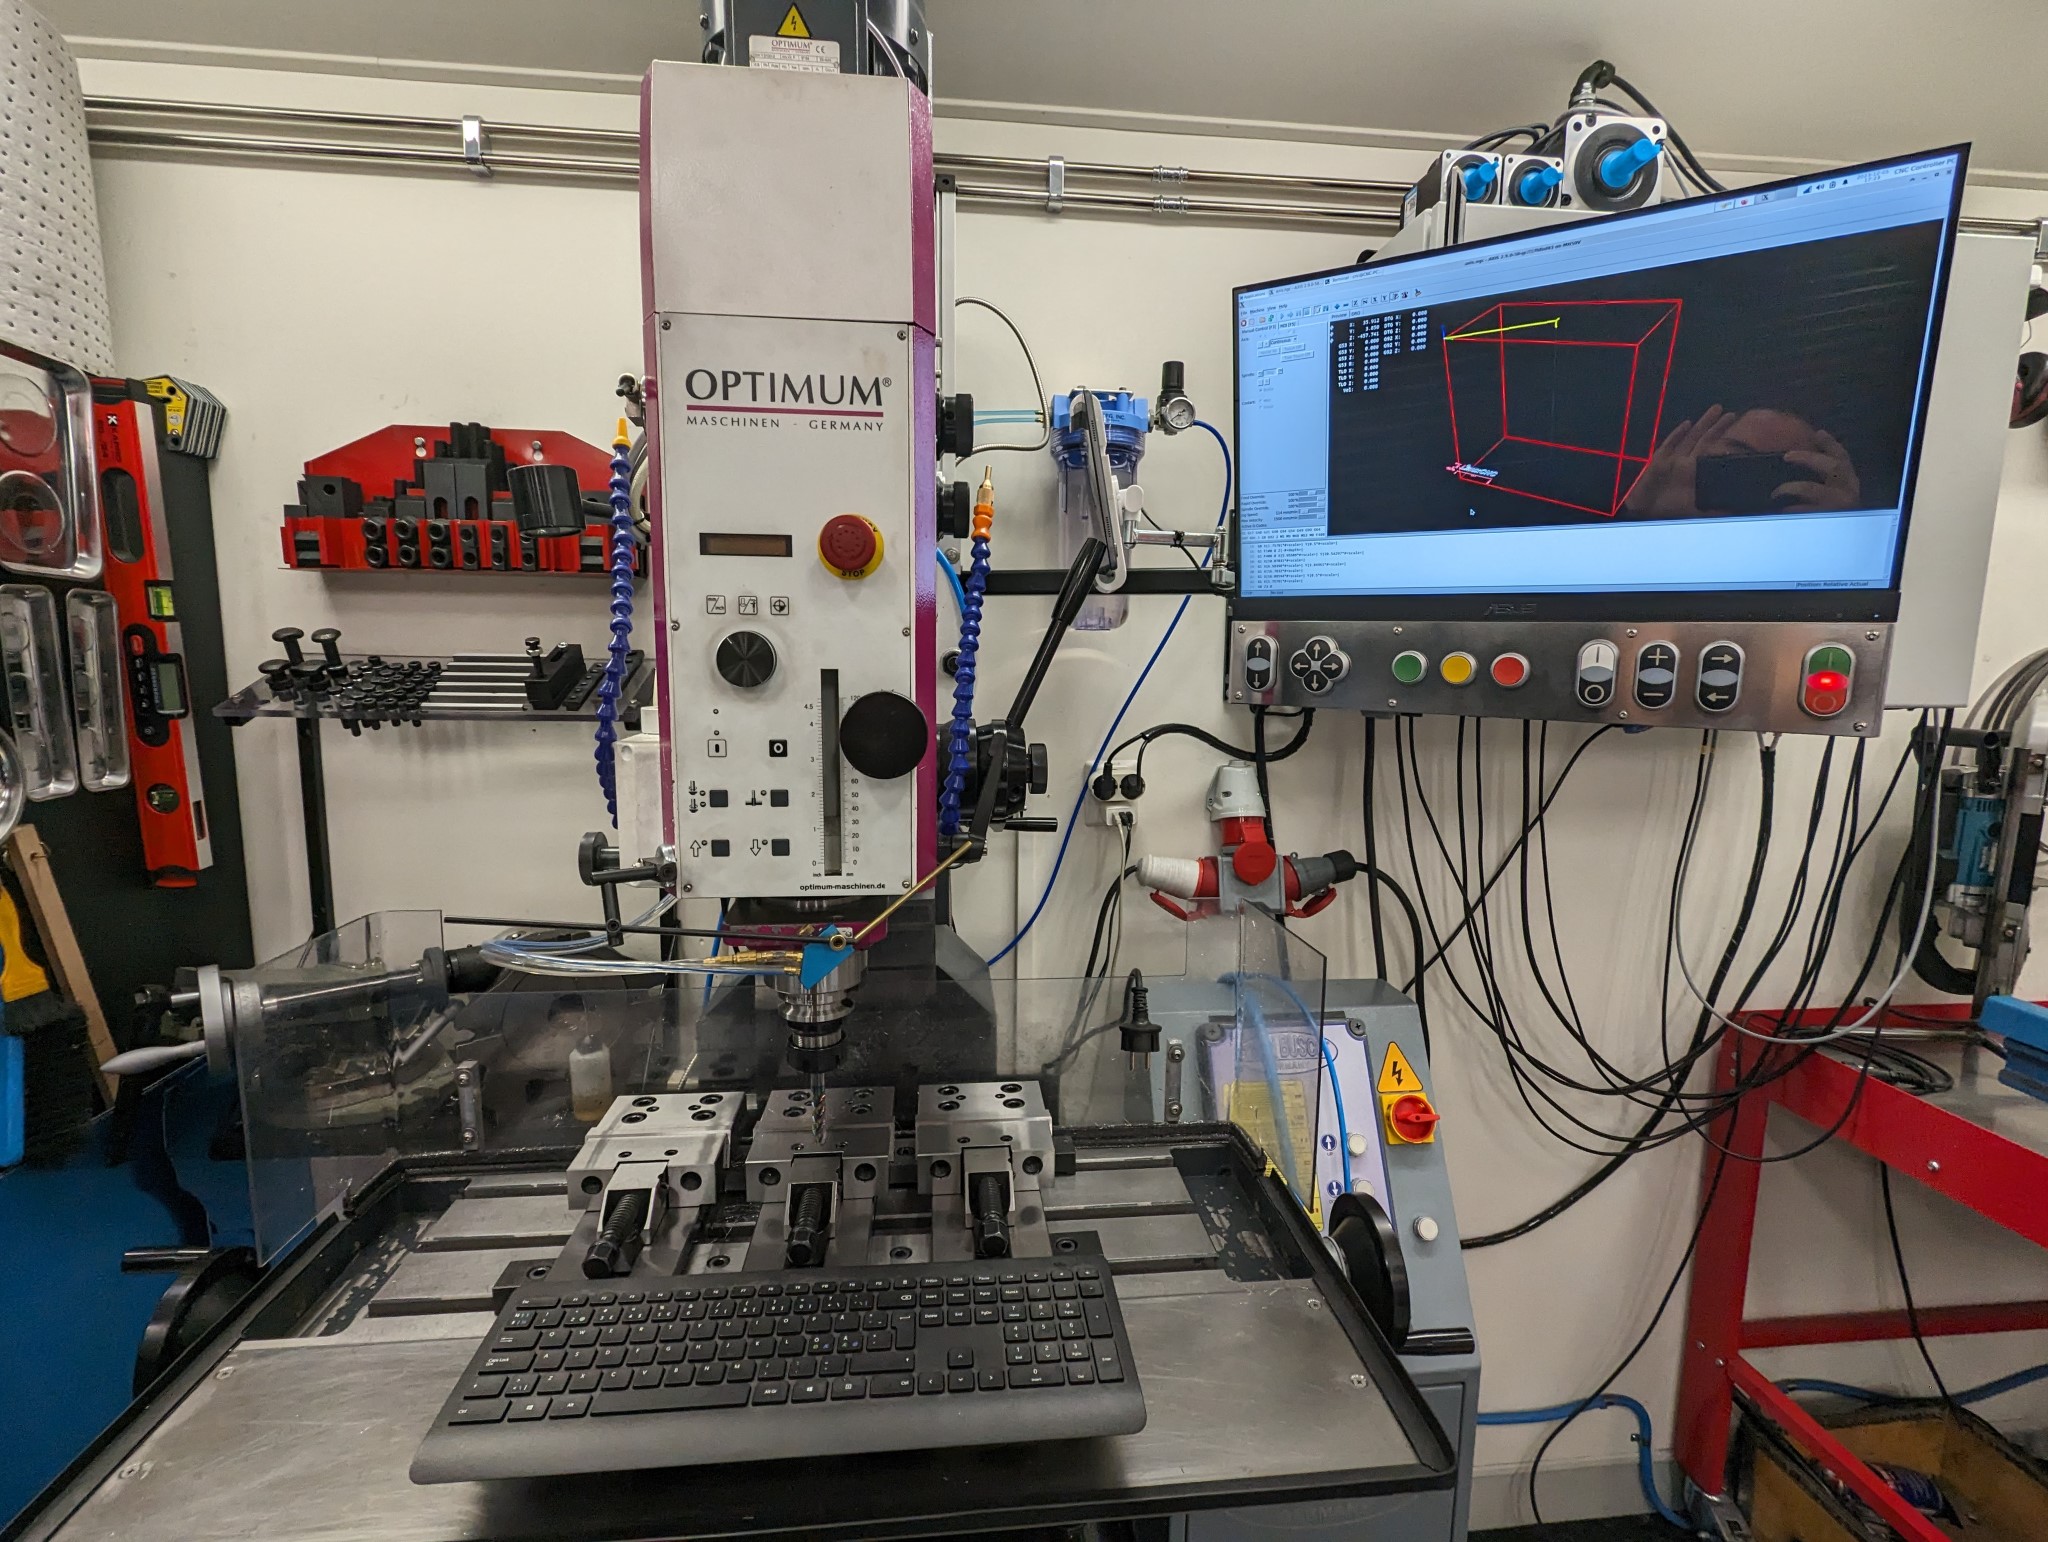
The arm attached to the wall next to the cabinet.
This is how it looks all assembled with the screen attached.
Attachments:
The following user(s) said Thank You: besriworld
Please Log in or Create an account to join the conversation.
05 Dec 2023 18:16 #287304
by Unlogic
Replied by Unlogic on topic Optimum Optimill MH50V CNC conversion
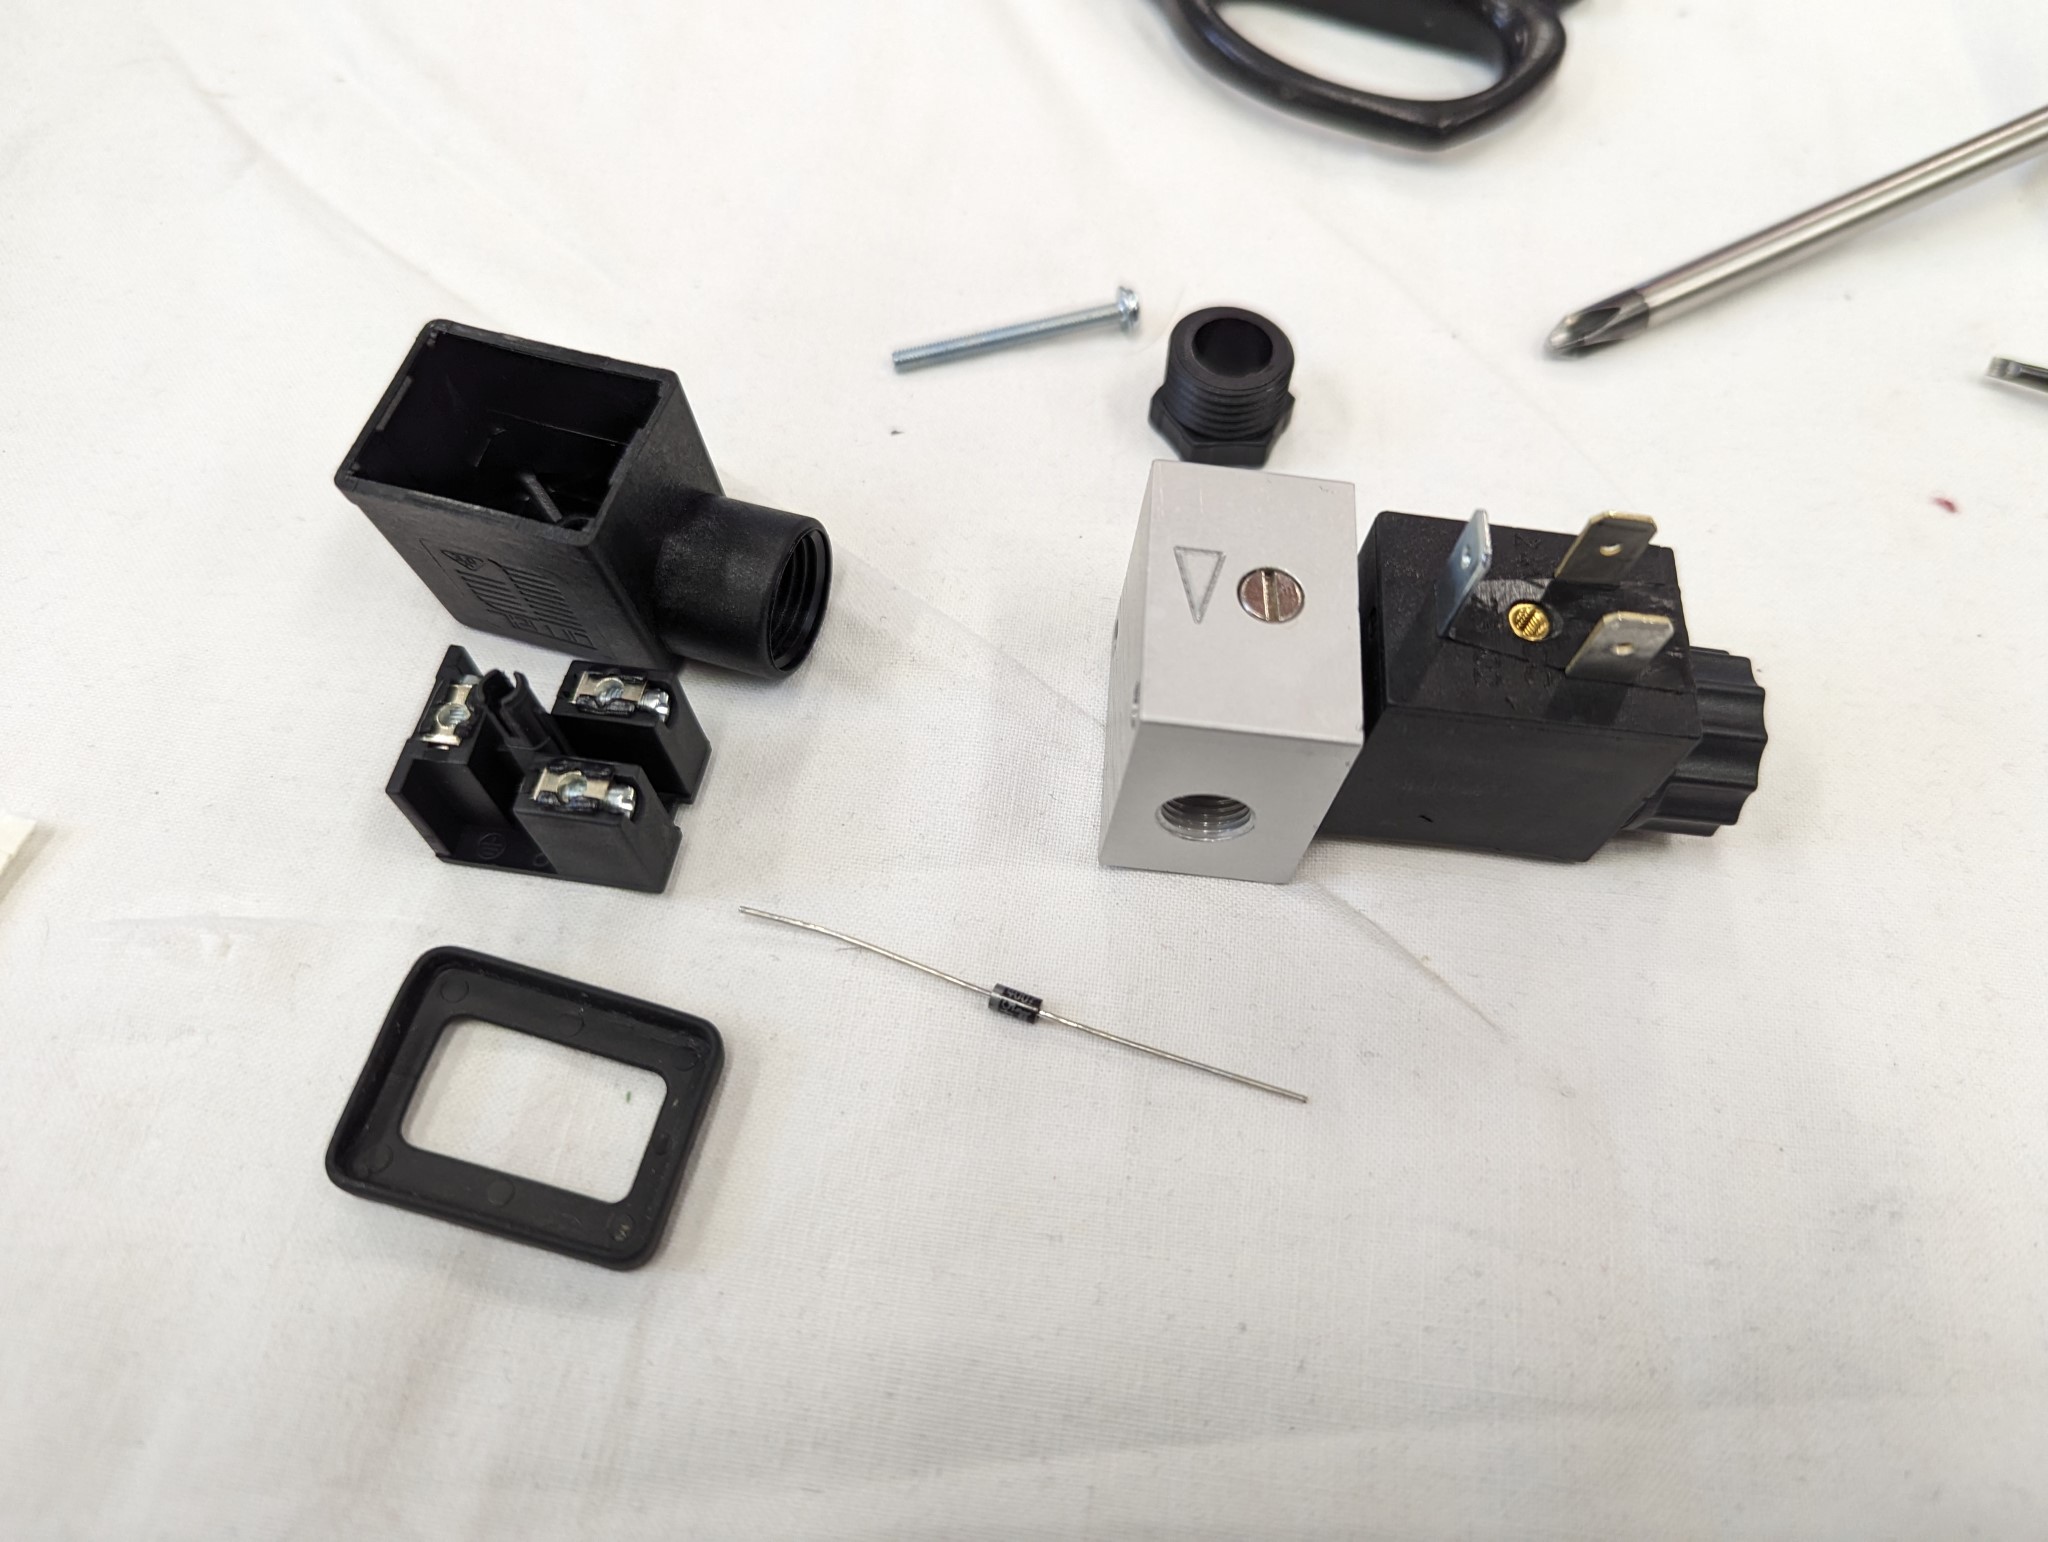
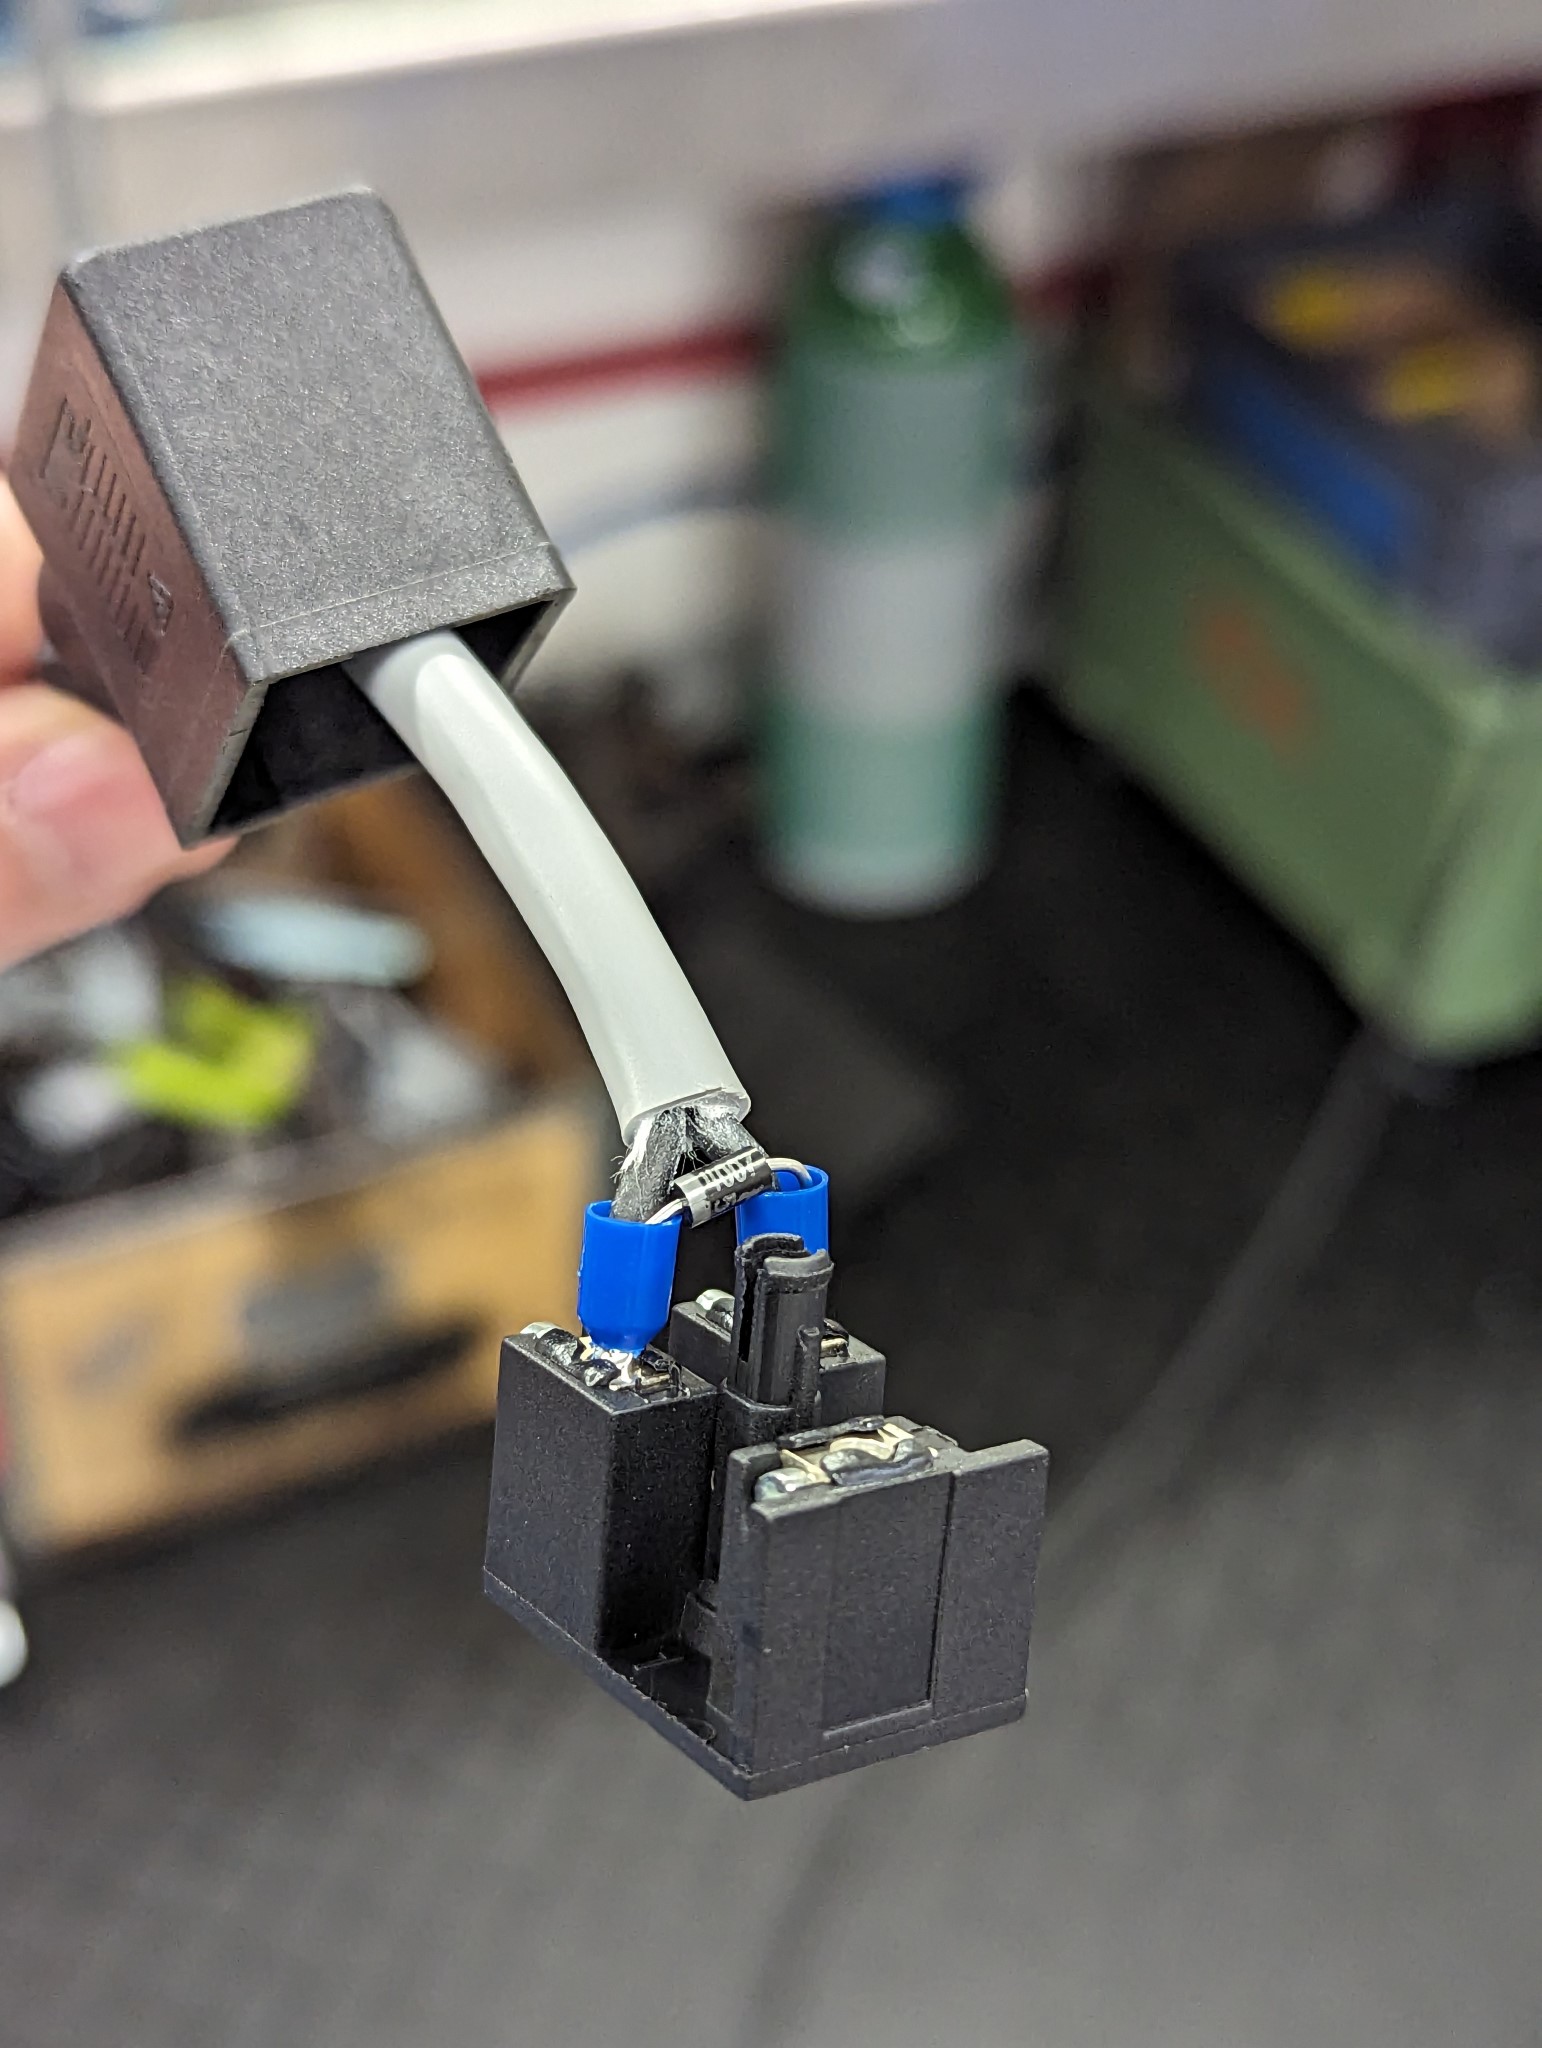
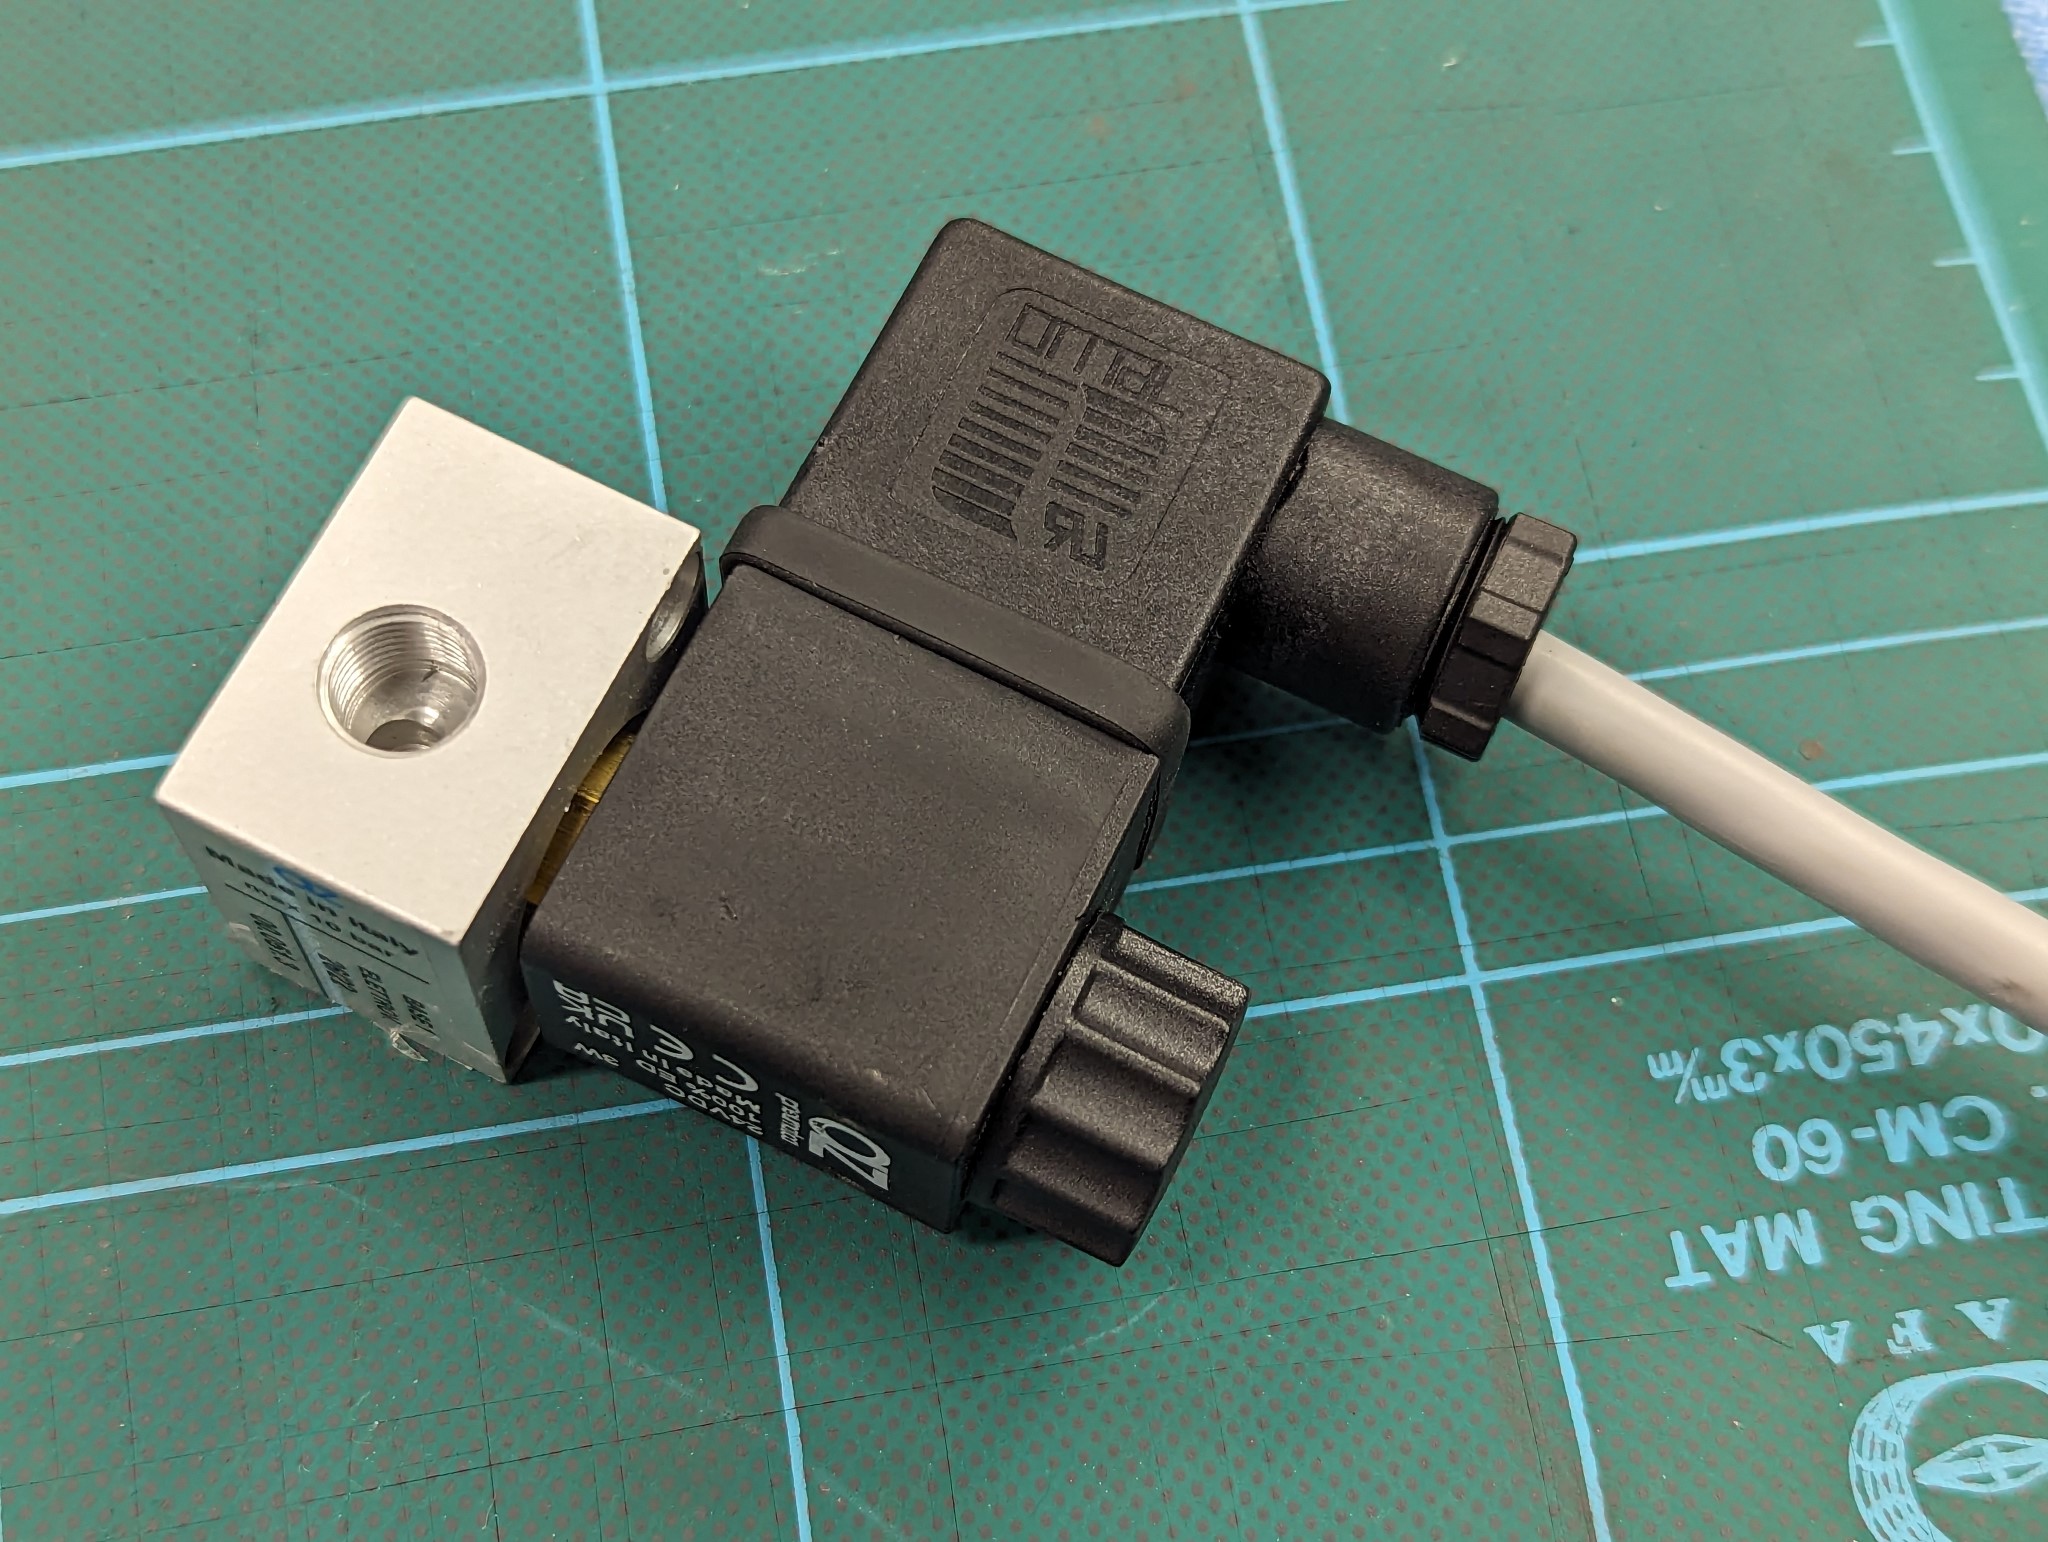
As I now have the cabinet mounted on the wall I could do some more wiring work. One thing that was missing was the solenoid for the mist cooling (FogBuster). As I only have one 24v power supply it needed a flyback diode installed, it was a bit fiddly but I managed to fit the diode inside the connector itself.
Next up I wired the two Noctua 12v fans in series so that I could run them on 24v. Noctua does offer 24v fans but they are much more expensive than the 12v versions for some reason...
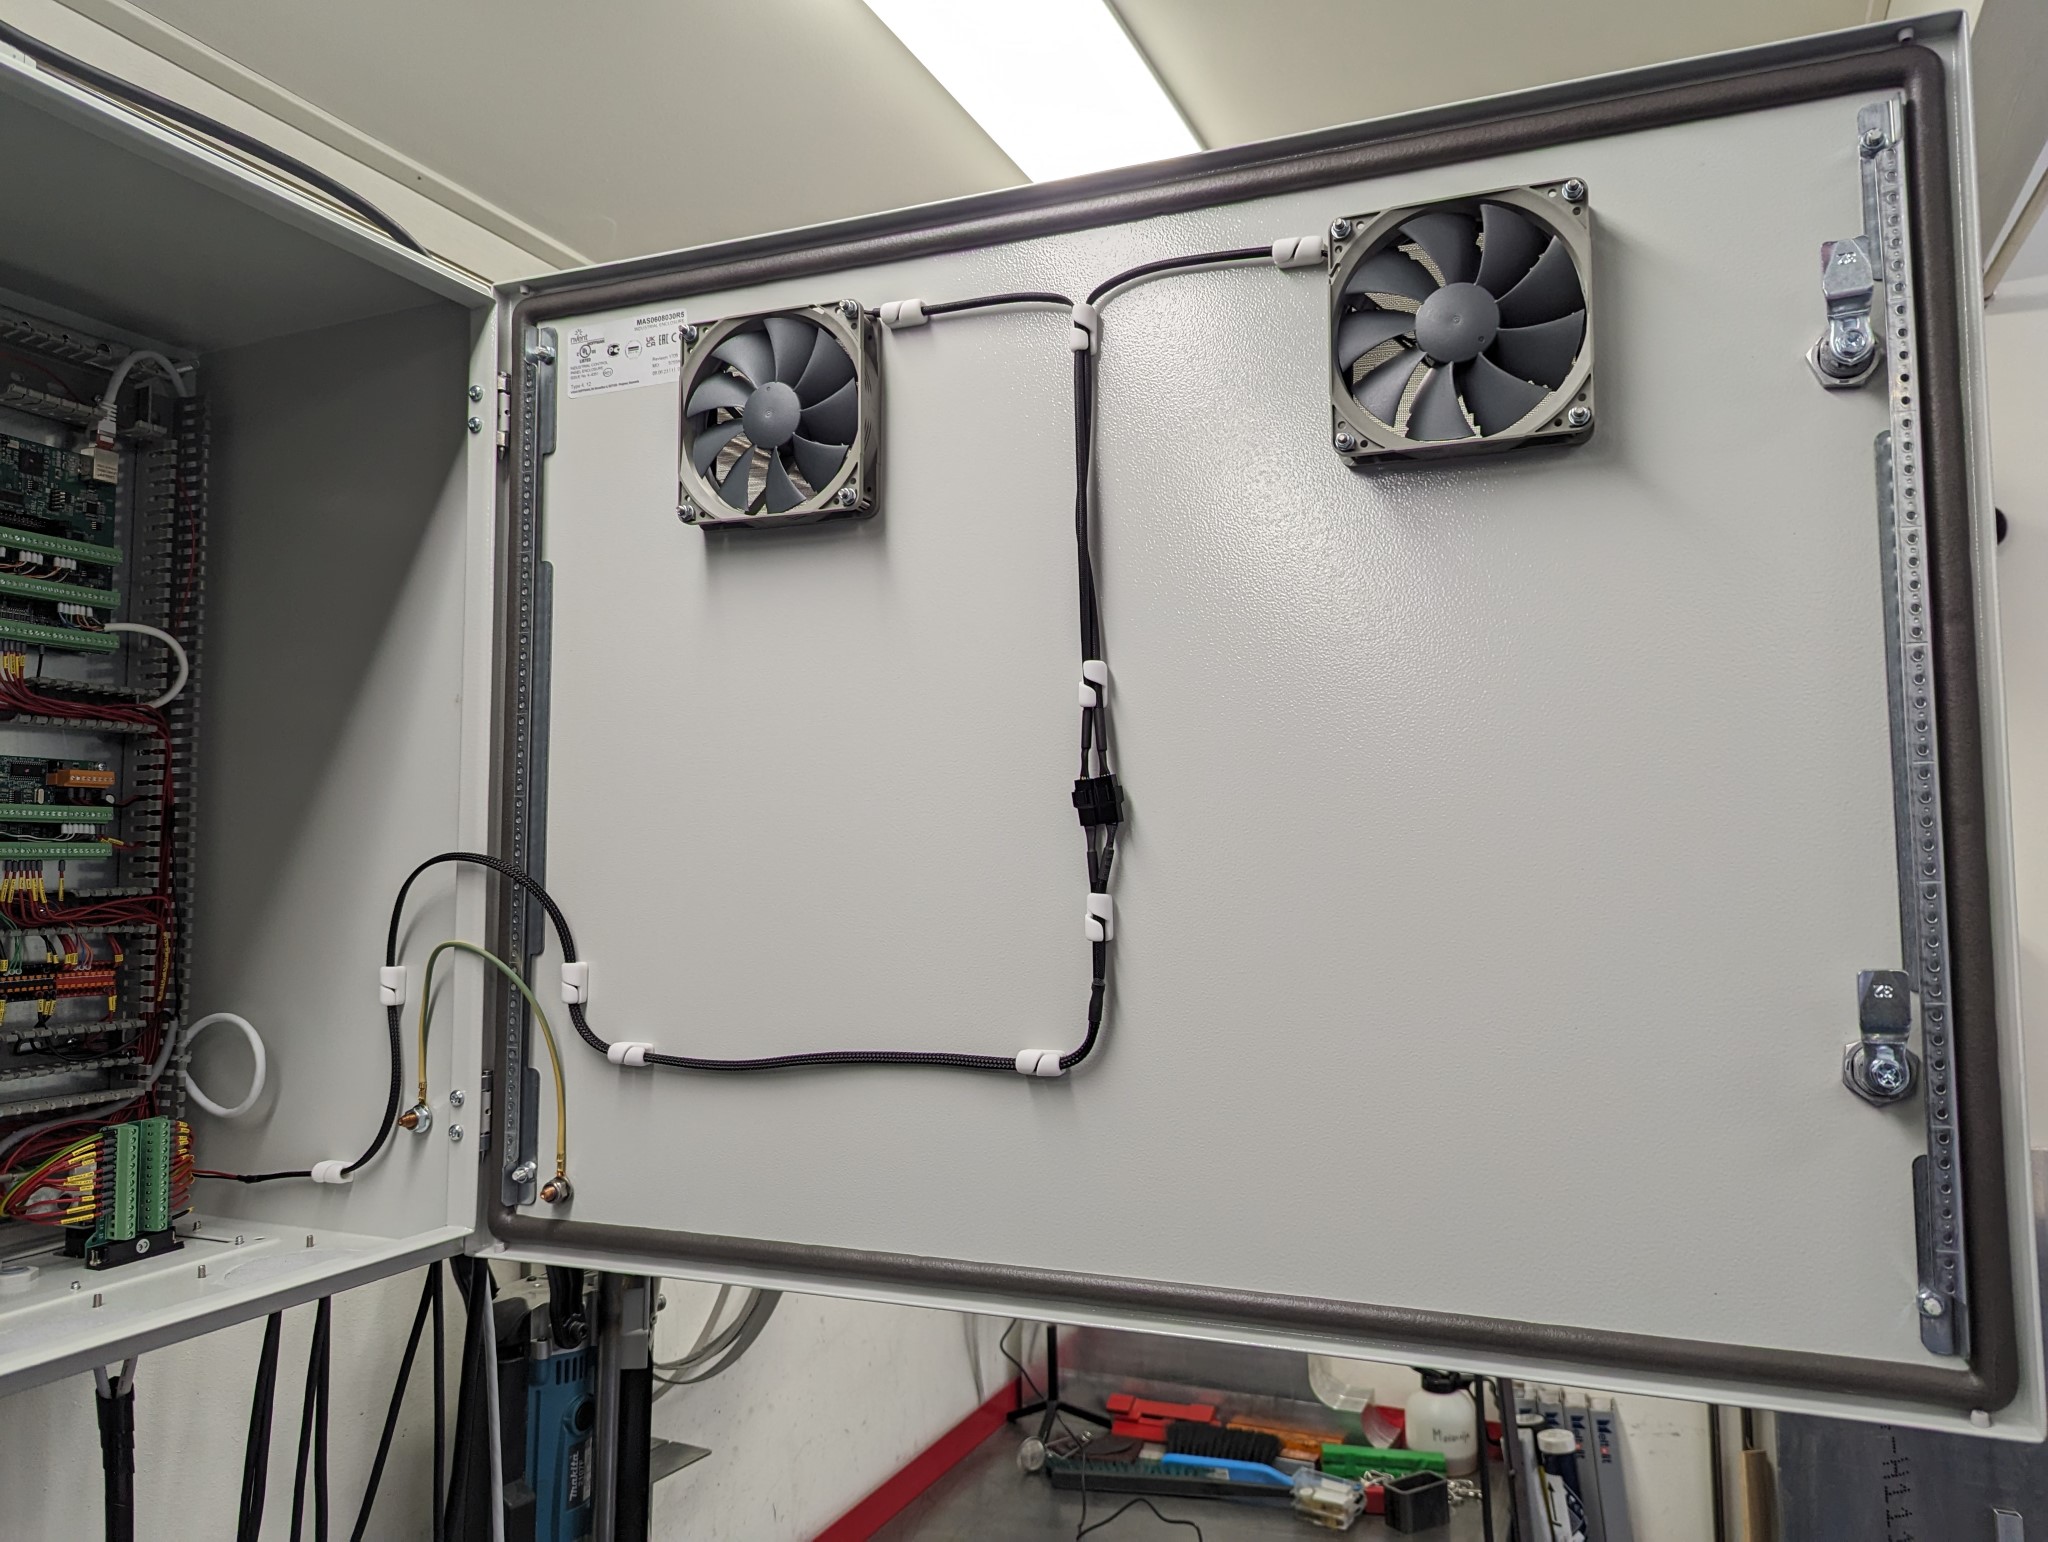
This is how the cabinet looks now with the servos laying on top waiting on me finish machining the ball screw mounts.
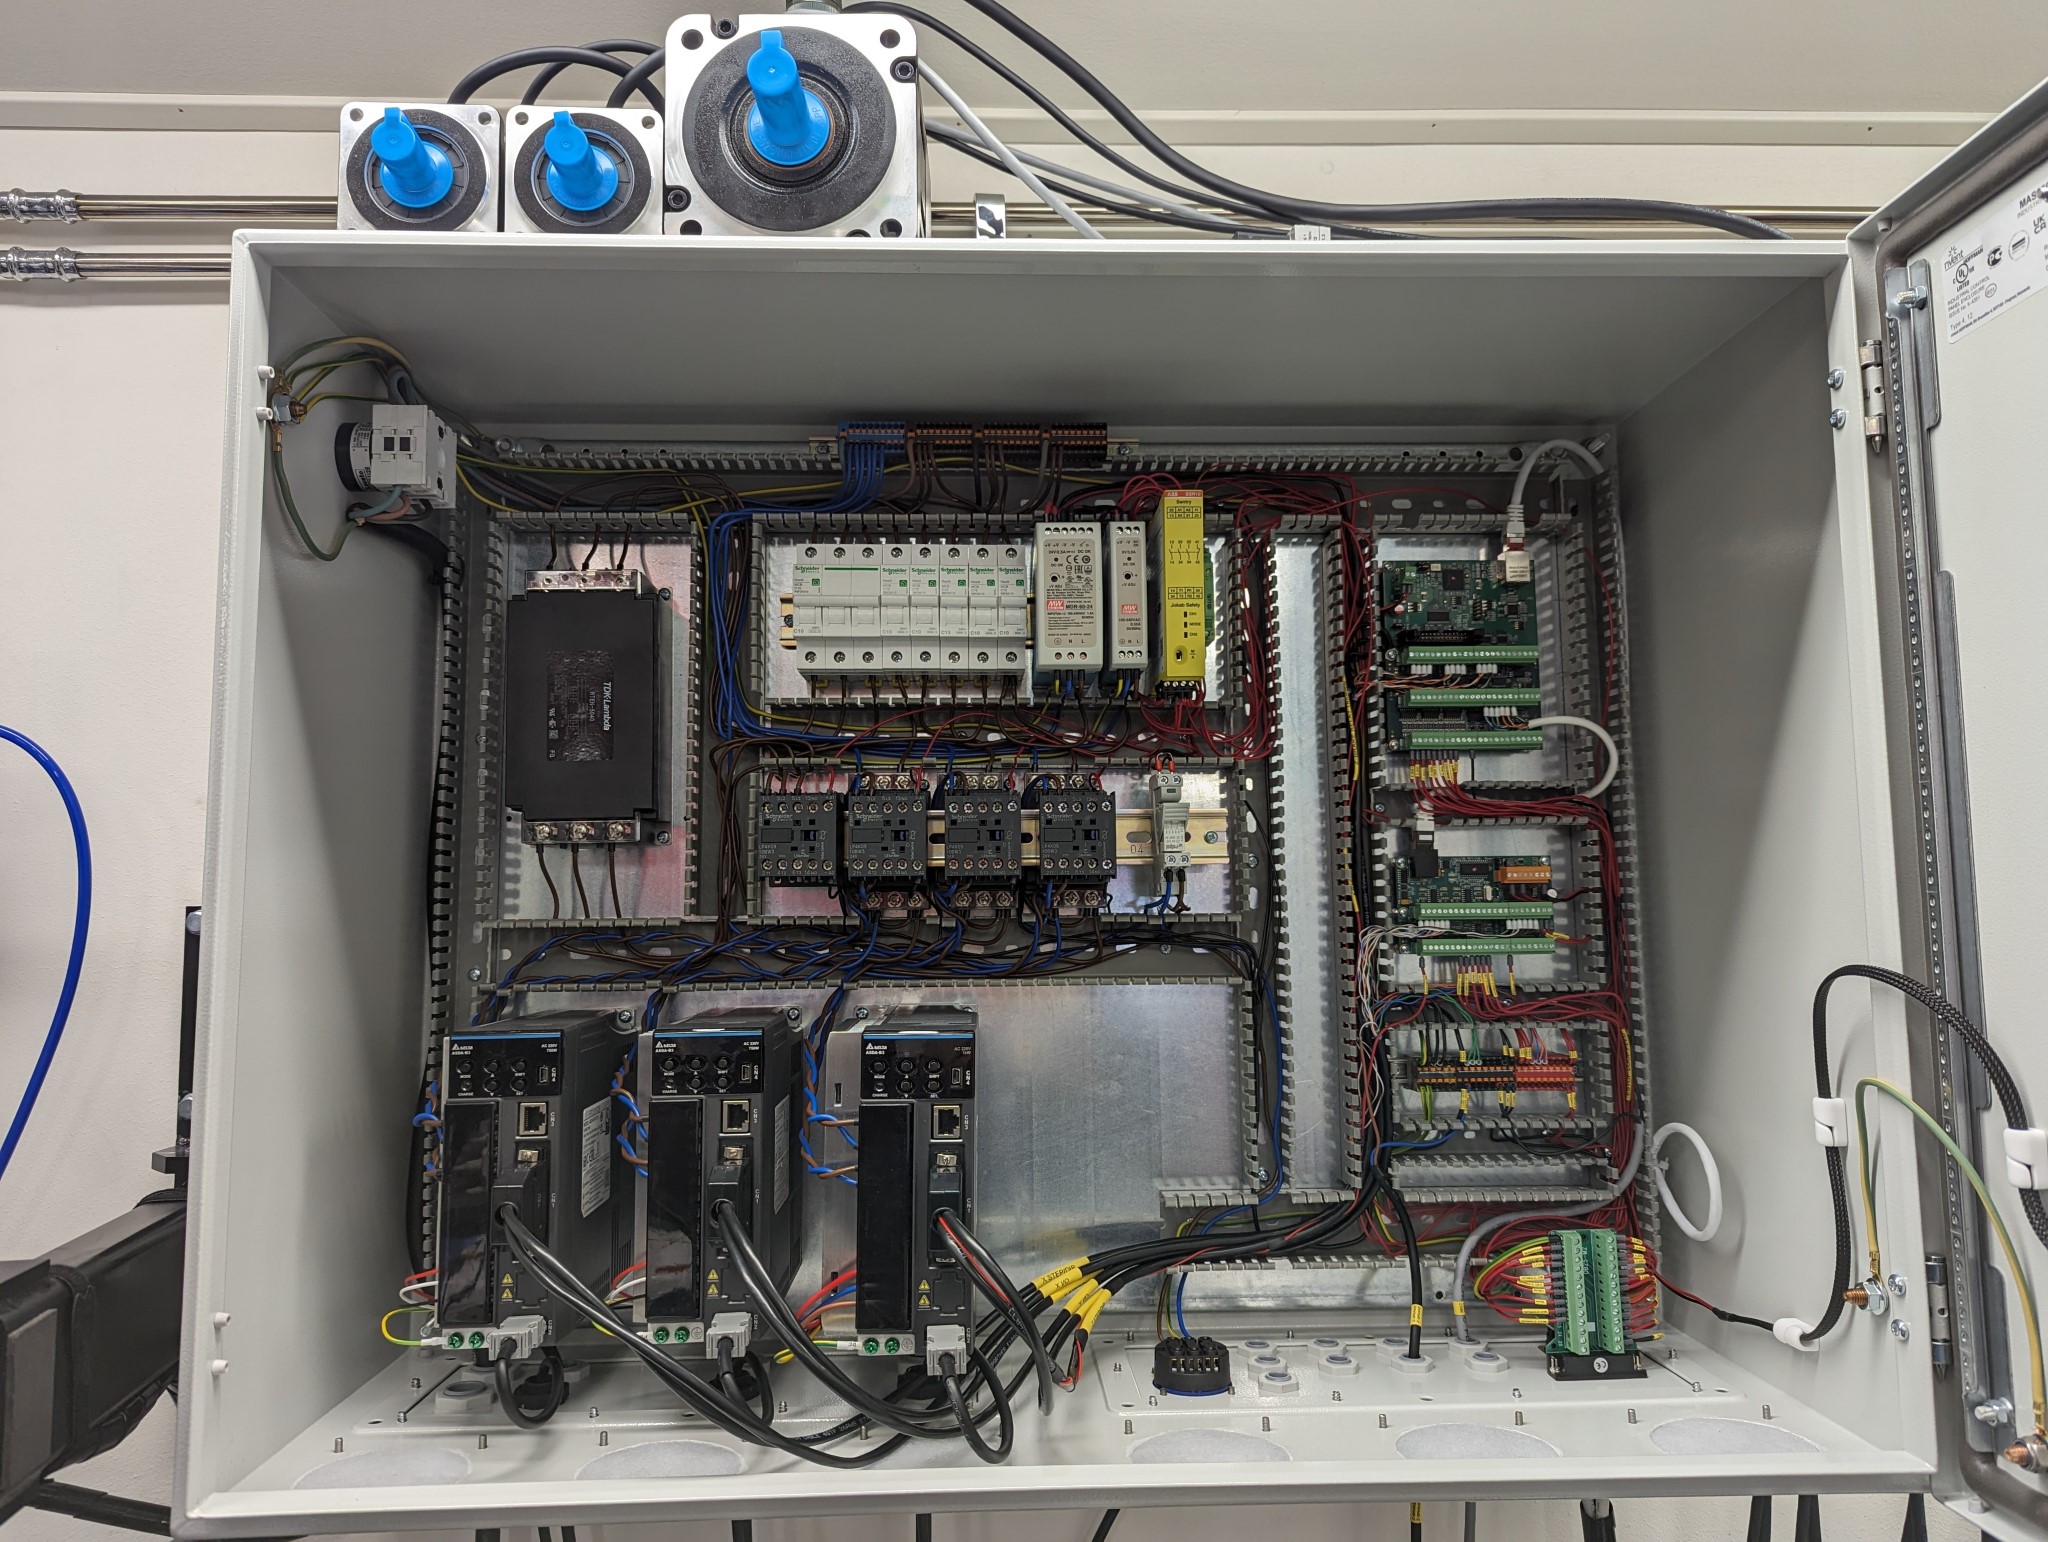
The only stuff left to wire now is the limit switches, external e-stop, probe and VFD which will all come later when I'm done with the mechanical conversion of the machine.
Next up I wired the two Noctua 12v fans in series so that I could run them on 24v. Noctua does offer 24v fans but they are much more expensive than the 12v versions for some reason...
This is how the cabinet looks now with the servos laying on top waiting on me finish machining the ball screw mounts.
The only stuff left to wire now is the limit switches, external e-stop, probe and VFD which will all come later when I'm done with the mechanical conversion of the machine.
Attachments:
Please Log in or Create an account to join the conversation.
Moderators: piasdom
Time to create page: 1.672 seconds