Optimum Optimill MH50V CNC conversion
18 Feb 2024 18:55 #293698
by Unlogic
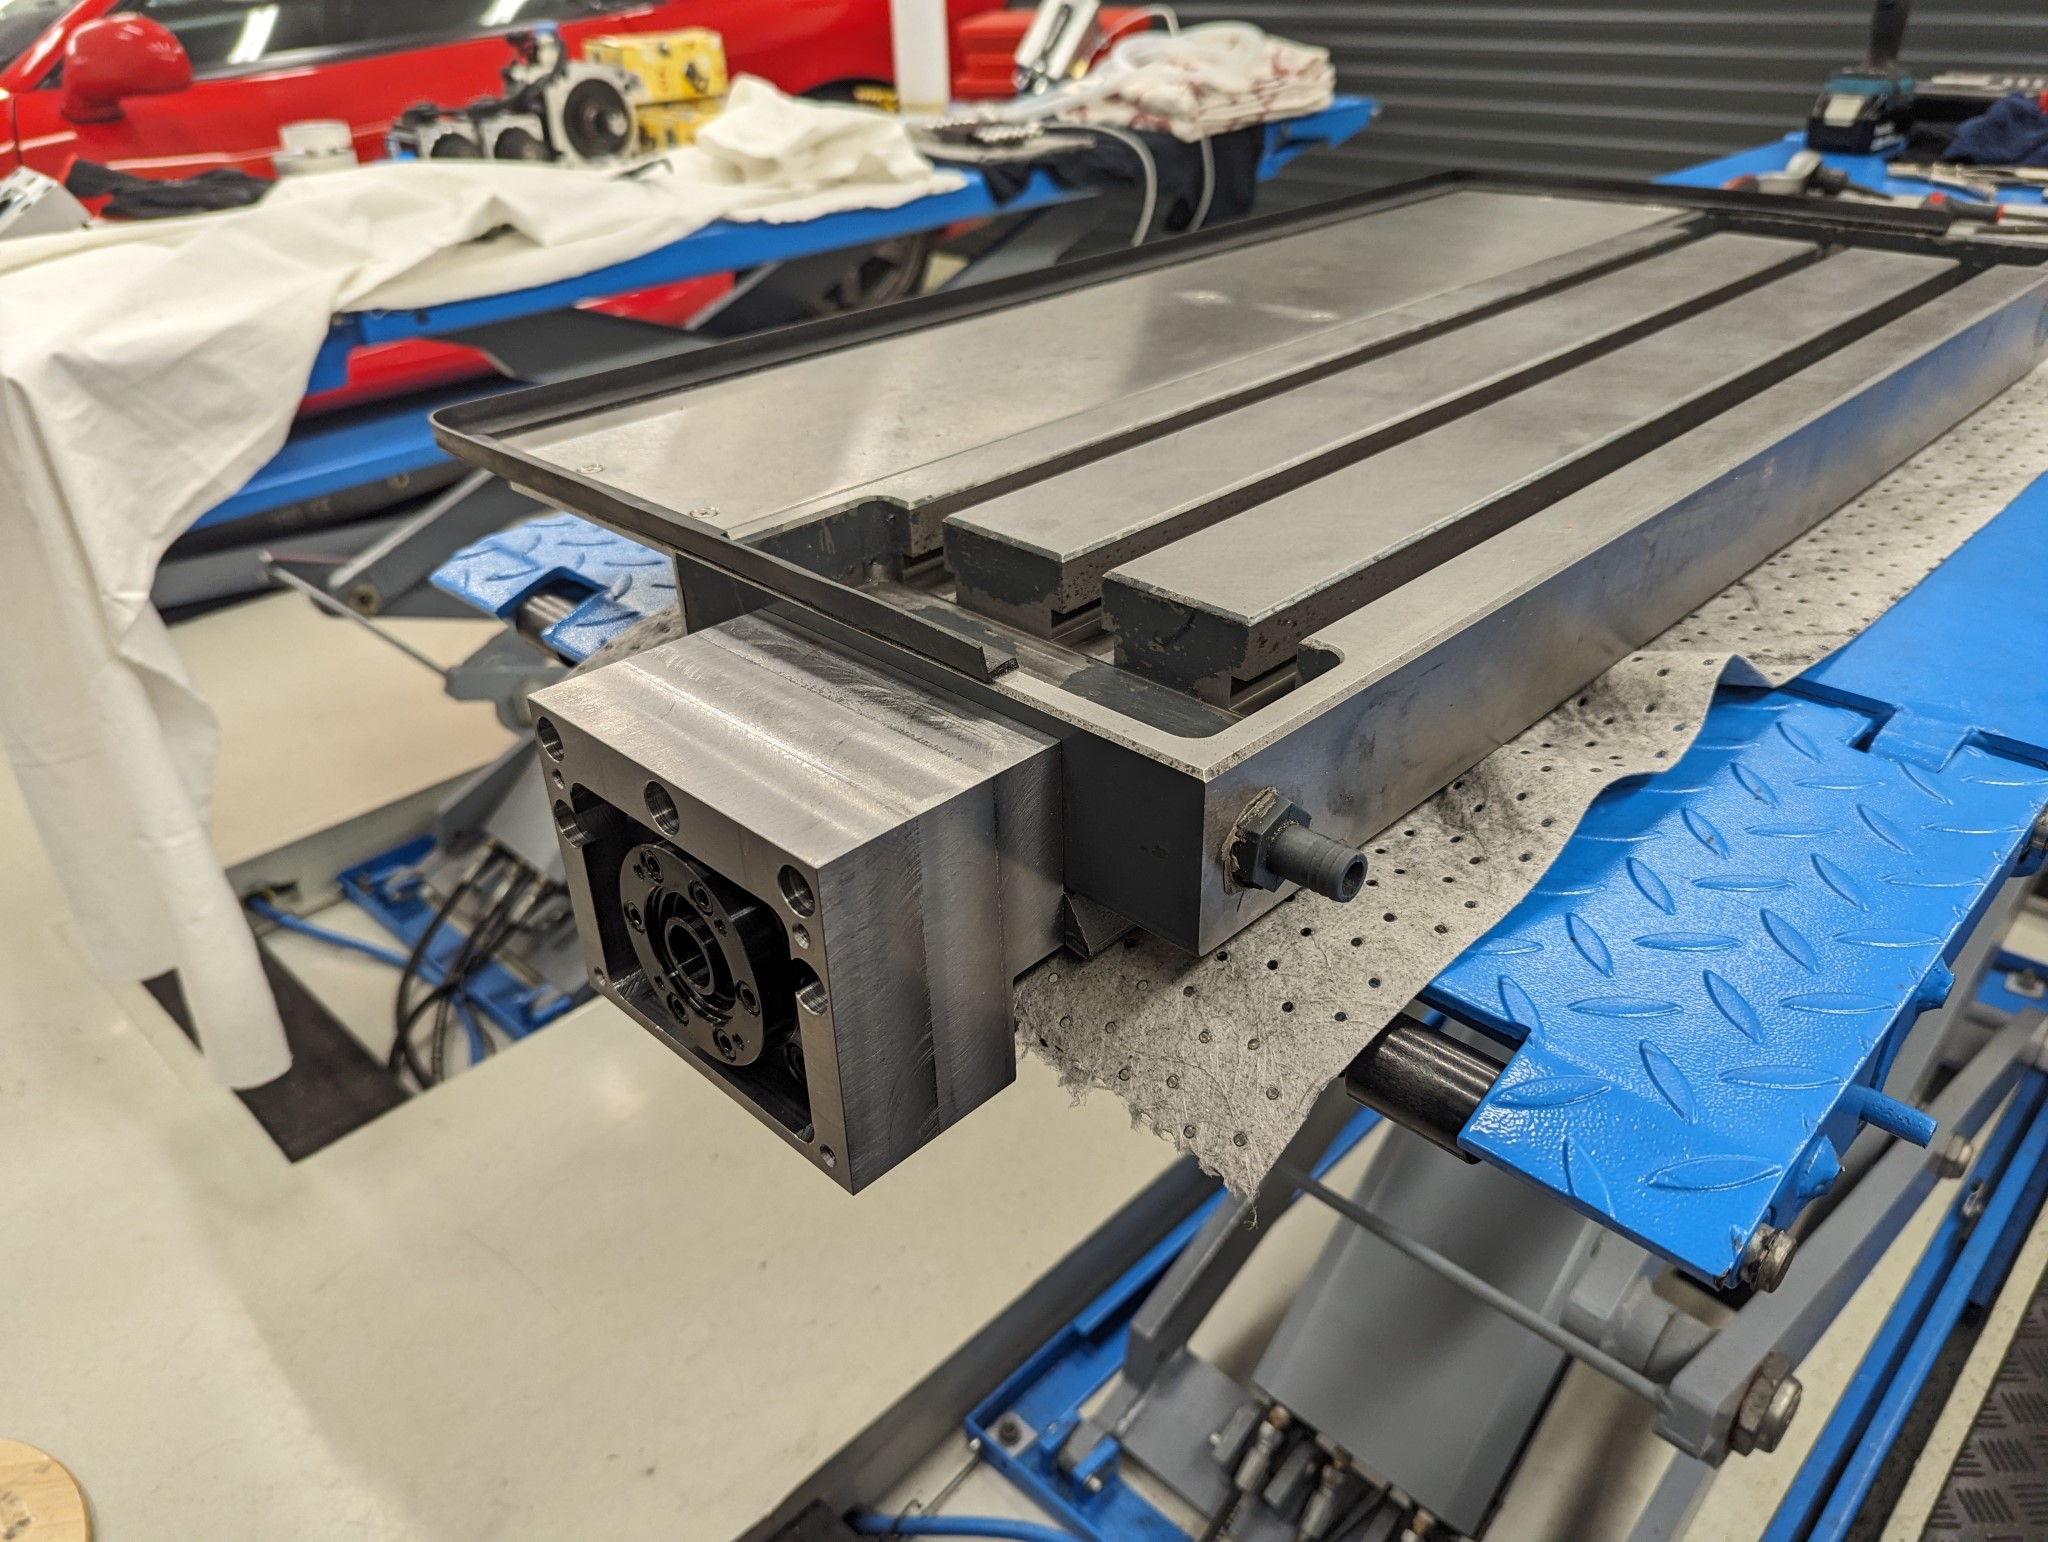
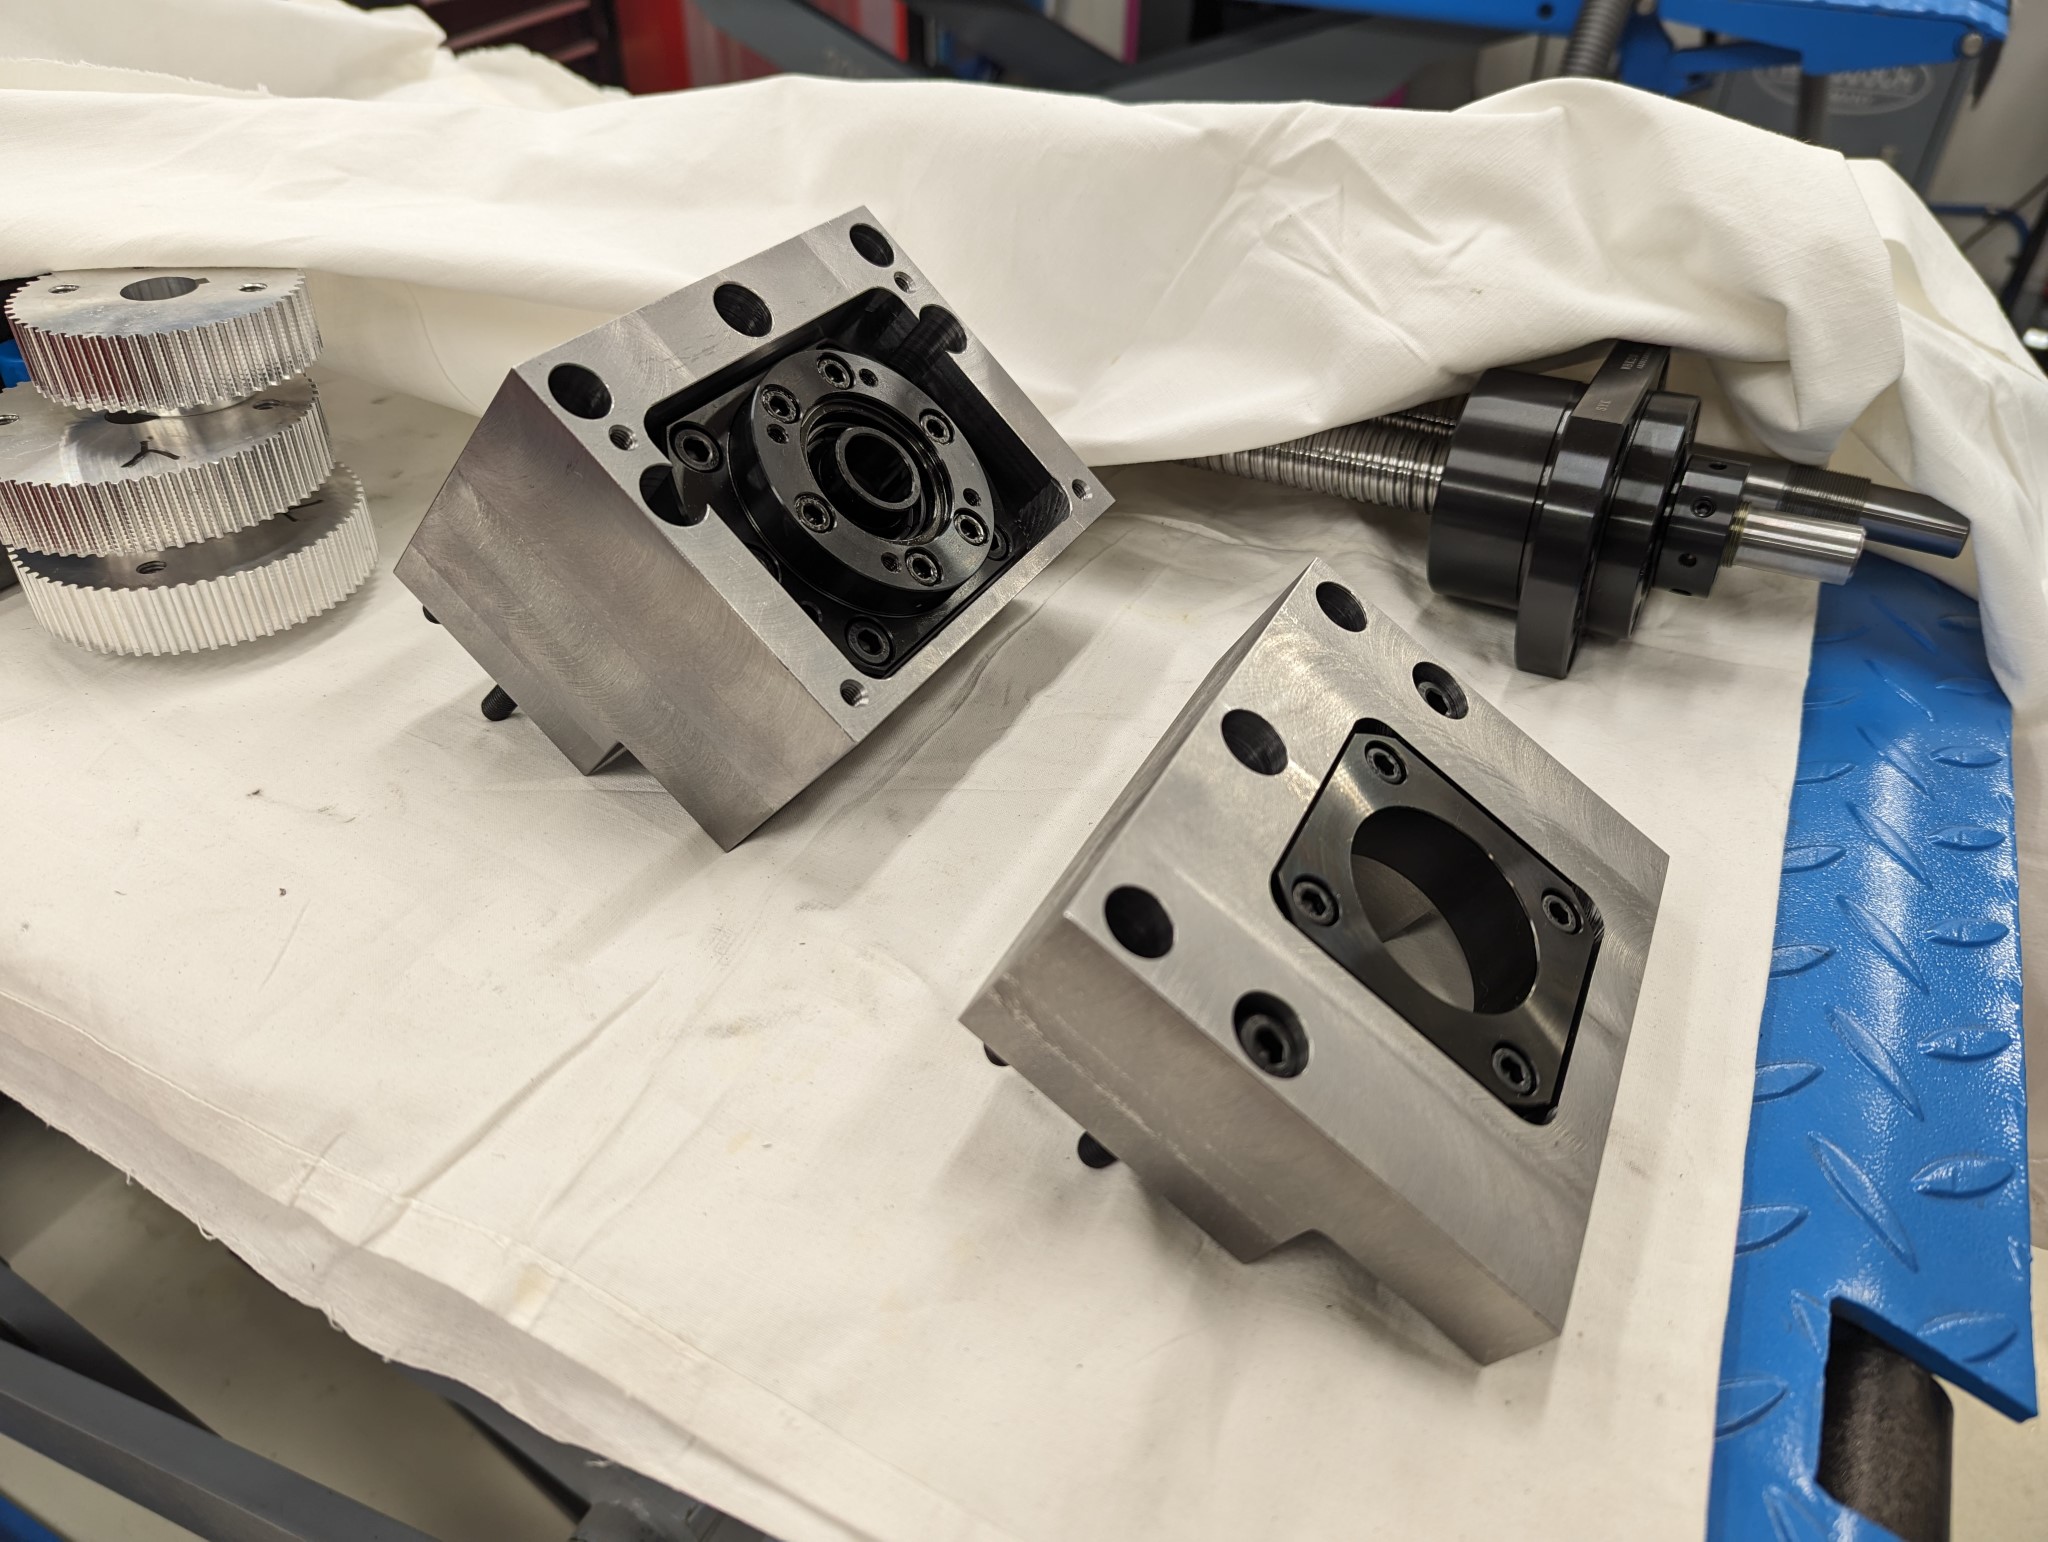
With the bearing block mounts done for the X-axis I could proceed to tear down the machine even further and actually install the central lubrication system and measure the parts needed for the Y-axis.

Replied by Unlogic on topic Optimum Optimill MH50V CNC conversion
With the bearing block mounts done for the X-axis I could proceed to tear down the machine even further and actually install the central lubrication system and measure the parts needed for the Y-axis.
Attachments:
Please Log in or Create an account to join the conversation.
18 Feb 2024 19:04 #293700
by Unlogic
Replied by Unlogic on topic Optimum Optimill MH50V CNC conversion
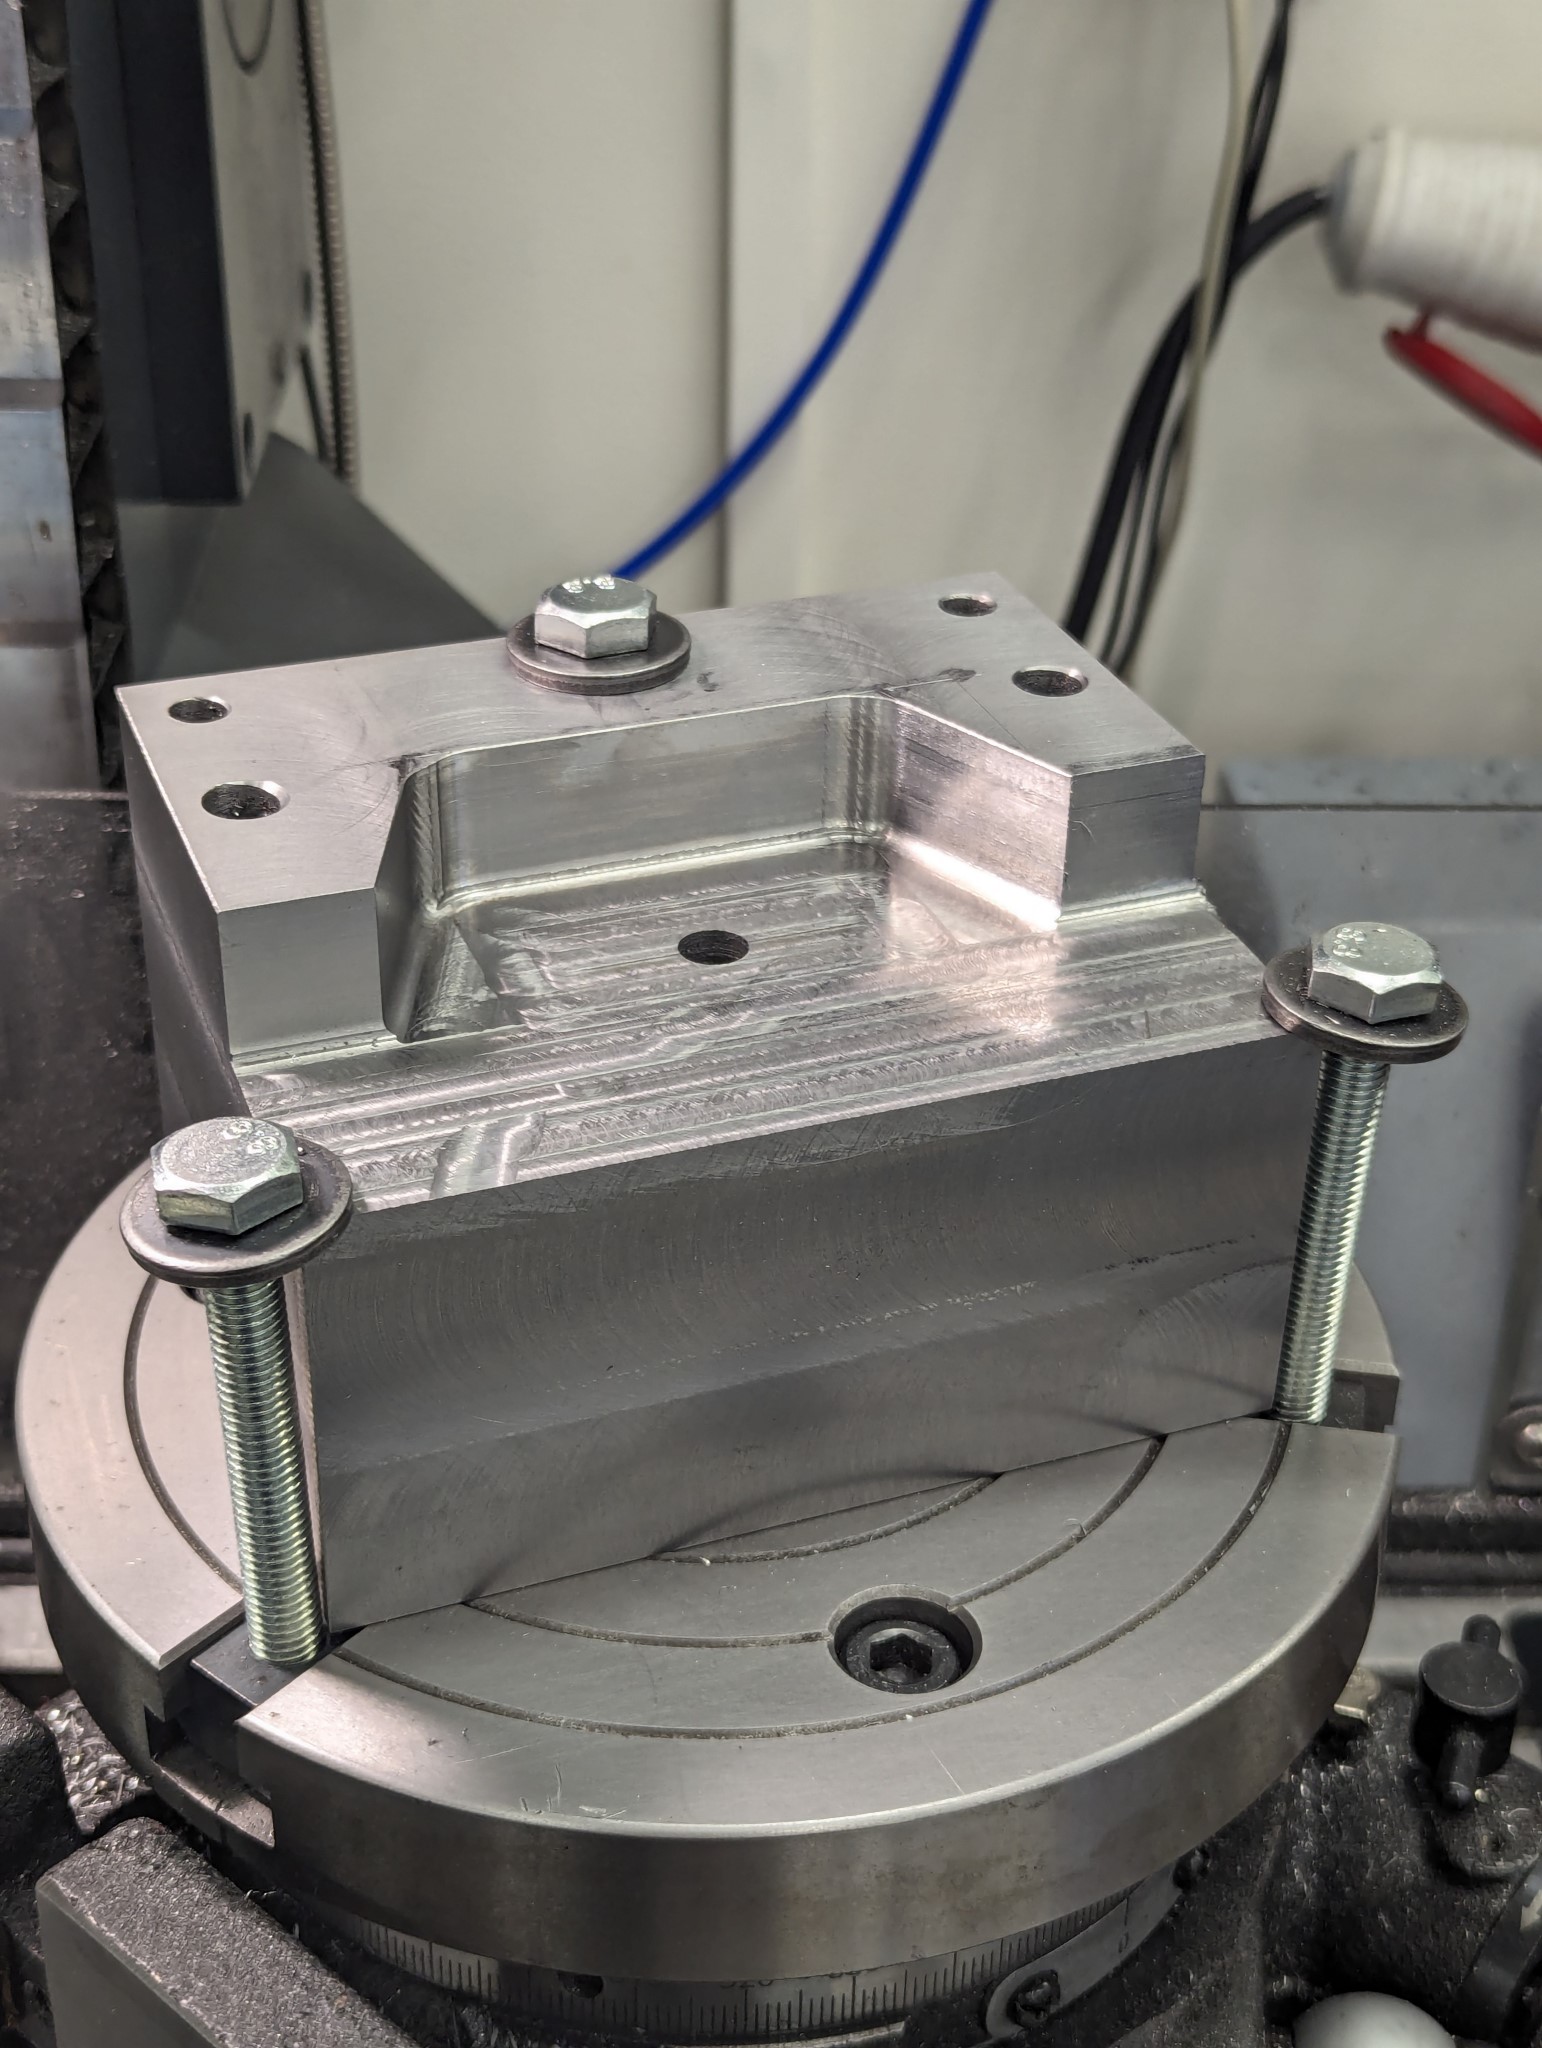
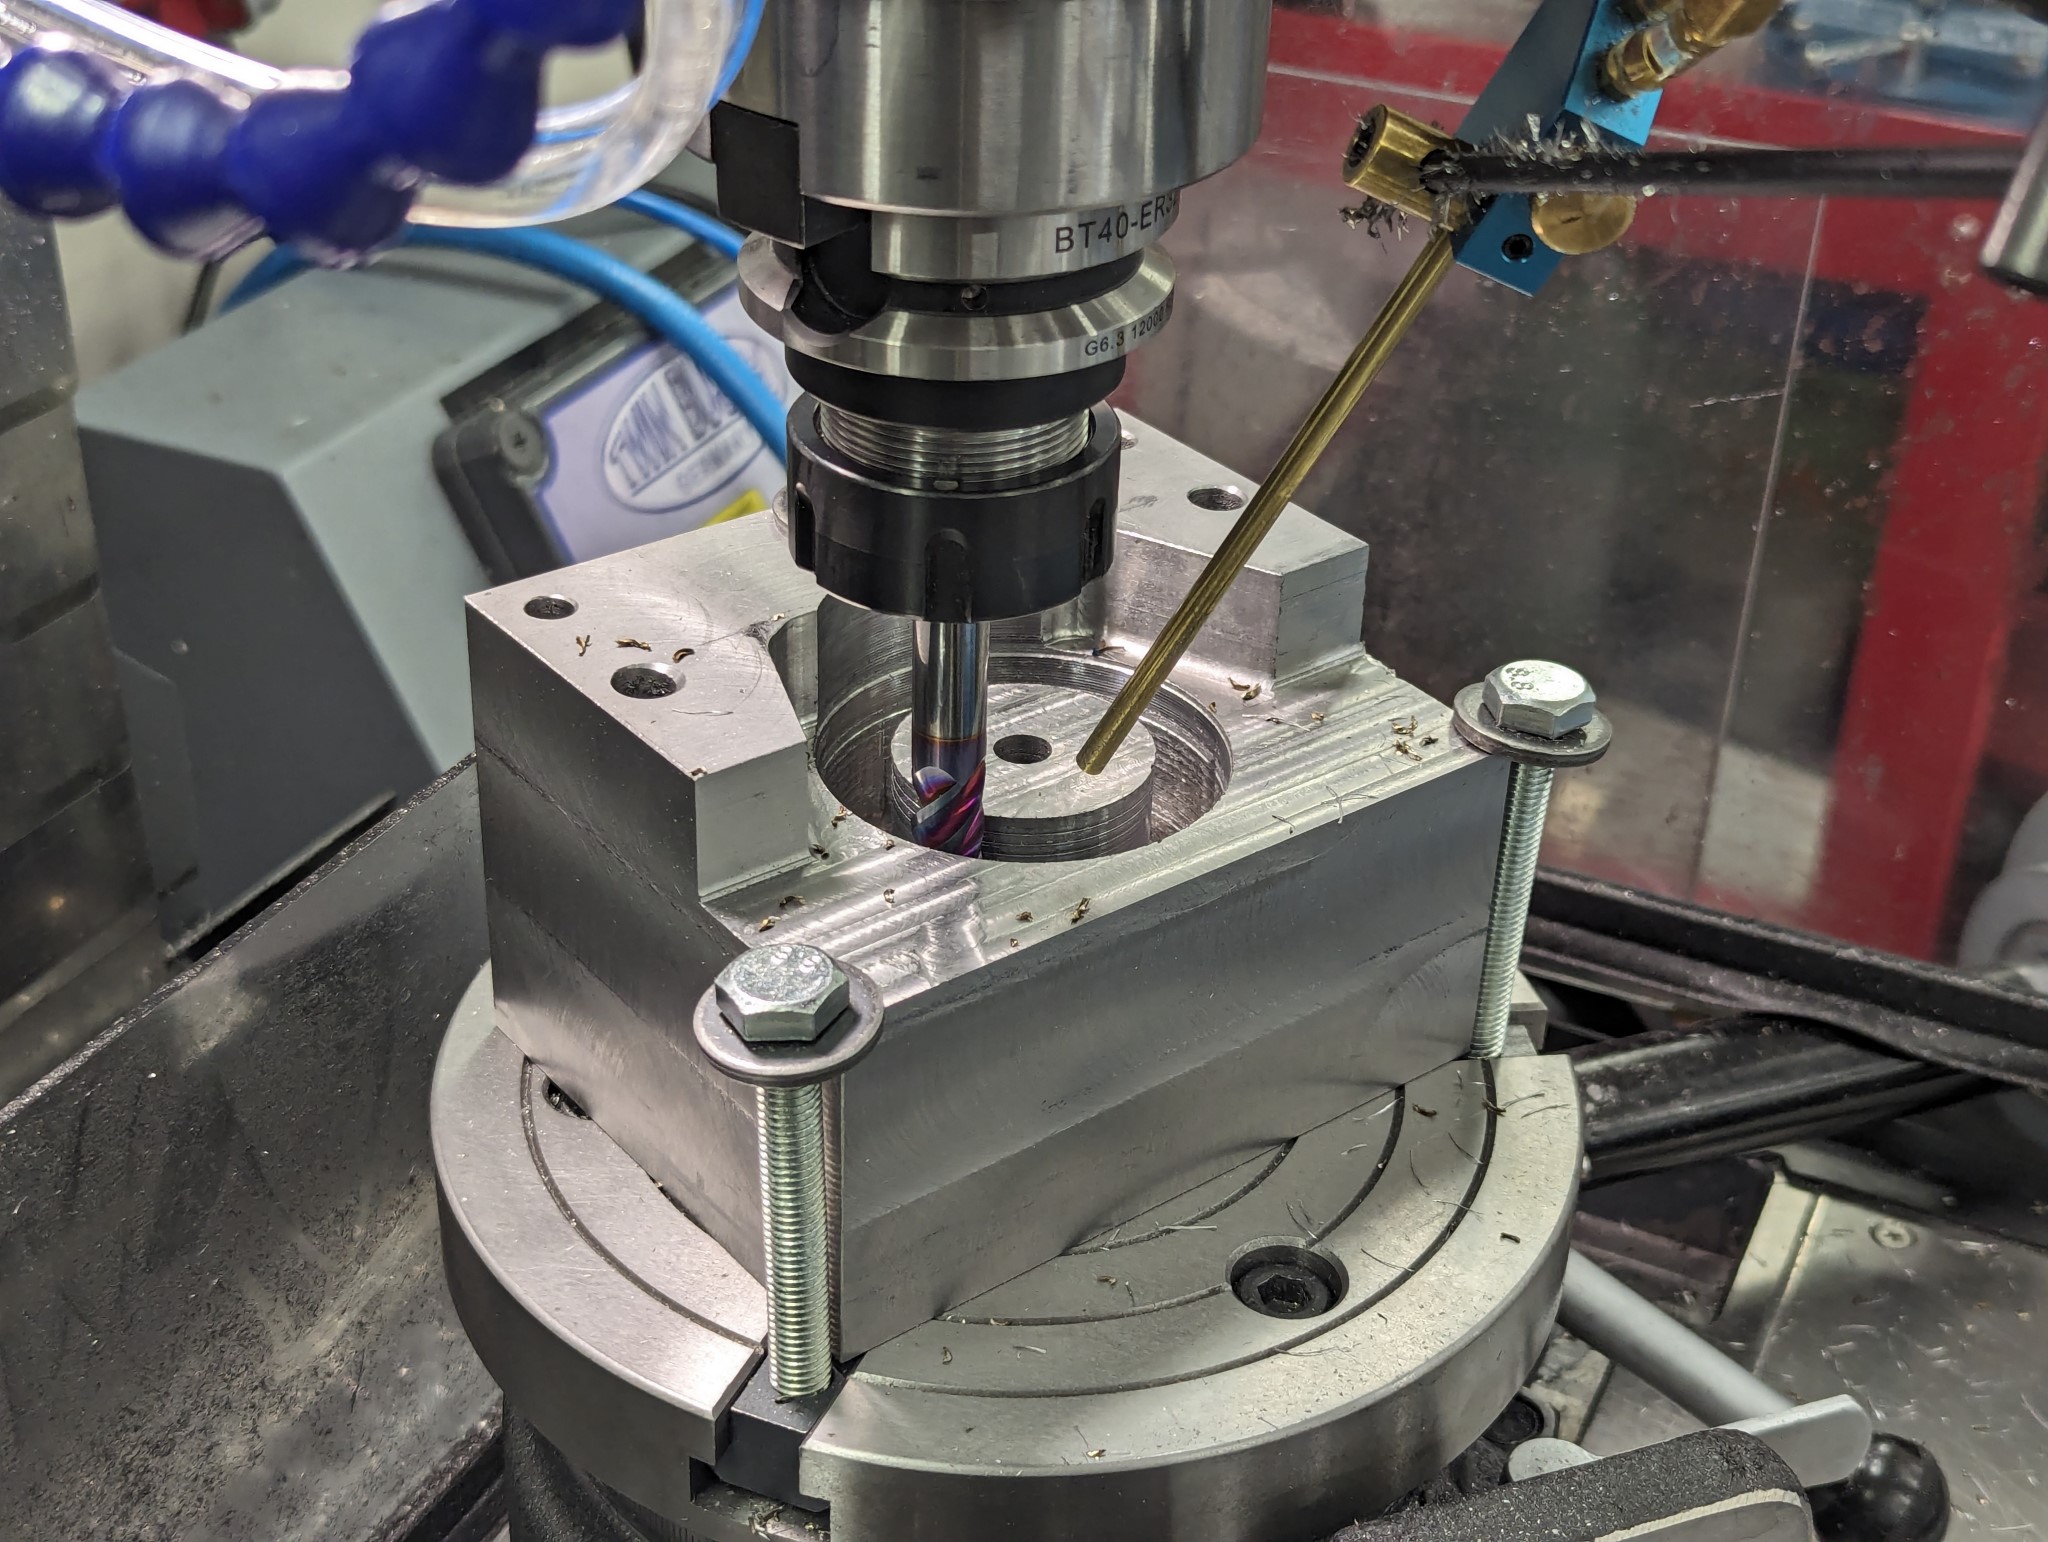
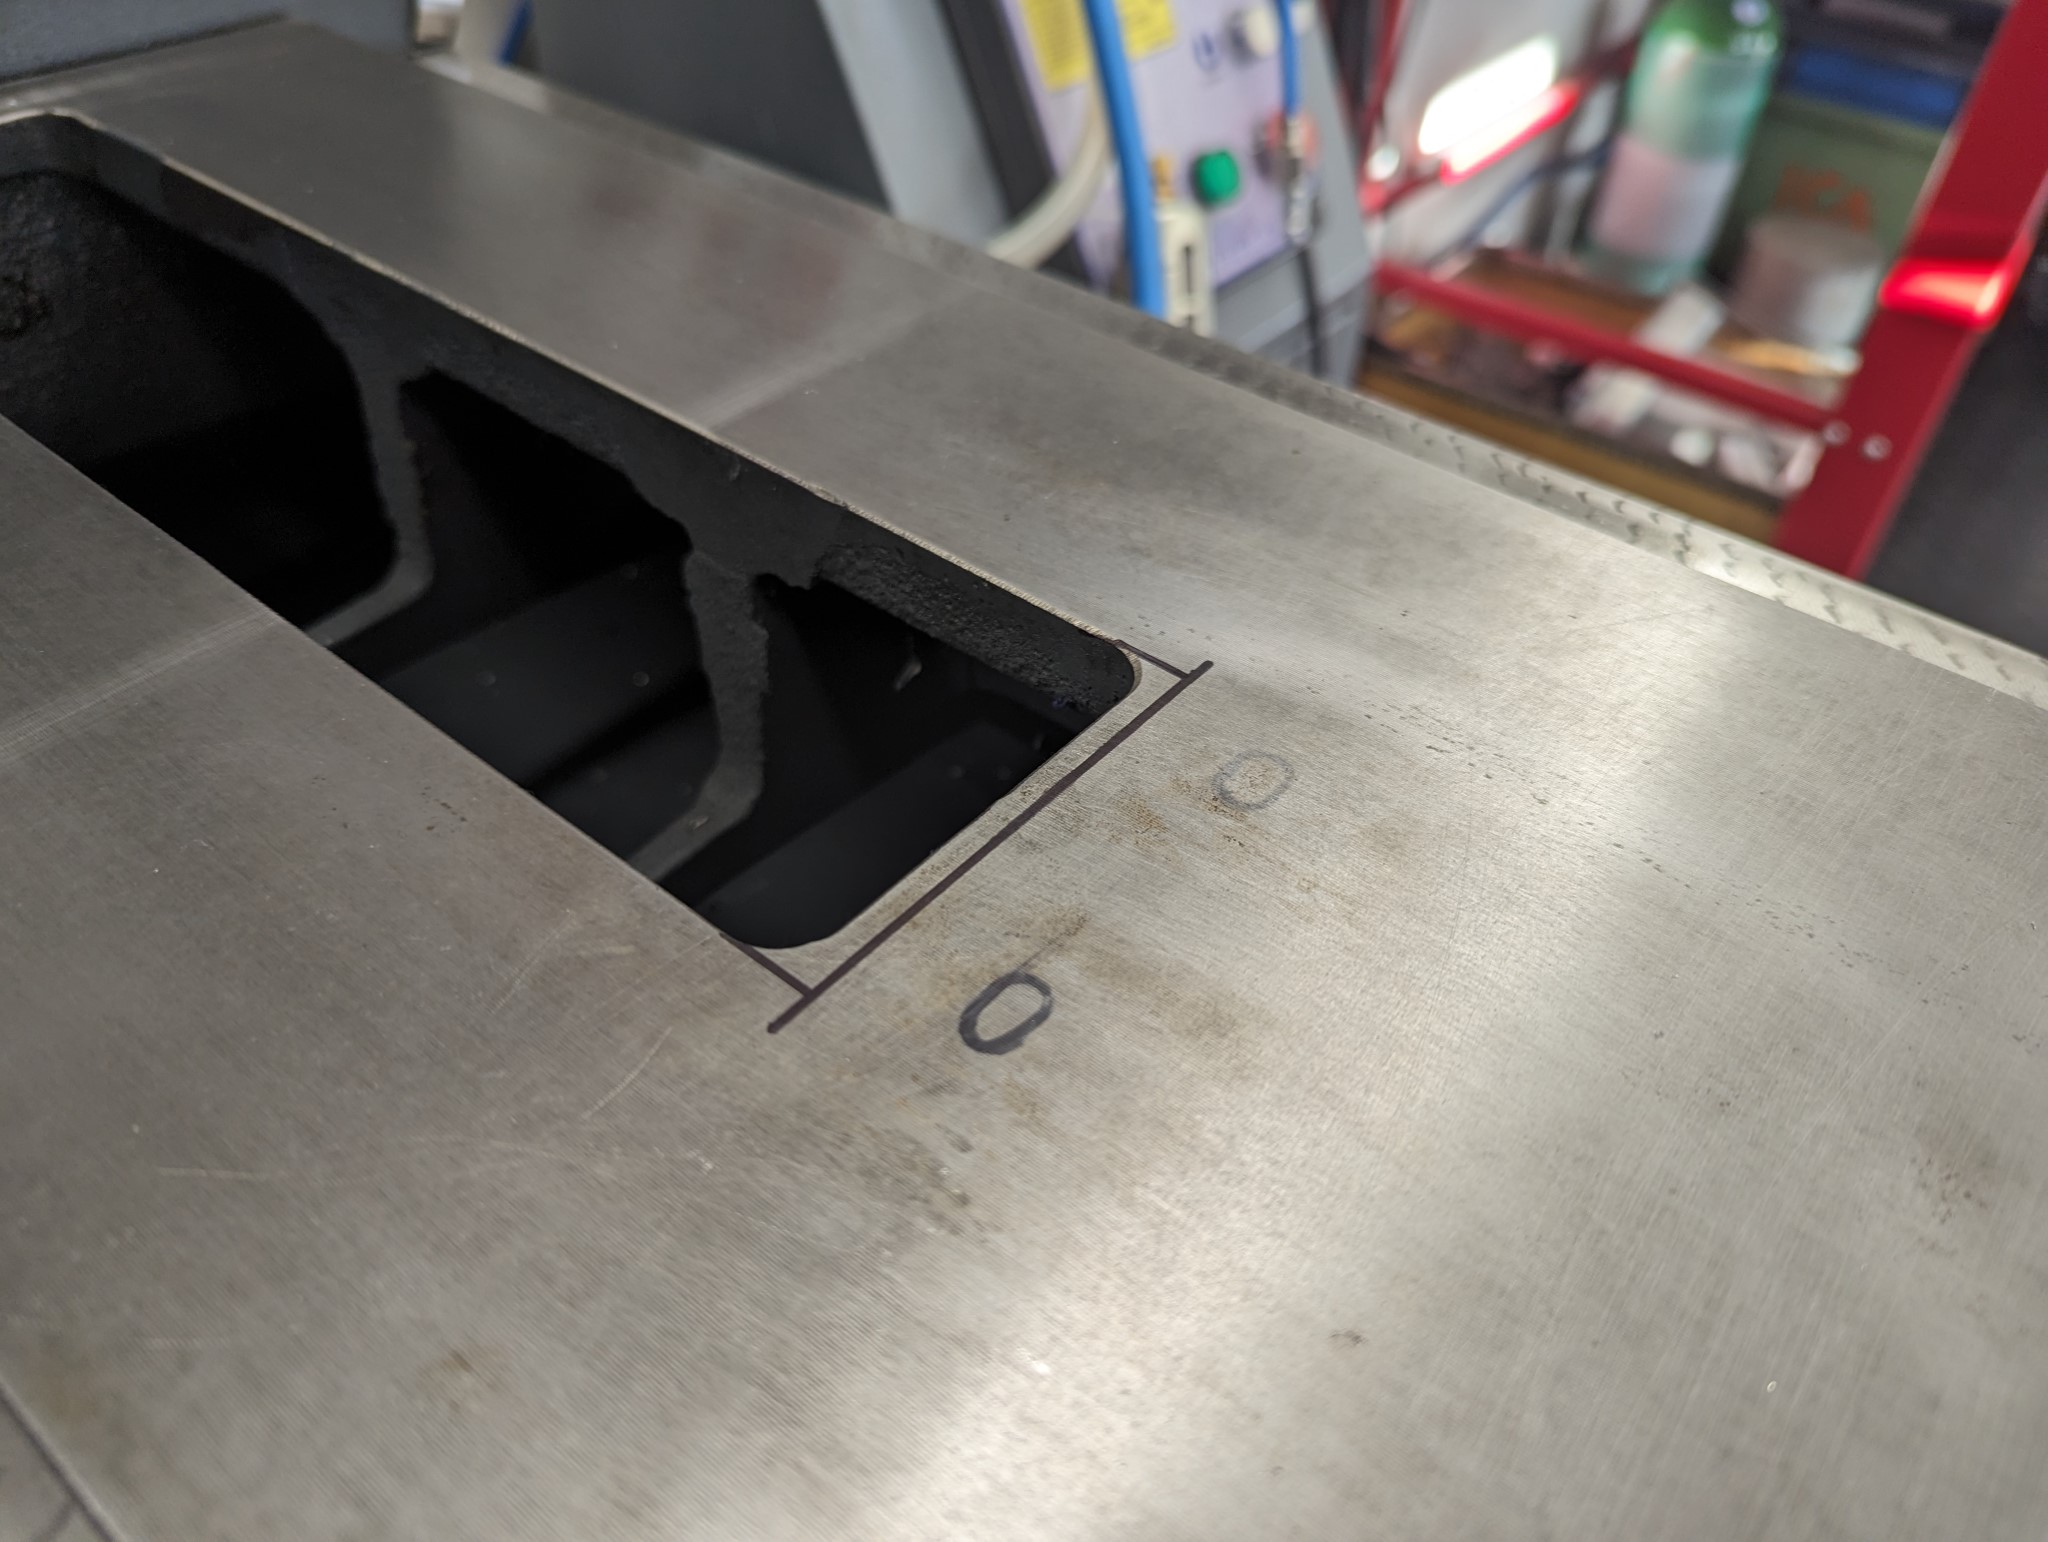
Since I have only one milling machine I had to make the grooves for the oil in the saddle using a Dremel which took a while but gave an acceptable result in the end.
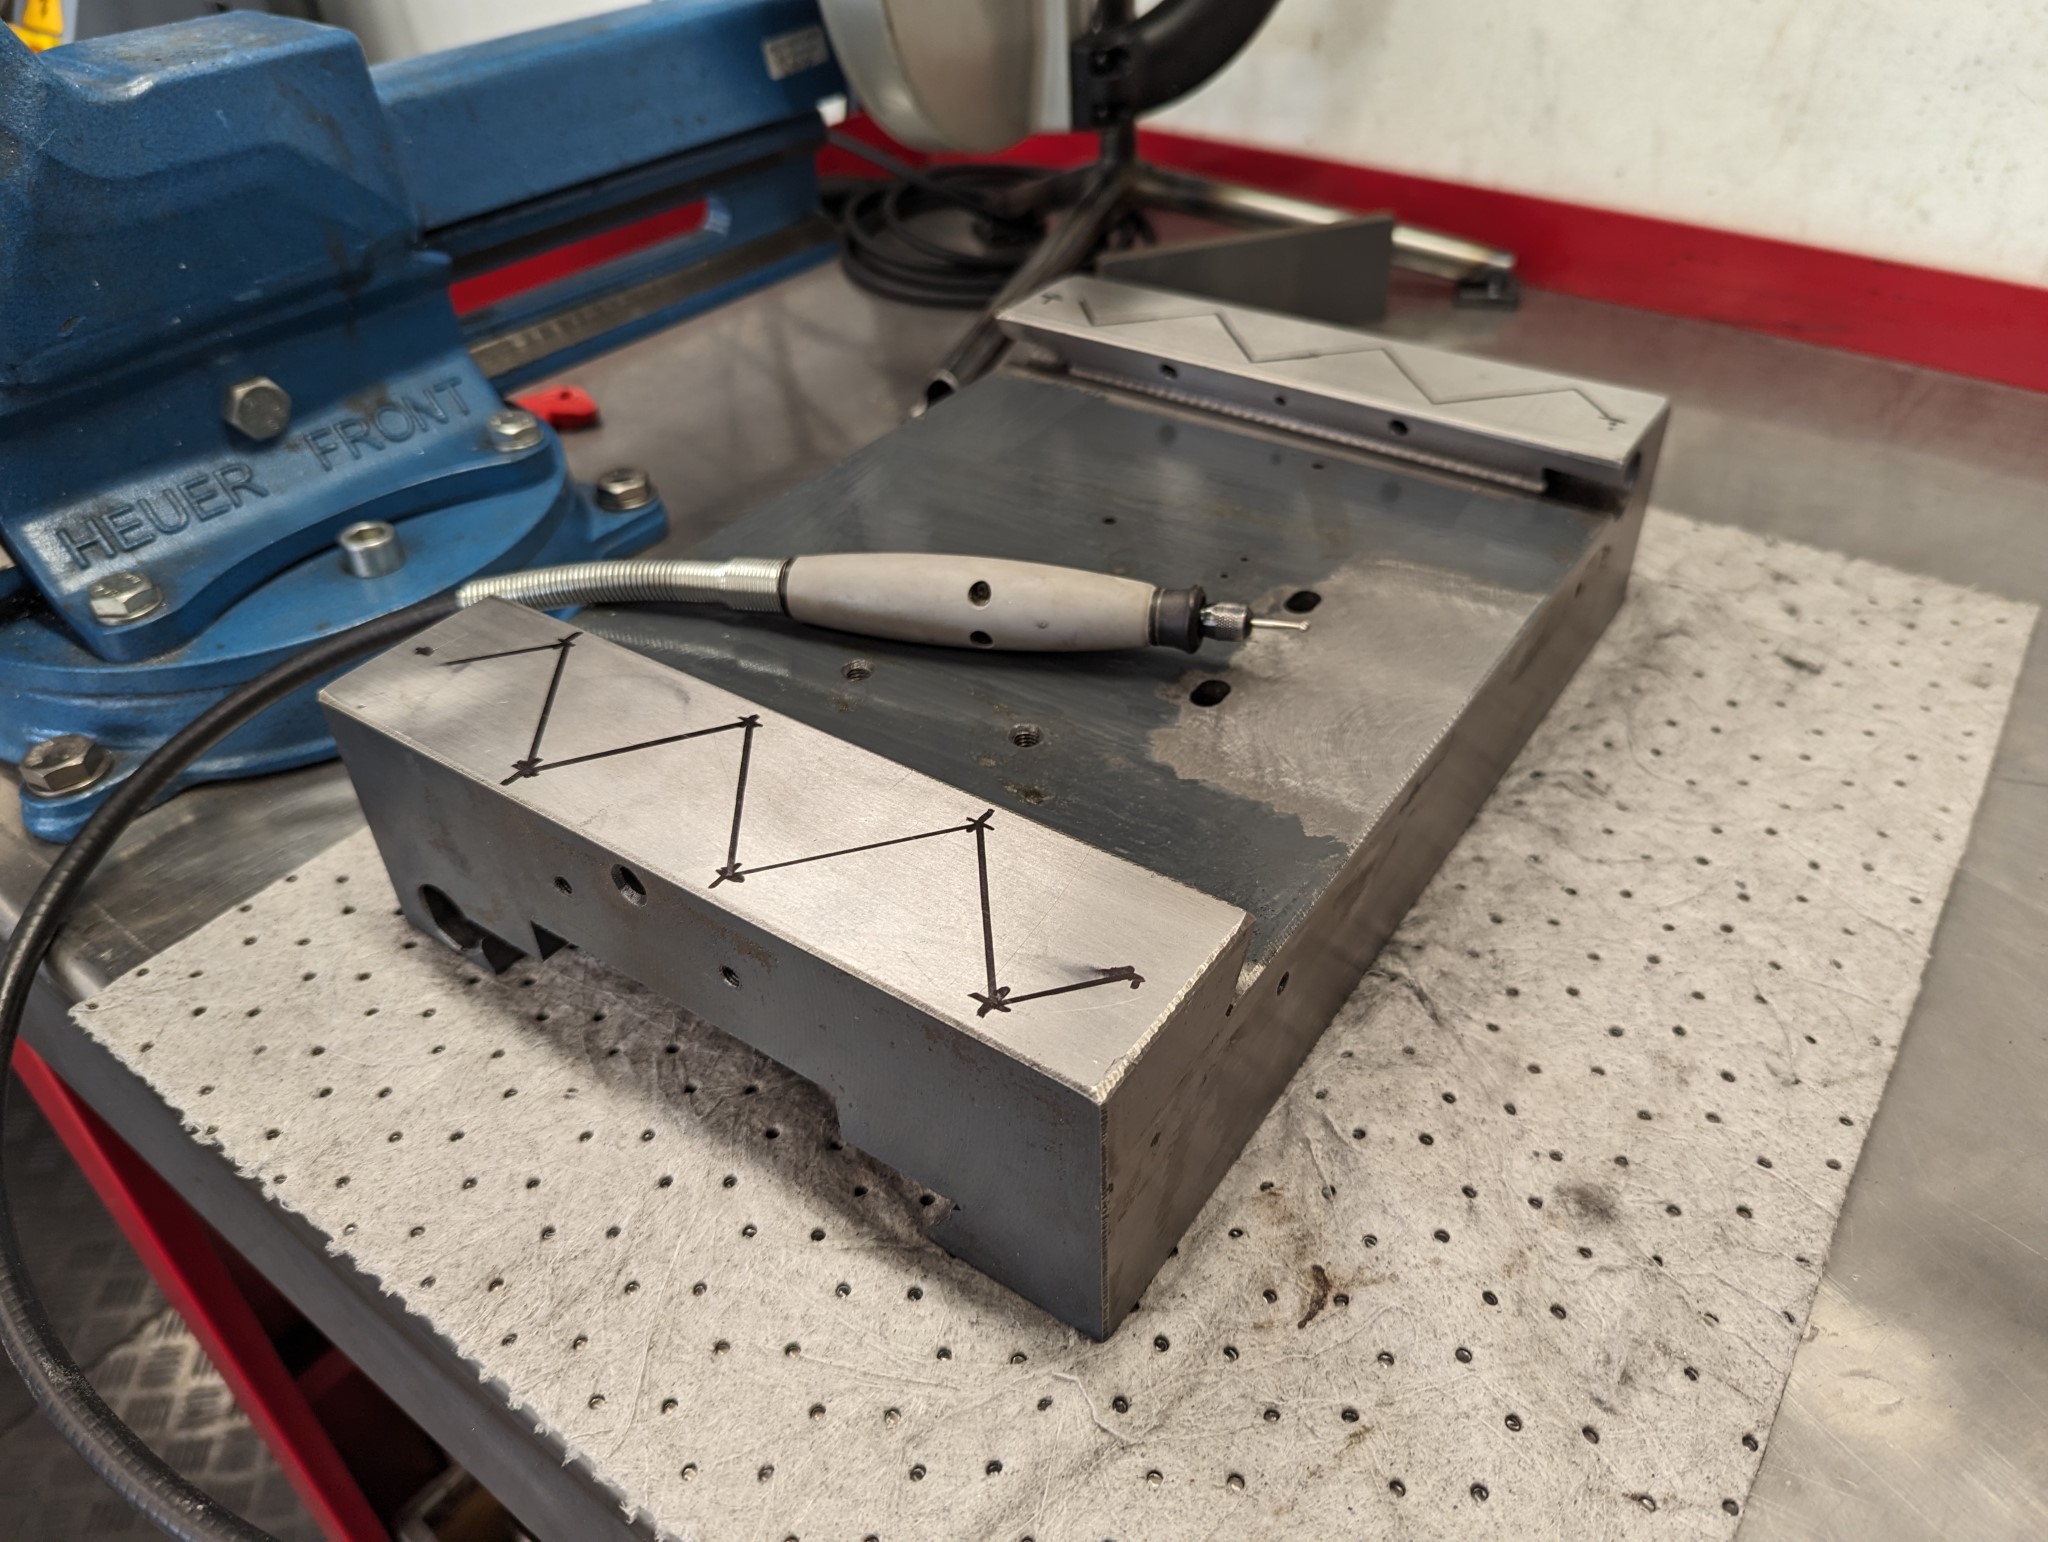
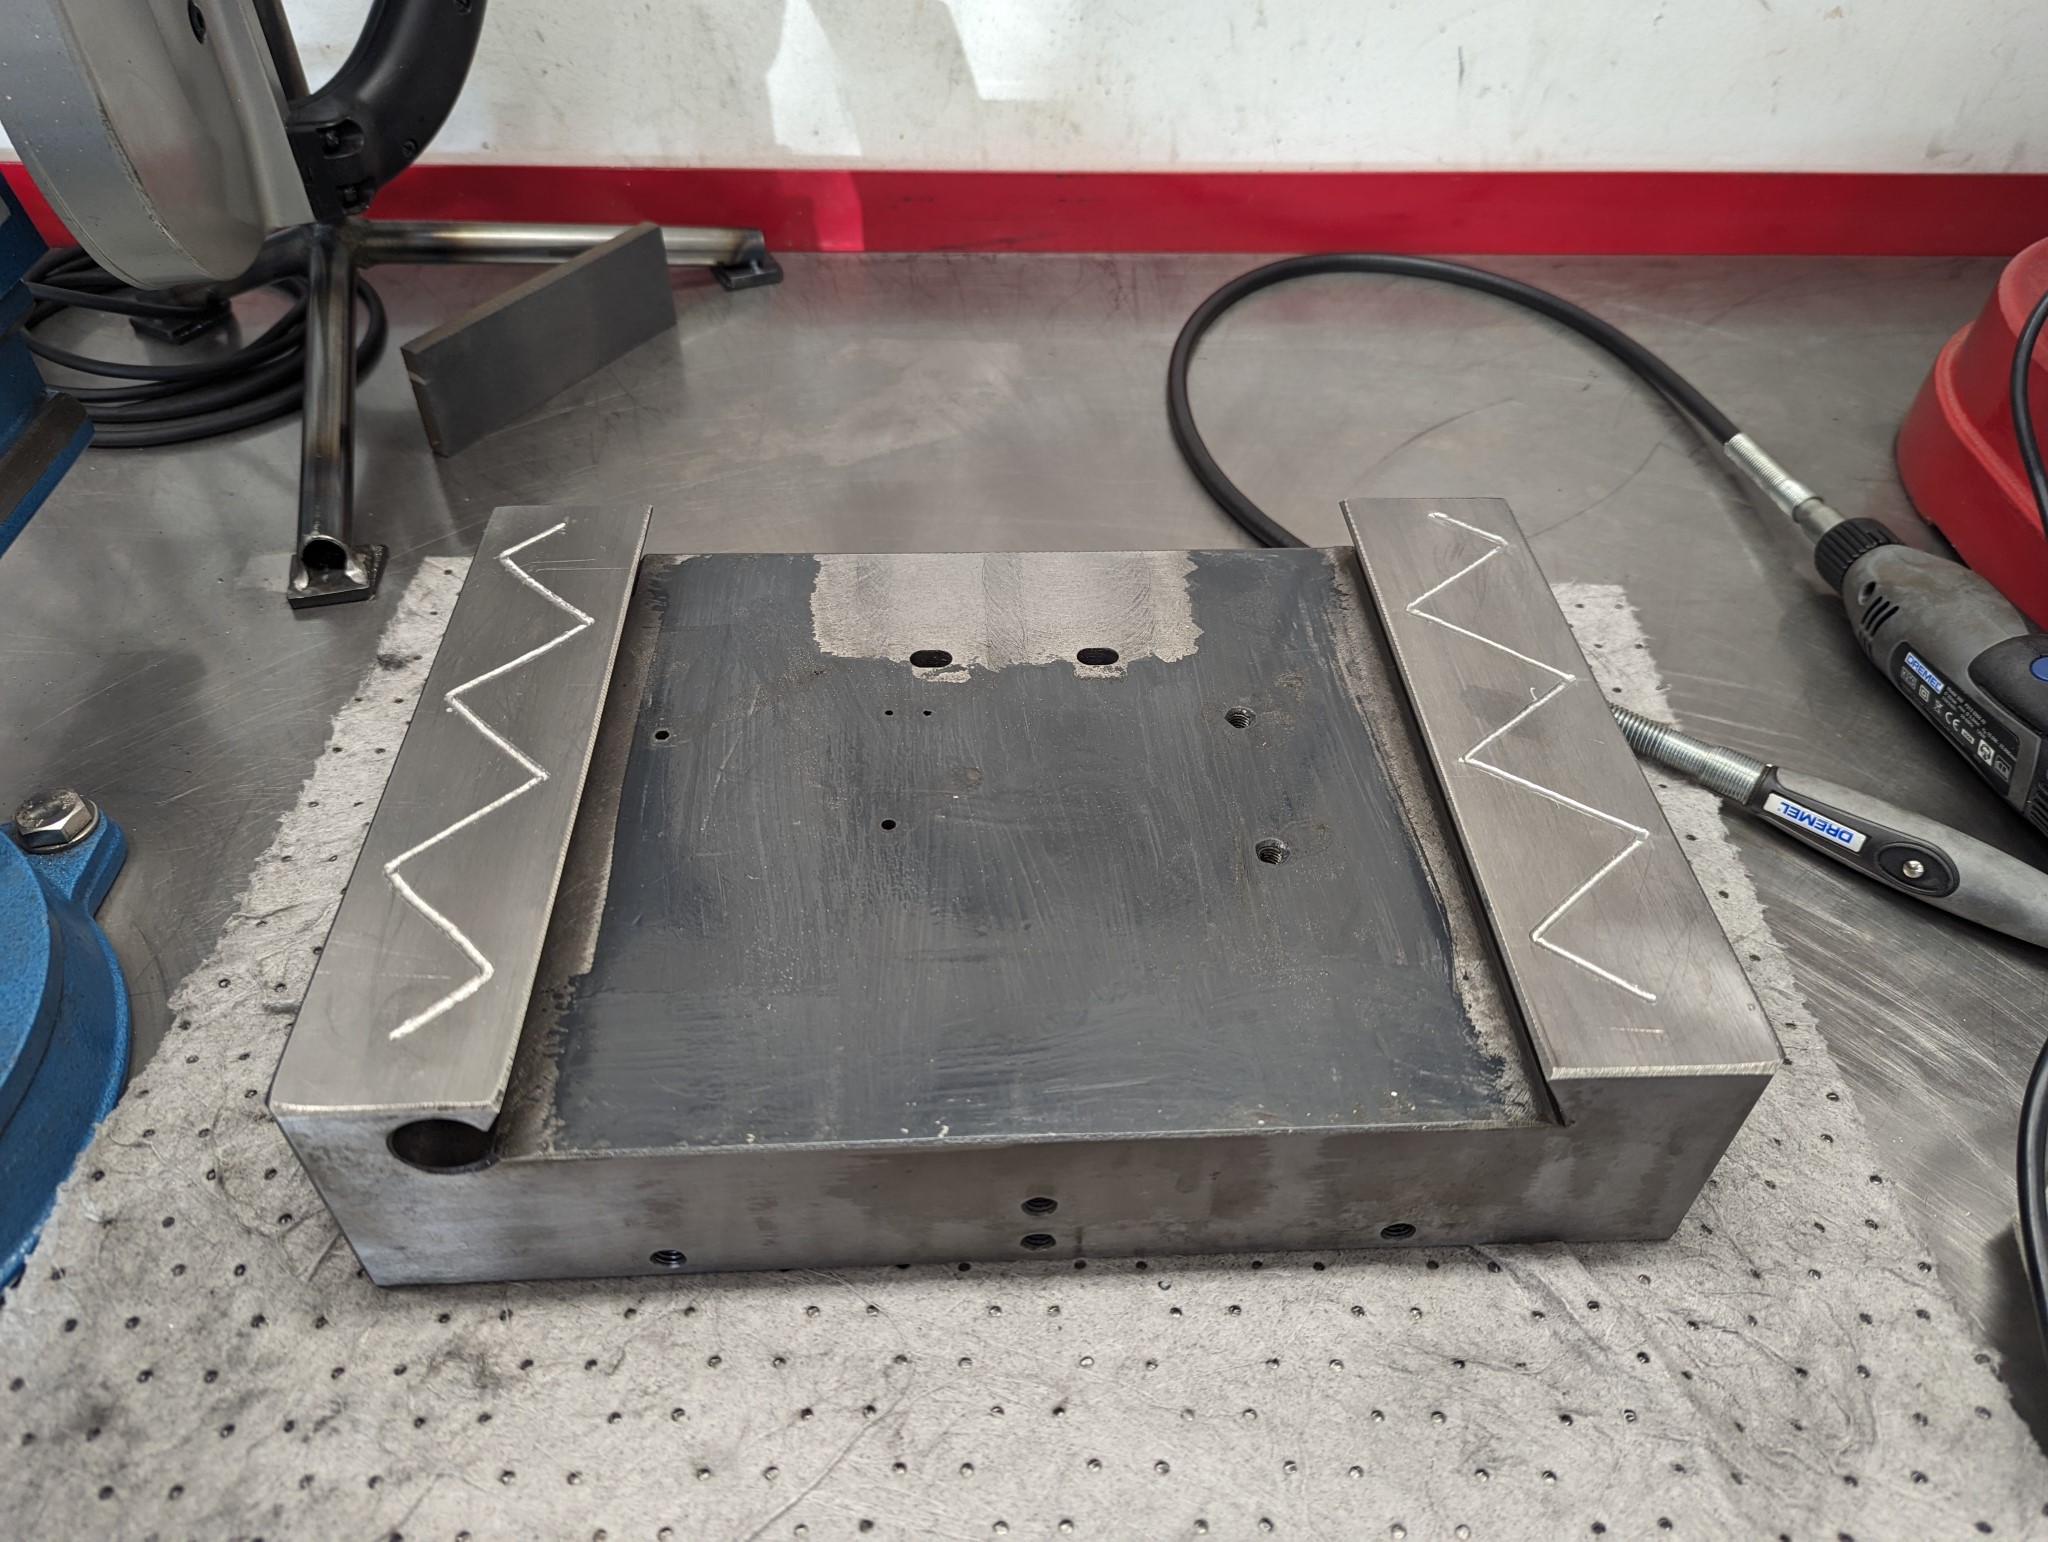
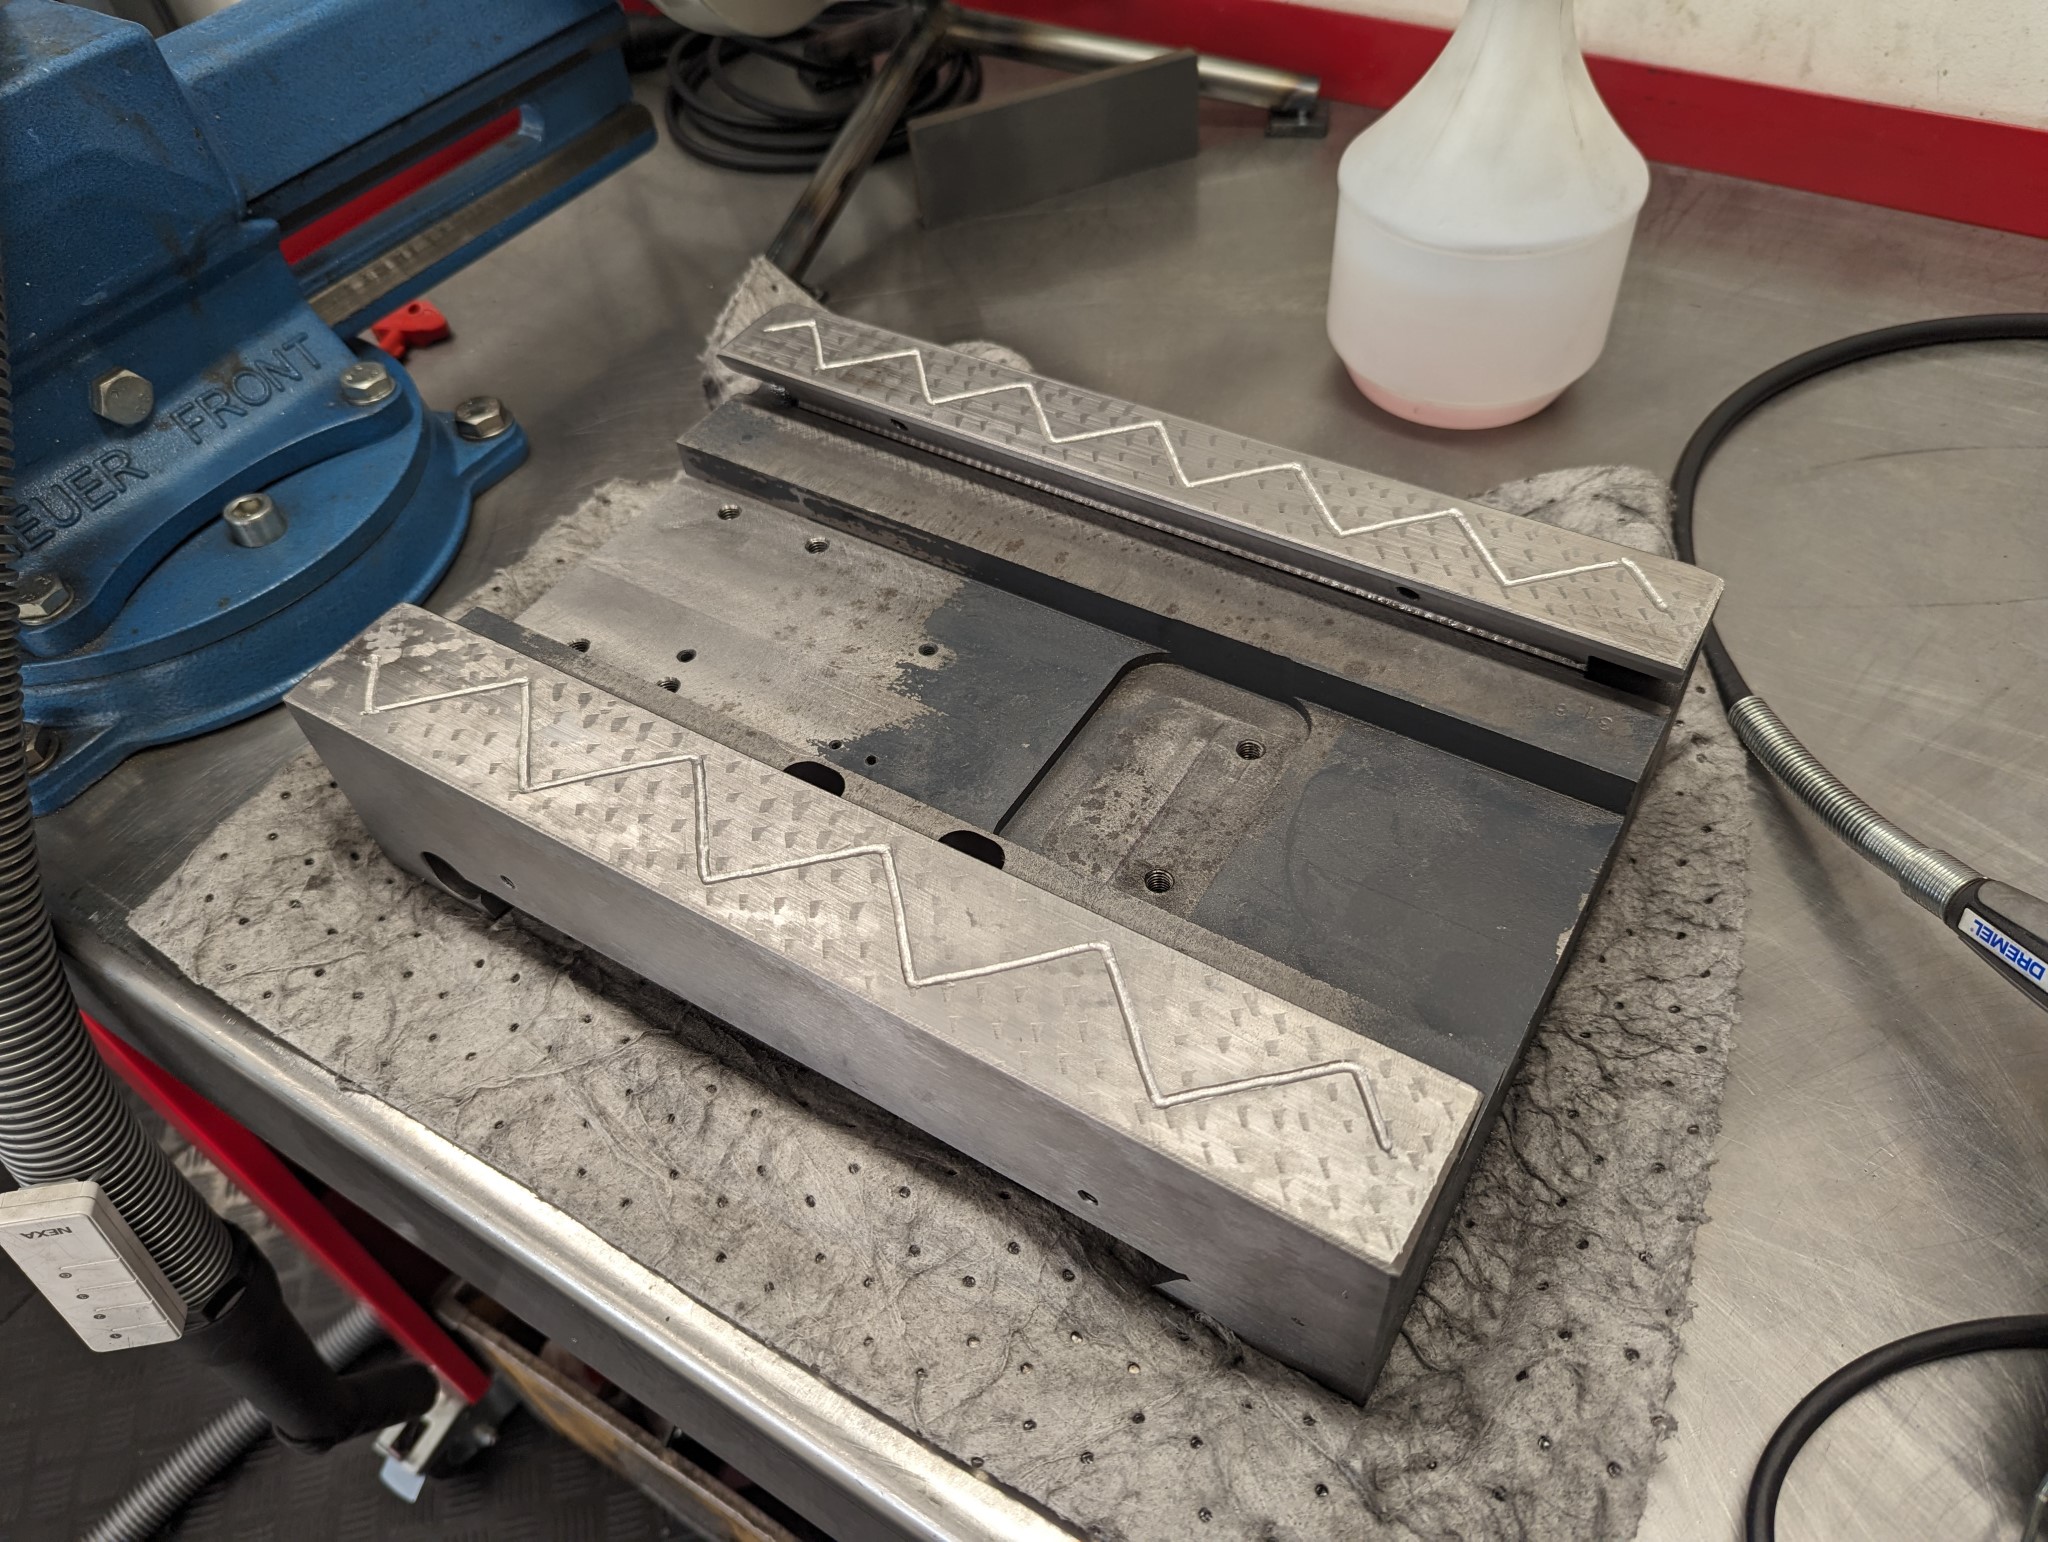

I used this very flimsy Chinese drill press to drill the new holes for the central lubrication oil fittings.
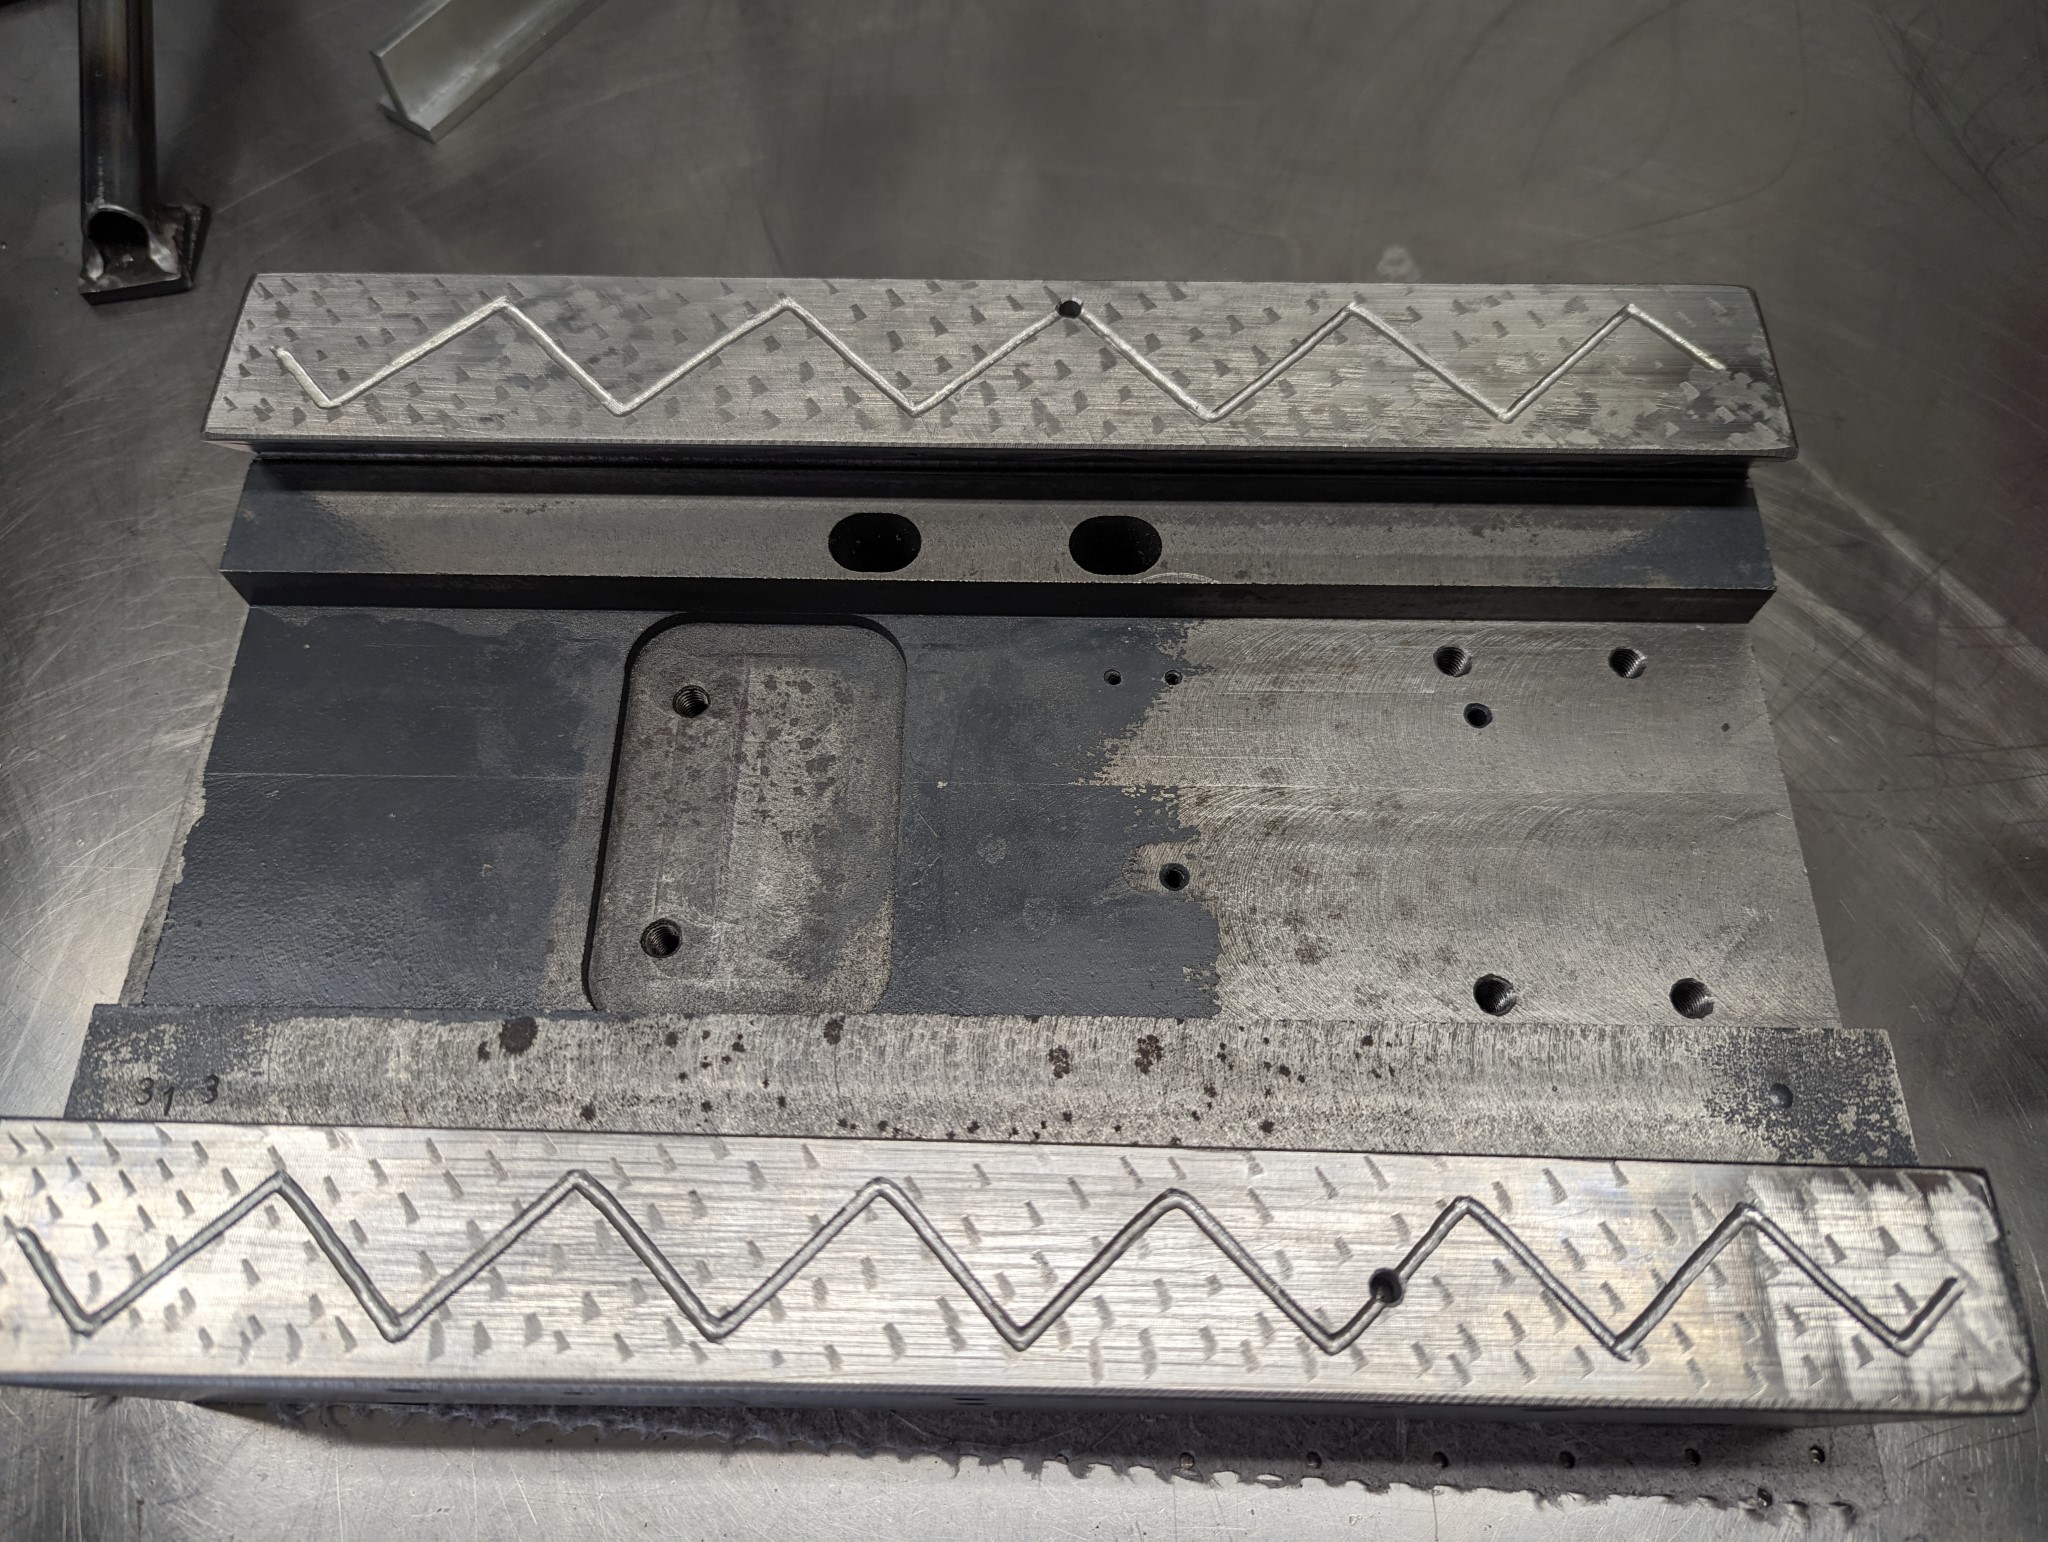
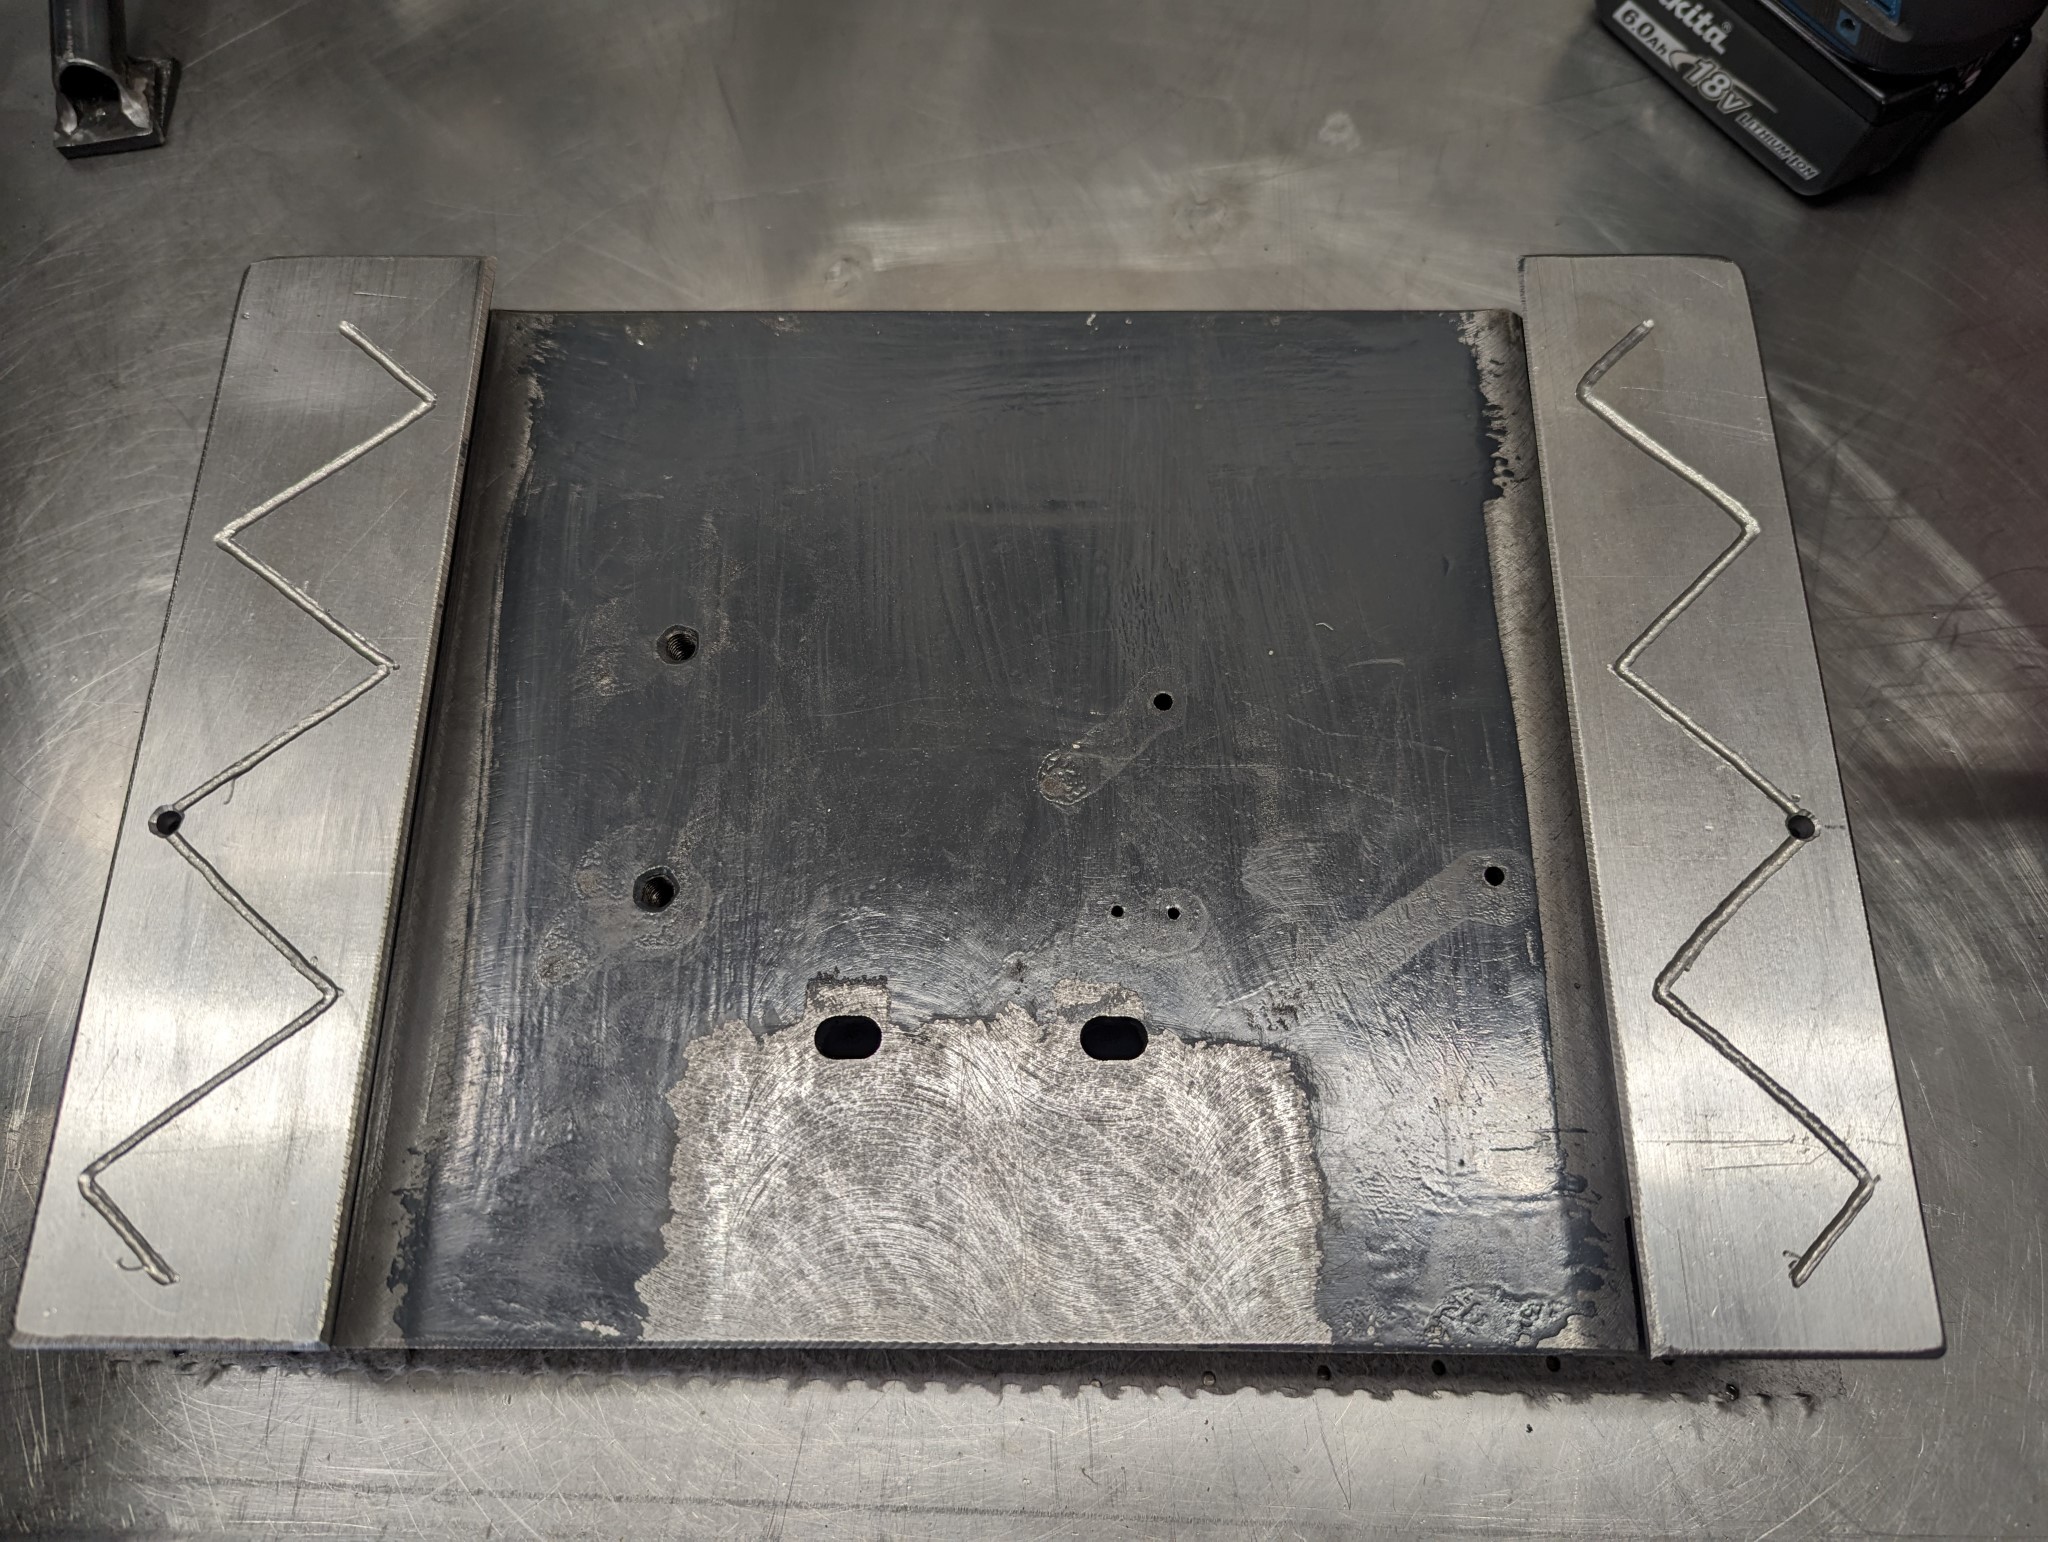
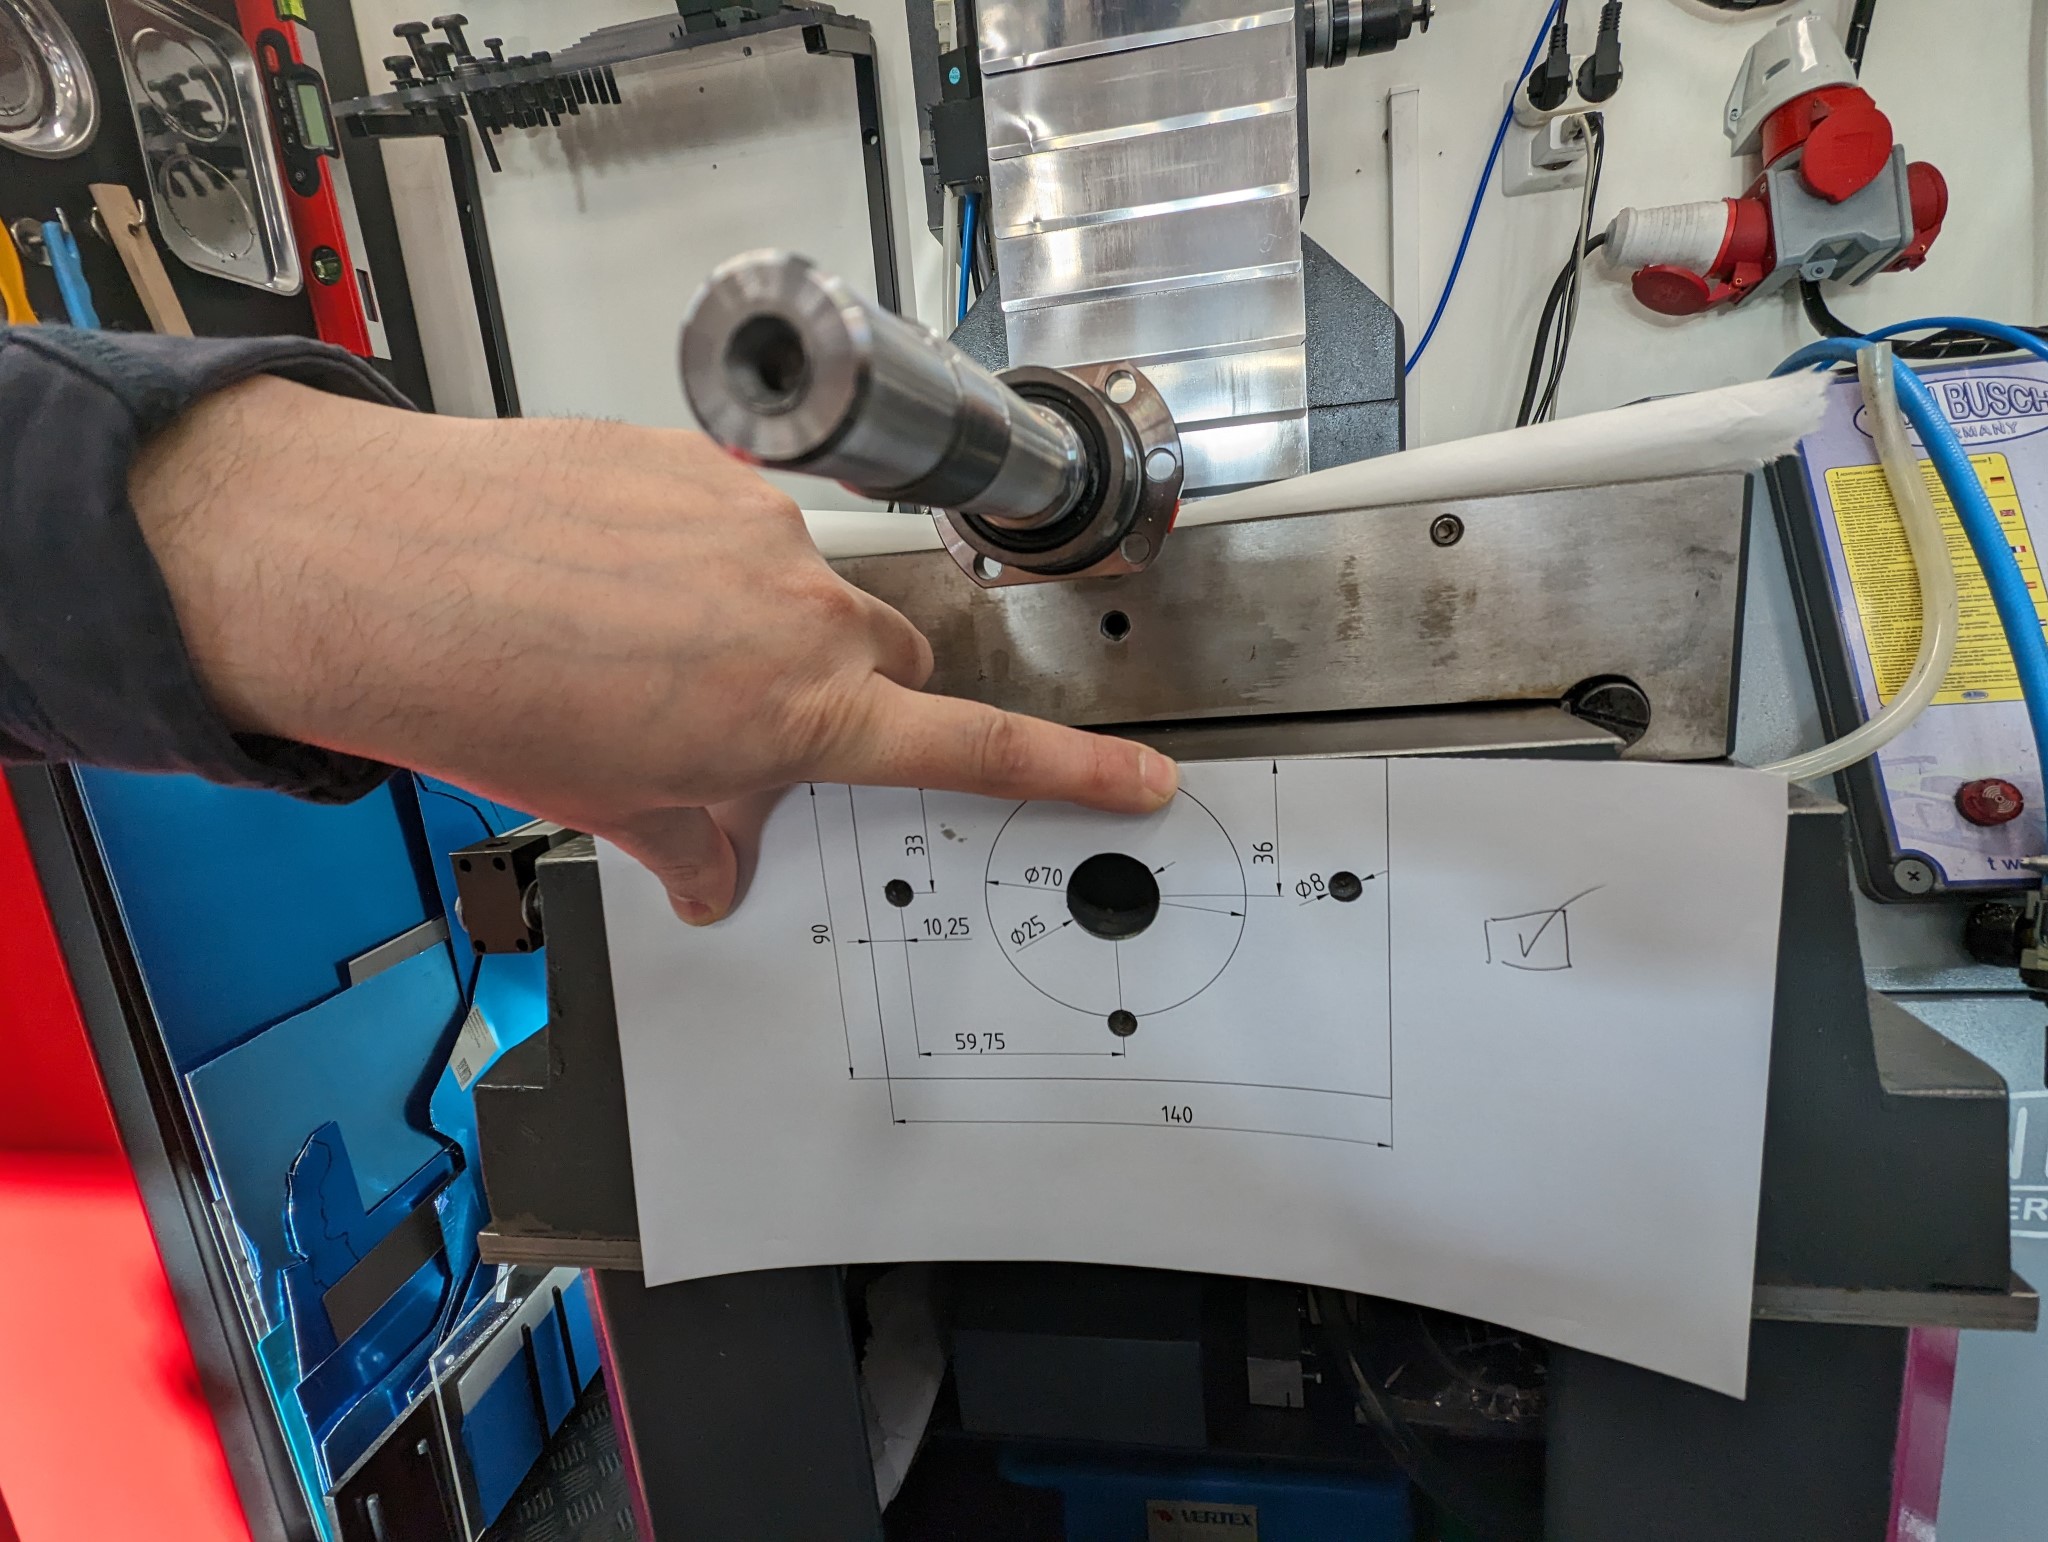
While I was at it I also drilled the holes for the bolts that will hold the mount for the Y axis ball screw nut.

I also removed a tiny bit of material from the saddle in order to extend the travel of the table a bit. The travel will actually be extended a few centimeters because the new ball screw nut mount will sit closer to the column compared to the stock mount for the trapezoidal screw.
I used this very flimsy Chinese drill press to drill the new holes for the central lubrication oil fittings.
While I was at it I also drilled the holes for the bolts that will hold the mount for the Y axis ball screw nut.
I also removed a tiny bit of material from the saddle in order to extend the travel of the table a bit. The travel will actually be extended a few centimeters because the new ball screw nut mount will sit closer to the column compared to the stock mount for the trapezoidal screw.
Attachments:
Please Log in or Create an account to join the conversation.
18 Feb 2024 19:12 #293701
by Unlogic
Replied by Unlogic on topic Optimum Optimill MH50V CNC conversion
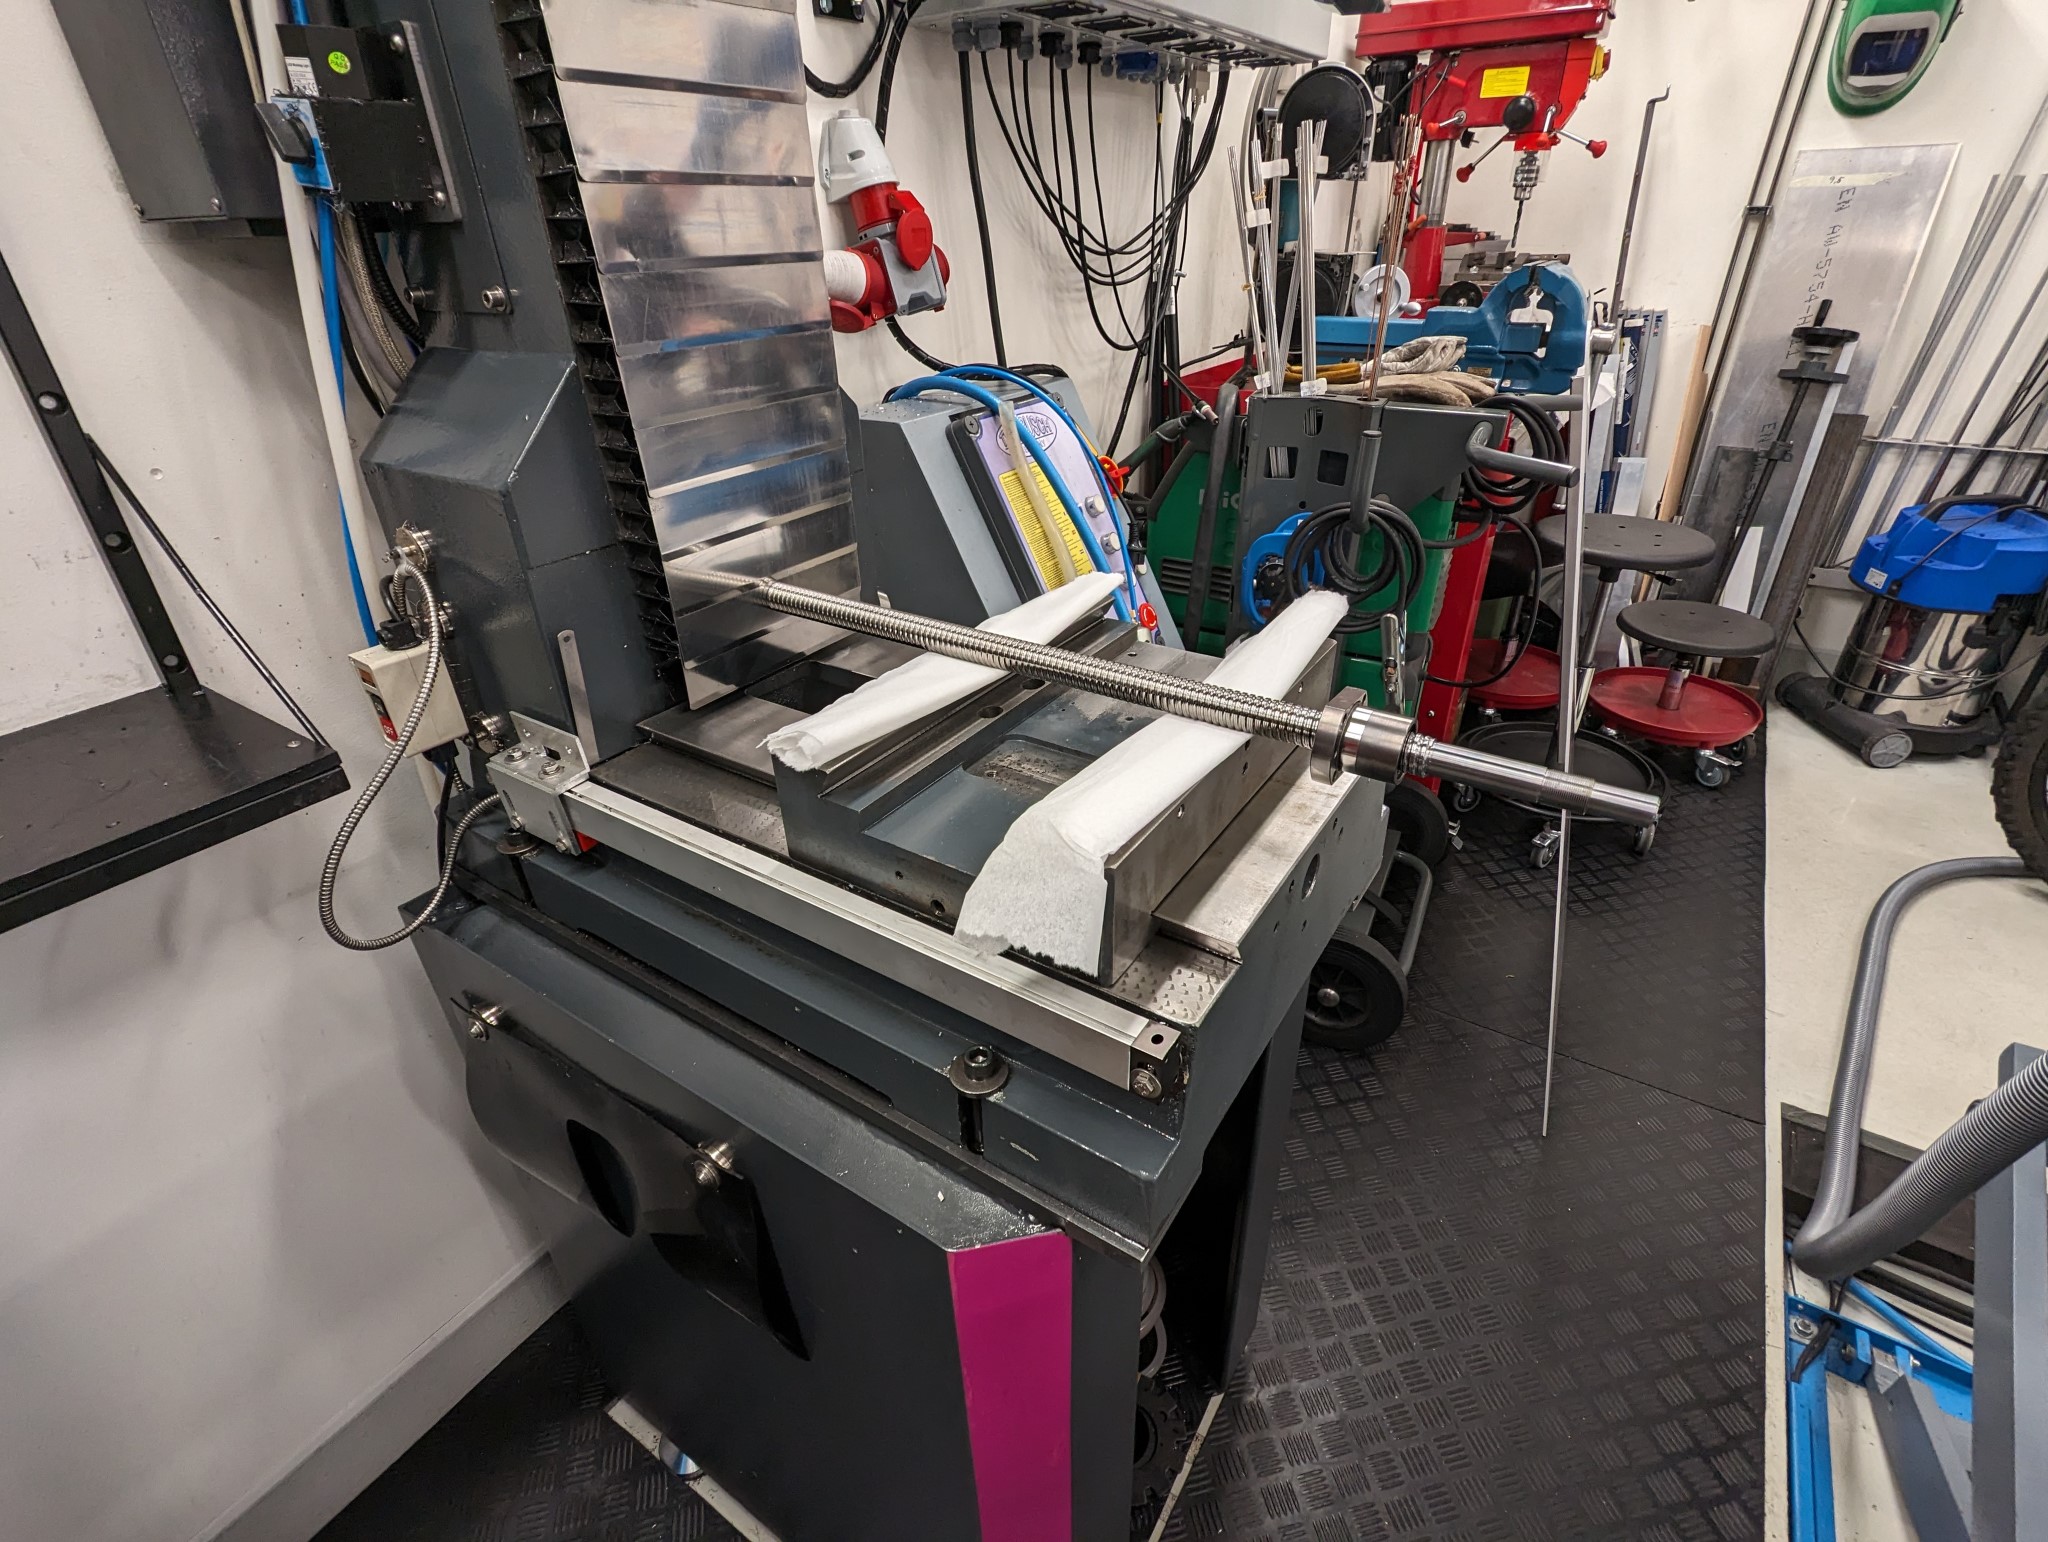
With that done I stoned the gibs a bit and then assembled everything along with the central lubrication system.
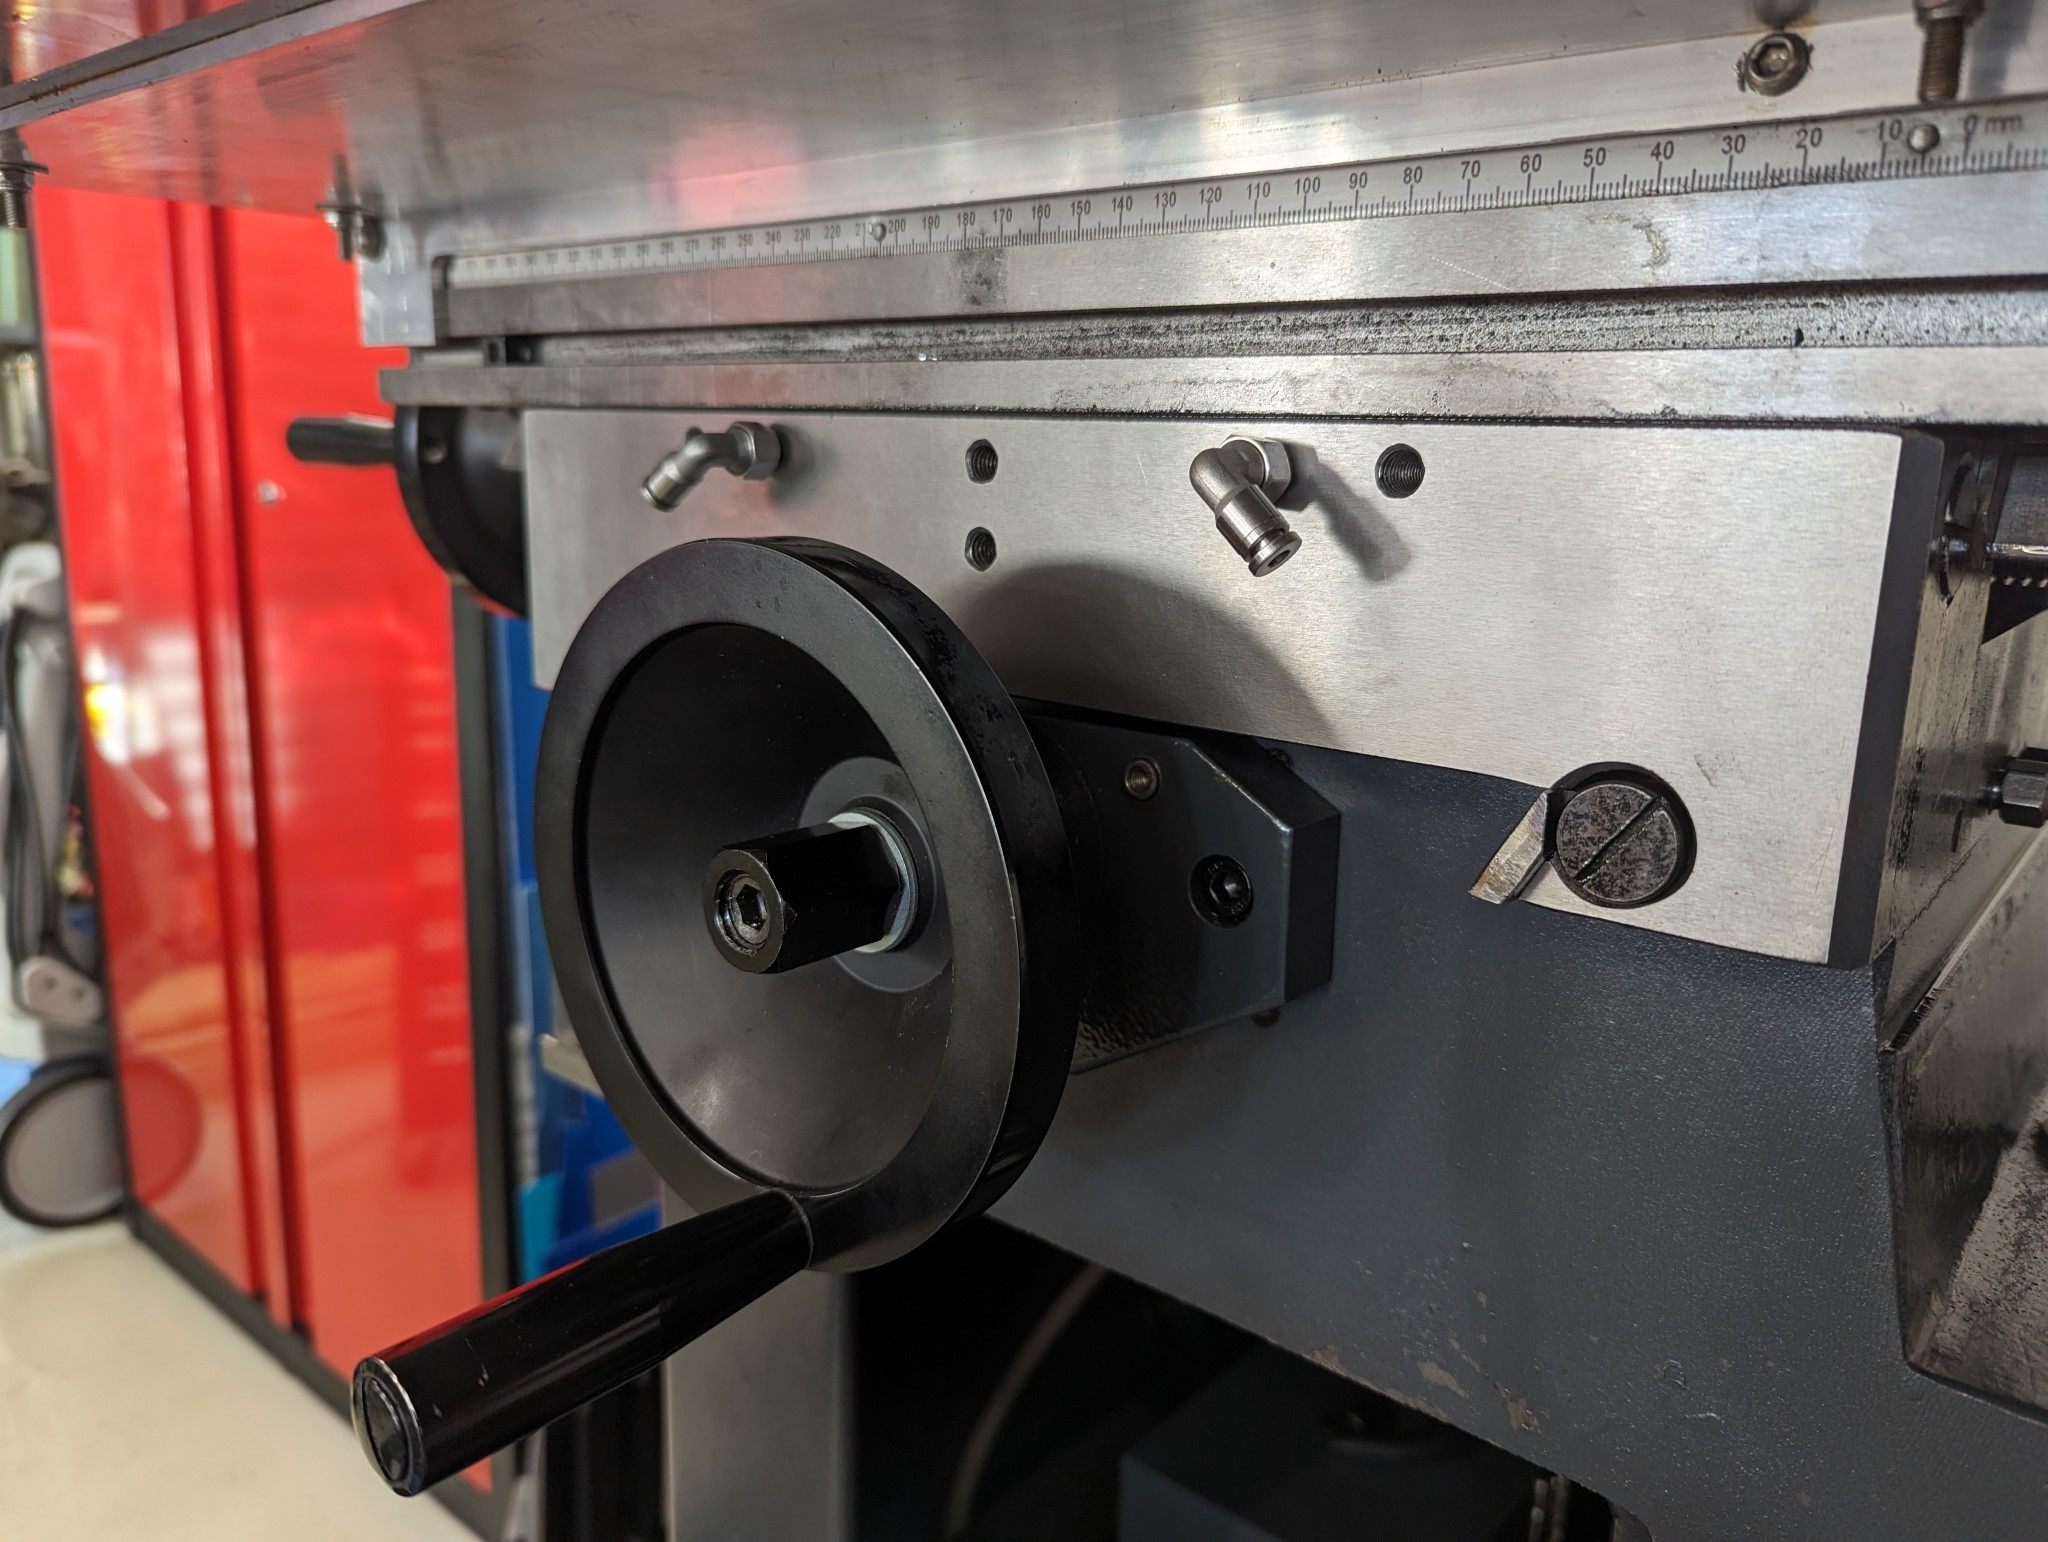
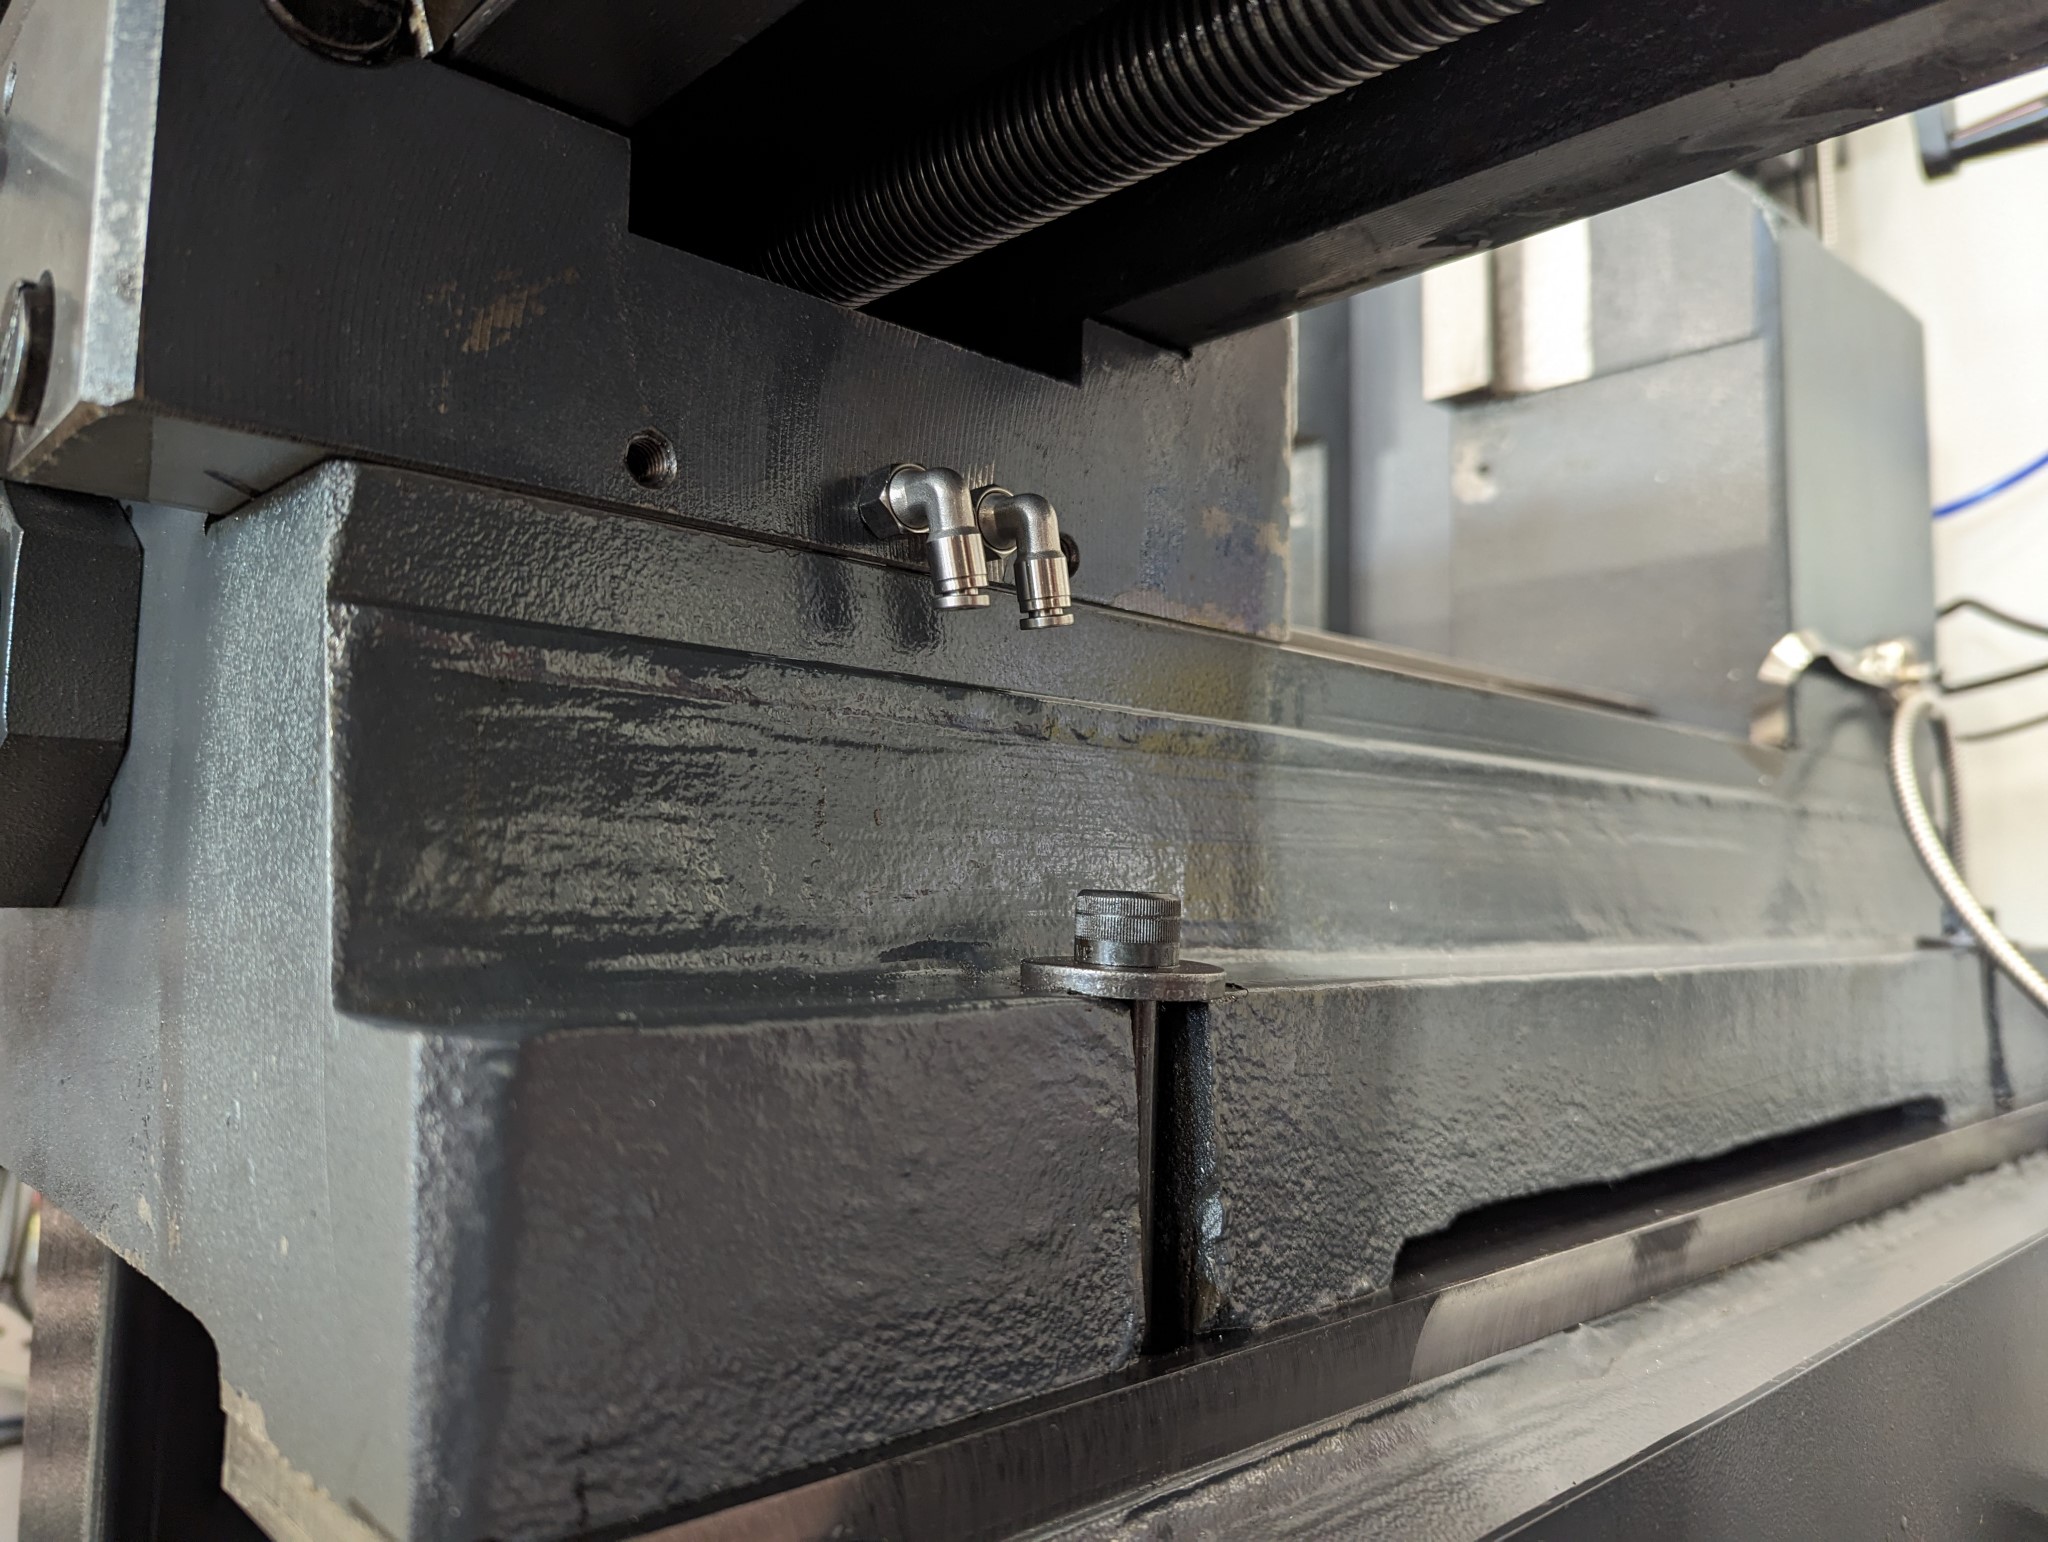
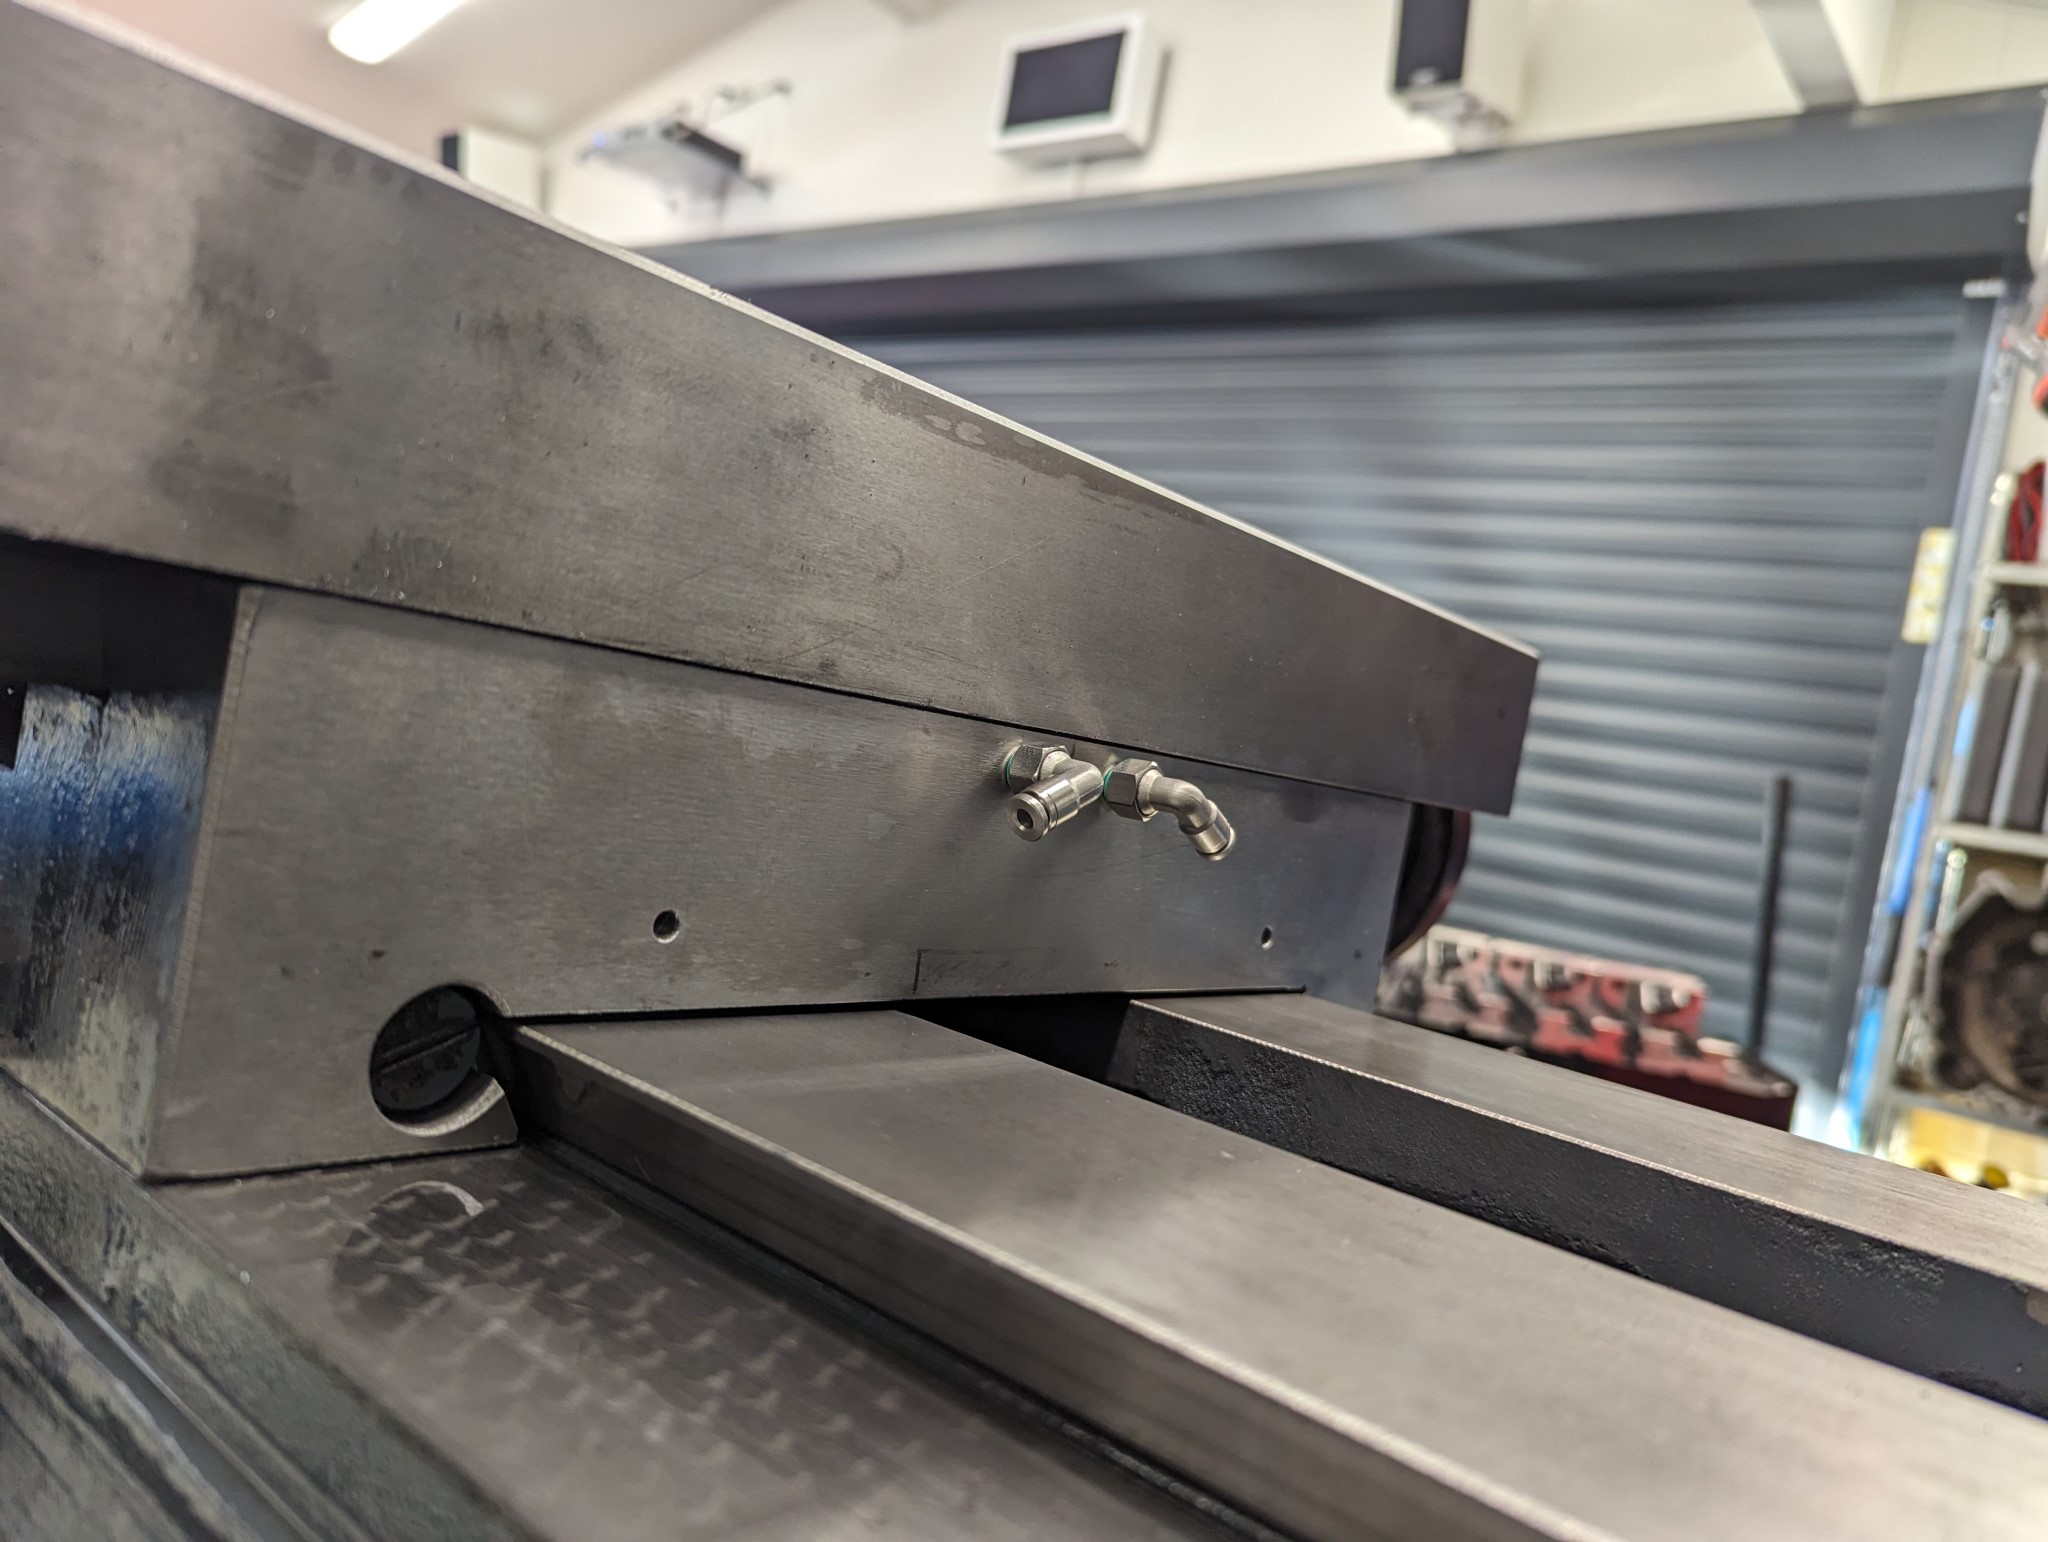
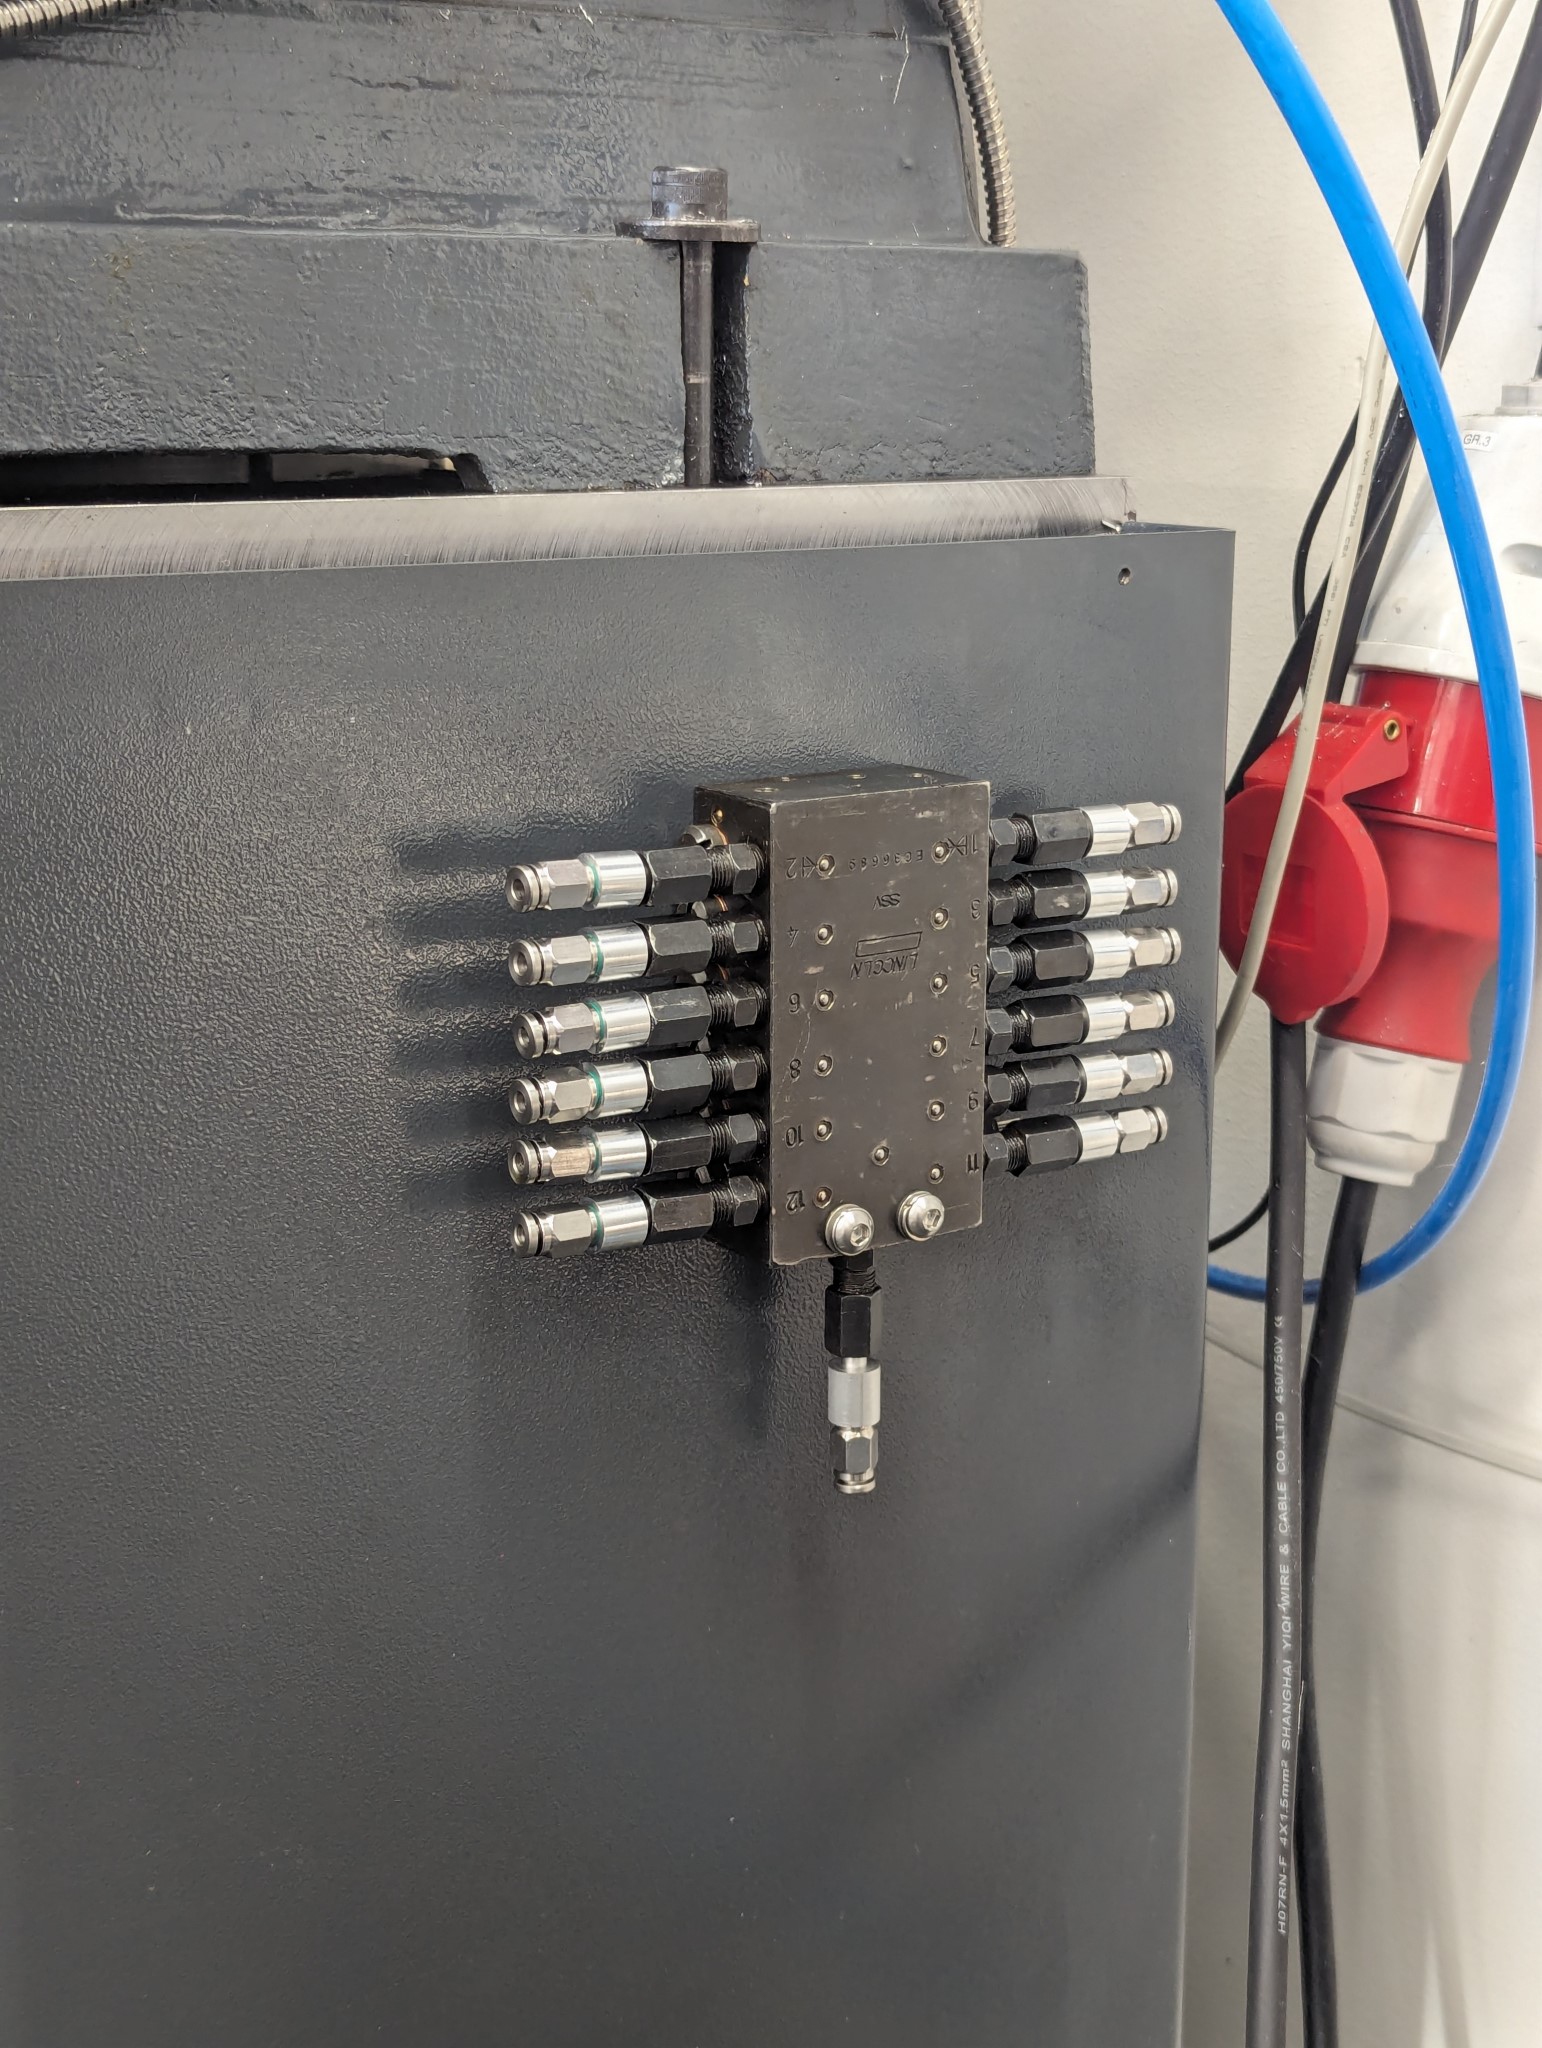

The central lubrication and the work on the gibs did wounder for how a smooth the machine travels. This machine really should have come with central lubrication from the factory.
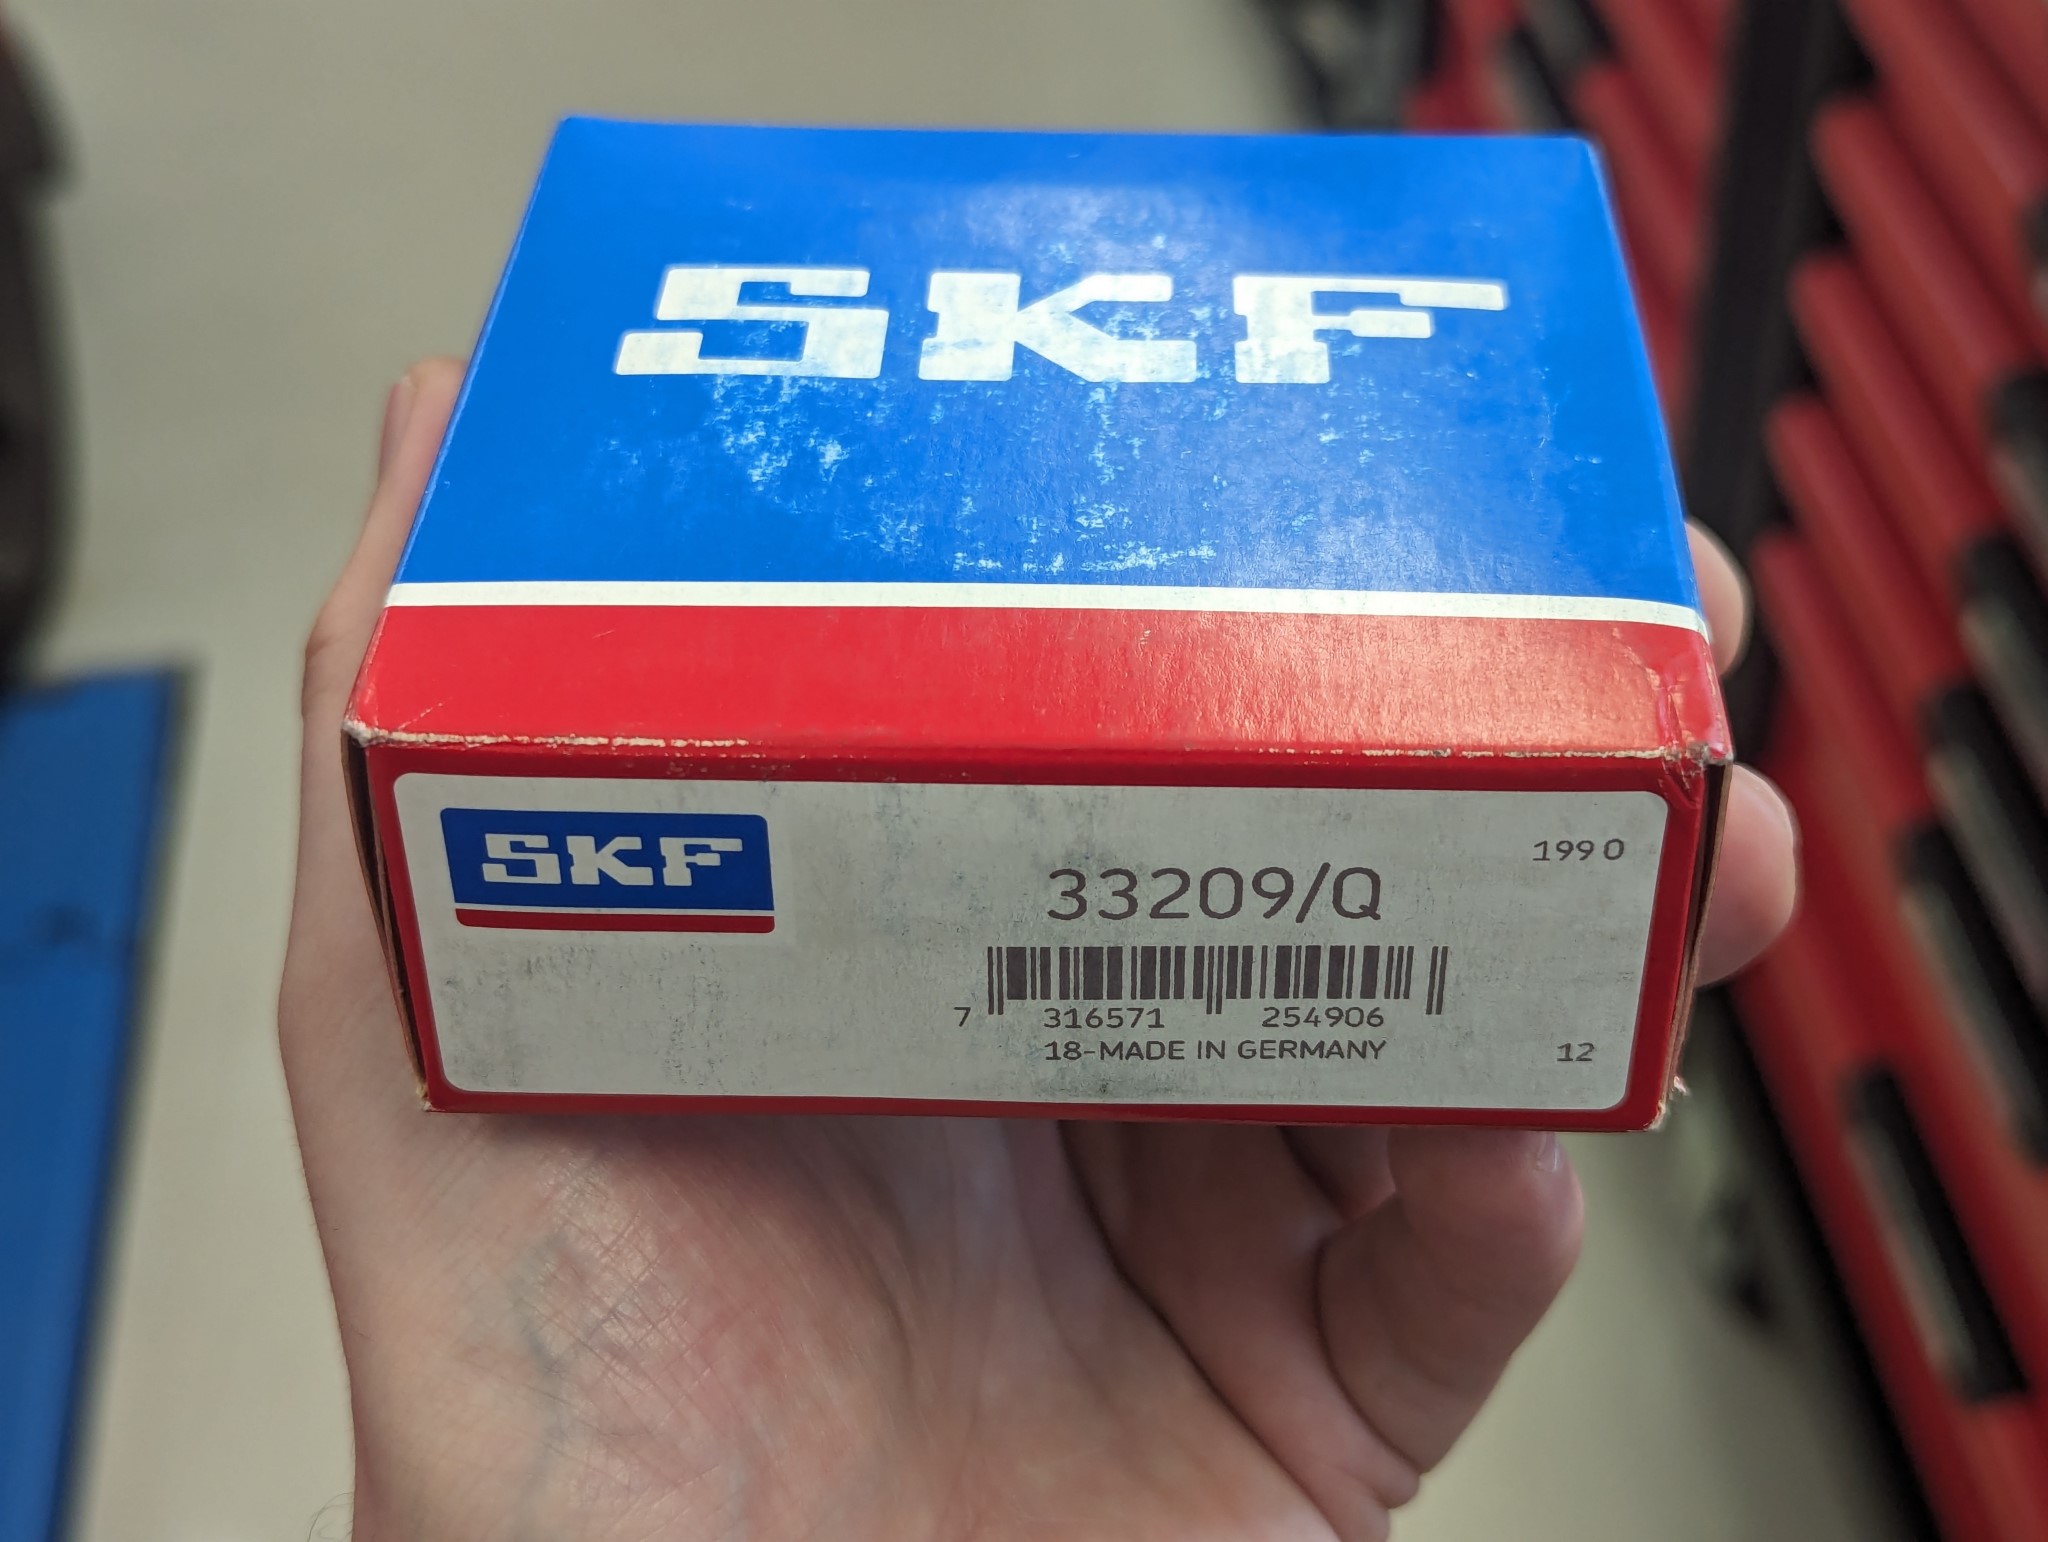
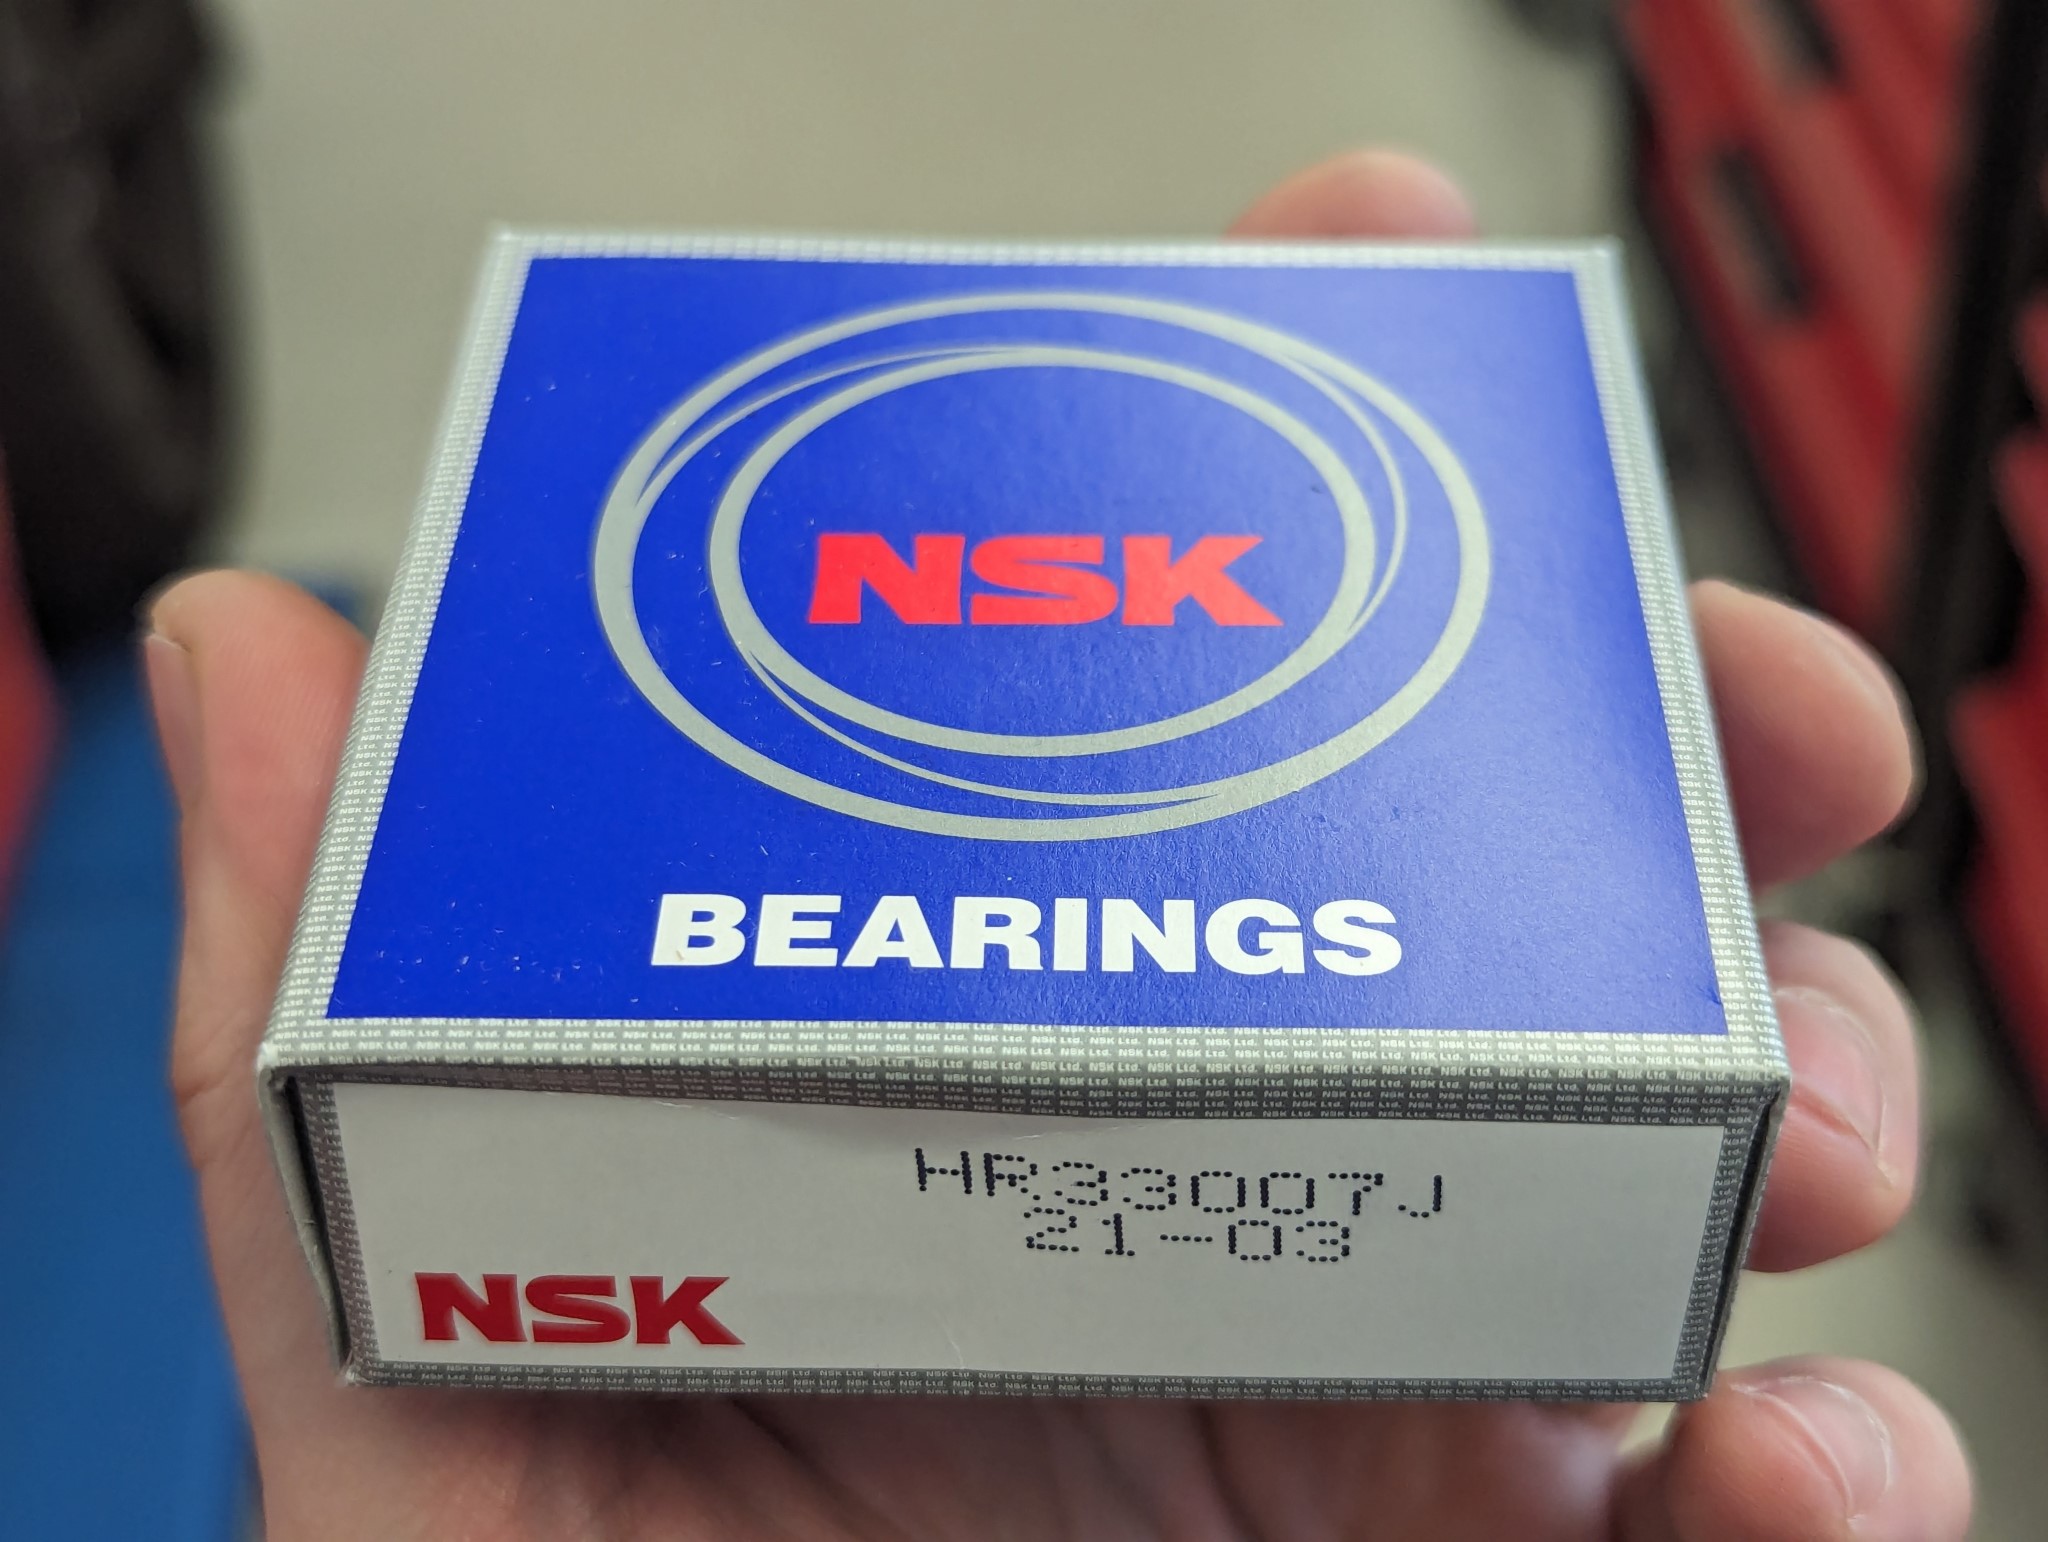
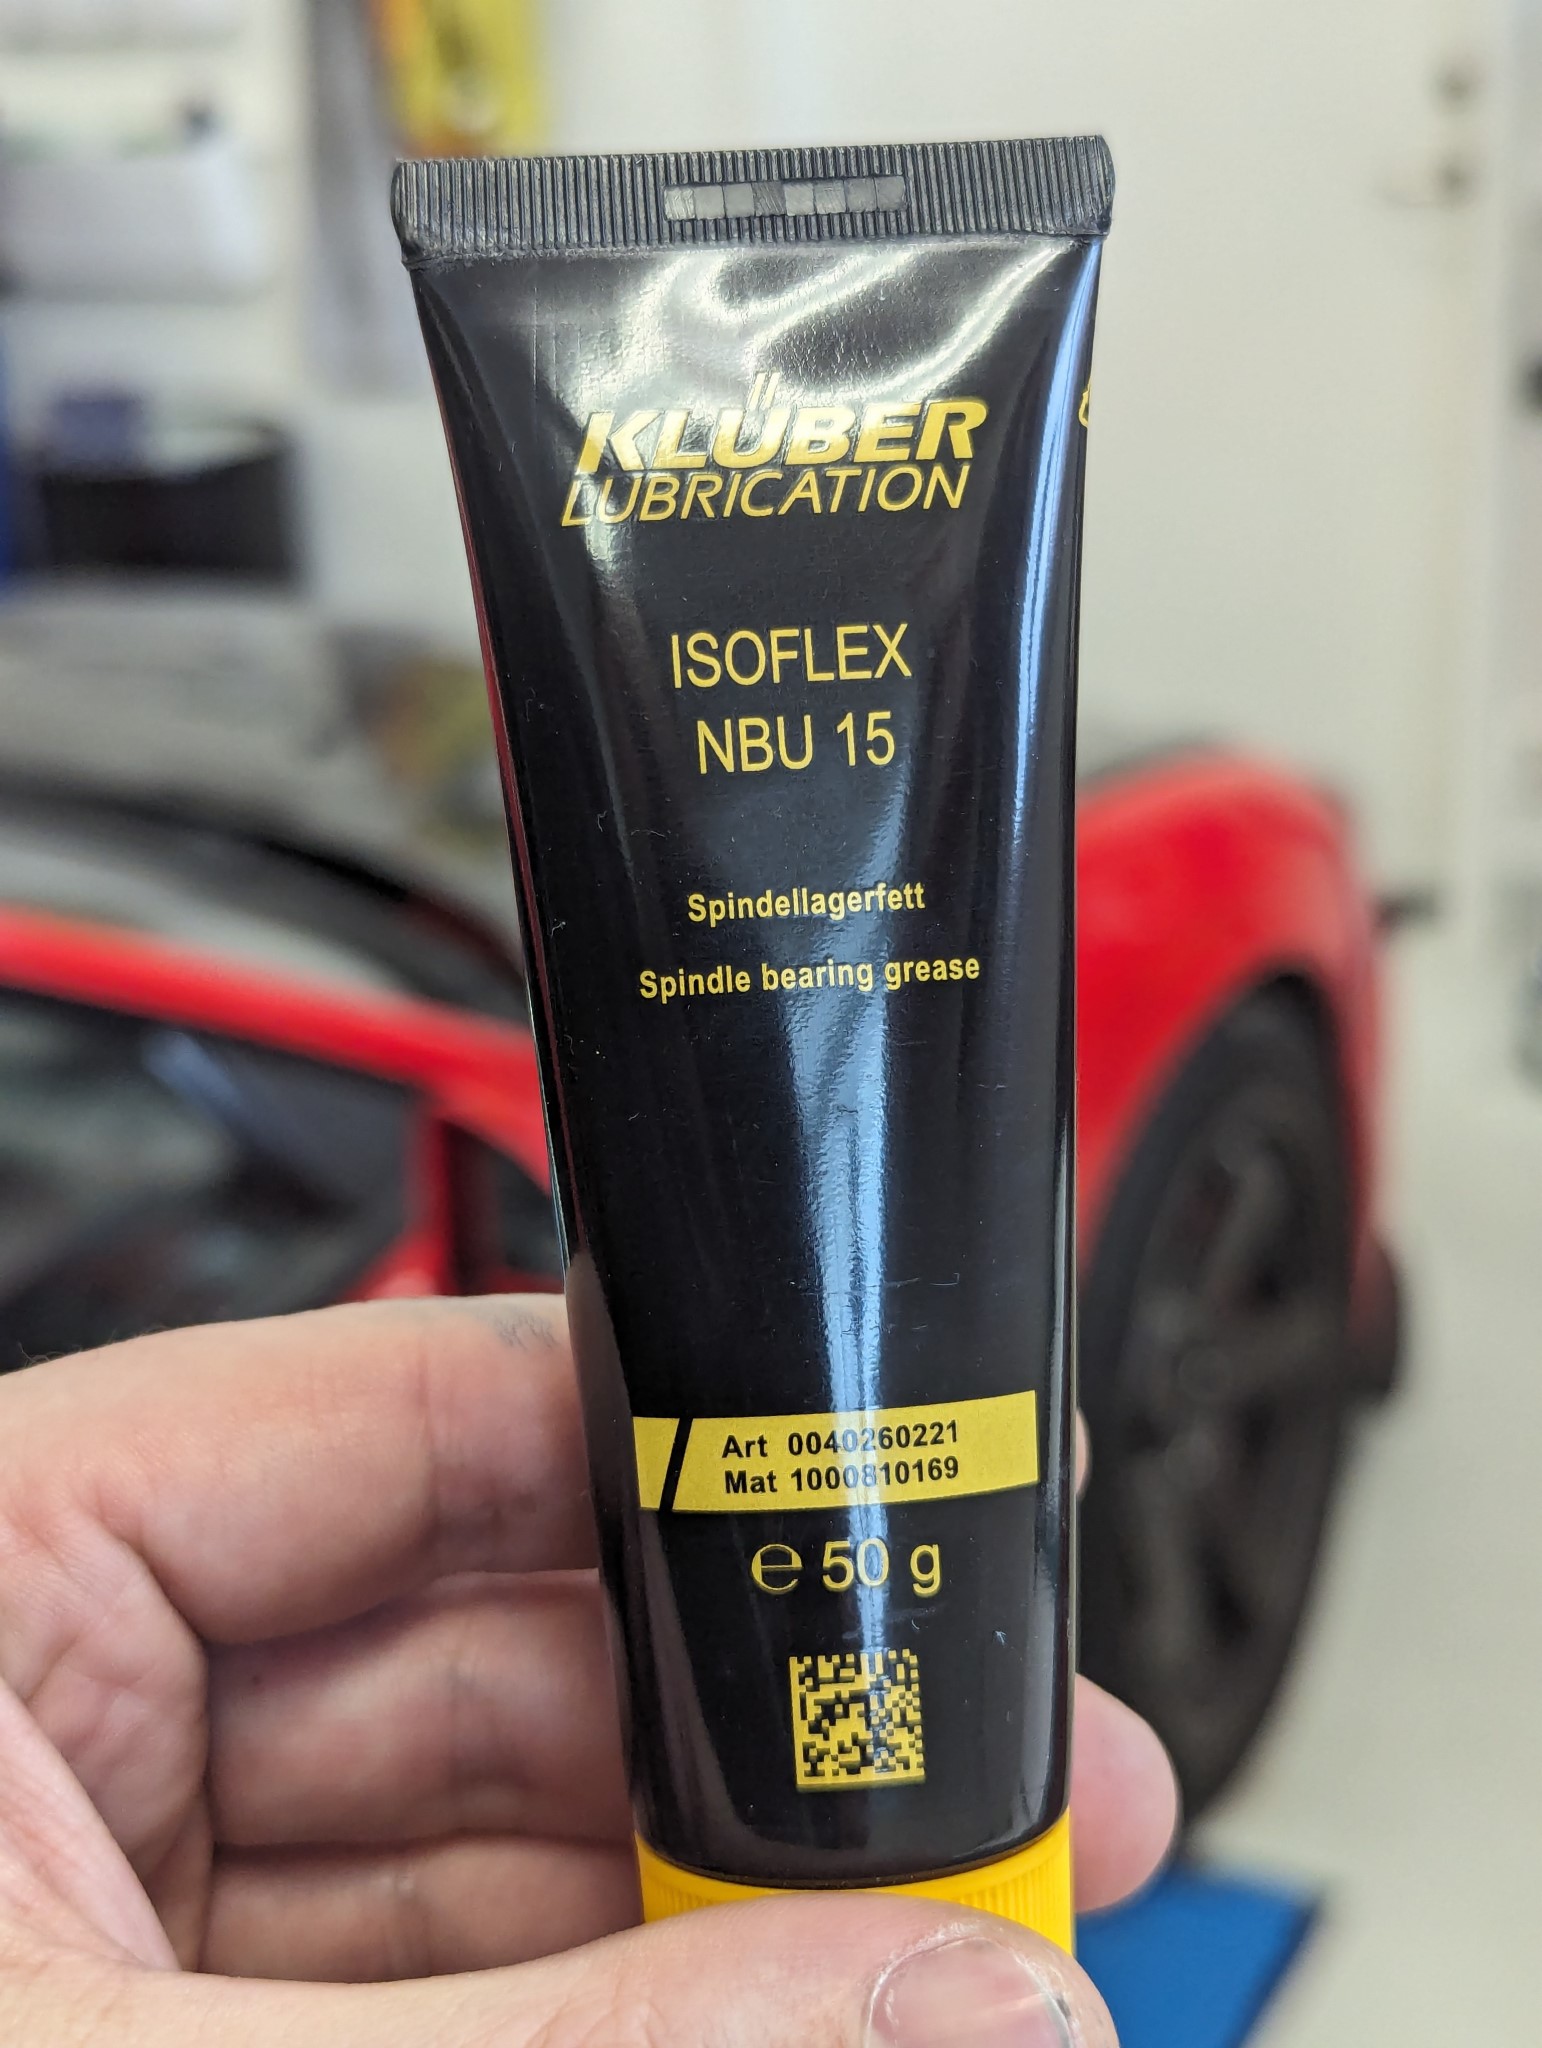
My spindle bearings have been making a slight noise for some time and all the milling in steel haven't exactly improved things. So when the CNC conversion is done and I've regained some bench space in the garage then my plan is the remove the spindle and replace the bearings.
SKF doesn't make the type of roller bearing used for the upper bearing in the spindle so I'm gonna use a mix of SKF and NSK bearings along with Klüber Isoflex NBU 15 grease.
The central lubrication and the work on the gibs did wounder for how a smooth the machine travels. This machine really should have come with central lubrication from the factory.
My spindle bearings have been making a slight noise for some time and all the milling in steel haven't exactly improved things. So when the CNC conversion is done and I've regained some bench space in the garage then my plan is the remove the spindle and replace the bearings.
SKF doesn't make the type of roller bearing used for the upper bearing in the spindle so I'm gonna use a mix of SKF and NSK bearings along with Klüber Isoflex NBU 15 grease.
Attachments:
The following user(s) said Thank You: tommylight, anders
Please Log in or Create an account to join the conversation.
27 Mar 2024 22:29 #296946
by Unlogic
Replied by Unlogic on topic Optimum Optimill MH50V CNC conversion
I've finished all the mechanical parts of this conversion now and the electrical cabinet that came with the machine has been removed along with all the stock electronics.
Here is how the control cabinet ended up looking on the inside with everything installed.
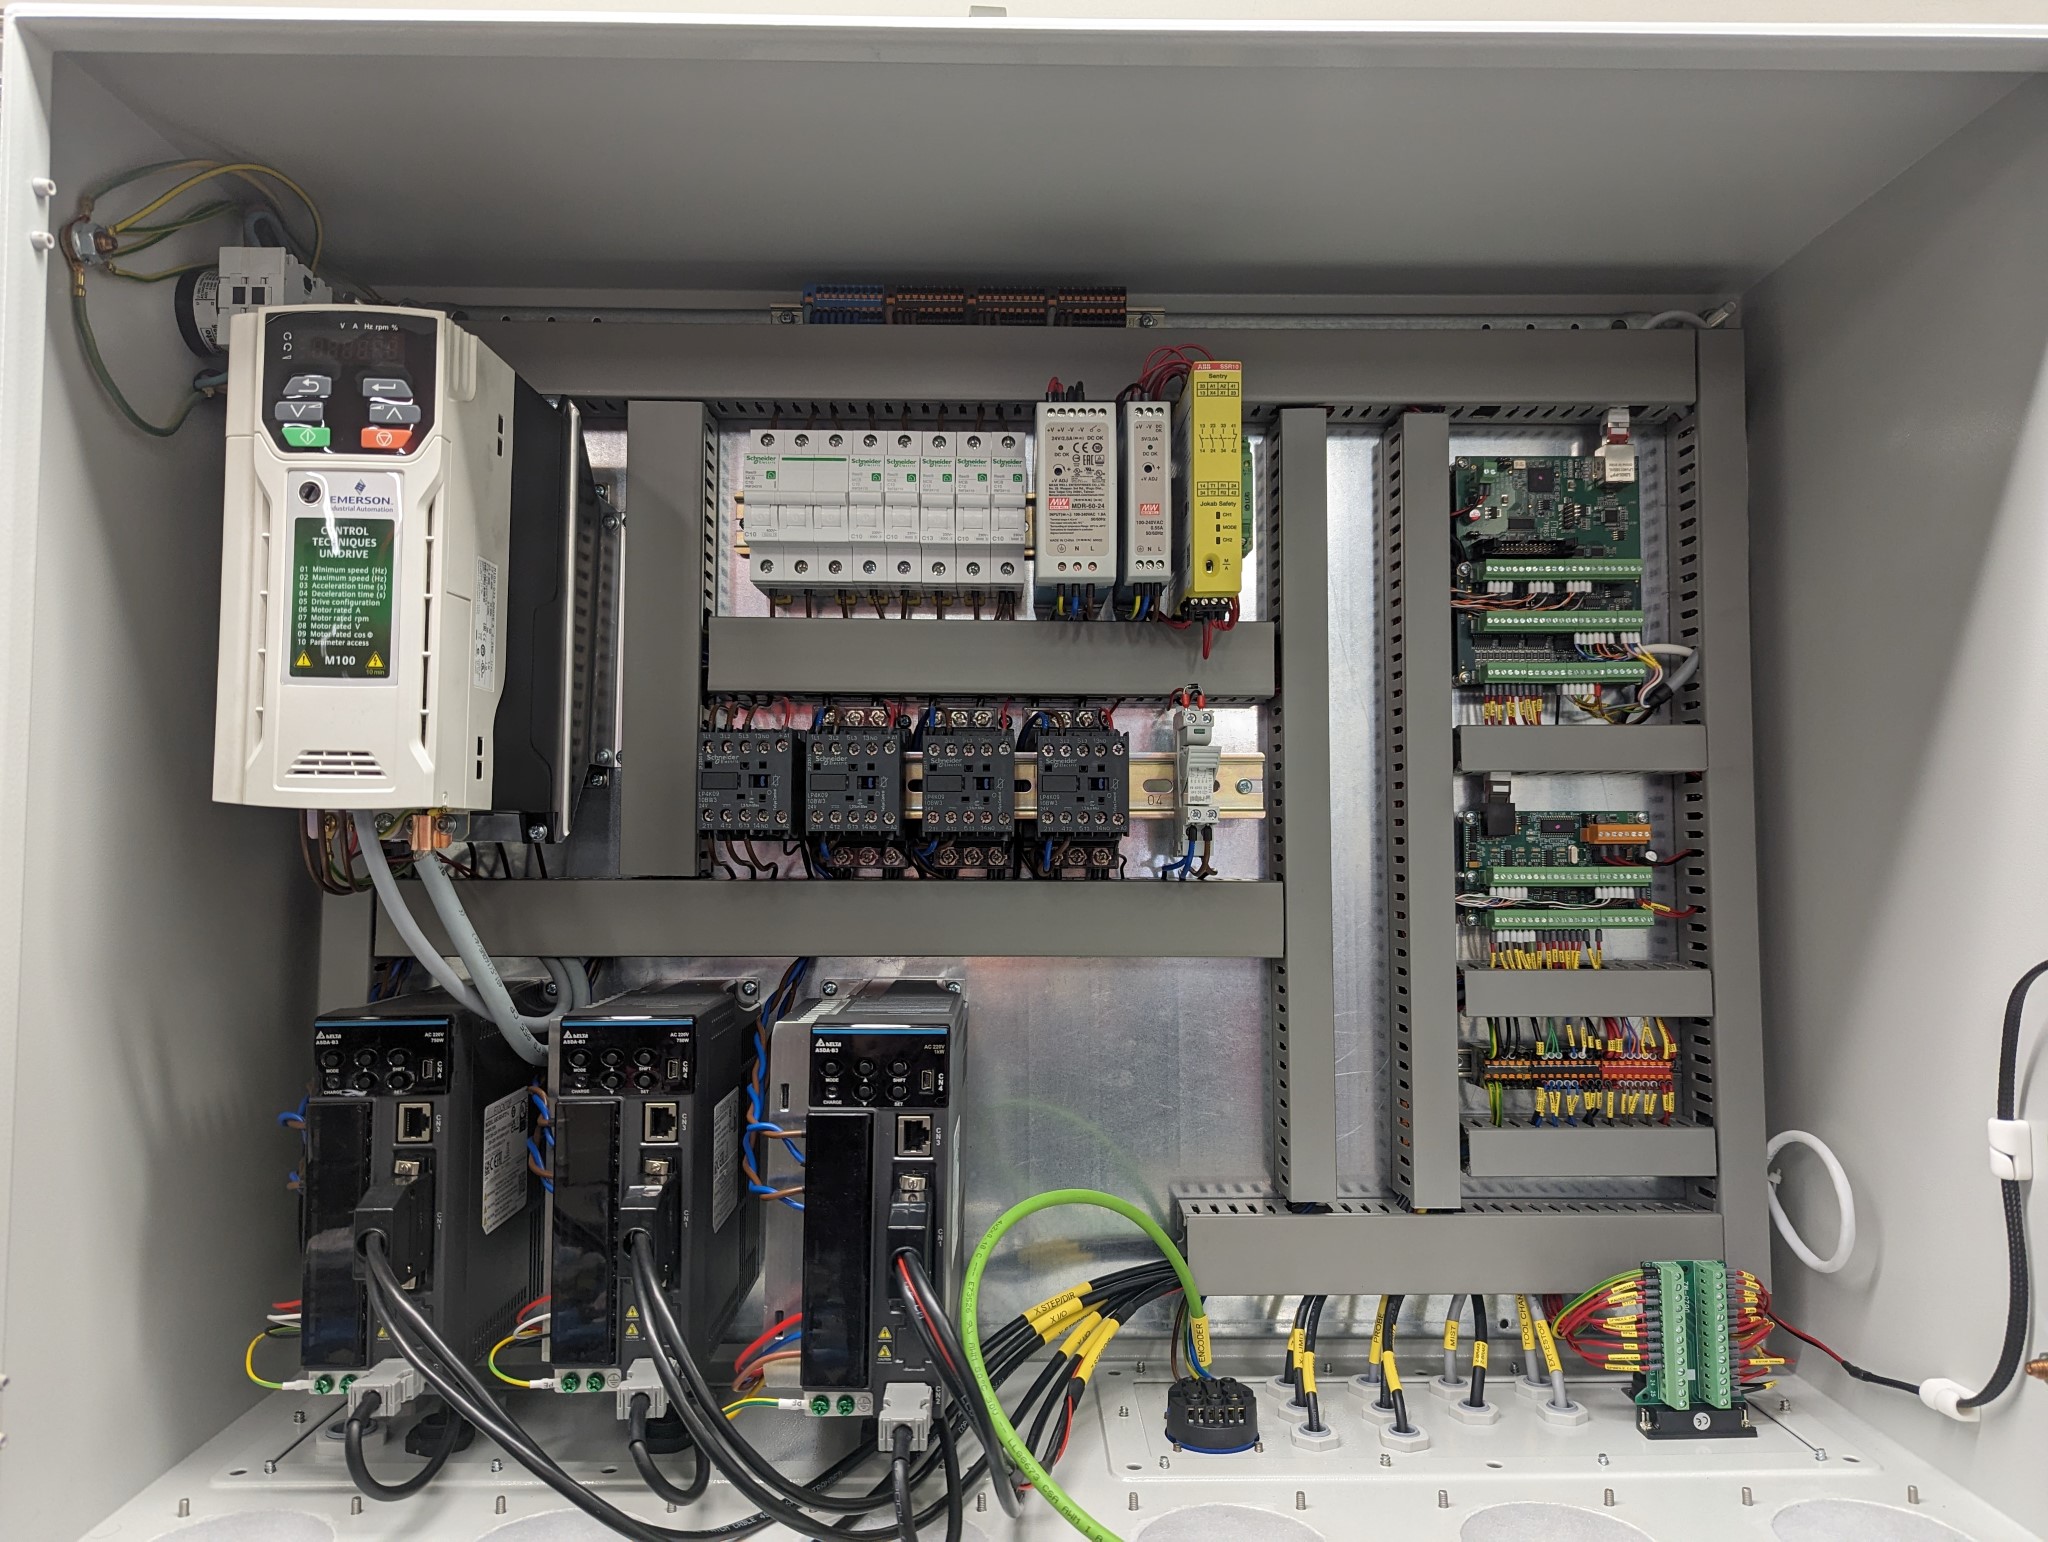
The only thing I reused from the electronics that came with the machine was the VFD and the estop button.
As I know VFD's can generate quite a bit of electrical noise I took no chances and terminated the shielded spindle motor cable right at the VFD using a copper bracket that contacts the shield around the whole circumference of the cable.
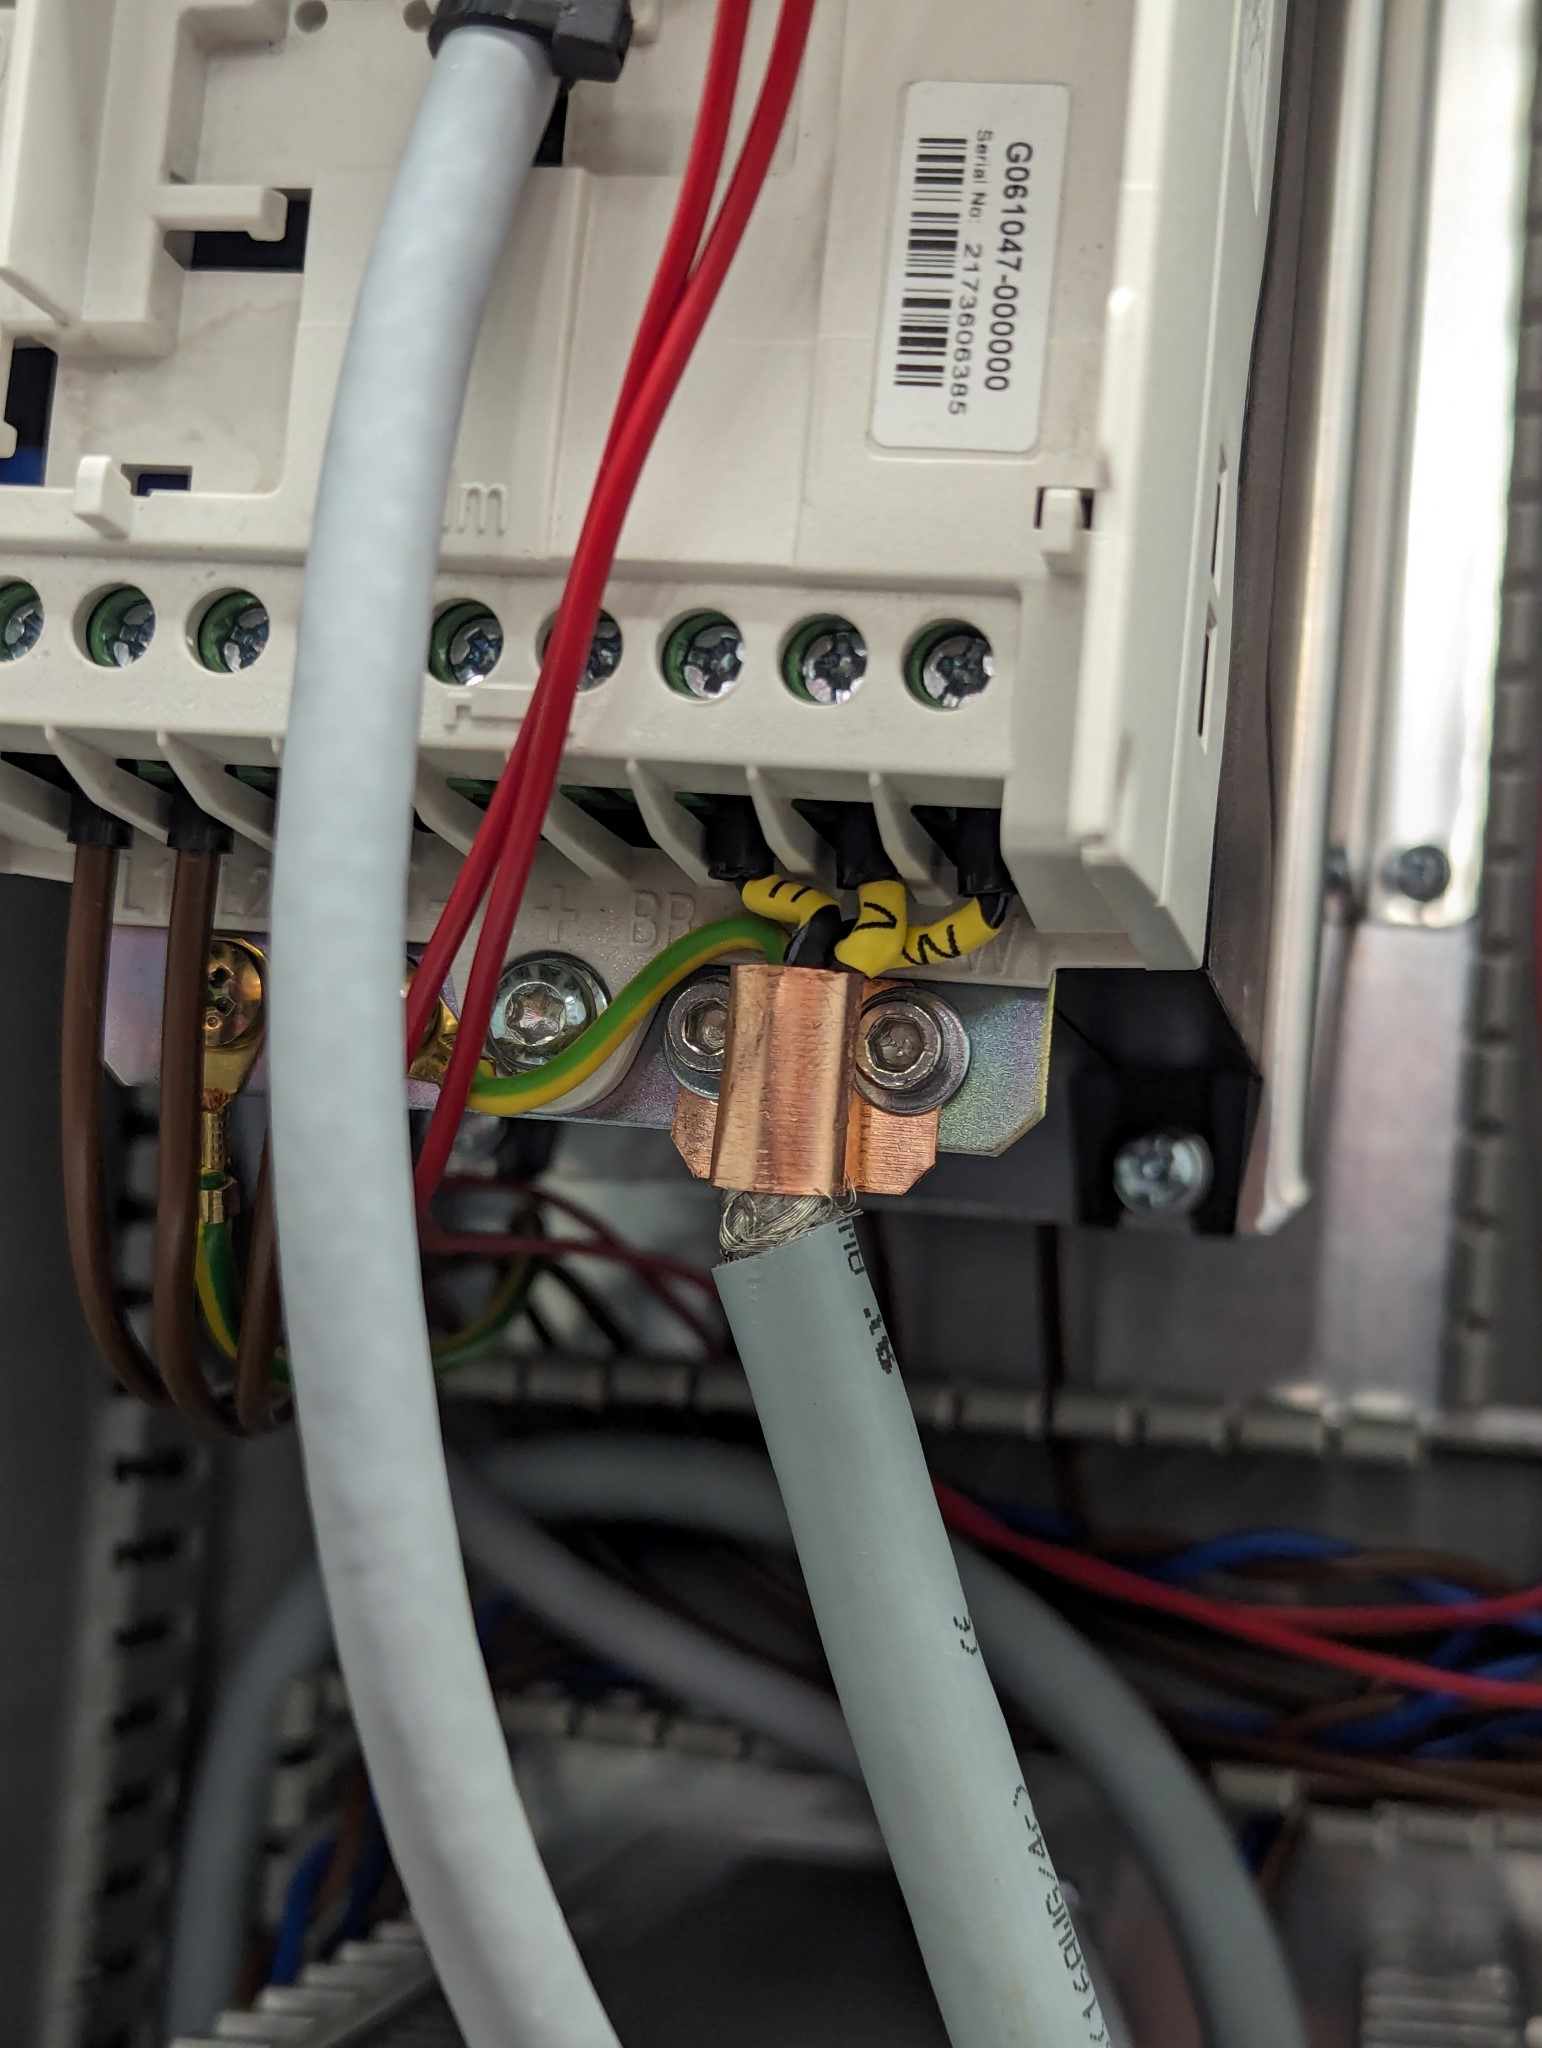
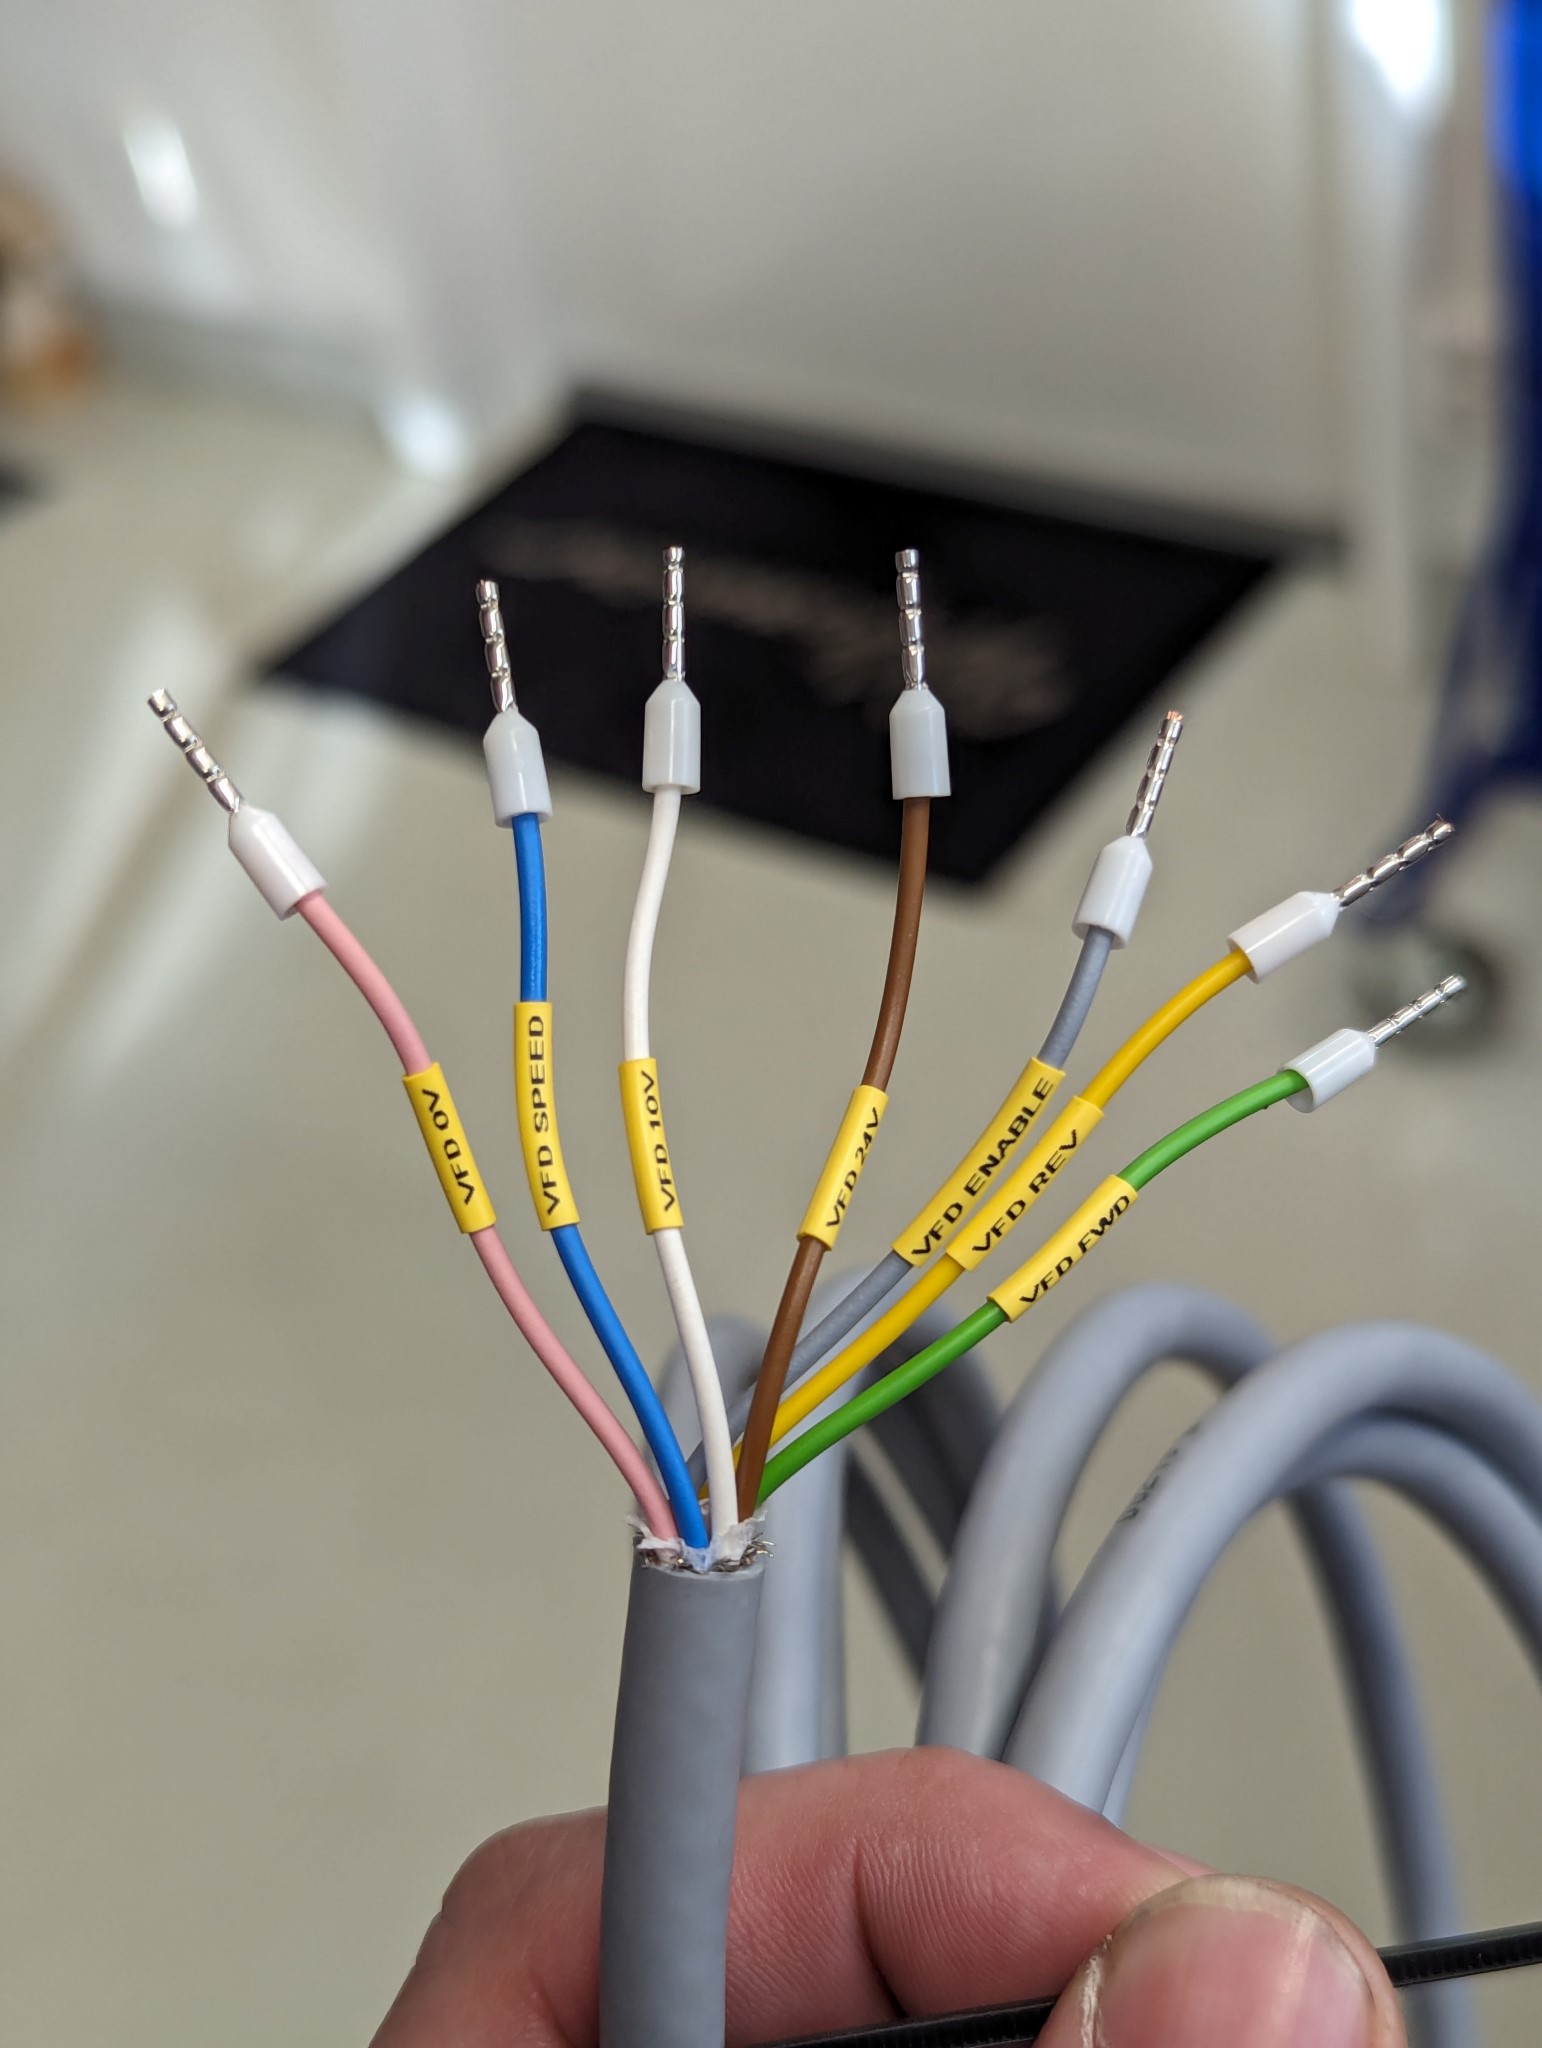
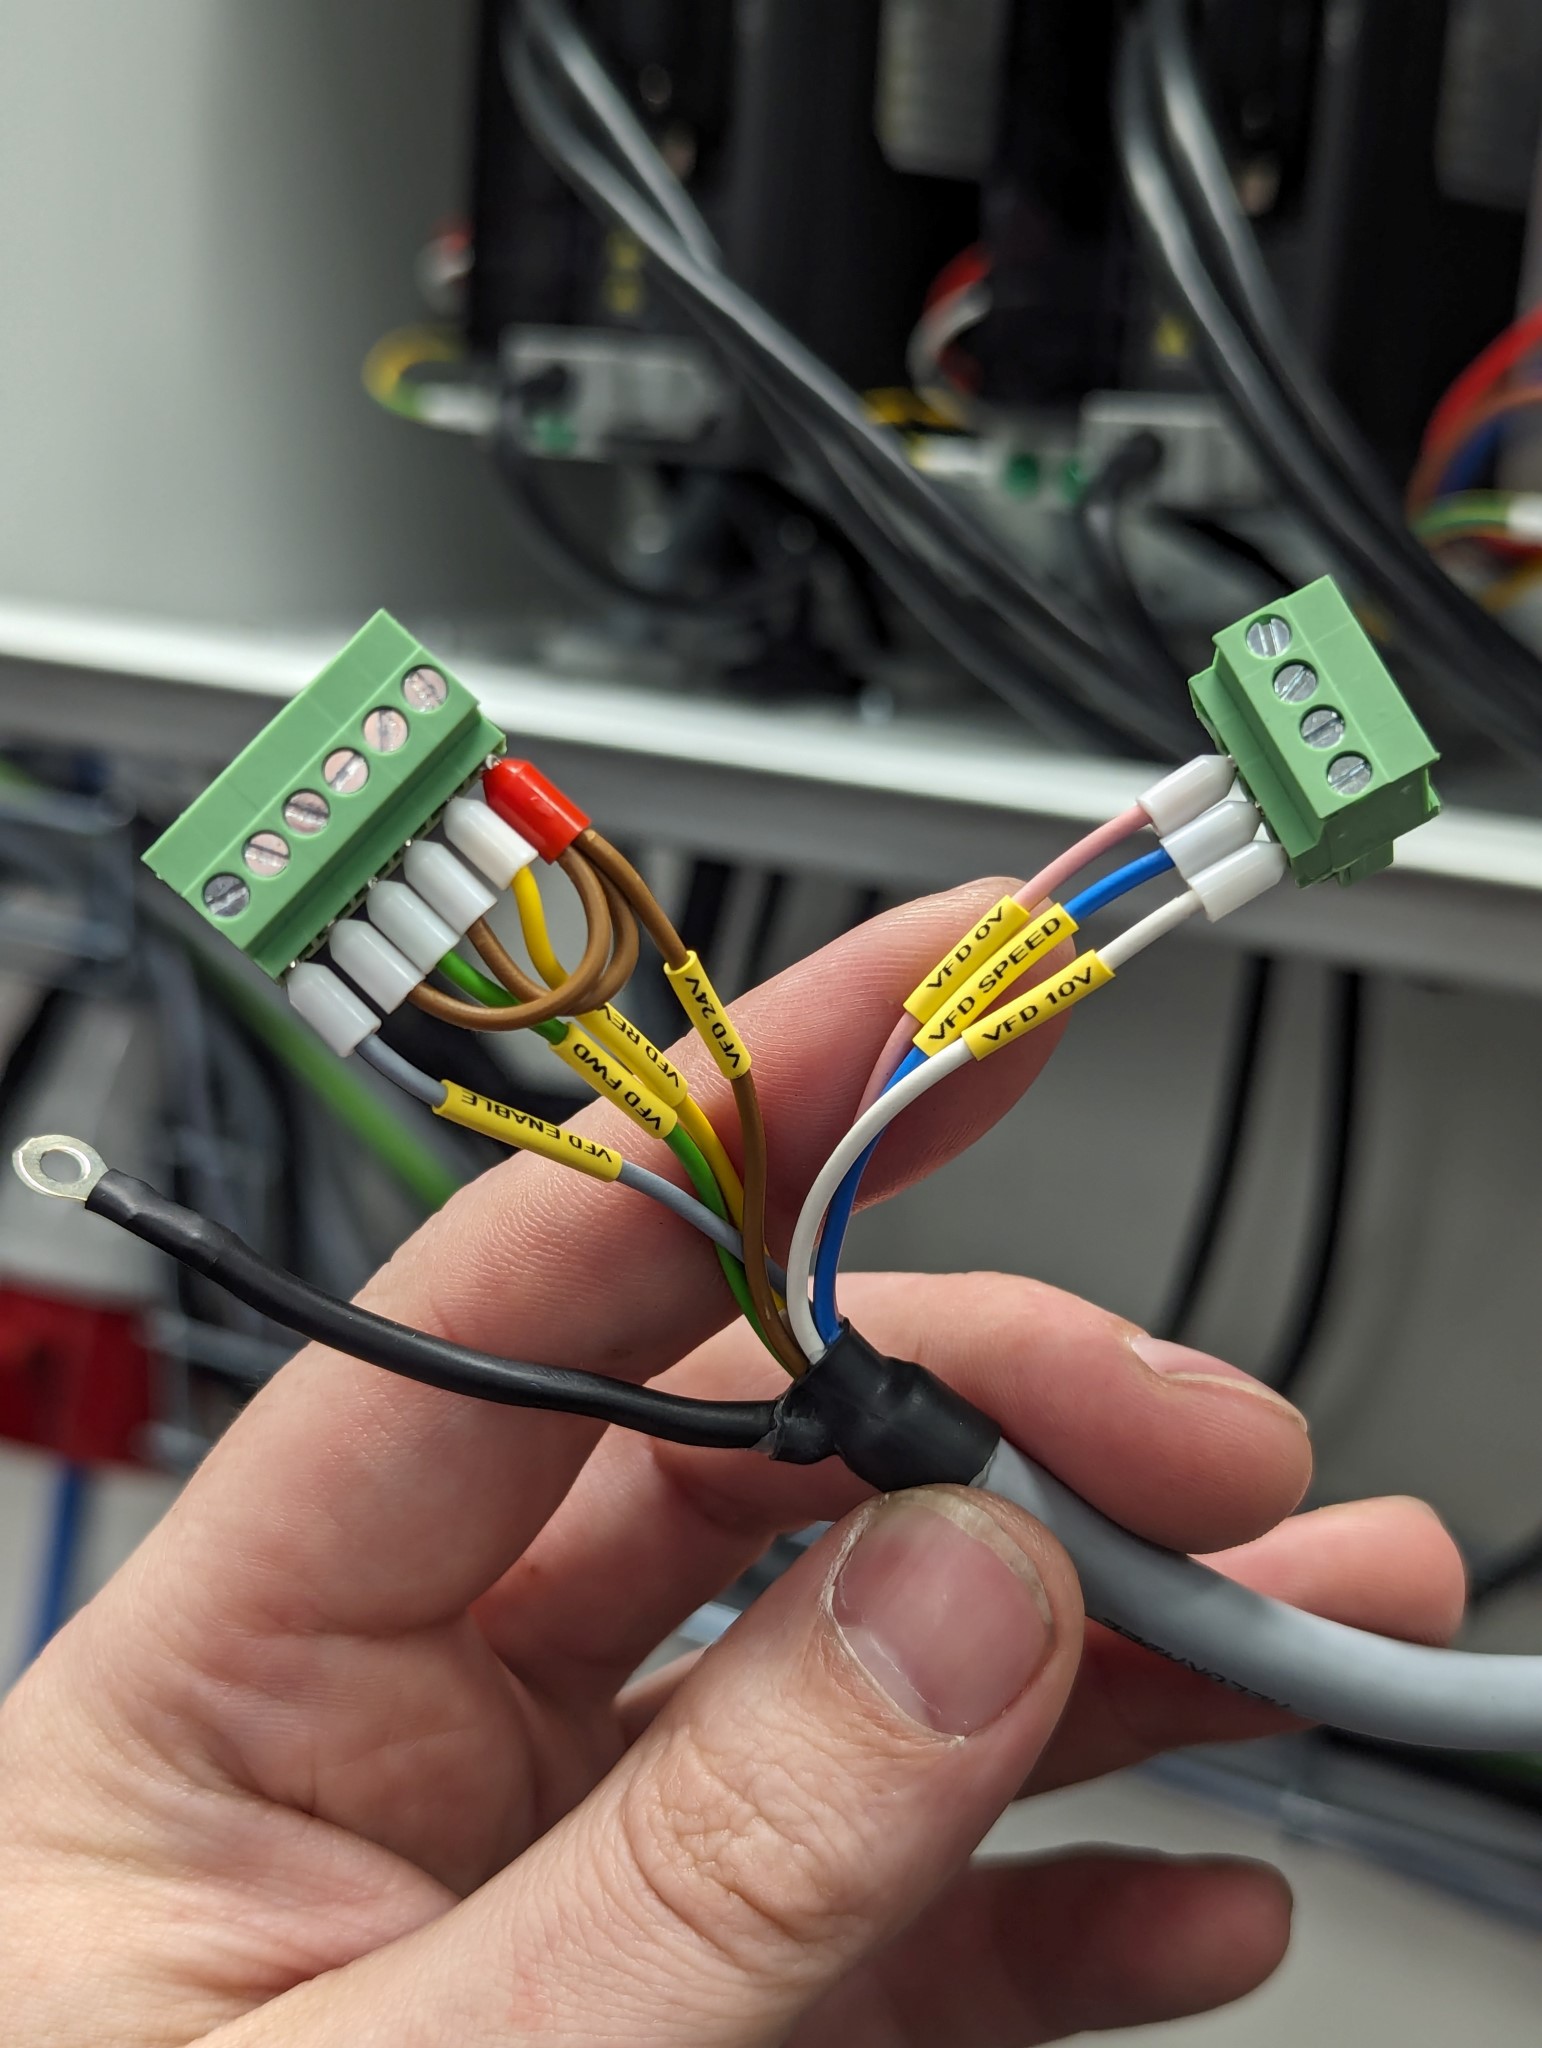
I also used a shielded cable for the control cable that goes from the VFD to the Mesa 7i96S board. I wasn't as picky with the termination of the shield here however and used a pigtail. Hopefully this work fine anyway.
I didn't have any shielded two-wire cable so for the fault signal from the VFD I used unshielded cables but these will be replaced shortly. I did this as an interim solution because I wanted to be absolutely sure that the motion stops if there is any fault with the spindle motor.
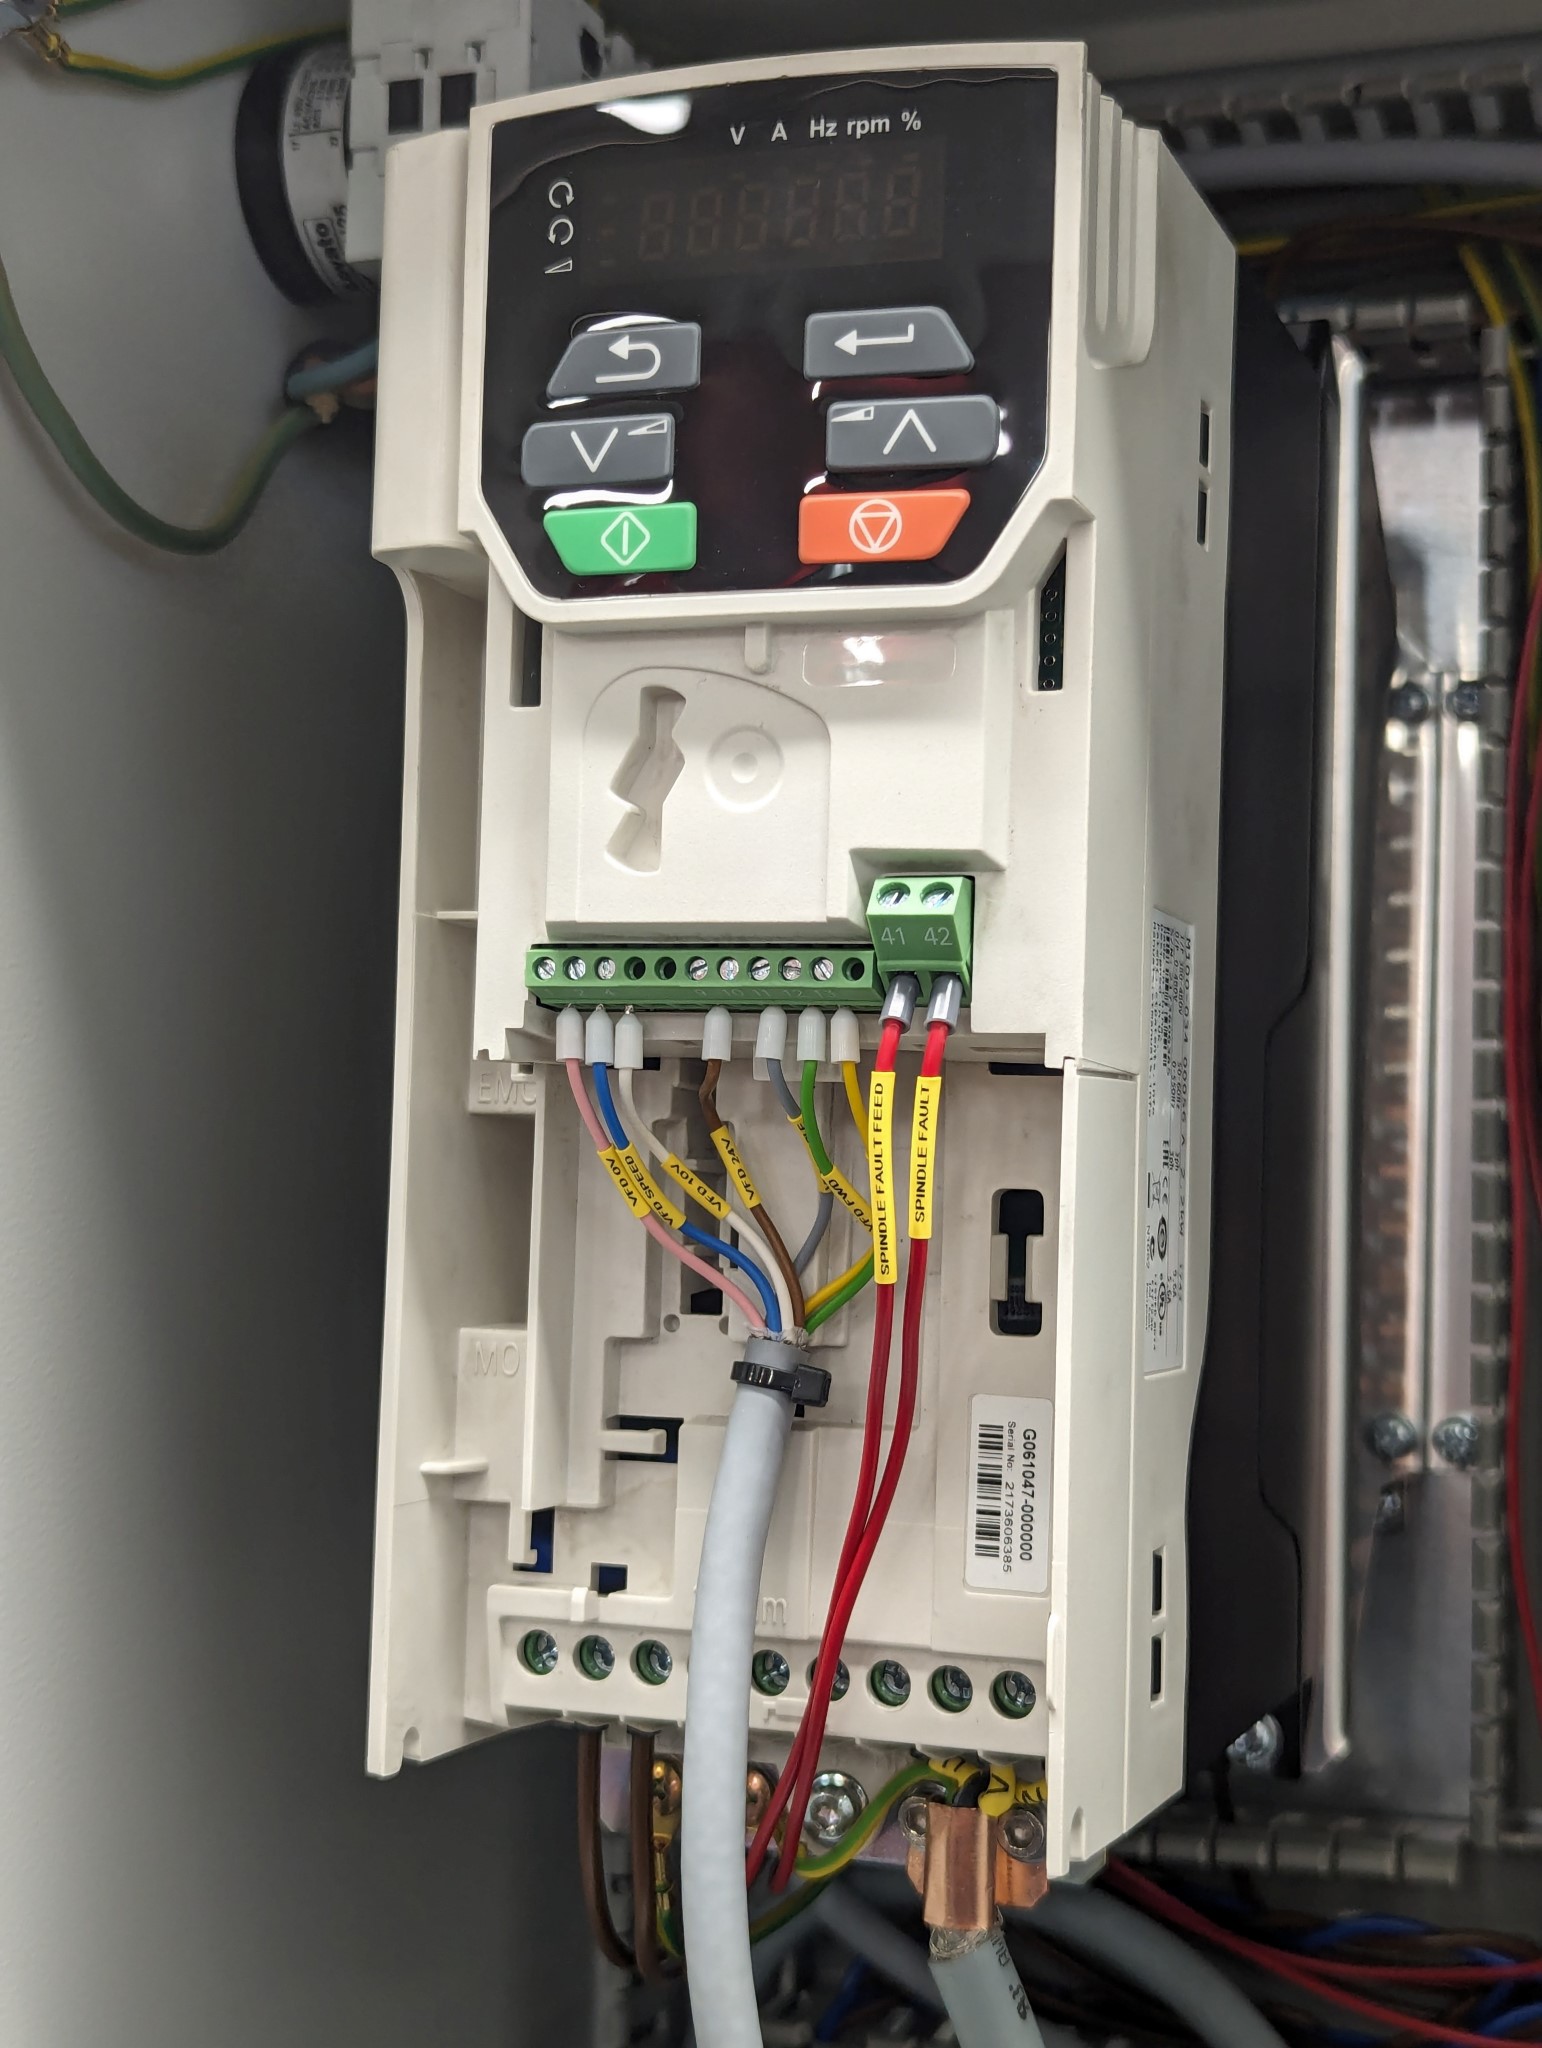
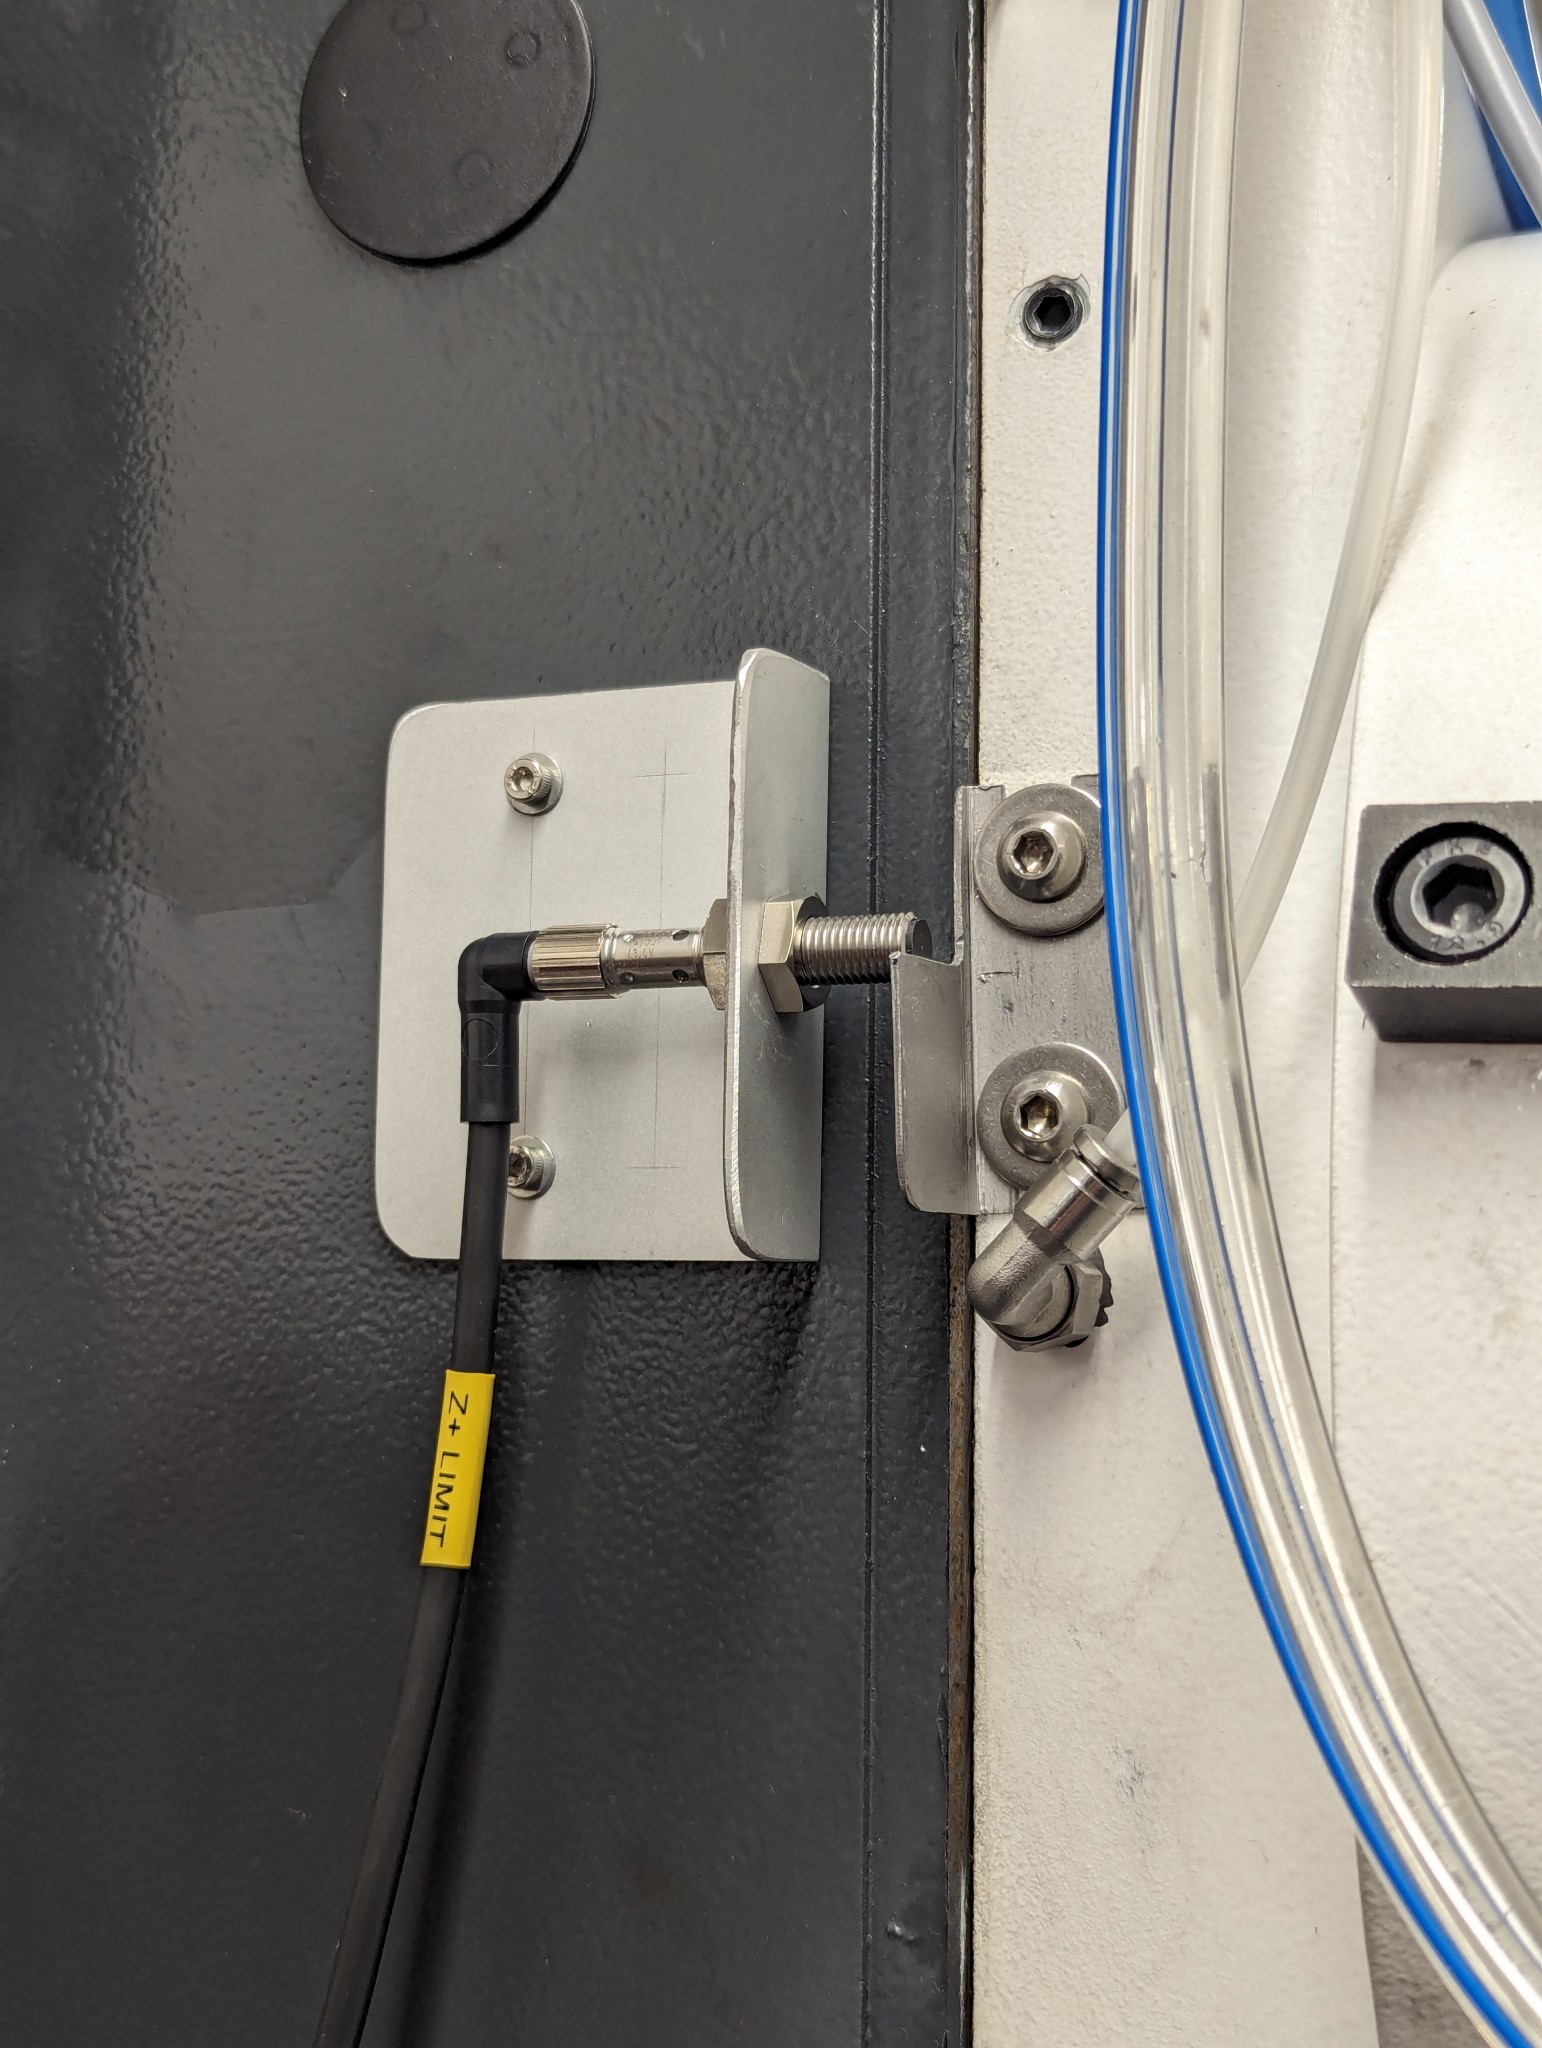
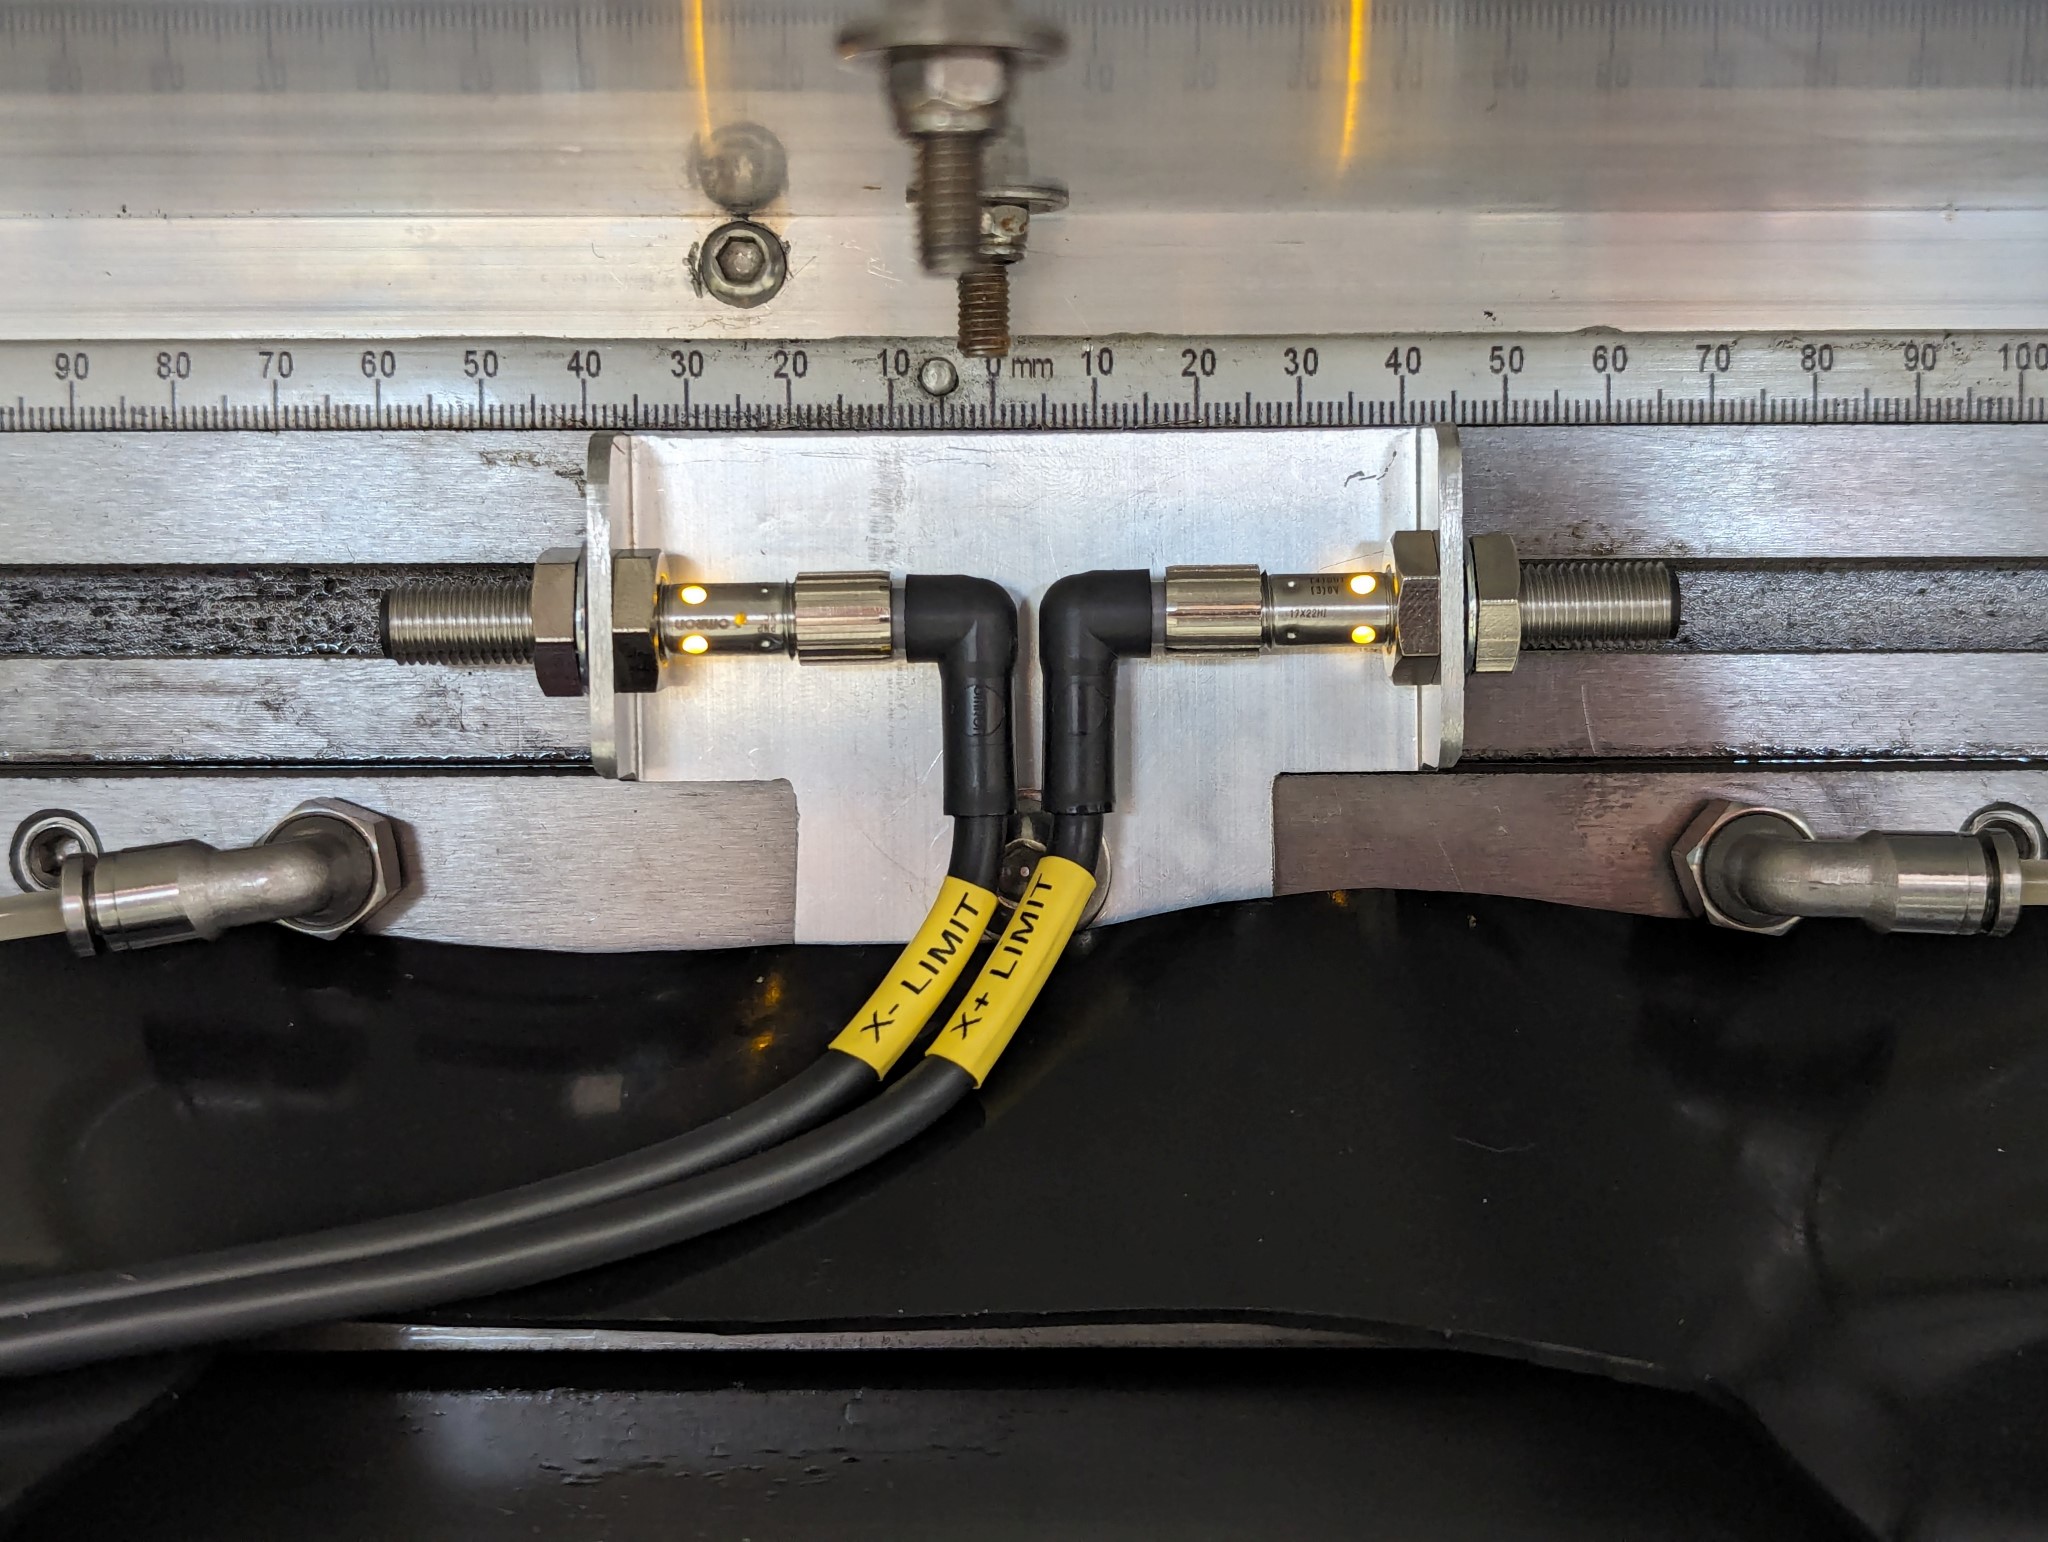
For limit switches I used inductive Omron E2BS08KS02MCB2 sensors. I have one sensor at the end of the travel of each axis apart from the z-axis which only has a sensor at the top.
Here is how the machine looks at the moment.
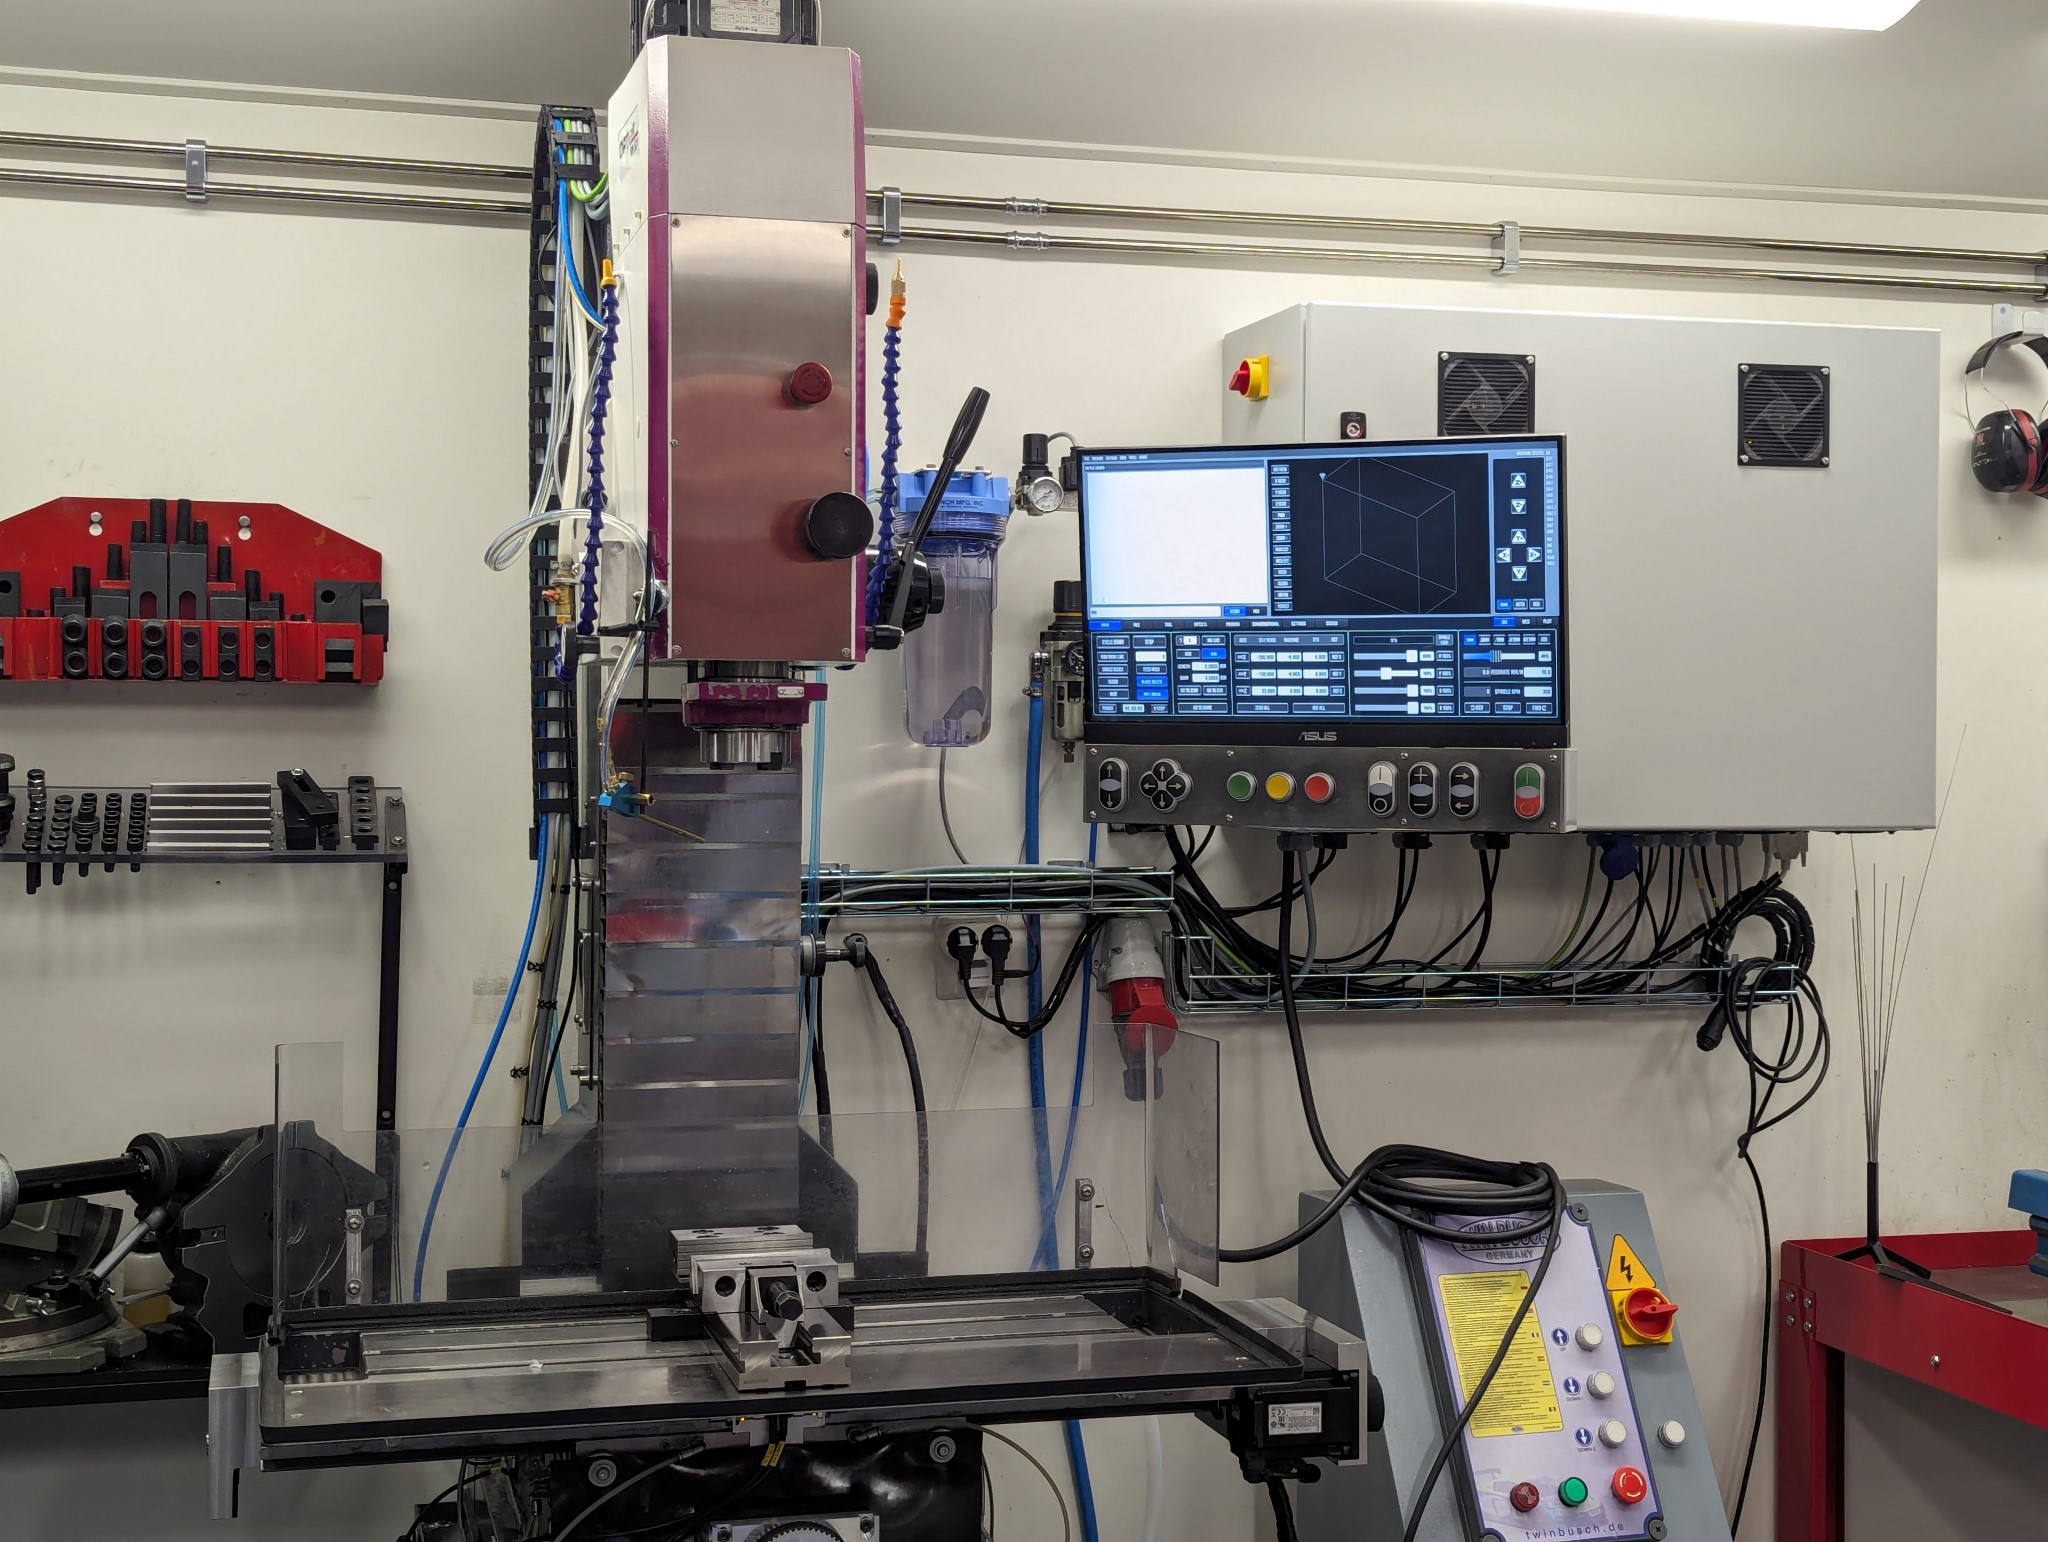
I need to setup the limit switches in INI/HAL files and properly test them before I can do any serious milling however. I also currently don't have any encoder connected so I don't have closed loop RPM control or the ability to do rigid tapping at the moment.
In preparation for an encoder I installed a shielded 8-wire cable between the mill and the electrical cabinet. I just need to find the right encoder now. Preferably I'd want a 5v encoder that work with the Mesa 7i96S without the need for an optocoupler or voltage level shifter. However finding the right encoder has proven a bit more challenging than I first had anticipated. Any recommendations are very welcome

I've found this Omron model which seems interesting but I'm not sure if it's the right specification and it mentions a maximum cable length of 2m in the specification which seems a bit short (if I'm reading the specification correctly). The shielded 8-wire cable I have already installed is about 5 meters long.
www.ia.omron.com/product/item/2500/
Here is how the control cabinet ended up looking on the inside with everything installed.
The only thing I reused from the electronics that came with the machine was the VFD and the estop button.
As I know VFD's can generate quite a bit of electrical noise I took no chances and terminated the shielded spindle motor cable right at the VFD using a copper bracket that contacts the shield around the whole circumference of the cable.
I also used a shielded cable for the control cable that goes from the VFD to the Mesa 7i96S board. I wasn't as picky with the termination of the shield here however and used a pigtail. Hopefully this work fine anyway.
I didn't have any shielded two-wire cable so for the fault signal from the VFD I used unshielded cables but these will be replaced shortly. I did this as an interim solution because I wanted to be absolutely sure that the motion stops if there is any fault with the spindle motor.
For limit switches I used inductive Omron E2BS08KS02MCB2 sensors. I have one sensor at the end of the travel of each axis apart from the z-axis which only has a sensor at the top.
Here is how the machine looks at the moment.
I need to setup the limit switches in INI/HAL files and properly test them before I can do any serious milling however. I also currently don't have any encoder connected so I don't have closed loop RPM control or the ability to do rigid tapping at the moment.
In preparation for an encoder I installed a shielded 8-wire cable between the mill and the electrical cabinet. I just need to find the right encoder now. Preferably I'd want a 5v encoder that work with the Mesa 7i96S without the need for an optocoupler or voltage level shifter. However finding the right encoder has proven a bit more challenging than I first had anticipated. Any recommendations are very welcome
I've found this Omron model which seems interesting but I'm not sure if it's the right specification and it mentions a maximum cable length of 2m in the specification which seems a bit short (if I'm reading the specification correctly). The shielded 8-wire cable I have already installed is about 5 meters long.
www.ia.omron.com/product/item/2500/
Attachments:
The following user(s) said Thank You: tommylight
Please Log in or Create an account to join the conversation.
28 Mar 2024 07:00 - 28 Mar 2024 22:53 #296969
by Unlogic
Replied by Unlogic on topic Optimum Optimill MH50V CNC conversion
I've noticed that the Omron encoders are available in NPN, PNP and linedriver versions.
I wasn't sure which type that was most suitable for use with Mesa cards but after using a few different search criterias on Google to search through this forum I found this excellent post by PCW which cleared things up:
forum.linuxcnc.org/30-cnc-machines/48587...on-mesa-7i76e#267477
So it seems I'll be ordering a Omron rotary encoder with a 5 volt linedriver interface.
One a side note I also found this page on the Omron website which clarifies the max cable length for the different versions of the encoders:
www.ia.omron.com/support/faq/answer/34/faq00969/index.html
Last edit: 28 Mar 2024 22:53 by Unlogic.
Please Log in or Create an account to join the conversation.
28 Mar 2024 18:49 #297020
by Unlogic
Replied by Unlogic on topic Optimum Optimill MH50V CNC conversion
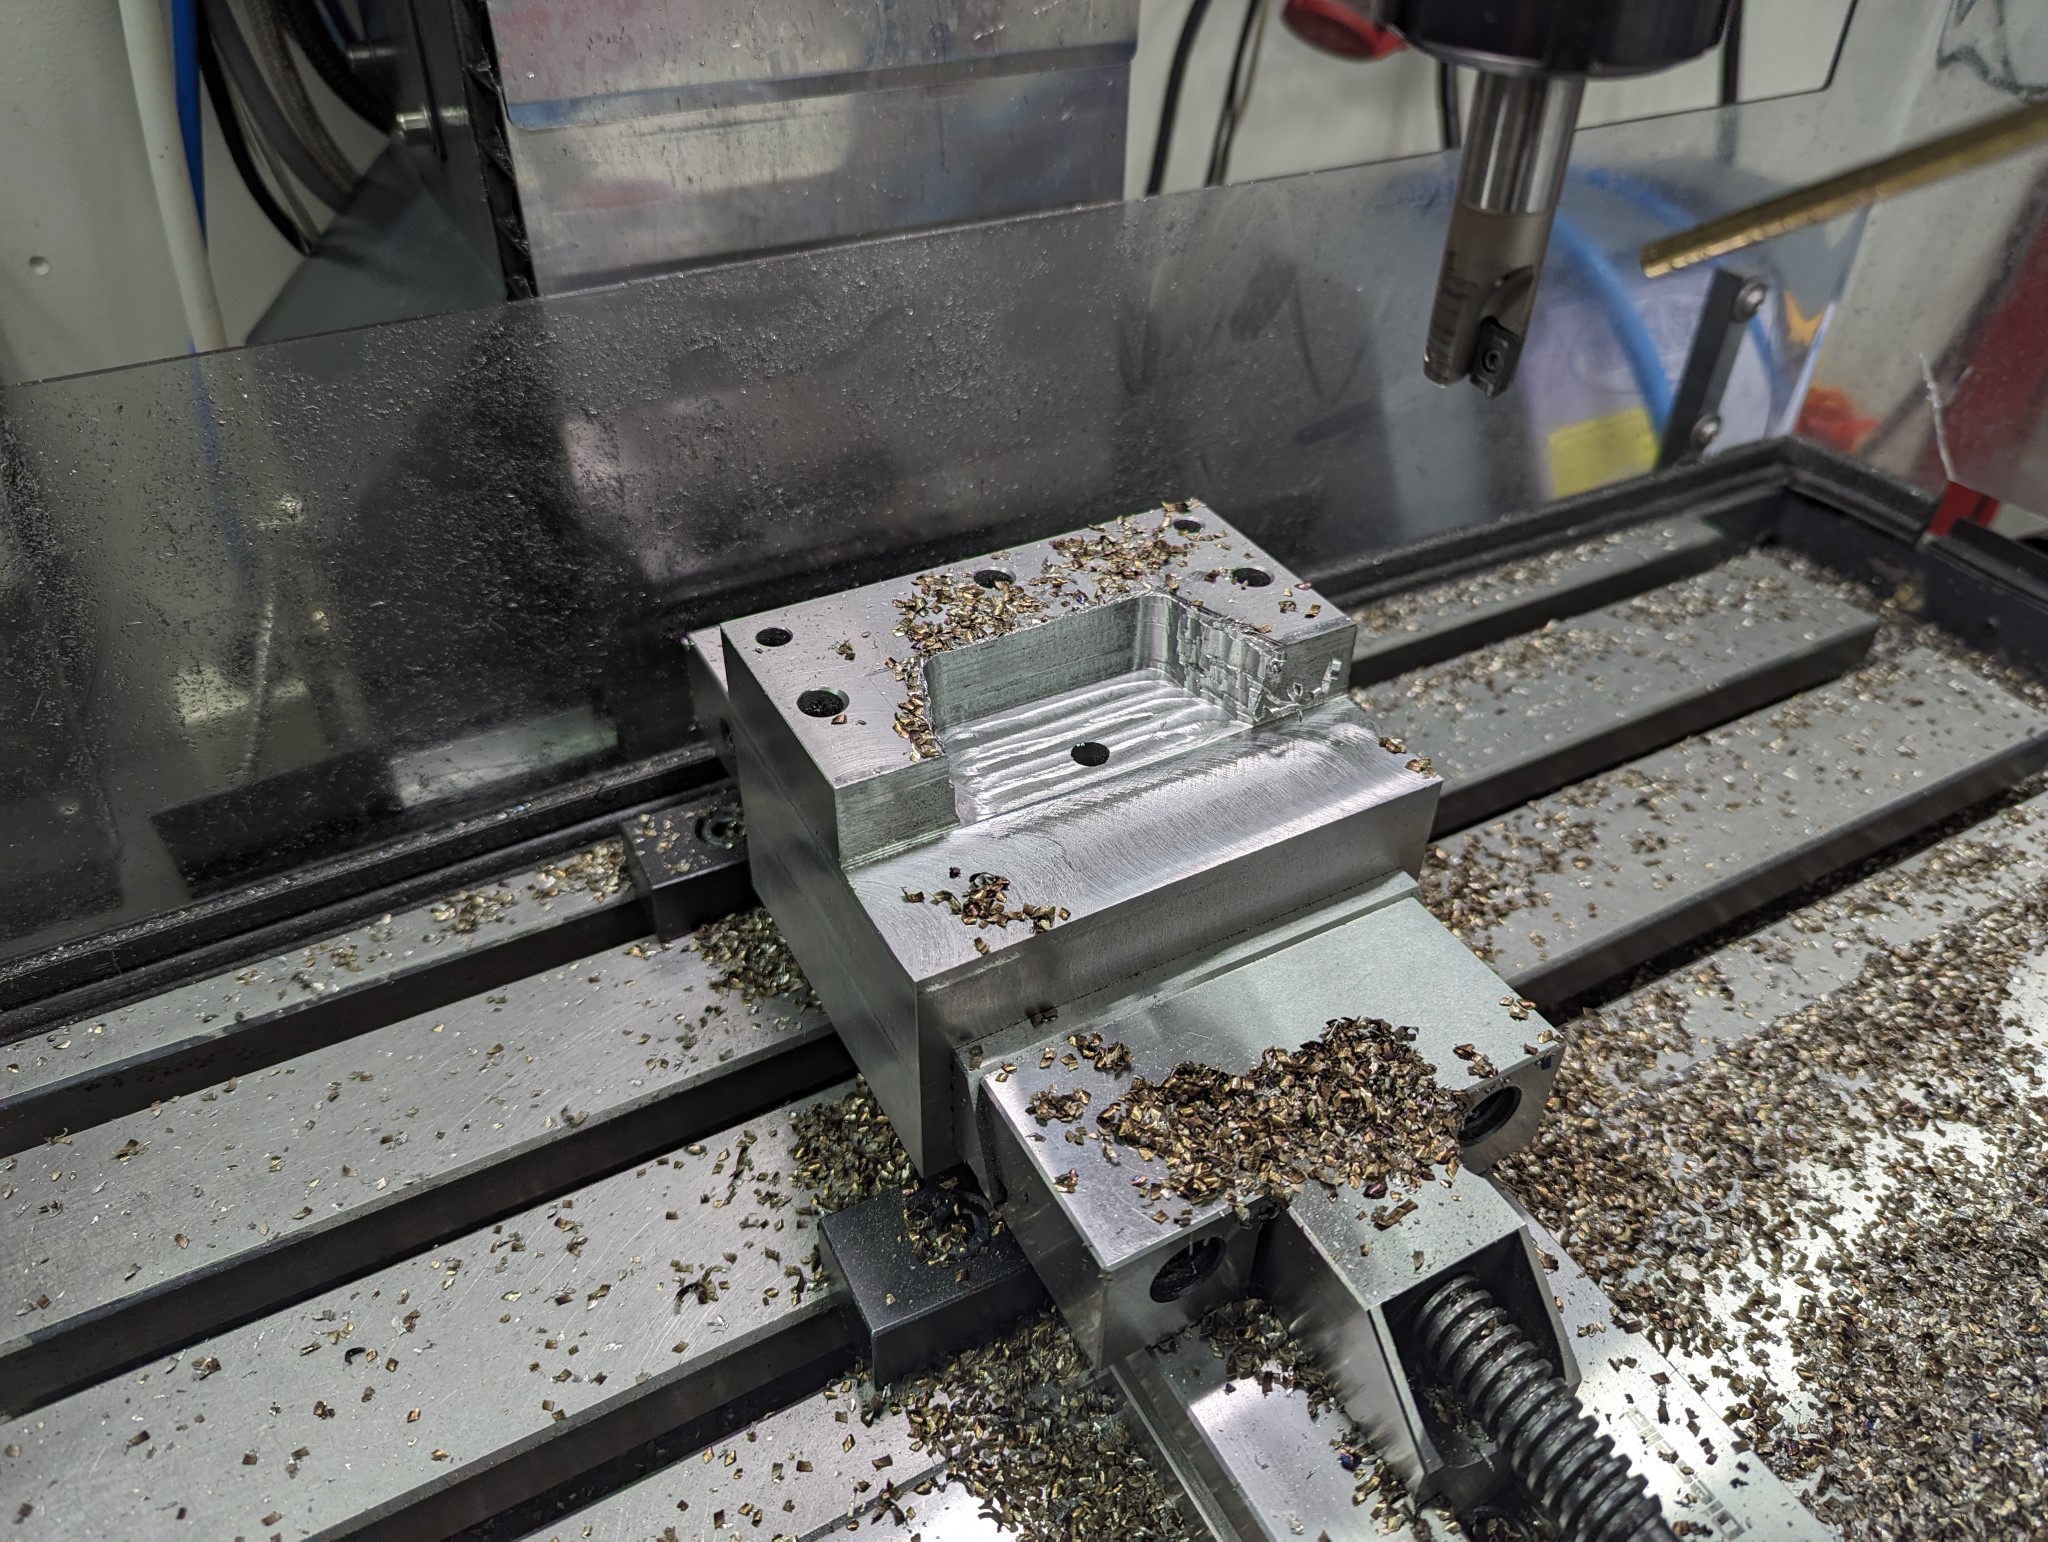
Did my first real test today with everything assembled.
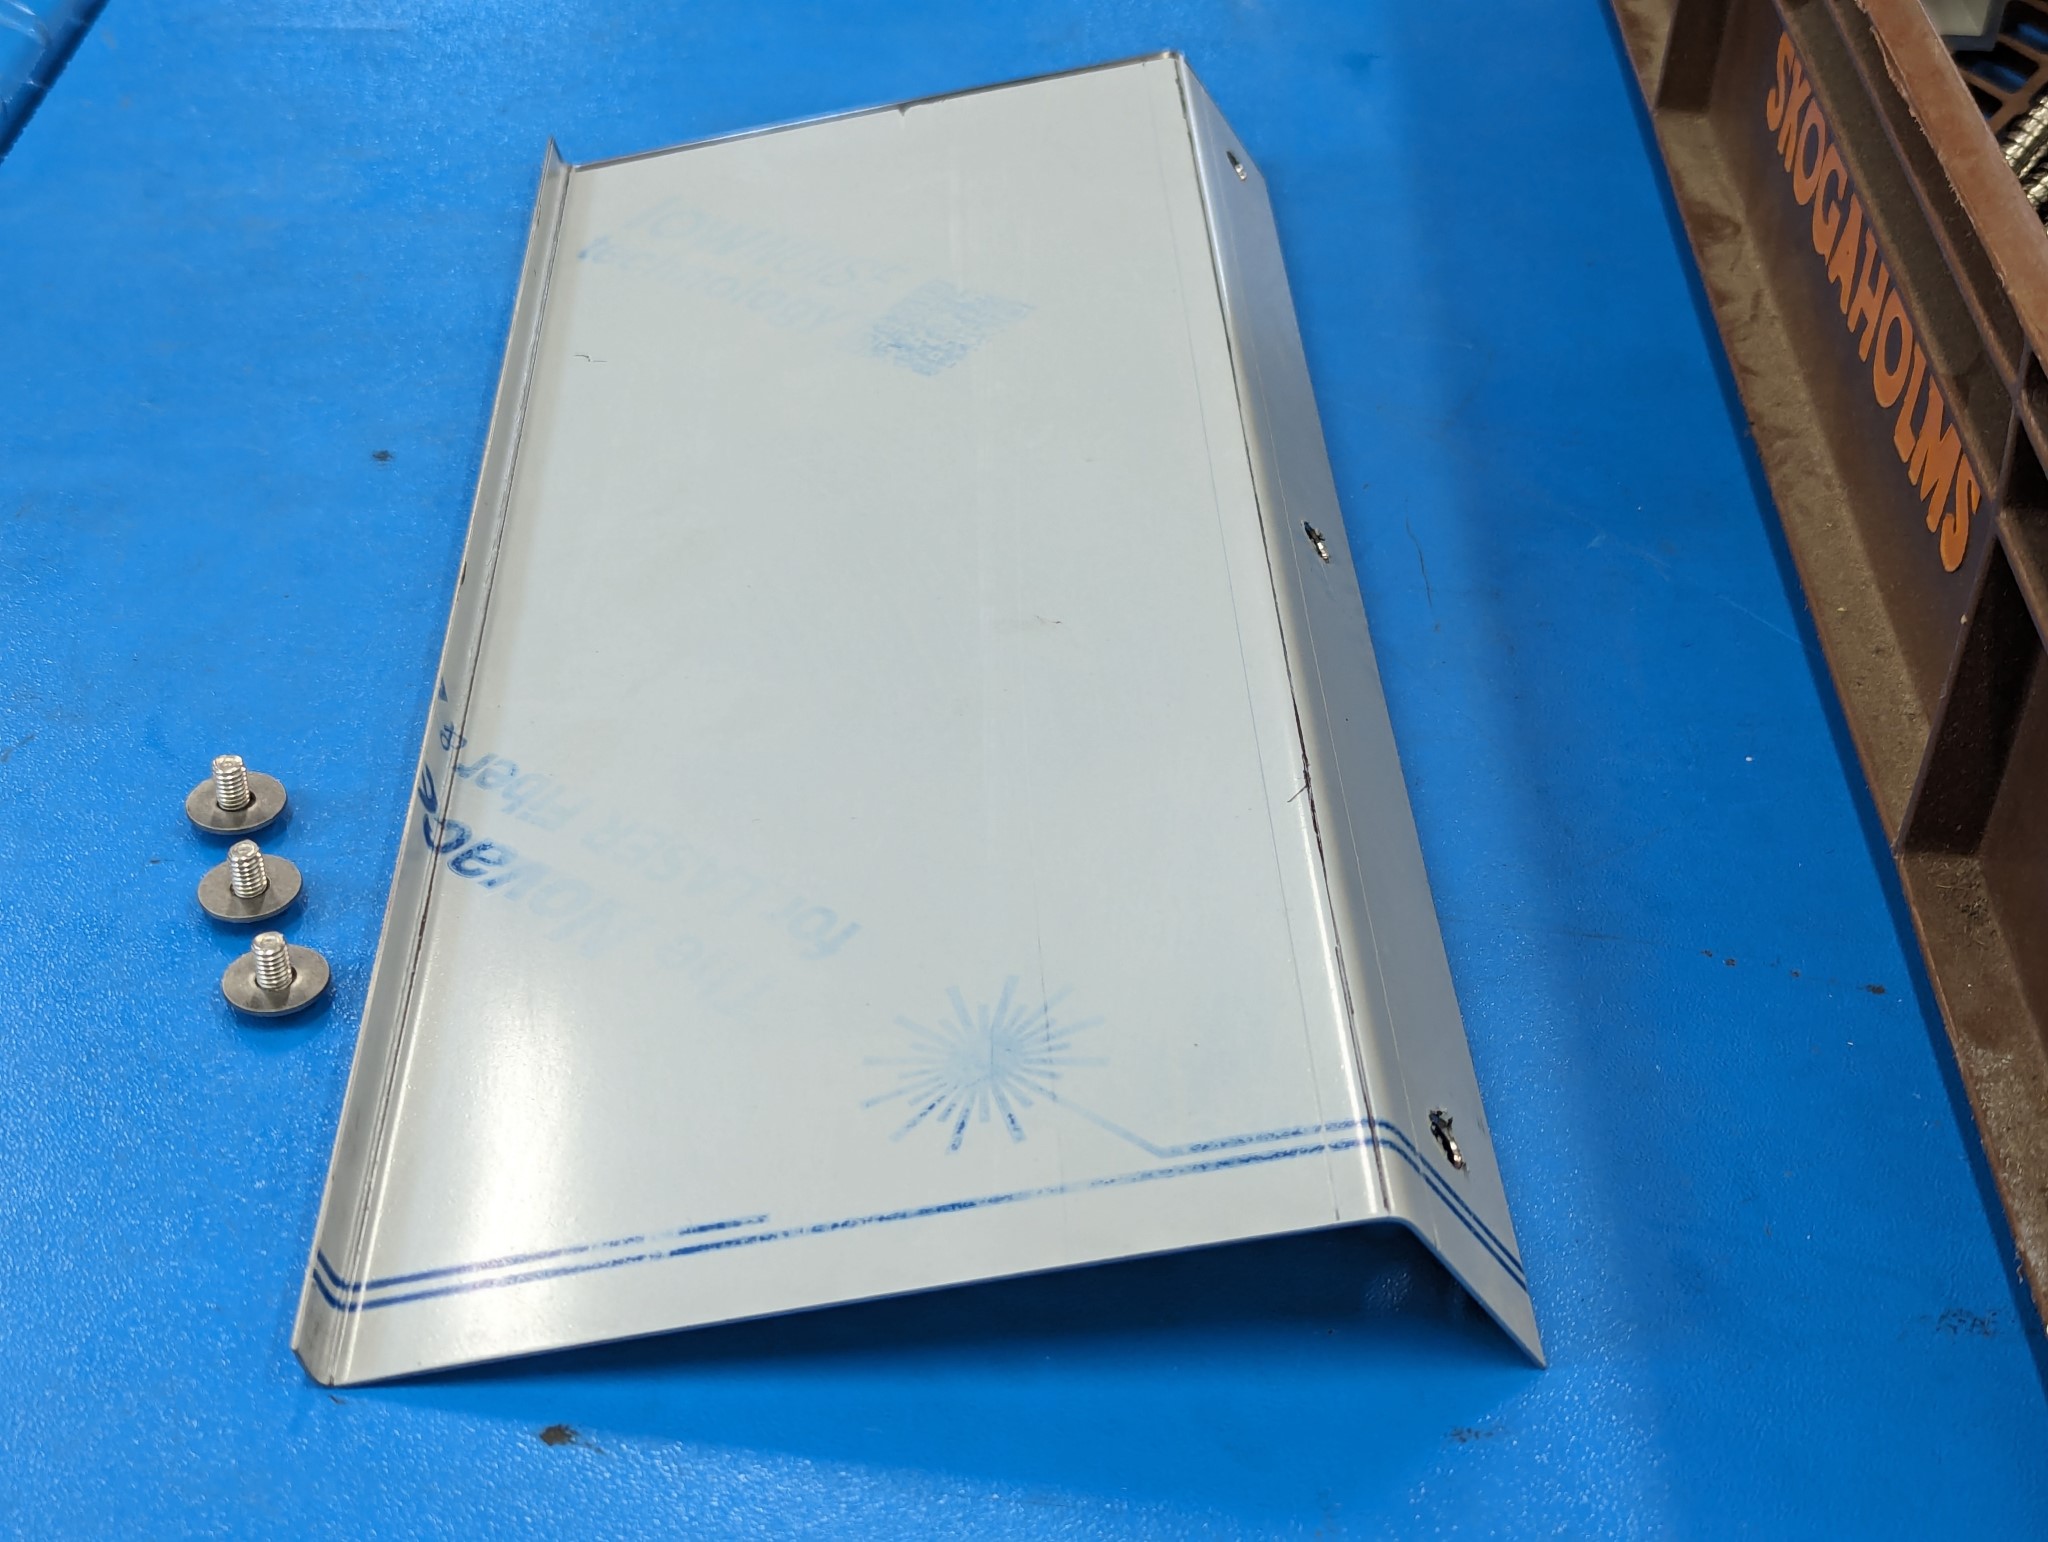
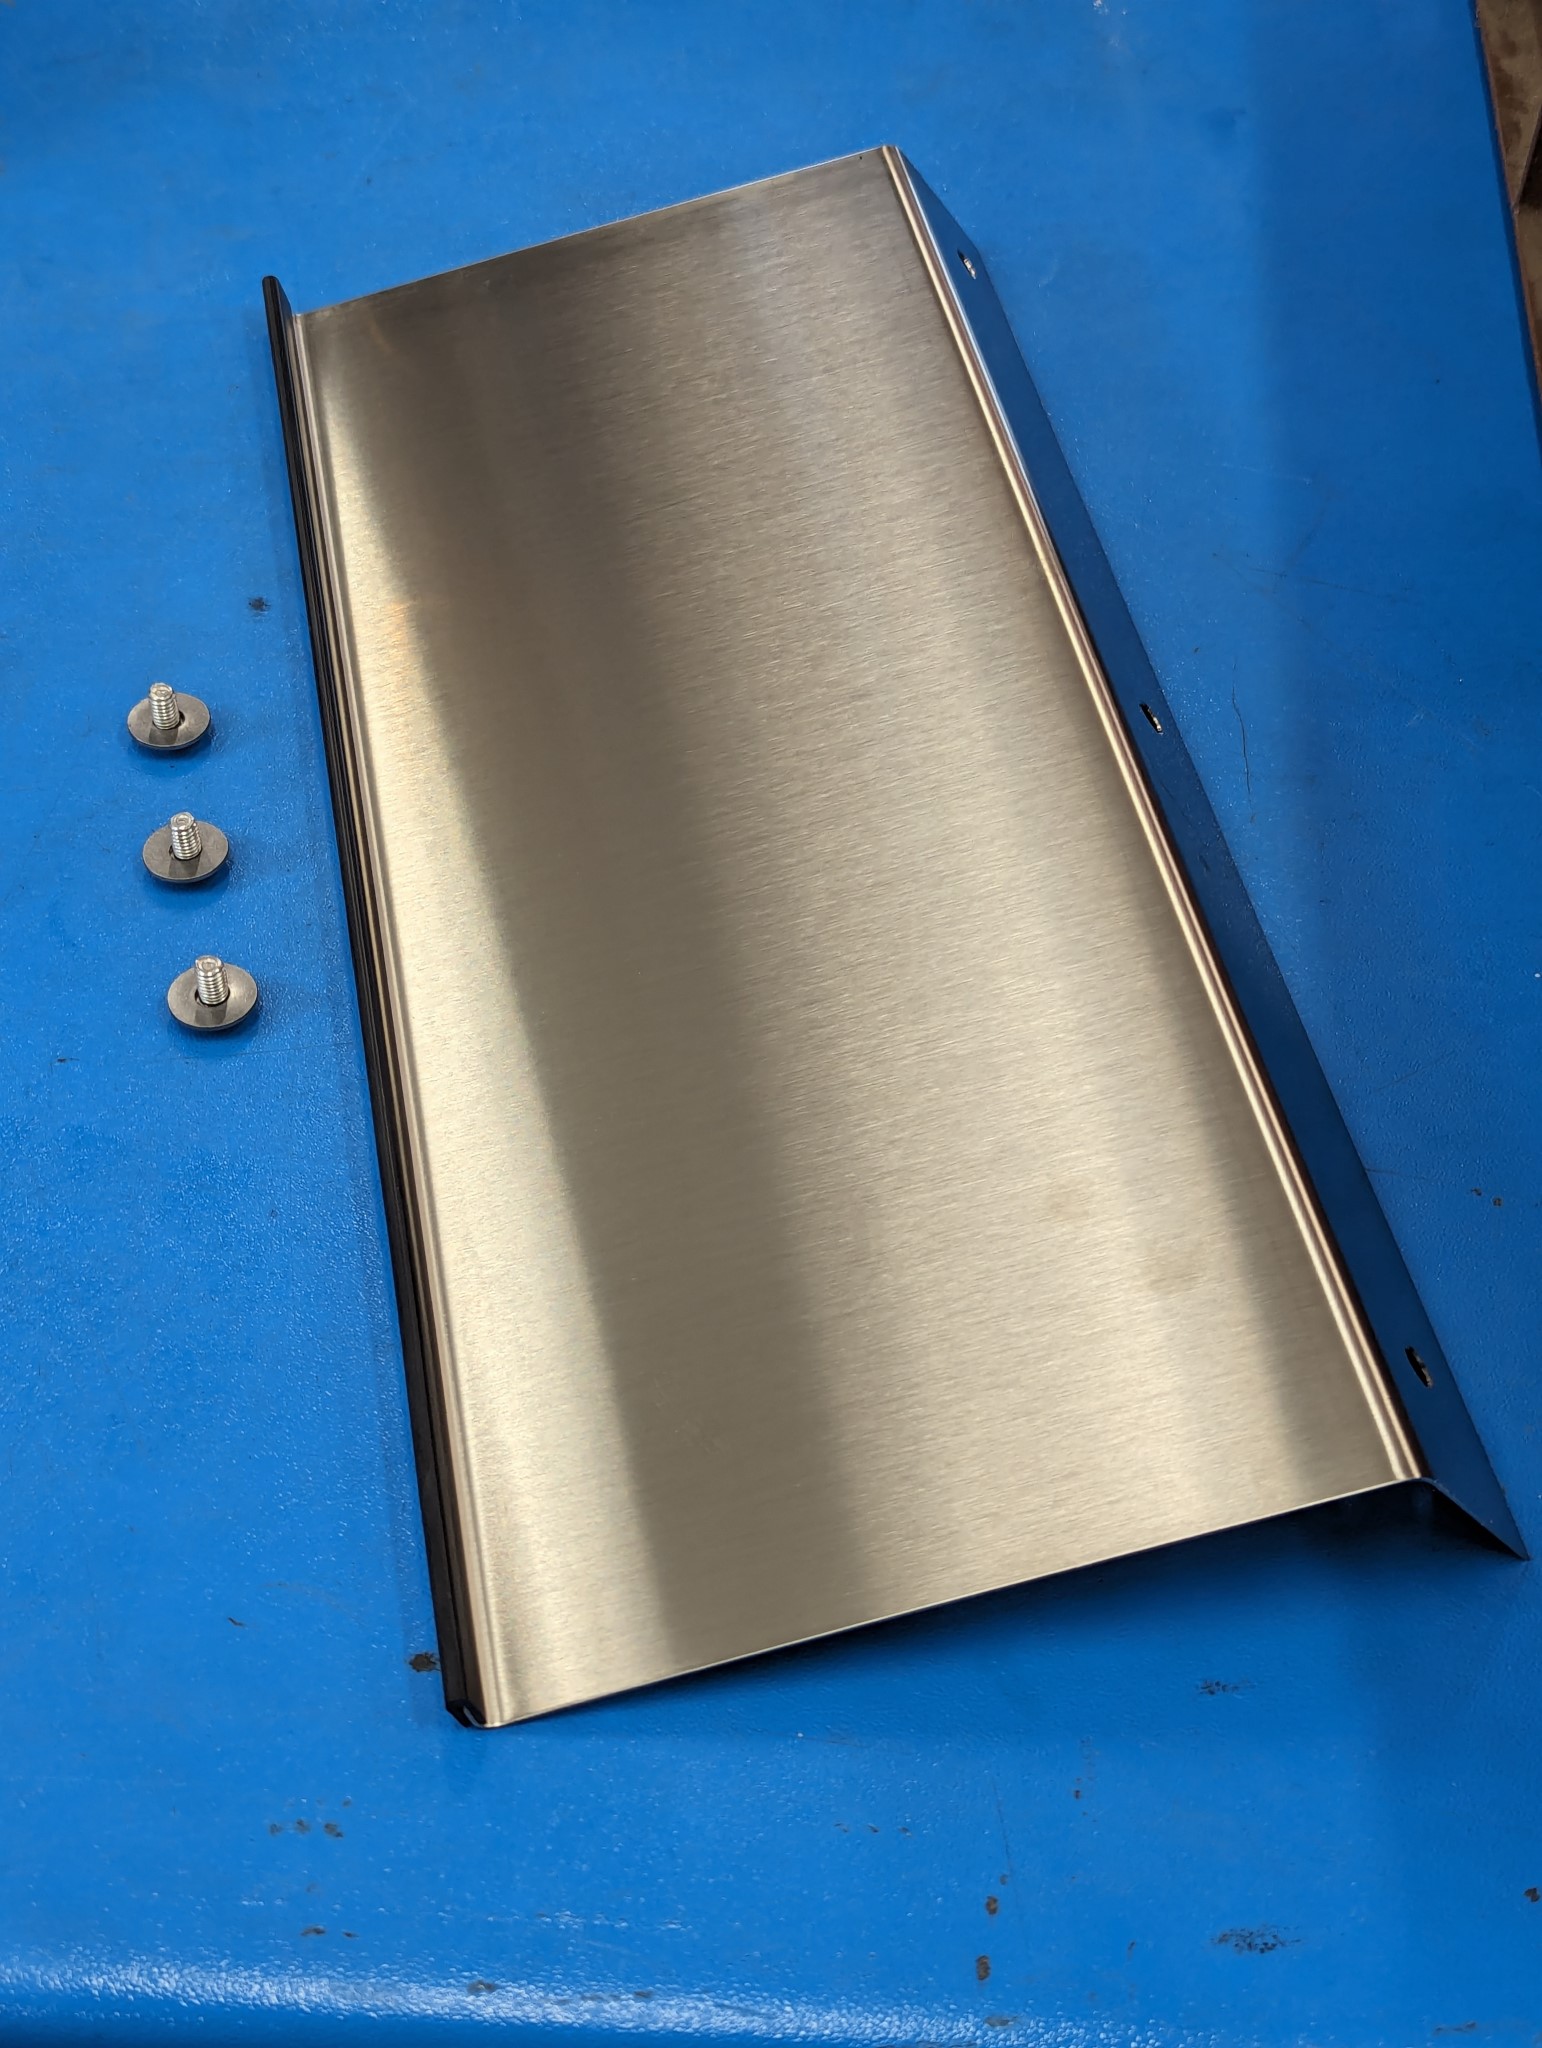
Going to run the calibration software for the Delta B3 servos tomorrow. If everything looks good I'll probably try to mill some aluminium covers for the X and Y axis belts.
Going to run the calibration software for the Delta B3 servos tomorrow. If everything looks good I'll probably try to mill some aluminium covers for the X and Y axis belts.
The following user(s) said Thank You: tommylight
Please Log in or Create an account to join the conversation.
- tommylight
-

- Away
- Moderator
-

Less
More
- Posts: 17828
- Thank you received: 5929
28 Mar 2024 23:03 #297047
by tommylight
Replied by tommylight on topic Optimum Optimill MH50V CNC conversion
Chips!
Please Log in or Create an account to join the conversation.
29 Mar 2024 11:45 #297098
by Unlogic
Replied by Unlogic on topic Optimum Optimill MH50V CNC conversion
Well air chips at least. However I'm starting to like them. They are very easy to clean and the tool life is fantastic.Chips!
The following user(s) said Thank You: tommylight
Please Log in or Create an account to join the conversation.
- tommylight
-
- Away
- Moderator
-
Less
More
- Posts: 17828
- Thank you received: 5929
29 Mar 2024 13:38 #297105
by tommylight
LOL
Replied by tommylight on topic Optimum Optimill MH50V CNC conversion
Chips!
Well air chips at least. However I'm starting to like them. They are very easy to clean and the tool life is fantastic.
LOL
Please Log in or Create an account to join the conversation.
05 Apr 2024 17:08 #297654
by Unlogic
Replied by Unlogic on topic Optimum Optimill MH50V CNC conversion
Thanks to some excellent advice from other members on this forum I've now ordered a Omron E6C2-CWZ1X 2000PPR incremental encoder and some HTD 3M pulleys for it. Hopefully it will be a smooth install because not having an encoder hooked really has it's drawbacks.
While reading through the manual of my VFD I noticed it had an unused digital output and thanks to a custom firmware from PCW for my 7i96S board it looks like should be able to read the spindle load from my VFD which would be a really nice bonus.
Now that the machine is more or less mechanically complete I've ran the calibration for the Delta B3 servos. The X and Y axis went very smoothly while the Z axis took some fiddling with the speeds and parameters in the software since I'm not using any counterweight or gas springs at the moment to compensate for the weight of the head.
The calibration process essentially eliminated any overshoot during quick moves which was nice to see. That in turn helped me narrow down the backlash compensation values for the Z-axis where I'm still using the screw that came with the machine.
Here is a video of the calibration process running on the X-axis.
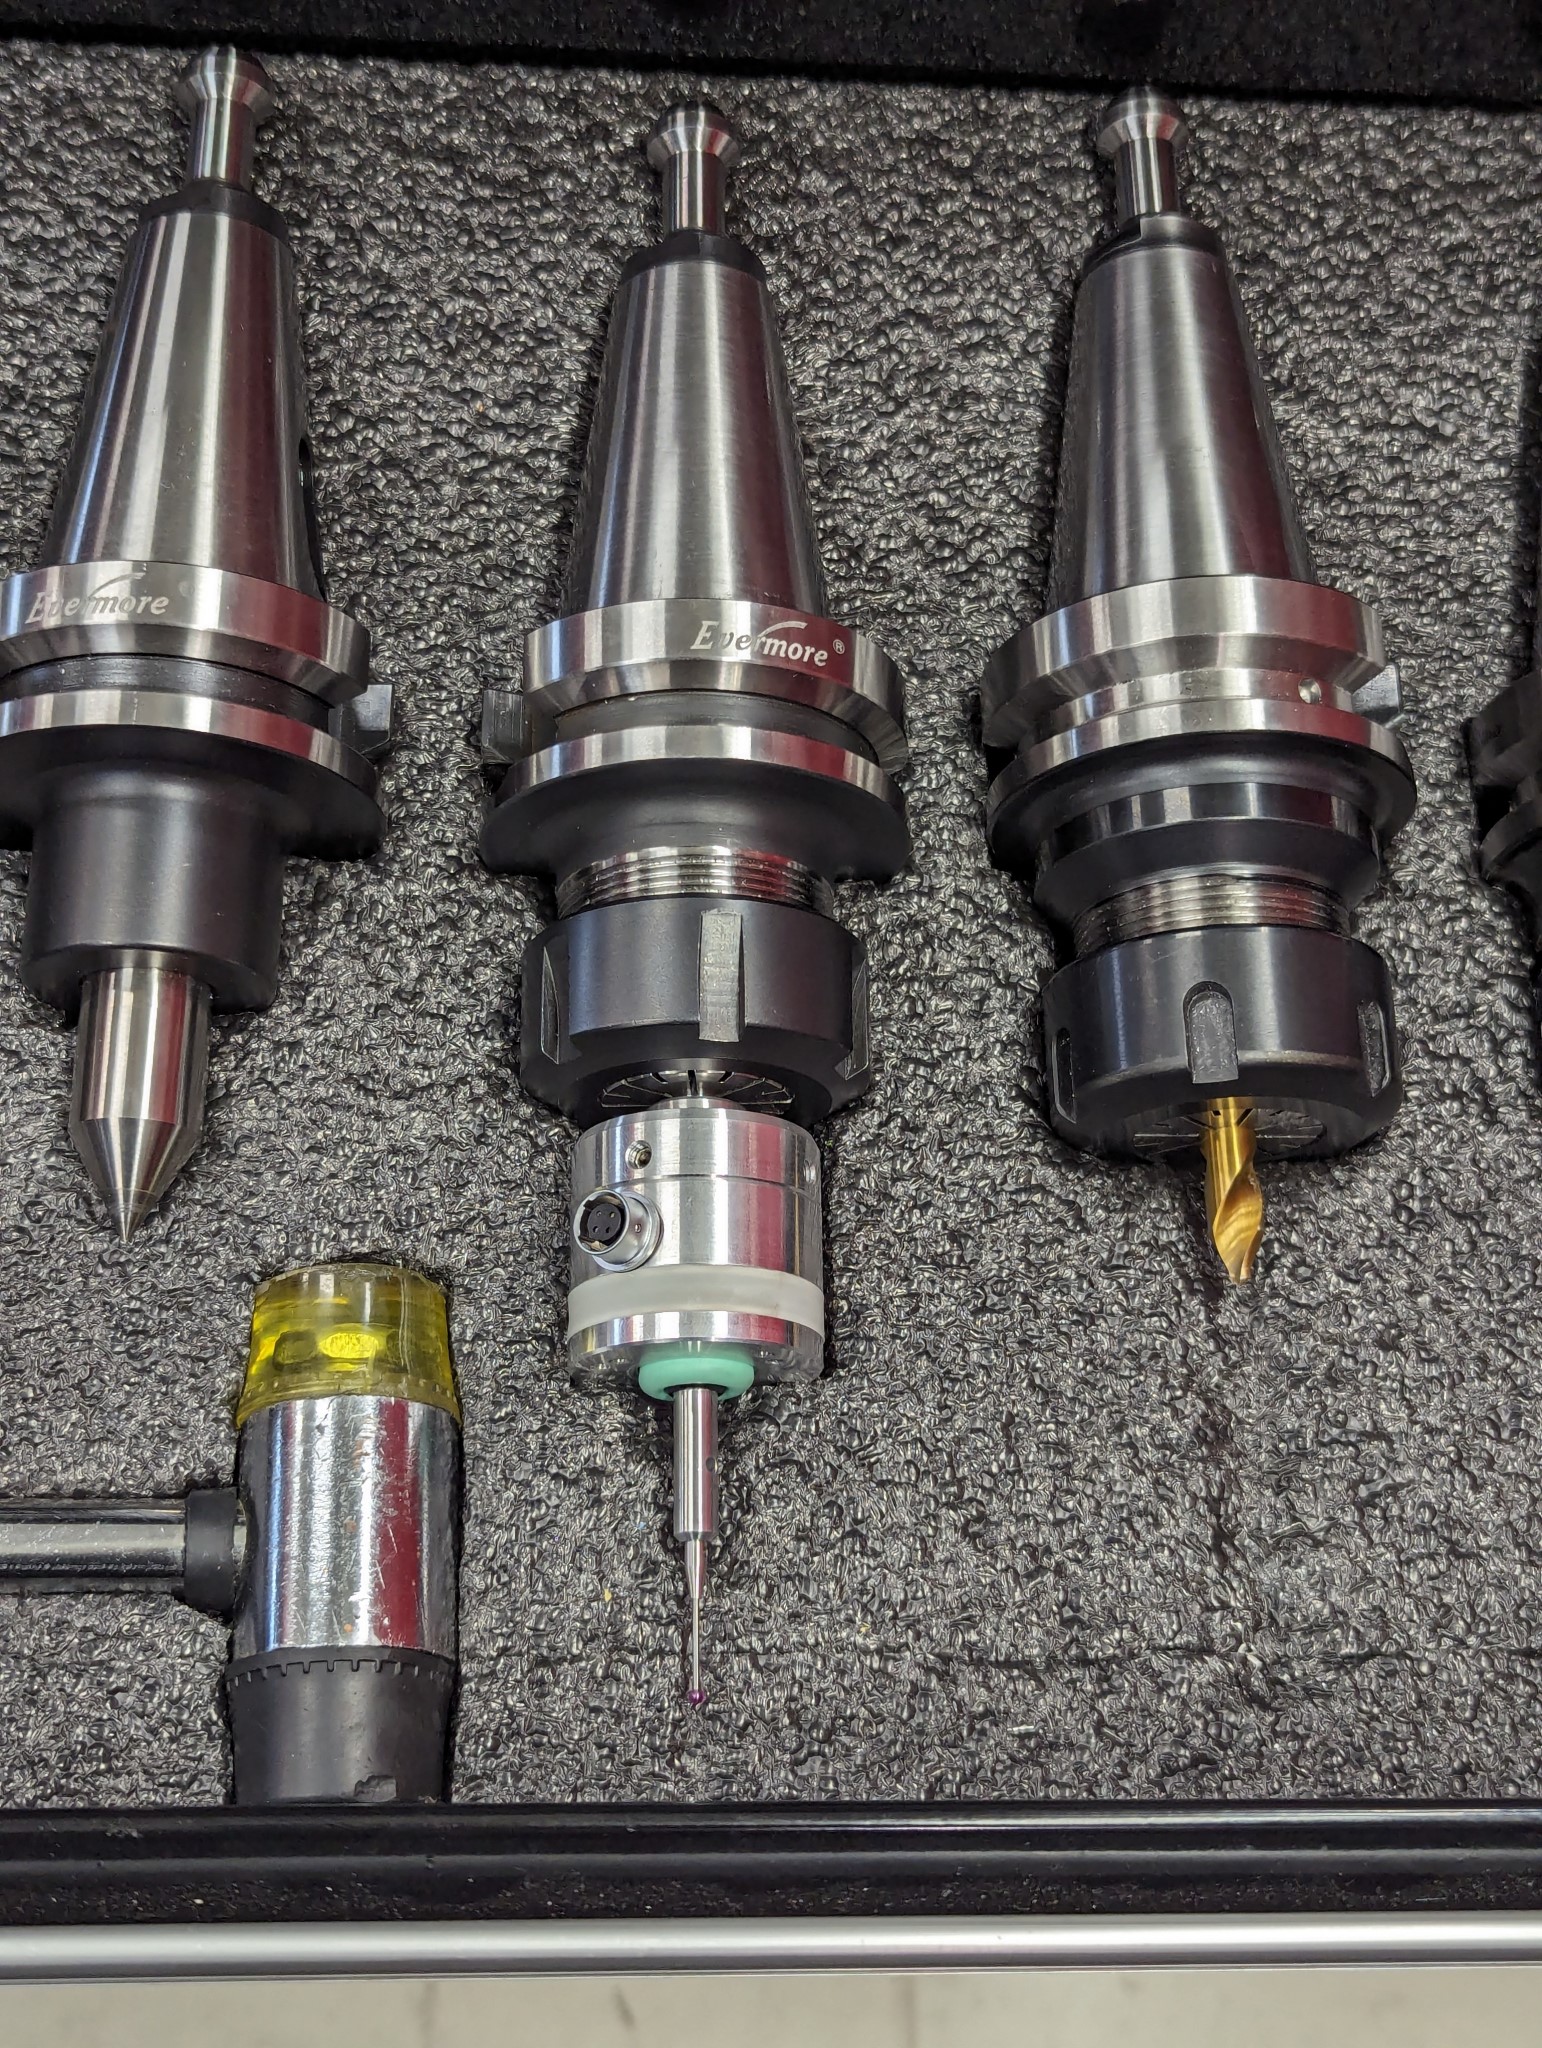
Next up I focused on the Slavetec Probe I bought a while back. It had to be aligned with the spindle which took 2-3 hours of fiddling with the adjustment screws.

After getting close with the hundreds of mm indicator I switched to a 1µm indicator and in the end I got a result that I'm very satisfied with.
Given how long time the alignment took I'm probably never going to remove the probe from that tool holder ever again so it now has a permanent spot in my cart with tool holders.
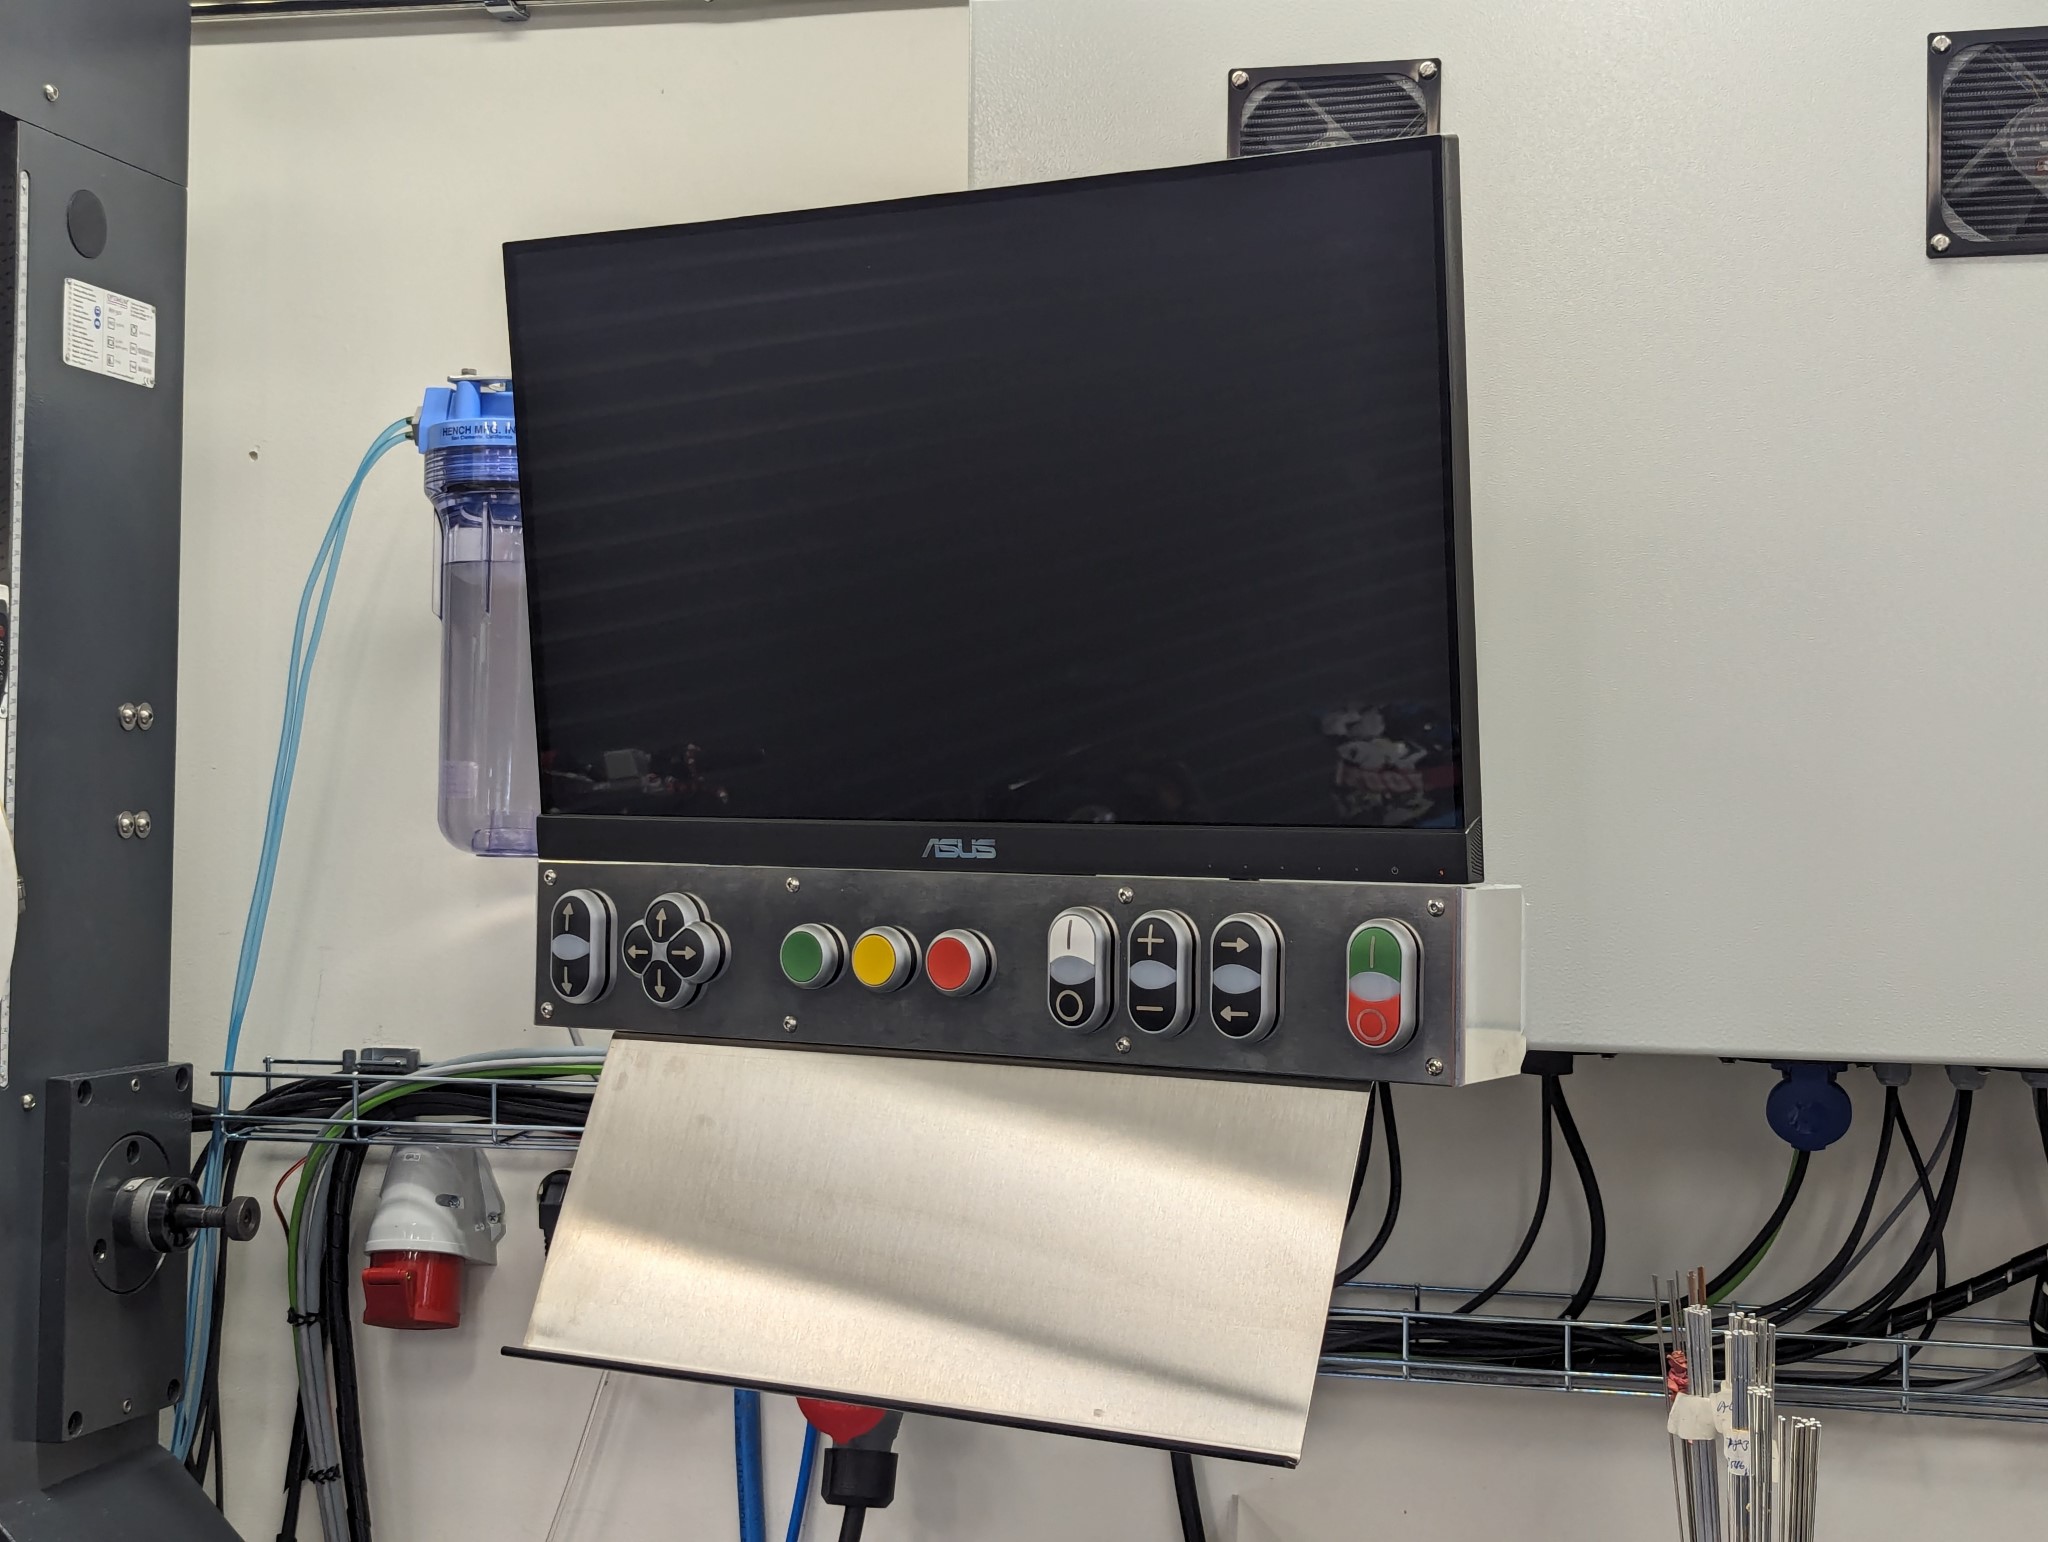
After that I was about to start numbering all my tool holders, measure the tool lengths and enter them into the tool table in Probe Basic. However I quickly realized that typing on the touchscreen was a bit suboptimal so I did a little side project and extended my control panel with a keyboard tray.
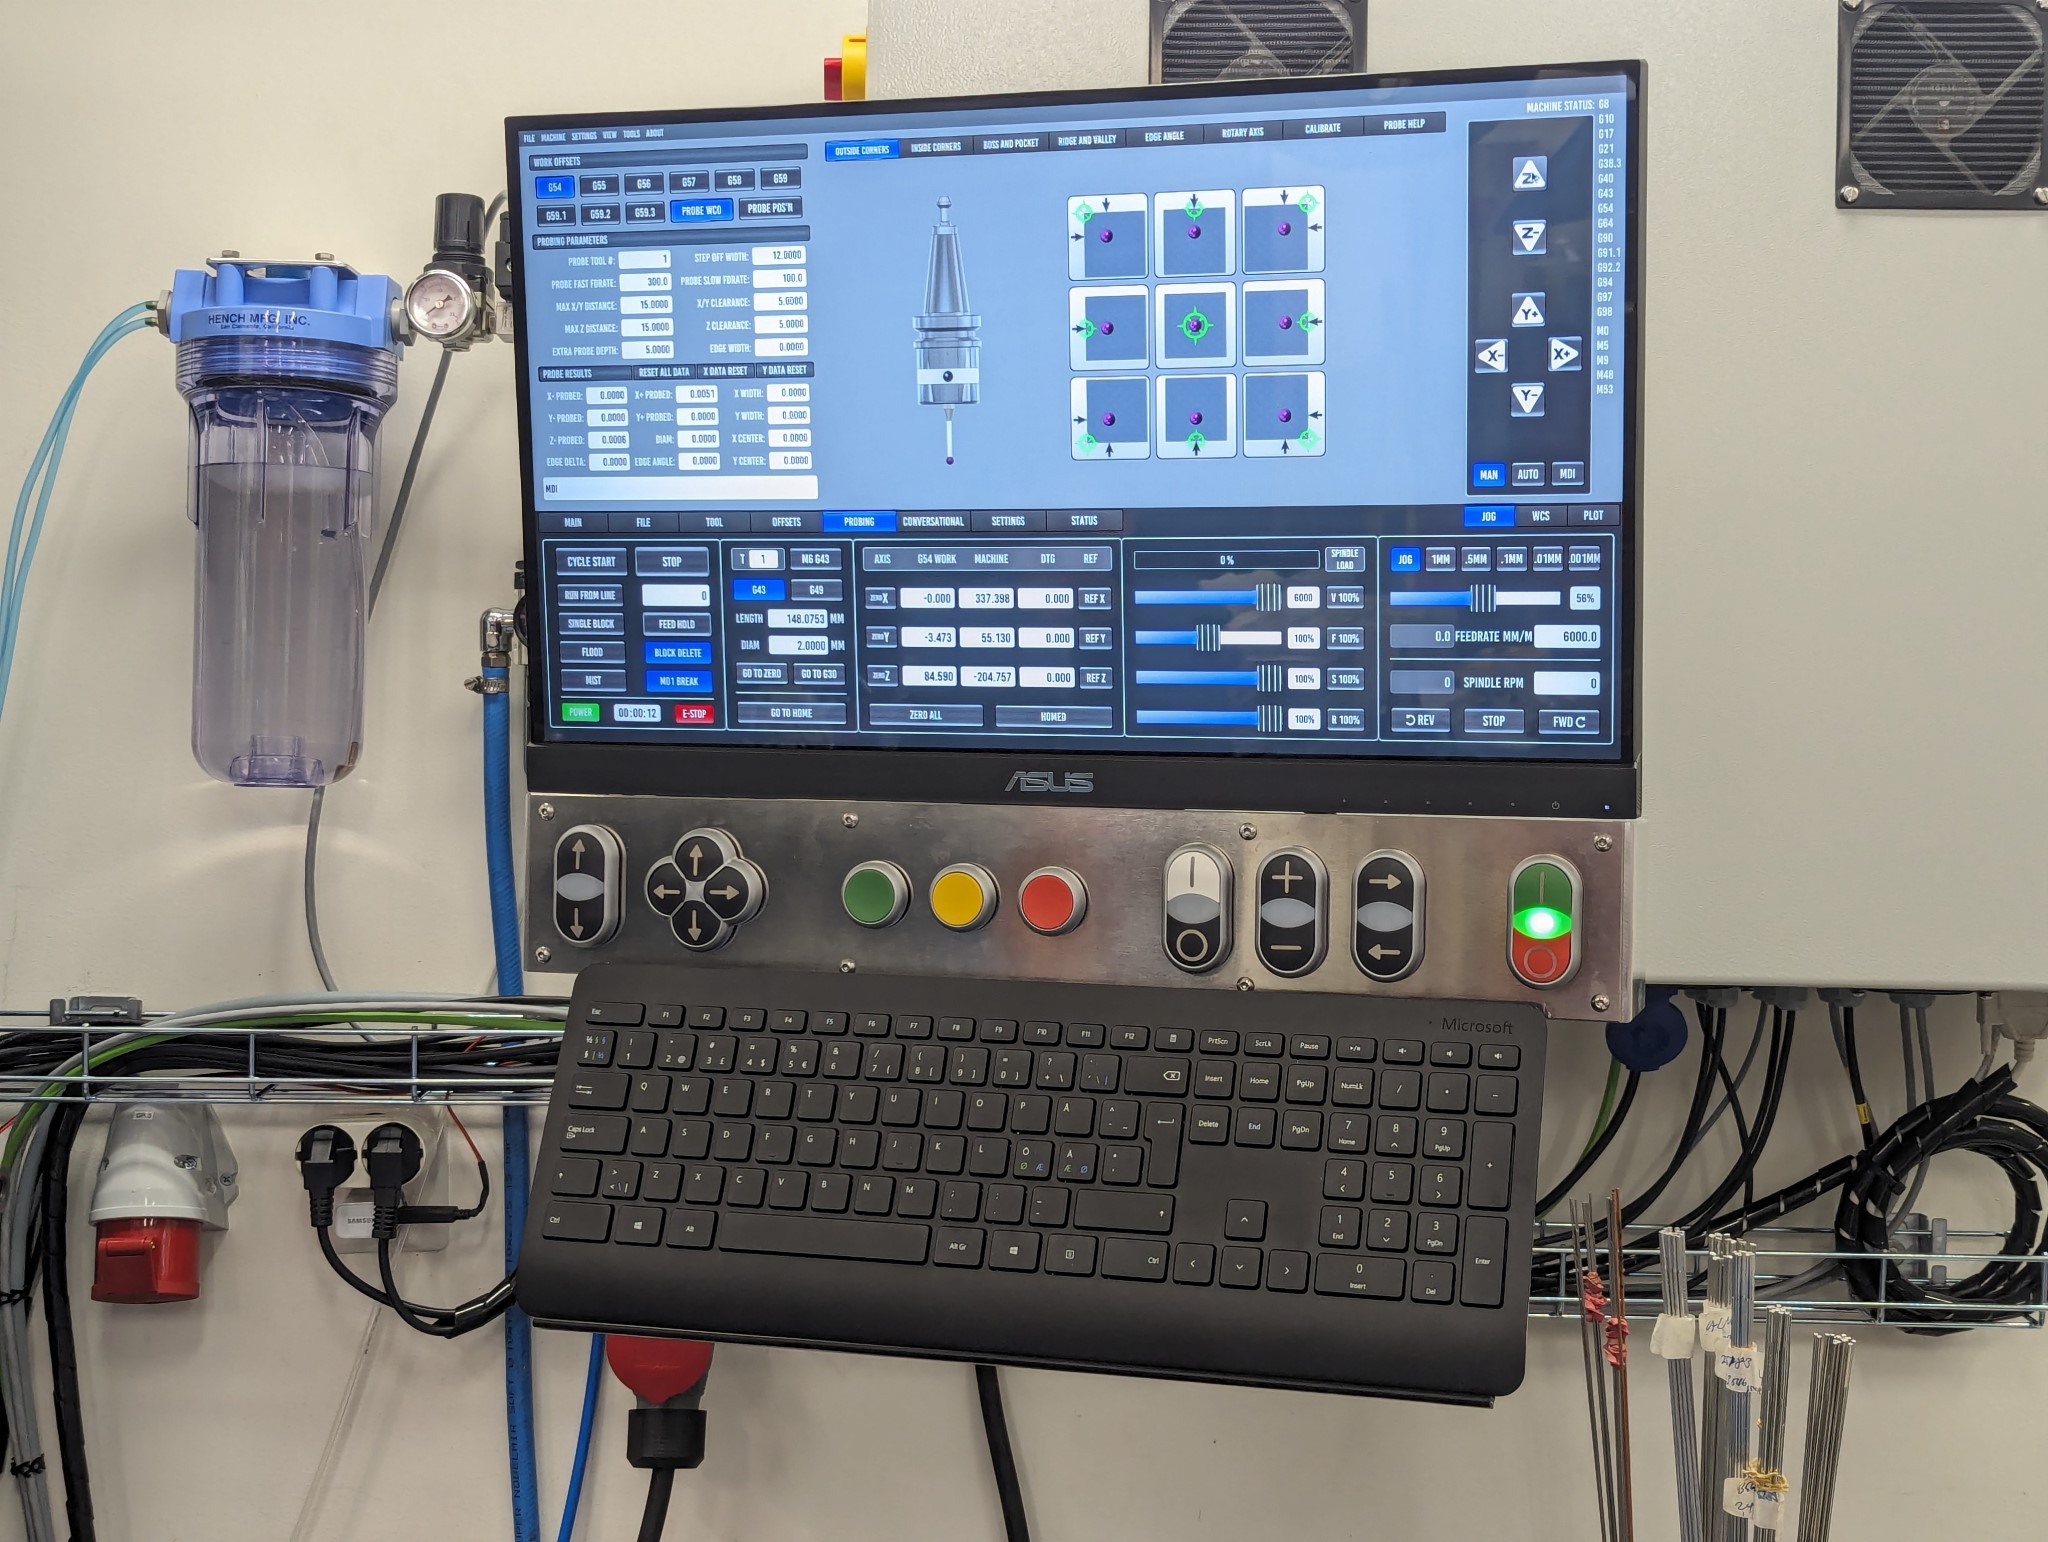
The parameters for the probing interface in Probe Basic seemed a bit daunting at the beginning but I think I'm getting the hang of them now.
While reading through the manual of my VFD I noticed it had an unused digital output and thanks to a custom firmware from PCW for my 7i96S board it looks like should be able to read the spindle load from my VFD which would be a really nice bonus.
Now that the machine is more or less mechanically complete I've ran the calibration for the Delta B3 servos. The X and Y axis went very smoothly while the Z axis took some fiddling with the speeds and parameters in the software since I'm not using any counterweight or gas springs at the moment to compensate for the weight of the head.
The calibration process essentially eliminated any overshoot during quick moves which was nice to see. That in turn helped me narrow down the backlash compensation values for the Z-axis where I'm still using the screw that came with the machine.
Here is a video of the calibration process running on the X-axis.
Next up I focused on the Slavetec Probe I bought a while back. It had to be aligned with the spindle which took 2-3 hours of fiddling with the adjustment screws.
After getting close with the hundreds of mm indicator I switched to a 1µm indicator and in the end I got a result that I'm very satisfied with.
Given how long time the alignment took I'm probably never going to remove the probe from that tool holder ever again so it now has a permanent spot in my cart with tool holders.
After that I was about to start numbering all my tool holders, measure the tool lengths and enter them into the tool table in Probe Basic. However I quickly realized that typing on the touchscreen was a bit suboptimal so I did a little side project and extended my control panel with a keyboard tray.
The parameters for the probing interface in Probe Basic seemed a bit daunting at the beginning but I think I'm getting the hang of them now.
Attachments:
The following user(s) said Thank You: tommylight
Please Log in or Create an account to join the conversation.
Moderators: piasdom
Time to create page: 0.726 seconds