Advanced Search

Search Results (Searched for: 7i76e)

07 Feb 2024 11:50
Replied by rodw on topic 7i96s or anything more?

7i96s or anything more?

Category: General LinuxCNC Questions

Mesa started making pci/pcie cards, then the made the 7i92 ethernet card which more or less was the same as their PCIe cards and needs daughter cards connected. Then they released the 7i76e  which was equivalent to a 7i92 + 7i76. If you needed to control 0-10v servos, you used a 7i77 with the 7i92.
Now with chip availability, they have moved on. The 7i96s is a great entry level card. It includes a spindle control and encoder. The earlier 7i96 was missing spindle control. It has fewer inputs and outputs than the old 7i76e but more than enough for a lathe. Its outputs are SSRs so in many cases it is not necessary to use external relays that you needed on earlier cards. It supports 1 daughter card and also the smart serial interface. You can't go wrong. There is no practical difference beween a PCIe card or ethernet.
05 Feb 2024 21:22 - 08 Feb 2024 01:48

Which Mesa Card Should I Buy?

Category: Driver Boards

4 - FPGA CARDS

PC CONNECTION
Mesa offers FPGA main cards with a variety of different PC connection types.  First decision is which connection method is used as this will depend on your computer hardware:

    • Ethernet
        ◦ Ethernet cable from the LCNC computer (PC or Raspberry Pi) to the Mesa FPGA card
        ◦ No additional hardware is required
        ◦ Network switches will interfere with the Mesa ethernet connection.  If the host computer only has one ethernet port, you must use a different port for internet connections (i.e. USB WiFi)
    • SPI
        ◦ Raspberry Pi plugs directly in to a Mesa motherboard via the Pi’s GPIO pins
            ▪ 7C80 & 7C81 cards
            ▪ NOTE - rpi 5 is not supported for direct plug-in (SPI) as of 2/2024
    • Plug-N-Go kits
        ◦ A Mesa card is plugged in to a PC’s internal PCI or PCIE slot, and a second card, external to the PC, is plugged in to the PCI card.
        ◦ The second card is connected to outside hardware (drives, IO components, etc.)

There are other host computer-to-Mesa connection methods available, but those are less frequently selected by novice LCNC users and will not be discussed in this guide.

ONBOARD IO
Some FPGA cards have onboard IO and/or drive outputs, and some don't.  As an example, compare a 7i76EU with a 7i92TH.  They are both FPGA main cards and both do approximately the same thing, but the 7i76EU has onboard IO connectors and the 7i92TH doesn’t

The onboard IO type is an ‘all-in-one’ arrangement with screw terminal connections for drives as well as analog & digital inputs and outputs.  This type also has one (or two) expansion connectors for use with daughter cards.

The other type of FPGA card has no onboard drive/IO screw terminal connections, but it does have connectors for use with daughter cards.  Examples of this type are the 7i80DB or 7i92TH.

Plug-N-Go kits are, essentially, a ‘no-onboard IO’ FPGA card coupled with an external drive and/or IO daughter card which has screw terminals.

As far as the novice LCNC user is concerned, there is no performance difference between an ‘all-in-one’ FPGA card and an equivalent no-IO FPGA card combined with suitable daughter card(s).

Which type of card to select is primarily dependent on which, if any, daughter cards are desired, as well as packaging/mounting restrictions.  A very large ‘all-in-one’ card, such as a 7i95T, may be harder to fit in a tight enclosure than a 7i92TH with remote-mounted daughter cards.

On the other hand, if you have the space an all-in-one FPGA card can be tidy as there are no inter-card cables or multiple mounts to deal with.

EXPANSION PORTS
FPGA cards can also be categorized by which expansion port type is used to connect daughter cards:

    • 'All-in-one' FPGA cards have one or two 26-pin expansion connectors.
    • No onboard IO FPGA cards may have
        ◦ Two (or more) 26-pin connectors, or
        ◦ Two (or more) DB25 connectors, or
        ◦ A combination of 26-pin and DB25, or
        ◦ Two (or more) 50-pin IDC connectors

The type of expansion port provided by an FPGA main card is very important to understand because while a DB25 daughter card can be adapted to a 26-pin FPGA port with a special cable, 50-pin daughter cards cannot be plugged in to DB25/26-pin connectors (and vice-versa).

Simplified, an FPGA’s expansion port(s) must be compatible with the daughter card(s) connection type.

 
02 Feb 2024 22:56

Mesa Board(s) Question for first time CNC Plasma

Category: Driver Boards

Hi there,

So I've been going down quite a few rabbit holes the past few days as I'm going to make my own CNC plasma this spring.  I've gotten to the point where I think I know what I need to order - sort of.

I orginally wanted to do a Pi4, but have decided to do a standard computer setup and that will eliminate me having to make the kernel real-time on a desktop (as long as it's powerful enough, which I can get a pretty good one for $200 on Amazon).  

Now, from what I have figured out, with the 7i76e's being out of stock, it appears as though the replacement is the 7i96S (just with a few less outputs I believe).  

If I go with a non-HF plasma cutter that is THC capable such as this one , do I need to get the THCAD controller Mesa card as well?  If so, since this is a blow-back plasma cutter (non-touch) I'm assuming I need to get the THCAD2 not the THCAD-300?

Thank you for any help you can provide.  I'm going to do this in stages and would like to get the Mesa cards first so I can play around with them a bit before my next paycheque to get the cutter.
02 Feb 2024 17:57

Py3 - Probe Basic Config Conversion Doc Lcnc 2.9+

Category: QtPyVCP

Hello.
I'm an absolute novice on the subject and I need help.
I installed Debian 12 from the website  kcjengr.github.io/probe_basic/quick_start.html
I followed all the instructions.
The installation was successful, and the Probe Basic simulation starts up.
I configured the machine in Pncconf in Axis version, and everything seems to be okay.
Then, step by step, I followed the conversion instructions mentioned above. It seems to me that I did it correctly, only changing in the ini file in the "TRAJ" section from 5 axes to 3 axes and from XYZAB to XYZ. Previously, I changed G20 to G21.
Unfortunately, the program does not start, and an error pops up.
I'll add that the card I'm using is the Mesa 7i76e.
I attach the report generated by Linuxcnc to the post.Perhaps someone will notice something?
31 Jan 2024 06:23

Dust Collection Shoe with independent Z control

Category: Advanced Configuration

Ok that didn't quite work. Turns out that when I was deactivating M7 (ie. M9) I was in juuuust the right spot for motor feedback to be in the right place.

I solved this the way Andy originally suggested; I have a three states:
  1. Not homed where all works as normal
  2. Homed and shoe active (feedback off and move shoe reverse of Z with offset)
  3. Homed and shoe not active (feedback still off and move shoe to W0)
# The position command is joint4 minus an offset to the surface, plus the height of the workpiece
setp joint_3_following_pos_cmd_calc.gain0 1.0
setp joint_3_following_pos_cmd_calc.gain1 -1.0
setp joint_3_following_pos_cmd_calc.offset -225.0 # -(W-to-Z offset + Z-to-Table offset)
net w_axis_work_offset => joint_3_following_pos_cmd_calc.in0
net joint_3_pos_cmd joint_3_following_pos_cmd_calc.in1 <= joint.3.pos-cmd
net joint_3_following_pos_cmd_calc_out <= joint_3_following_pos_cmd_calc.out

# Limit where joint_3_pos_cmd can go (MIN/MAX limits from ini file)
setp joint_4_limit.min [JOINT_4]MIN_LIMIT
setp joint_4_limit.max [JOINT_4]MAX_LIMIT
net joint_3_following_pos_cmd_calc_out => joint_4_limit.in
net joint_3_following_pos_cmd_calc_out_limited <= joint_4_limit.out

# Convert joint_3_pos_cmd to joint_3_motor_pos_cmd
setp joint_3_following_motor_pos_cmd_calc.gain0 1.0
setp joint_3_following_motor_pos_cmd_calc.gain1 1.0
net joint_3_following_pos_cmd_calc_out_limited => joint_3_following_motor_pos_cmd_calc.in0
net joint_4_motor_offset joint_3_following_motor_pos_cmd_calc.in1 <= joint.4.motor-offset
net joint_3_following_motor_pos_cmd_calc_out <= joint_3_following_motor_pos_cmd_calc.out

# Feed the set work offset to NGC code during shoe extend
net w_axis_work_offset => motion.analog-in-00
net joint_4_motor_pos_cmd <= joint.4.motor-pos-cmd
net coolant-mist => joint_4_control_mux.sel0
net joint_4_homed joint_4_control_mux.sel1 <= joint.4.homed
net joint_4_motor_pos_cmd => joint_4_control_mux.in0 # Shoe is off and we're not homed
net joint_4_motor_pos_cmd => joint_4_control_mux.in1 # Shoe is on but we're not homed
net joint_4_motor_offset => joint_4_control_mux.in2 # Shoe is off and we're homed, move to home (W0)
net joint_3_following_motor_pos_cmd_calc_out => joint_4_control_mux.in3 # Shoe is on and we're homed
net w-pos-cmd <= joint_4_control_mux.out
net w-vel-cmd <= joint.4.vel-cmd # Only used for debugging
net w-output => hm2_7i76e.0.stepgen.04.velocity-cmd

# Mux the feedback. Short it if the PID is not in control.
net w-pos-fb <= hm2_7i76e.0.stepgen.04.position-fb

# Short the feedback once we're homed.
net joint_4_homed => joint_4_feedback_mux.sel
net w-pos-fb => joint_4_feedback_mux.in0
net joint_4_motor_pos_cmd => joint_4_feedback_mux.in1
net joint_4_motor_pos_fb joint_4_feedback_mux.out => joint.4.motor-pos-fb
31 Jan 2024 05:53 - 31 Jan 2024 06:01

Dust Collection Shoe with independent Z control

Category: Advanced Configuration

I did it! Man I was right at the finish line and then I fried the 7i76e joint 4 (my W axis). PCW is one of the fastest and most responsive people I've ever had the pleasure to work with, he got me back in action within days.

Just to recap, these were my goals:
  1. Get my dust shoe (that sits on its own axis (W) on top of my Z axis) to move such that it is at a fixed location with reference to the work piece.
  2. Have it retract fully when not in air/vacuum mode so that the ATC isn't blocked.
  3. Able to set the offset from Z zero (work table) on the fly in GUI

Here's what I did:
  • The first being normal W axis operation just like any other axis. This lets linuxcnc home the axis properly and myself control W independently if I ever debug or run my own slab planer code (where I actively move the dust shoe down after every pass)
  • In the second mode, I muxed the joint.4.motor-pos so that linuxcnc no longer controlled it and used instead the negative of joint.3.motor-pos together with some offsets (details below)
Simple! But with extra steps:
  1. Sum the absolute negative value of Z joint.3.pos-cmd with two offsets:
    1. The W-Z offset (zero to zero) and the Z to table offset
    2. The end work table to W offset (how high I want the shoe to hover over the work table)
  2. Limit the potential output of this to the W axis min/max, as there are no checks around this in LinuxCNC (I think the checks come earlier)
  3. Convert the absolute pos-cmd to motor-pos-cmd using motor-offset because that's what the PID uses (NOTE: I'm missing extra steps here, since generally it's not just offset, but it is for me. See joint.N.pos-cmd  here .)
  4. Mux the input so that a digital in from coolant mist activates the shoe (I'm using air and vacuum, so to be pedantic I changed the Fusion 360 post processor so that air and vacuum output M7)
  5. Mux the feedback output so that when coolant mist is active, the feedback is shorted (ie. joint.4.motor-pos-fb is connected to joint.4.motor-pos-cmd)
Caveats to this that I can think of so far:
  • I would have preferred to make Wvel just -Zvel and circumvent the W PID all together, but then I wouldn't be able to alter the W to work table offset on the fly
Thanks again Andy for pointing me in the right direction!
Hopefully this is of some help GW. Oh and I should say, the reason I didn't do the post processor method is because I am not familiar enough where I feel comfortable always keeping control of W when Z is moving. Eg. when in a drilling operation you just list Z once and then a bunch of X/Y for your holes, and LinuxCNC knows to move up/down between those operations.
# The position command is joint4 minus an offset to the surface, plus the height of the workpiece
setp joint_3_following_pos_cmd_calc.gain0 1.0
setp joint_3_following_pos_cmd_calc.gain1 -1.0
setp joint_3_following_pos_cmd_calc.offset -225.0 # -(W-to-Z offset + Z-to-Table offset)
net w_axis_work_offset => joint_3_following_pos_cmd_calc.in0
net joint_3_pos_cmd joint_3_following_pos_cmd_calc.in1 <= joint.3.pos-cmd
net joint_3_following_pos_cmd_calc_out <= joint_3_following_pos_cmd_calc.out
# Limit where joint_3_pos_cmd can go (MIN/MAX limits from ini file)
setp joint_4_limit.min [JOINT_4]MIN_LIMIT
setp joint_4_limit.max [JOINT_4]MAX_LIMIT
net joint_3_following_pos_cmd_calc_out => joint_4_limit.in
net joint_3_following_pos_cmd_calc_out_limited <= joint_4_limit.out
# Convert joint_3_pos_cmd to joint_3_motor_pos_cmd
setp joint_3_following_motor_pos_cmd_calc.gain0 1.0
setp joint_3_following_motor_pos_cmd_calc.gain1 1.0
net joint_3_following_pos_cmd_calc_out_limited => joint_3_following_motor_pos_cmd_calc.in0
net joint_4_motor_offset joint_3_following_motor_pos_cmd_calc.in1 <= joint.4.motor-offset
net joint_3_following_motor_pos_cmd_calc_out <= joint_3_following_motor_pos_cmd_calc.out
# Feed the set work offset to NGC code during shoe extend
net w_axis_work_offset => motion.analog-in-00
net joint_4_motor_pos_cmd <= joint.4.motor-pos-cmd
net coolant-mist => joint_4_control_mux.sel
net joint_4_motor_pos_cmd => joint_4_control_mux.in0
net joint_3_following_motor_pos_cmd_calc_out => joint_4_control_mux.in1
net w-pos-cmd <= joint_4_control_mux.out
net w-vel-cmd <= joint.4.vel-cmd # Only used for debugging
net w-output => hm2_7i76e.0.stepgen.04.velocity-cmd
# Mux the feedback. Short it if the PID is not in control.
net w-pos-fb <= hm2_7i76e.0.stepgen.04.position-fb
net coolant-mist => joint_4_feedback_mux.sel
net w-pos-fb => joint_4_feedback_mux.in0
net joint_4_motor_pos_cmd => joint_4_feedback_mux.in1
net joint_4_motor_pos_fb joint_4_feedback_mux.out => joint.4.motor-pos-fb
30 Jan 2024 10:17 - 30 Jan 2024 16:10

Mesa 7i96S mit Frequenzumrichter verbinden

Category: General LinuxCNC Questions

Ja Anleitungen habe ich einige im Netz gefunden, aber leider keine wirklich verständliche. leider eher für die Mesa 7i76e
Update: zum Totlachen, am FU gibt es 2 Klemmen GND und XGND, XGND verwendet und es funktioniert. Mache gerade noch eine Doku und hänge sie dann hier an. 
30 Jan 2024 08:02 - 30 Jan 2024 08:04
IC Replacement was created by Estero

IC Replacement

Category: Driver Boards

Hello.  This question is most likely for Mr. Wallace, I assume.   

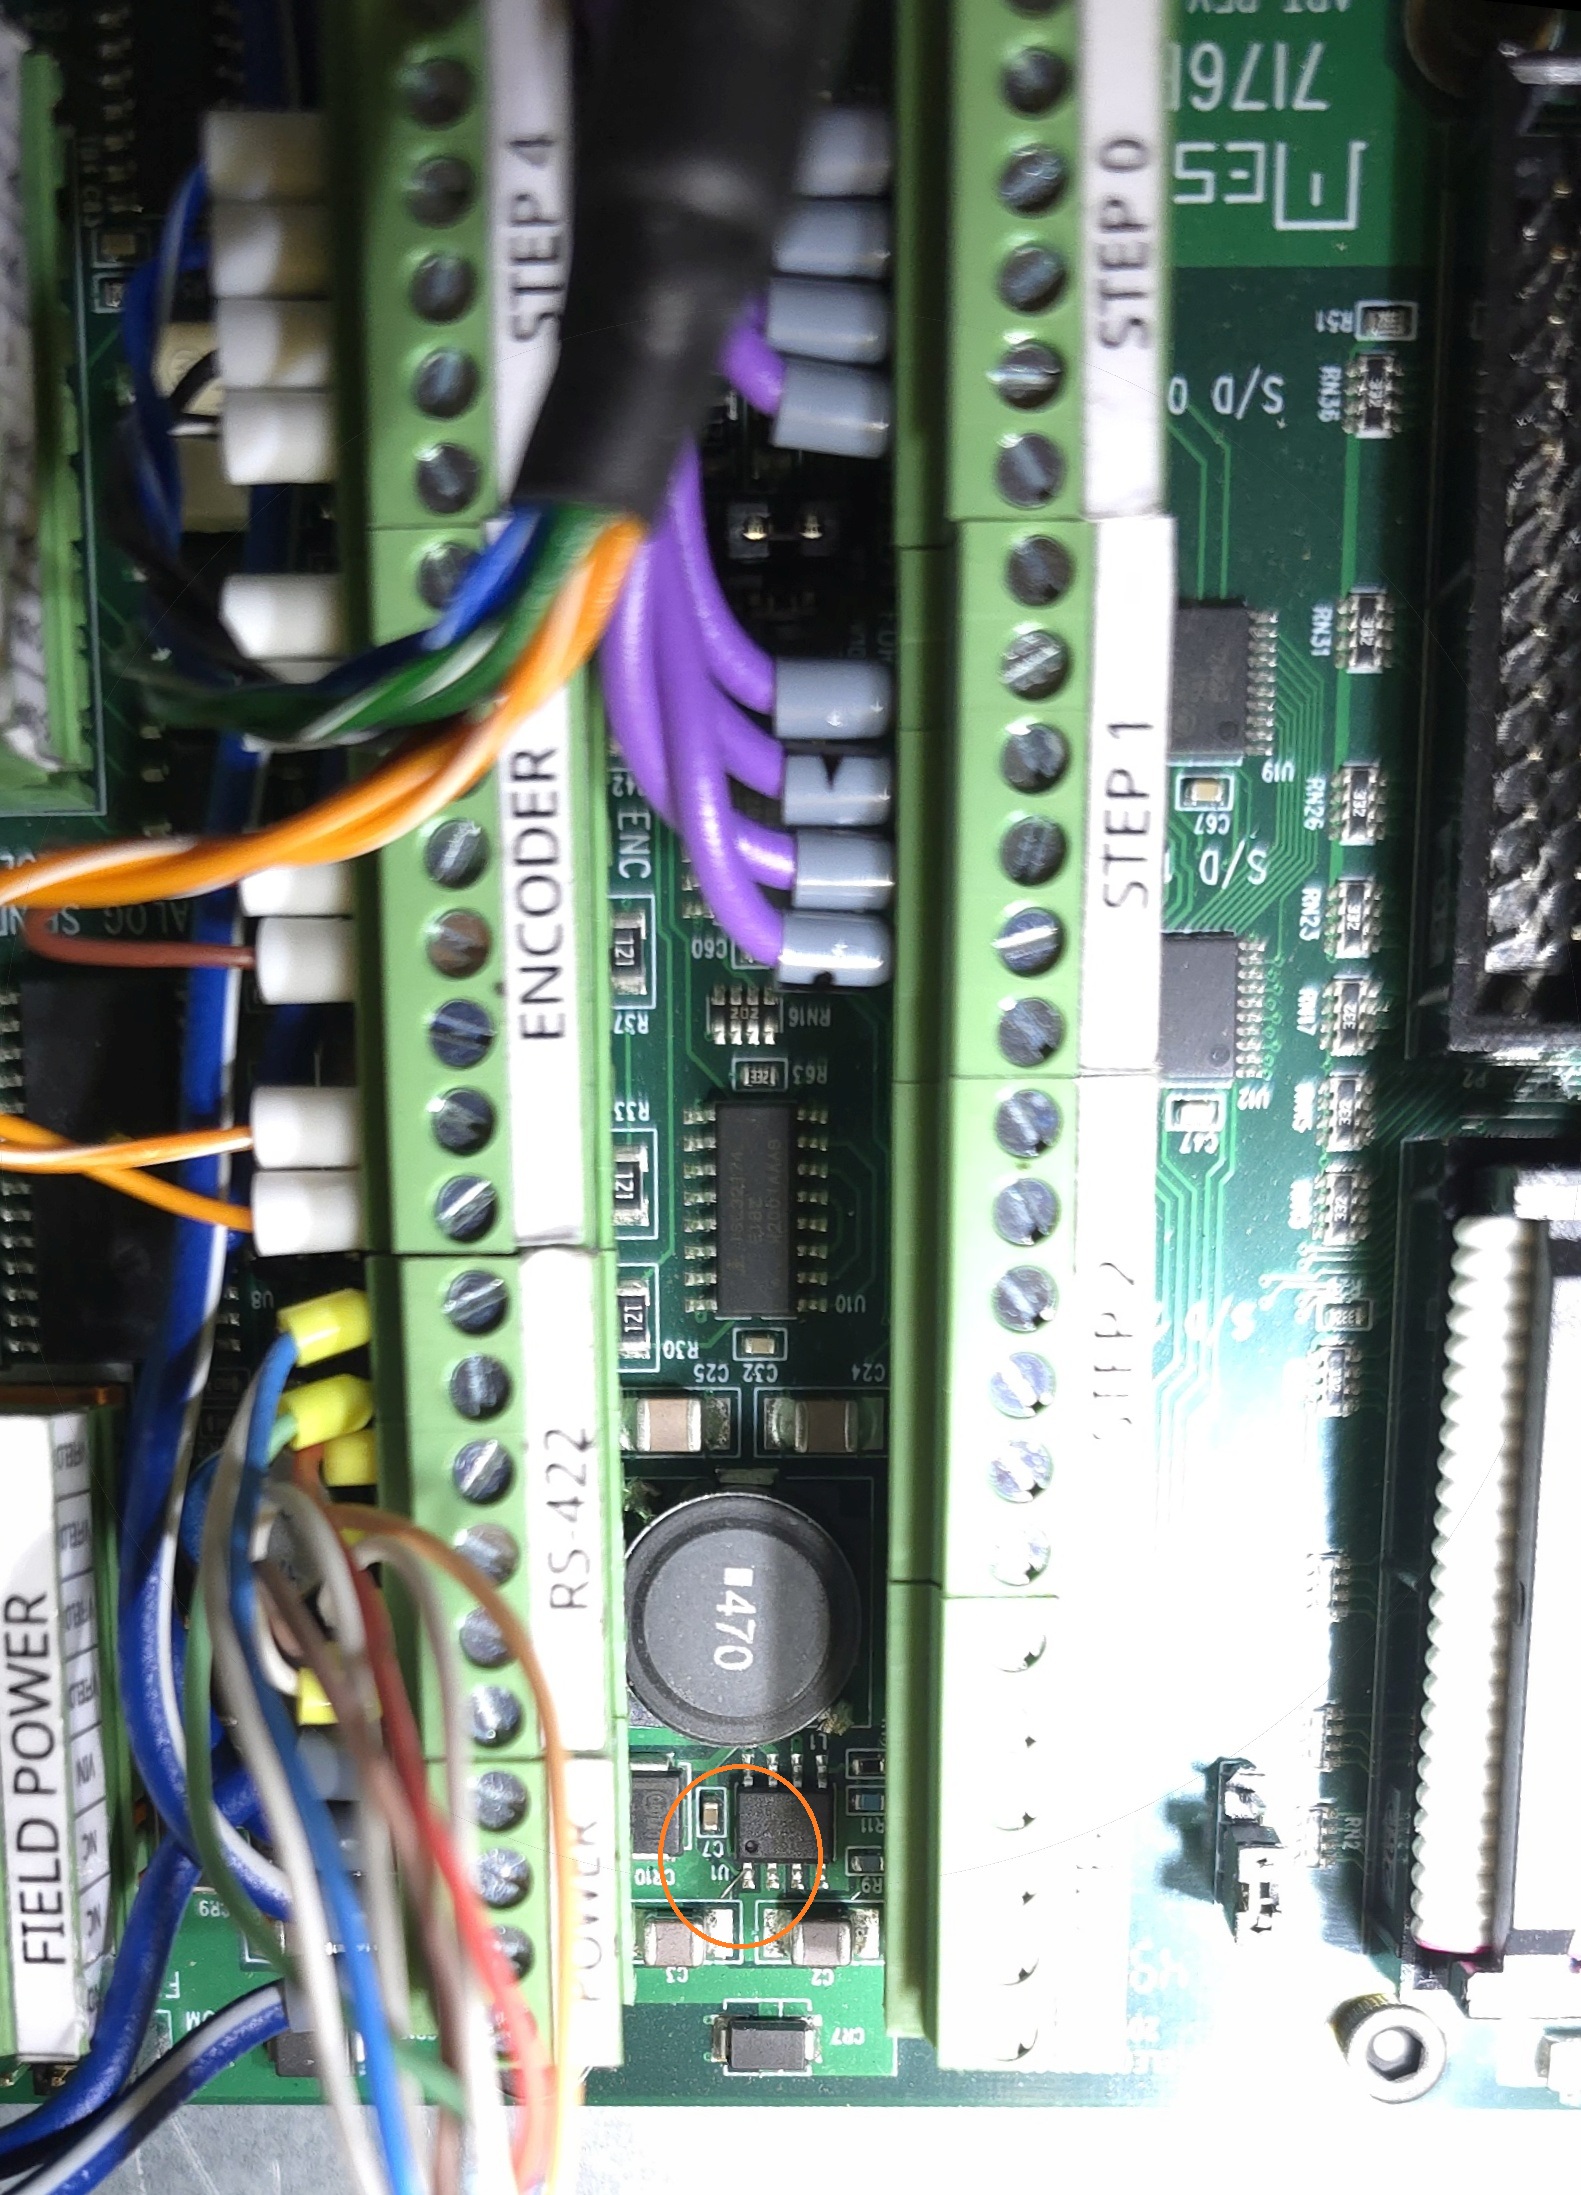
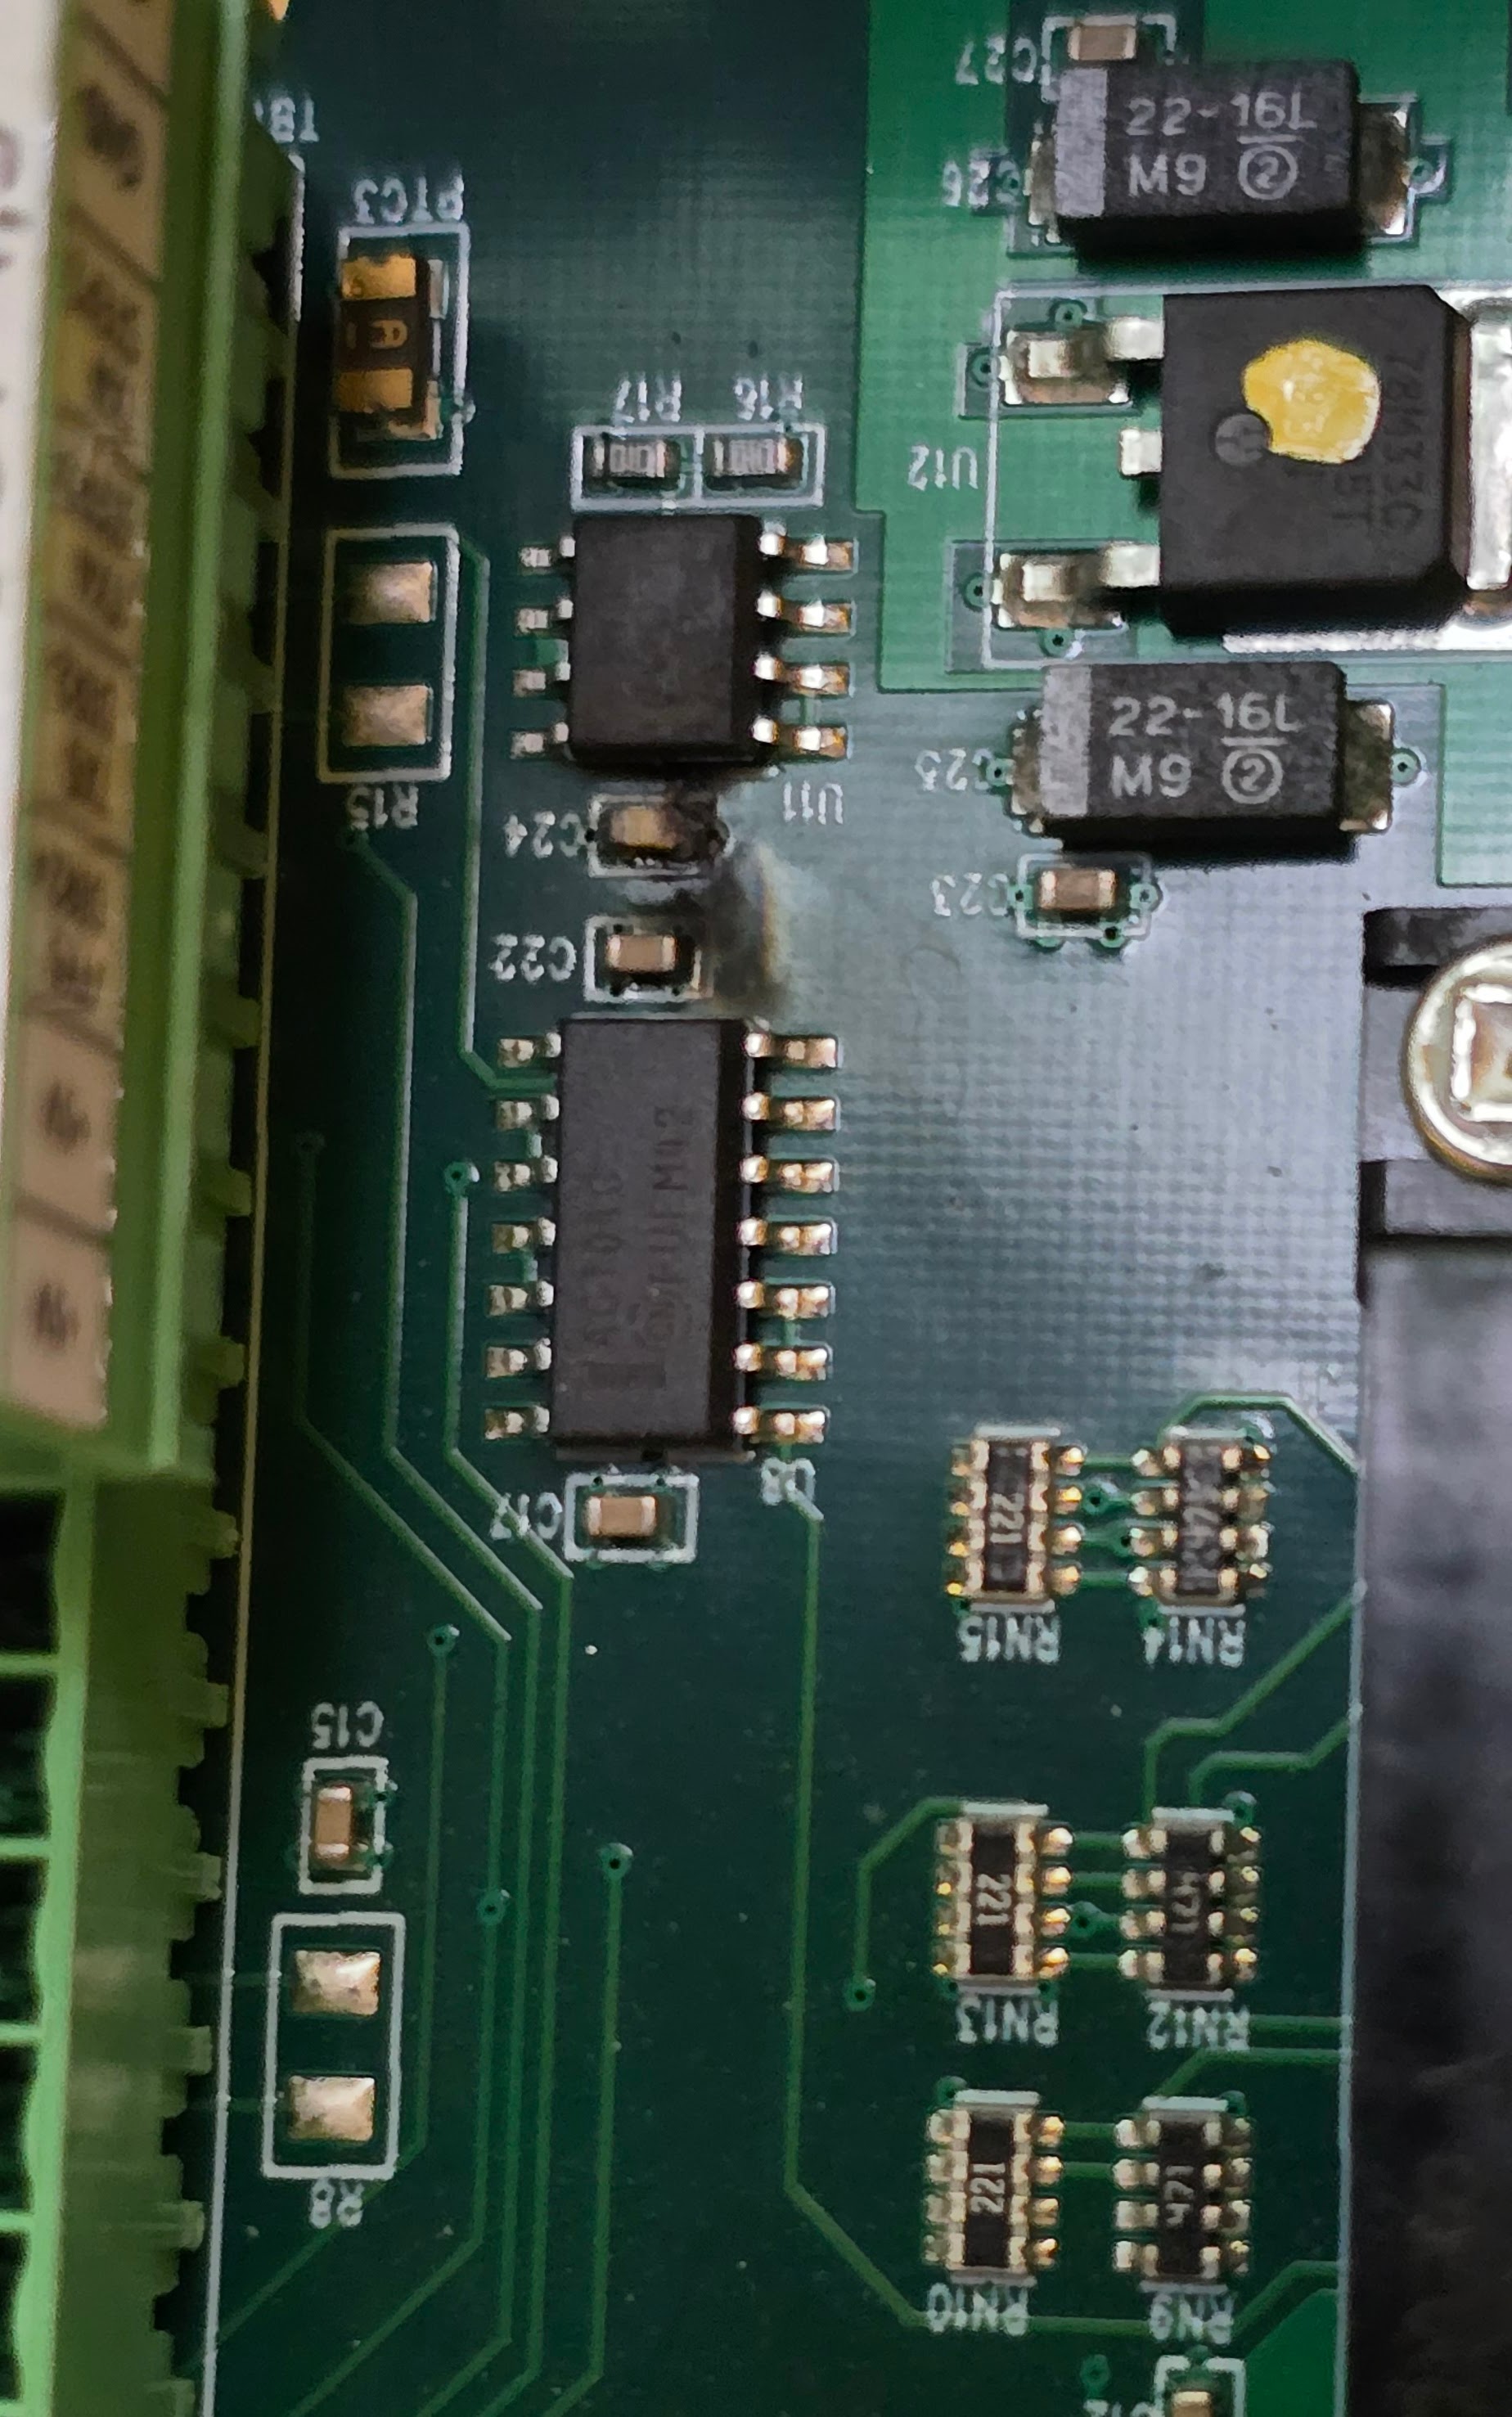
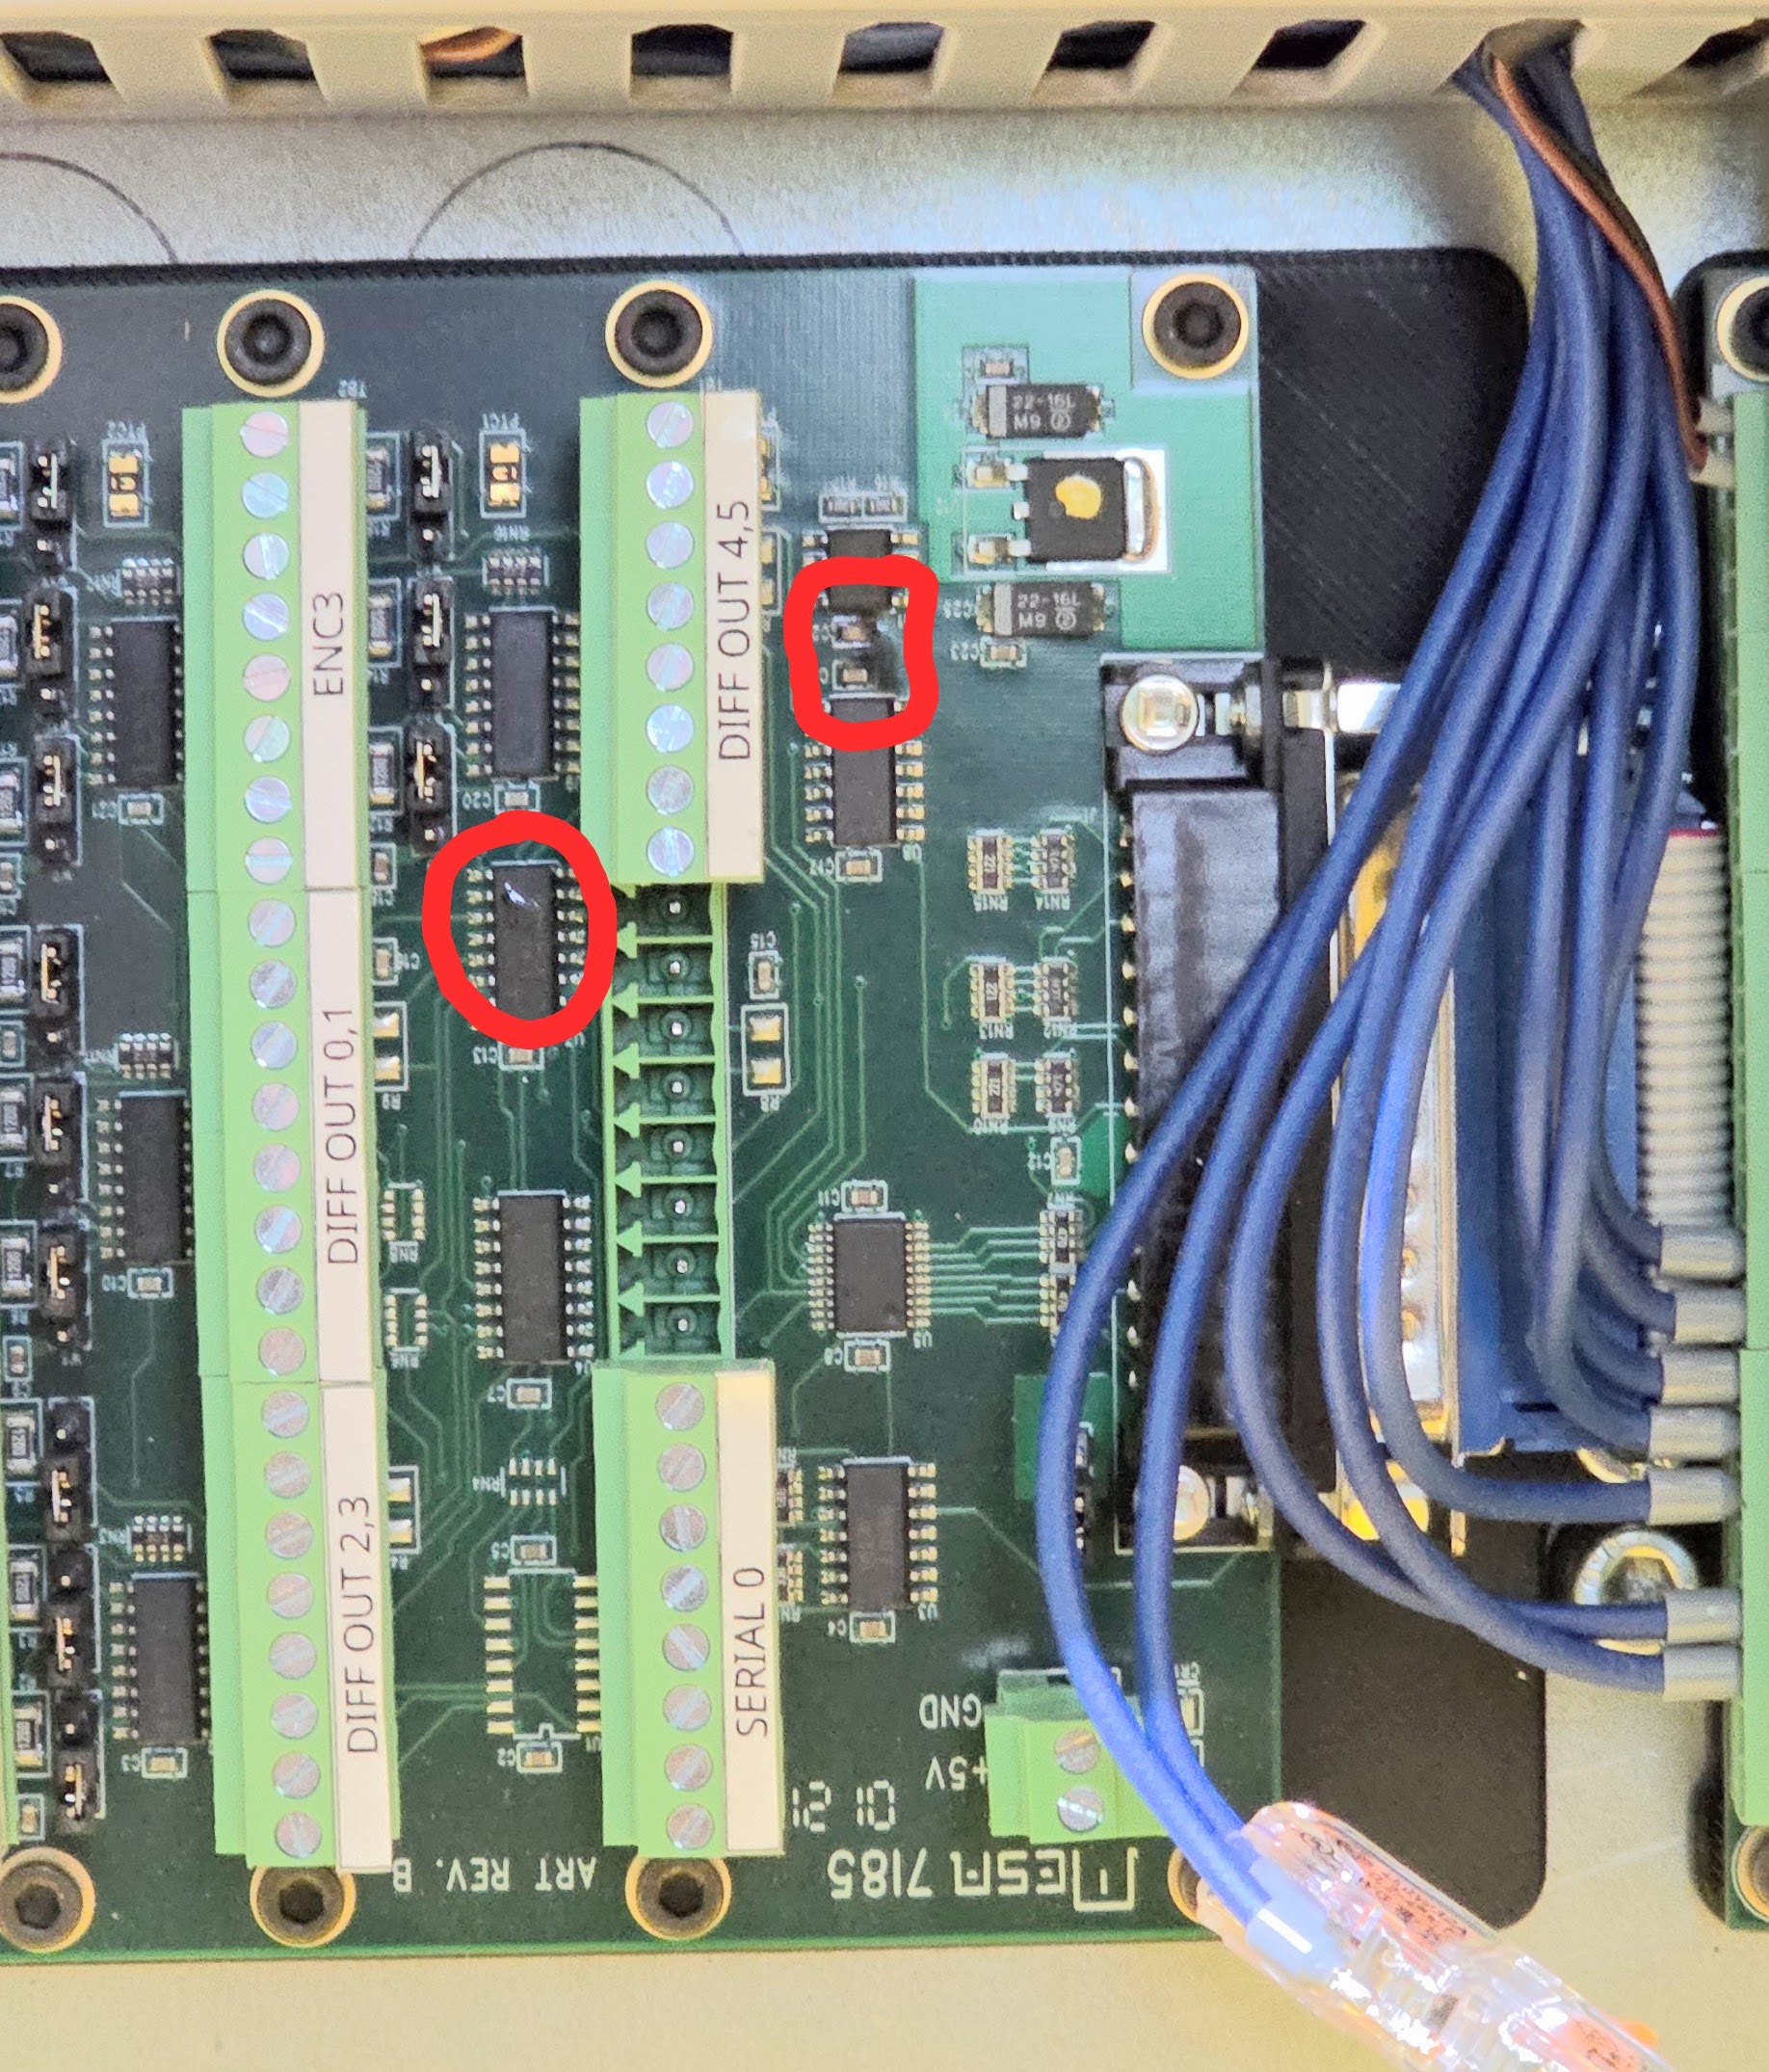
Having connected my 7i89 board to my 7i76e board using an (apparently) miswired DB25M to IDC26 cable, I seem to have blown the top off what I believe is a hex inverter:


I intend to try to fix it.

I can't find an ON Semiconductor record for a chip exactly identified as "ACT04G."  Perhaps this 74ACT04SCX is a close enough match?:

74AC04, 74ACT04 Data Sheet

Lastly, I think my mistake was in assuming I understood the pin numbering on the 7i76e's expansion connectors.  Which of these (or neither) is correct?:


Thanks in advance!
30 Jan 2024 00:31

New LinuxCNC-Ethercat git tree

Category: EtherCAT

I'd think that a one-shot information message right after:

"Failed to execute SDO download"

something like:

"Are any of your EtherCAT devices powered off? Did you add/remove a device w/out editing your XML?

I suspect LinuxCNC isn't happy if an ethernet attached Mesa 7i76e is powered off either.

A simple hint could reassure the user that nothing may be broken, just forgot to power something up.
27 Jan 2024 23:40
Replied by PCW on topic RS485 via MESA 7i76e

RS485 via MESA 7i76e

Category: Driver Boards

You would need to add an additional RS-485 interface.
(either an existing daughtercard (7I74,7I78,7I85S,7I85,7I88,7I89
or a simple adapter with a a single RS-485 chip like a SP491 (like a mesa 485x1))
27 Jan 2024 23:04

RS485 via MESA 7i76e

Category: Driver Boards

HI
Is it possible to get a second serial interface on the MESA 7i76e board? I need to interface a Mitsubishi VFD via RS485 and I have a 7i73 pendent board connected to the serial interface on TB3.


26 Jan 2024 15:46

My 7i76e Connection Sheet

Category: Driver Boards

Thanks for the help we got the MPG to fully work after changing the mode to 20 and reconnecting some loose wires.
26 Jan 2024 11:05

cycle start, resume and pause problem

Category: General LinuxCNC Questions

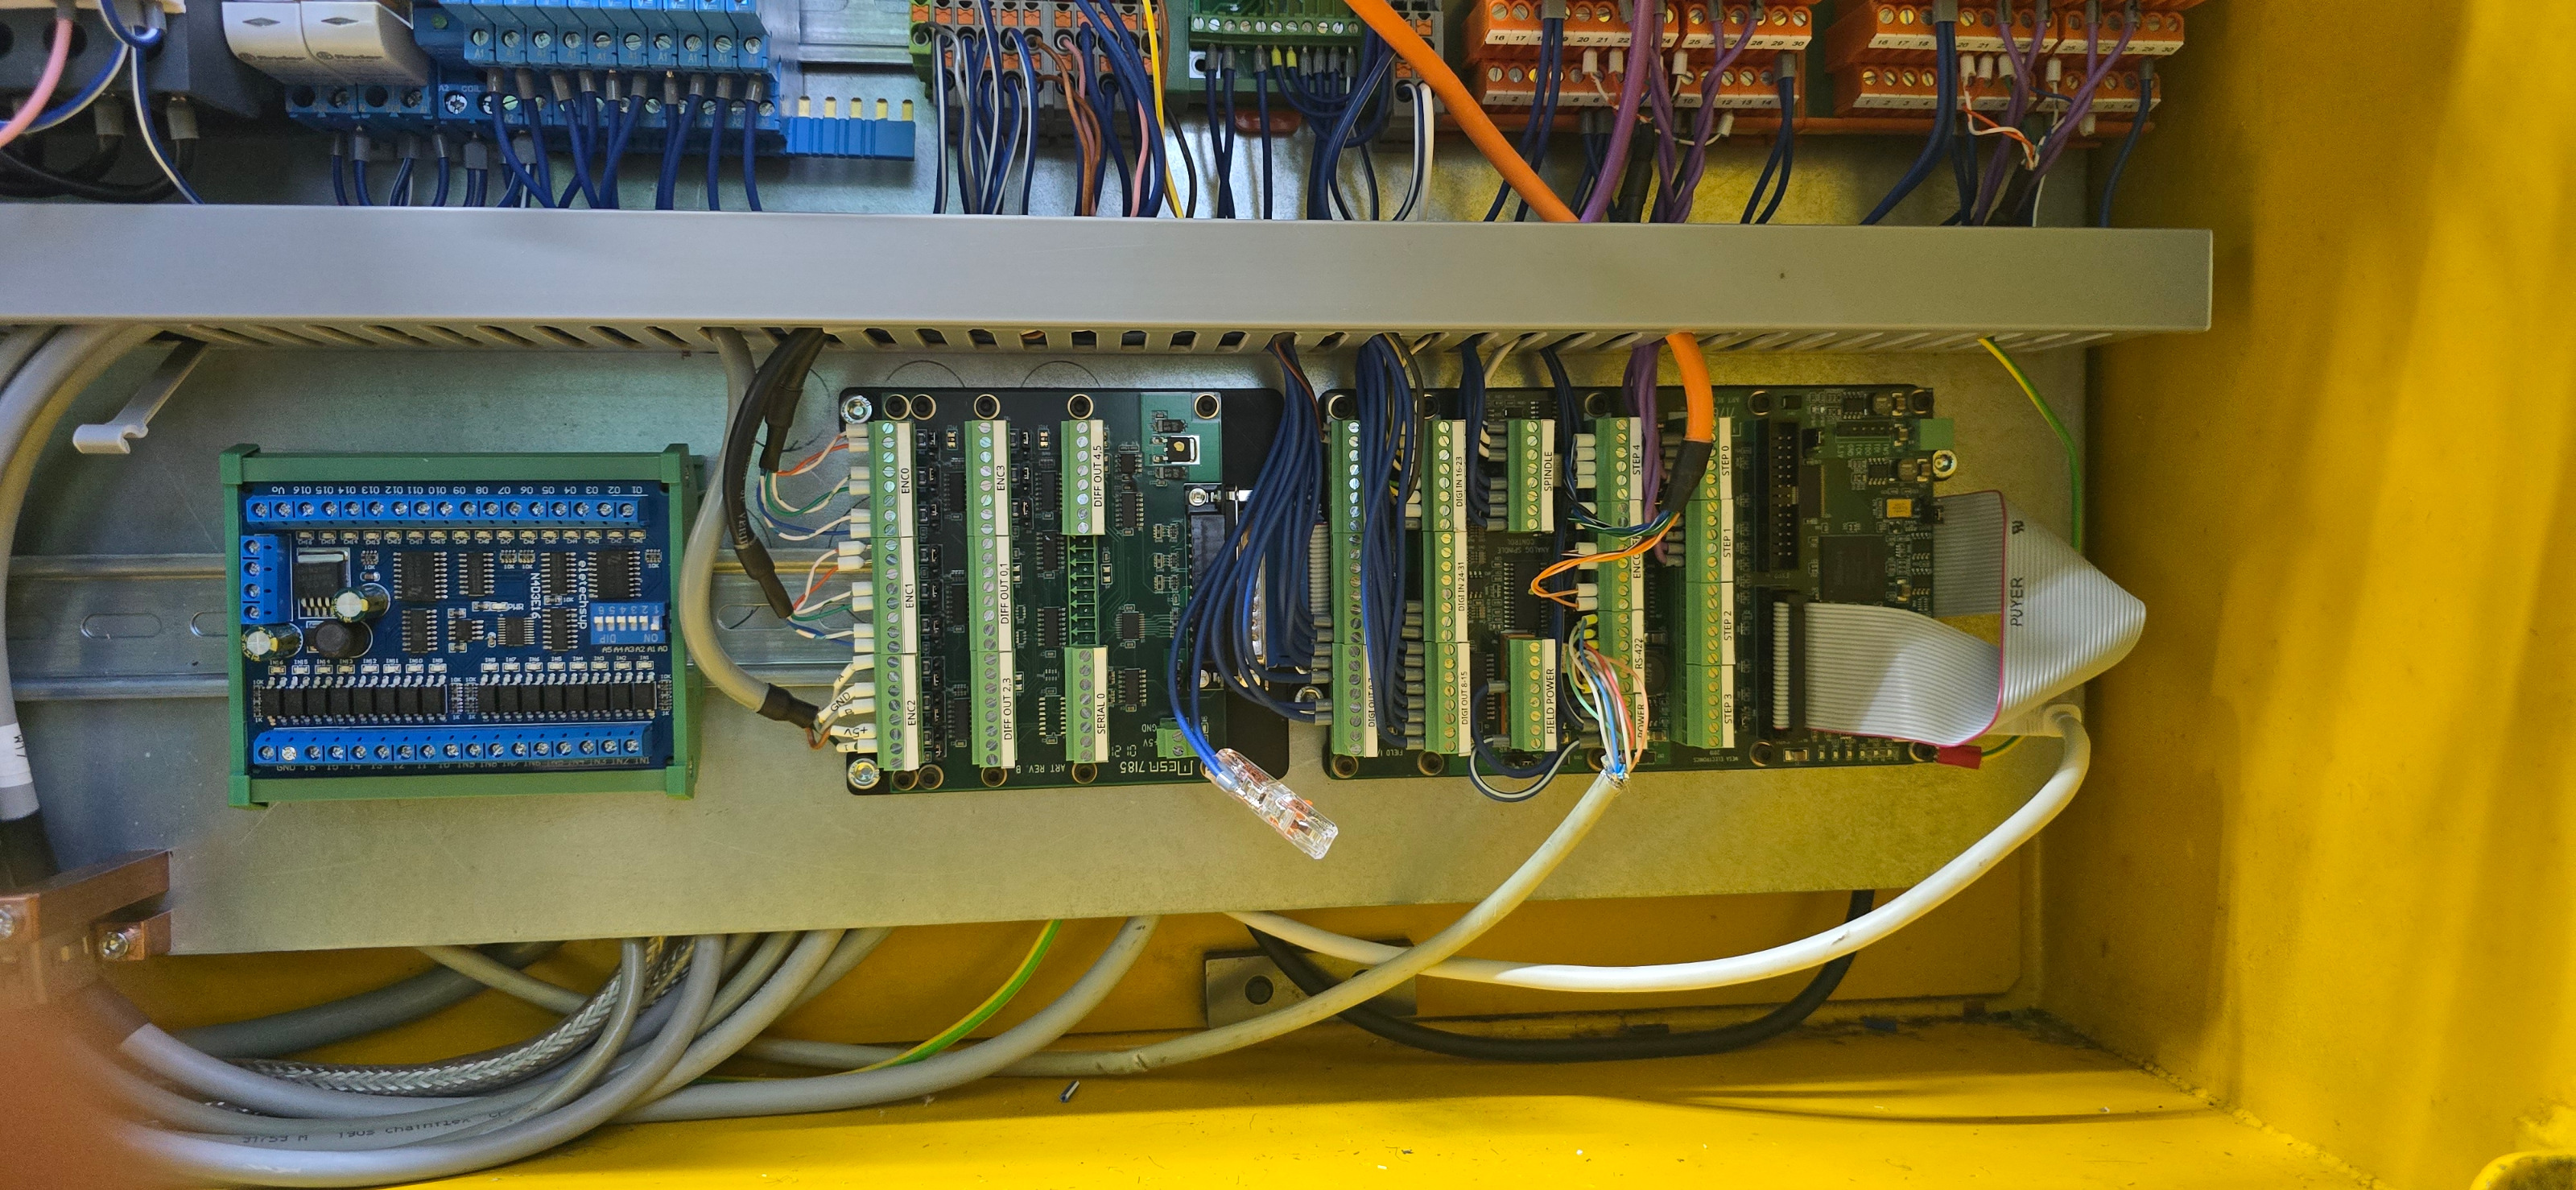
Lately, the machine always triggers itself to have cycle start, please see attached some photo. It uses 7i76e card, can anybody help? Also, what are the alert message meaning, they always comes out. I use LinuxCNC 3 years now, previously, I used Mach3 (more than ten years). In my feeling, It is difficult to use it than Mach3 !
24 Jan 2024 17:44
Replied by PCW on topic My 7i76e Connection Sheet

My 7i76e Connection Sheet

Category: Driver Boards

You would need mode 2 on the 7I76Es I/O section to enable the MPGs:

sserial_port_0=20xxxx
24 Jan 2024 09:01

My 7i76e Connection Sheet

Category: Driver Boards

These are the loadrt lines that show up in the main Hal file.
We haven't fully configured the spindle encoder yet, because we were trying to figure out how to move the axis' with the MPG, is it possible that the encoder needs to be fully functional before we can use the MPG for the axis'?

Thanks in advance

loadrt [KINS]KINEMATICS
loadrt [EMCMOT]EMCMOT servo_period_nsec=[EMCMOT]SERVO_PERIOD num_joints=[KINS]JOINTS
loadrt hostmot2
loadrt hm2_eth board_ip="192.168.1.121" config="num_encoders=1 num_pwmgens=0 num_stepgens=5 sserial_port_0=00xxxx"
setp hm2_7i76e.0.watchdog.timeout_ns 5000000
loadrt pid names=pid.x,pid.y,pid.z,pid.s
Displaying 466 - 480 out of 568 results.
Time to create page: 0.945 seconds
Powered by Kunena Forum