Search Results (Searched for: raspberry pi 3)
- llamatrails
- llamatrails
13 Apr 2025 21:45
RPi 4, LinuxCNC upgrade doesn't upgrade kernel was created by llamatrails
RPi 4, LinuxCNC upgrade doesn't upgrade kernel
Category: Installing LinuxCNC
- pgf
- pgf
12 Apr 2025 14:23
Replied by pgf on topic Running an external program from a HAL pin
Running an external program from a HAL pin
Category: HAL
- robforbes
- robforbes
09 Apr 2025 18:24 - 09 Apr 2025 22:00
- behai
- behai
09 Apr 2025 07:43
- rodw

08 Apr 2025 09:31
Replied by rodw on topic LinuxCNC S-Curve Accelerations
LinuxCNC S-Curve Accelerations
Category: General LinuxCNC Questions

- Krimbles13
- Krimbles13
04 Apr 2025 10:14 - 04 Apr 2025 10:18
Replied by Krimbles13 on topic Remora - Rpi Software Stepping Using External Microcontroller via SPI
Remora - Rpi Software Stepping Using External Microcontroller via SPI
Category: Computers and Hardware
- unknown
- unknown
03 Apr 2025 21:37
Replied by unknown on topic Linuxcnc & the Raspberry Pi (4 & 5) Official Images Only!!!
Linuxcnc & the Raspberry Pi (4 & 5) Official Images Only!!!
Category: Installing LinuxCNC
- atrex77

03 Apr 2025 20:11
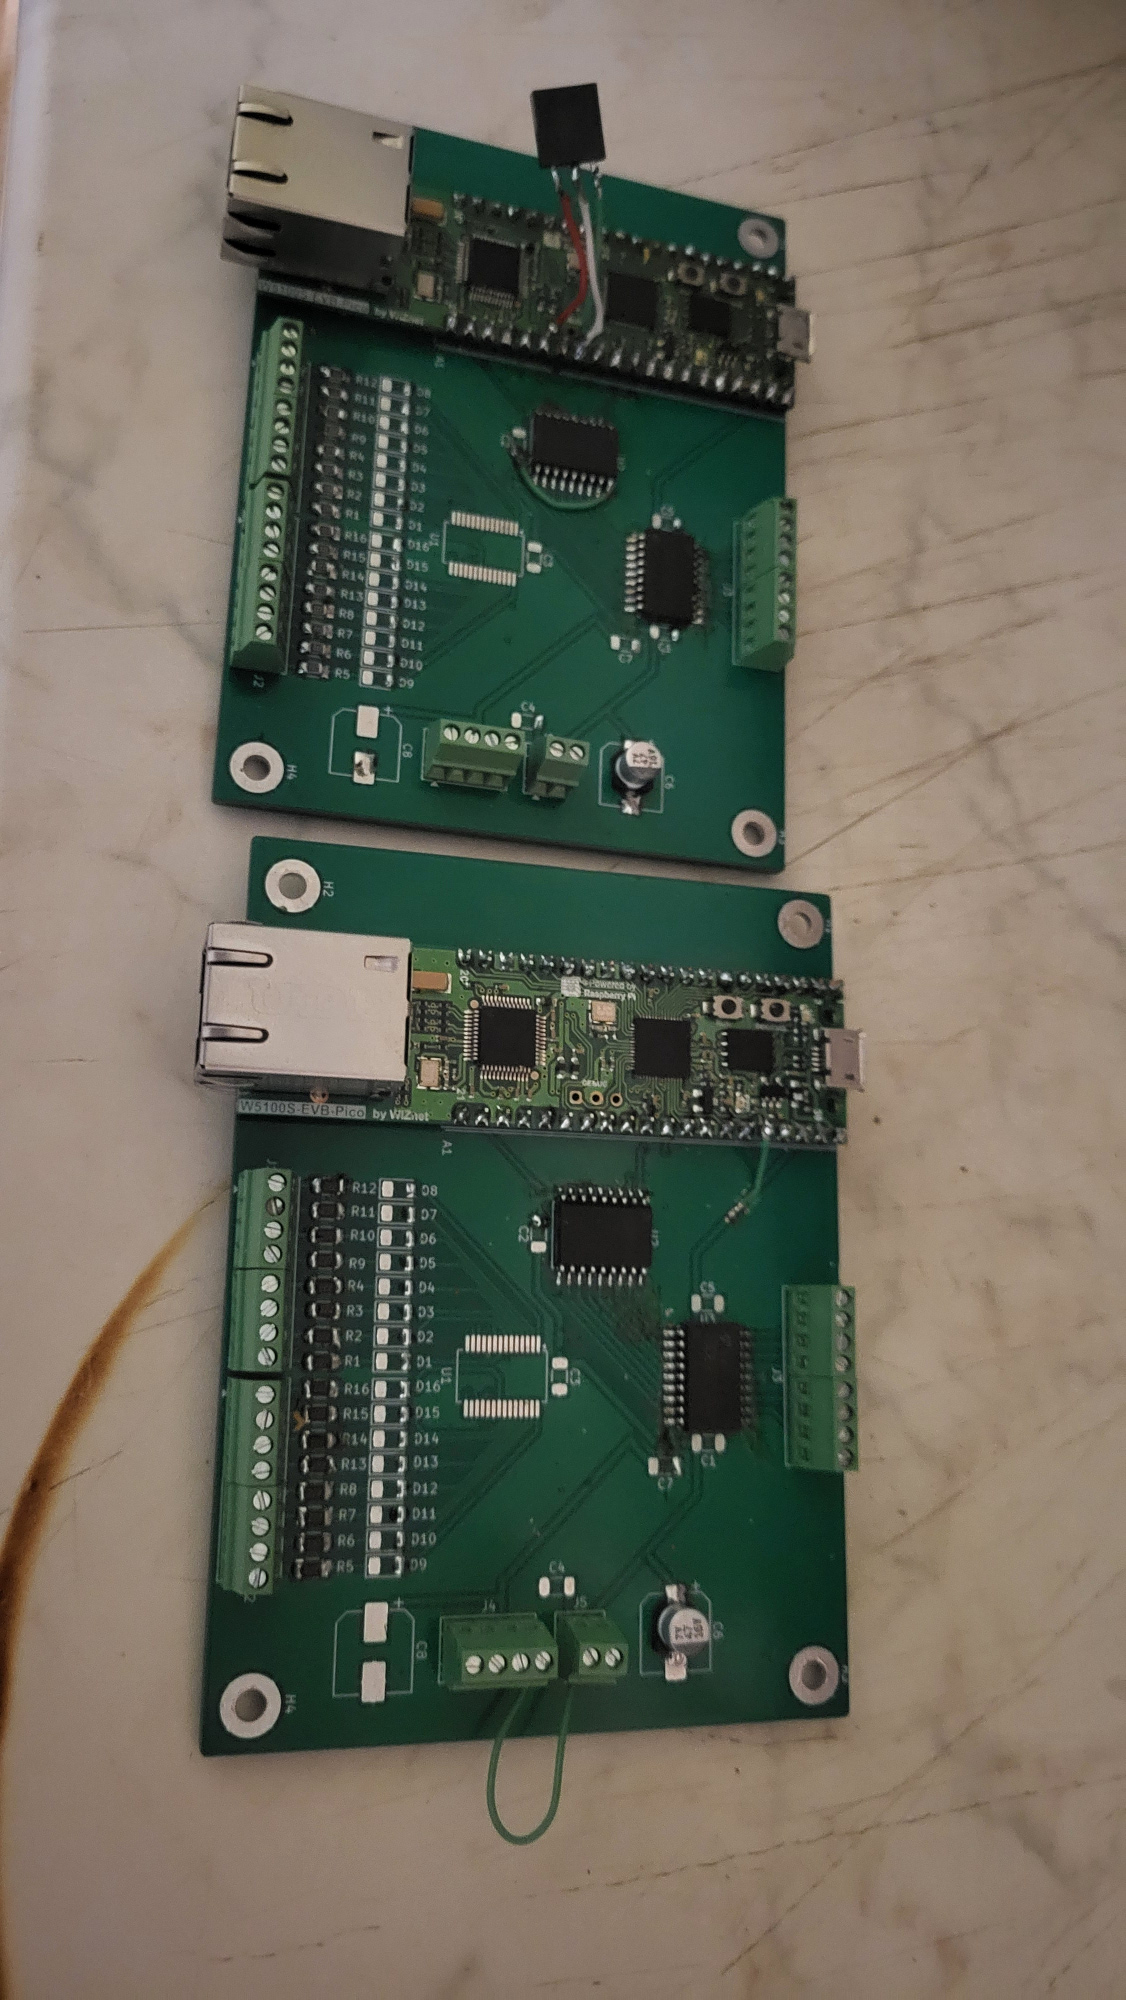
Replied by atrex77 on topic Developing a Raspberry Pi Pico-based I/O Board for LinuxCNC
Developing a Raspberry Pi Pico-based I/O Board for LinuxCNC
Category: General LinuxCNC Questions

- jdowsonjr
- jdowsonjr
03 Apr 2025 16:03
Replied by jdowsonjr on topic Linuxcnc & the Raspberry Pi (4 & 5) Official Images Only!!!
Linuxcnc & the Raspberry Pi (4 & 5) Official Images Only!!!
Category: Installing LinuxCNC
- unknown
- unknown
03 Apr 2025 04:29
- andypugh

02 Apr 2025 21:38
Replied by andypugh on topic Developing a Raspberry Pi Pico-based I/O Board for LinuxCNC
Developing a Raspberry Pi Pico-based I/O Board for LinuxCNC
Category: General LinuxCNC Questions
- H-S-W
- H-S-W
02 Apr 2025 07:35
- ContinenteCNC

01 Apr 2025 00:56 - 01 Apr 2025 00:57
Replied by ContinenteCNC on topic Configuring 6 axis robot arm with lcnc
Configuring 6 axis robot arm with lcnc
Category: HAL
- chuckp47
- chuckp47
31 Mar 2025 13:31
- H-S-W
- H-S-W
31 Mar 2025 08:56
Time to create page: 1.599 seconds