Advanced Search

Search Results (Searched for: )

  • tuxcnc
  • tuxcnc
04 Oct 2026 19:56

Standalone LinuxCNC machine simulator using the Stepper-Ninja HAL interface

Category: General LinuxCNC Questions

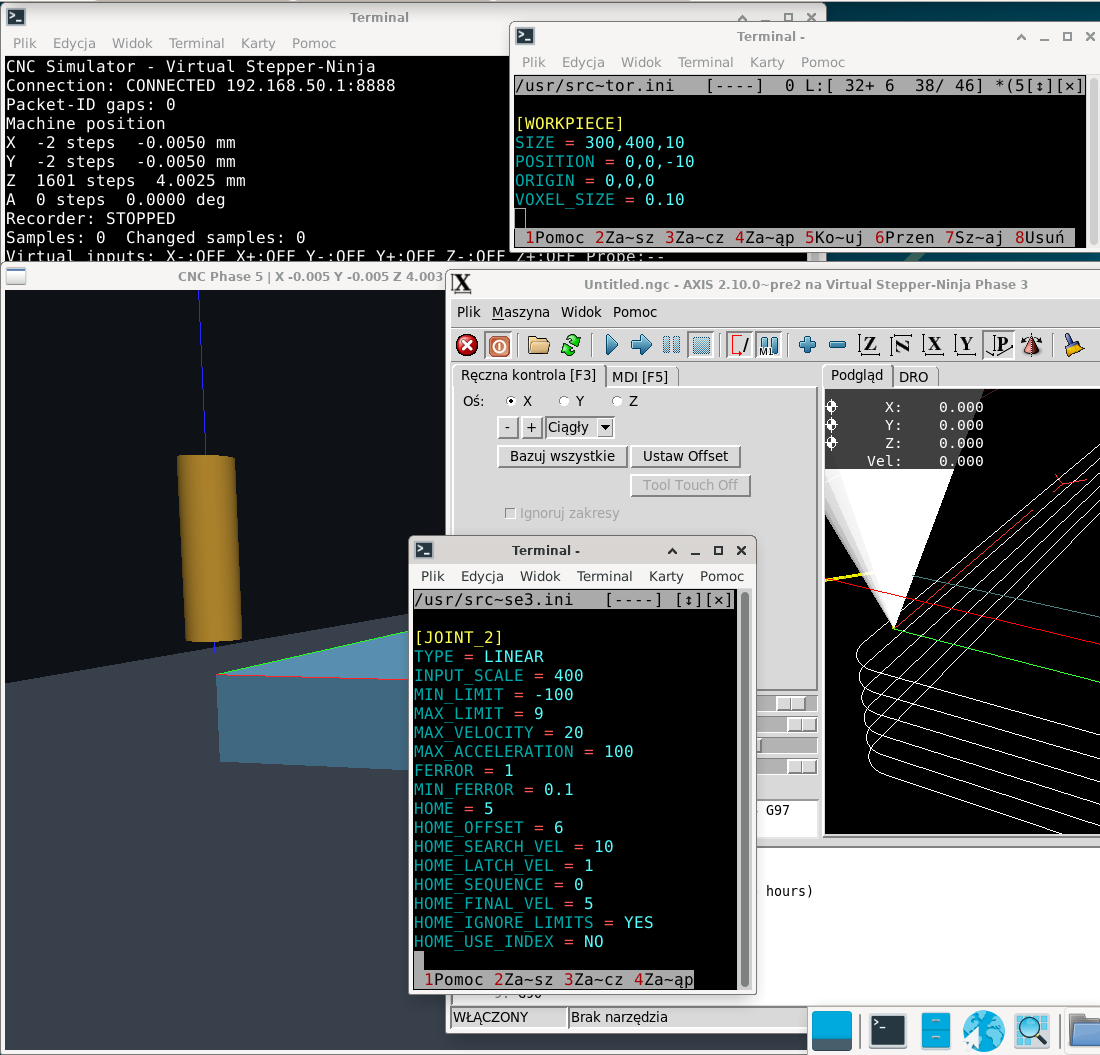
I haven't tested 0.1.2, but I think I found the reason for the zeros moving apart.
In a normal machine, zero is counted from the point where the limit switch is actuated, but here the position of the limit switch is apparently set as relative to zero...
In my settings HOME_OFFSET = 6, so limits set Z max must be 2400 and not 4000 as it was.
After this change, the zeros in both windows are in place.
So there's nothing to fix, but some comment in the virtual-io.conf file would be helpful.
  • tuxcnc
  • tuxcnc
04 Oct 2026 19:14

Standalone LinuxCNC machine simulator using the Stepper-Ninja HAL interface

Category: General LinuxCNC Questions

[b][b][code][code][code][code][b][url=https://github.com/FredericM88/linuxcnc-sim/releases/tag/v0.1.2][b]Could you try v0.1.2 with the new Phase 3 configuration and see whether the Z offset still occurs on your system?[/b][/url][/b]
[/code][/code][/code][/b][/code][/b]
 

It's late, so I do test v0.1.2 rather tomorrow.
Bellow is what was and I described above.
 
  • fmueller
  • fmueller
04 Oct 2026 18:22

Standalone LinuxCNC machine simulator using the Stepper-Ninja HAL interface

Category: General LinuxCNC Questions

Thanks for the detailed feedback and also for the launcher script!

We haven't had the opportunity to test your script yet, but we will definitely take a closer look at it. Starting LinuxCNC and the simulator together with a single command is a very useful idea.

I went through the three points you mentioned and used them to update the Phase 3 example.

Working area

You were right that the previous working area was much too small for a realistic milling machine example.

The Phase 3 machine now uses:
X:    0 .. 600 mm
Y:    0 .. 400 mm
Z: -200 ..   0 mm

The virtual limit switches were updated accordingly and are located 1 mm outside the normal working area.

Z homing

I also changed the Z homing as you suggested.

X and Y still home toward their minimum switches, but Z now homes upward toward the maximum/home switch. The Z switch is therefore approached from below with a positive HOME_SEARCH_VEL.

Z offset between AXIS and the simulator

This was the point I was most interested in, so I tried to reproduce it deliberately.

For the test I placed the physical Z home switch at +1 mm and configured:
HOME = 0
HOME_OFFSET = 1
HOME_SEARCH_VEL = 2
HOME_LATCH_VEL = 0.2

This means that the physical switch position is intentionally different from the final G53 Z0 position.

I tested the complete homing sequence with LinuxCNC 2.10.0-pre2.

Z approaches the upper switch from below, backs off, performs the slow latch approach and finally moves back to G53 Z0.

After homing, both AXIS and the simulator showed exactly Z0.

I then commanded:
G53 G0 X10 Y10 Z-5

AXIS showed:
X = 10.000
Y = 10.000
Z = -5.000

and the simulator showed exactly:
X =  4000 steps = 10.000 mm
Y =  4000 steps = 10.000 mm
Z = -2000 steps = -5.000 mm

at 400 steps/mm.

I also checked the simulator's min/max switch implementation and added an explicit automated test for approaching the Z maximum switch from below, including its hysteresis behavior.

So far I have not been able to reproduce the several-millimeter Z offset you are seeing.

These changes are now included in v0.1.2:

linuxcnc-sim v0.1.2

The complete simulator test suite also passes with the new configuration: 91/91 tests passed.

Could you try v0.1.2 with the new Phase 3 configuration and see whether the Z offset still occurs on your system?

If the offset is still there, could you send me your LinuxCNC .ini and .hal files, and your virtual-io.conf if you changed it?

Then I can reproduce your exact configuration instead of guessing where the difference comes from.

Thanks again for testing the simulator. Your feedback already resulted in several improvements to the example configuration.

  • Vegko
  • Vegko
04 Oct 2026 17:16
Replied by Vegko on topic VTK based version of Vismach

VTK based version of Vismach

Category: Show Your Stuff

I have converted my old vismach to this VTK and i must say that i am impressed with it!
My configuration is only a simple 3 axis machine.
In the attachments, my configuration (vtkvismach is in the config folder) and 3d files (these go in your nc_files folder)

Some pro's for the new VTK implementation, in my opinion:
  • Smaller stl from freecad (old vismach you needed to export as .ast, now normal .stl)
  • In less lines you can configure your machine.
  • Model groups are a real nice way to toggle off machine components you don't want to see during simulation.
  • Transparent stock!
  • Runs from you config folder stand alone.
  • You can start it while your program is already running, or even if your machine is not homed yet.
  • Quick switching of the viewing planes.
I found out that (in any case by HUD) that using hal pin's and don't create hal pins with the vtkvismach script makes you able to restart vtkvismach without restarting linuxcnc since you don't create double hal pins. For creating your model this faster.
The pins necessary for my HUD are now created in "custom.hal".
 
Also i added a few extra lines (classes) to vtk_vismach.py, some for my own preferences/use
  • ini_work_file:
    ini file reading, i use a ini file in the NC folder to specify my Job, in the ini file you can state your workpiece, raw stock and the work holding. In my example the files are read from the nc_files folder. 
    • Syntax:
      • Product_stl=ini_work_file('WorkpieceModel', 'solidname').database_read(INI_Path_File)
  • Polygon:
    enter a polygon solid in Z direction (for example: used for my stock creation from hexbar to round)
    • Syntax:
      • Polygon((comp),x_center, y_center, z_center, length, radius, number_sides, inscribed)
      • number_sides = number of polygon sides
      • inscribed = boolean = if the given radius is: read as inscribed, measured on flats (1) or measured on the points (0).
  •  ThreadBox:
    Creates a box of "wiremess" (for example: used for my working area)
    • Syntax:
      • Polygon((comp),xmin, ymin, zmin, xmax, ymax, zmax, radius, sradius)
      • xyz min and max for your corners.
      • radius =  the radius of the ribs.
      • sradius = the radius of the sphers on the corners.
  • Small aditions, icon, View_Ori and TextHeightButtons (to keep the screen small with to many model groups).
  •  Made parallel the starting option.
  •  Changed "show overlay" from radio button to check box
  •  CylinderOriented, this function won't work if xystart and xyend are equal. i added some (brute force) logic to check and bypass the used matrix.
 Aciera thanks for providing this nice simulation tool!
  • cmorley
  • cmorley
04 Oct 2026 16:40
Replied by cmorley on topic qtvismach, a axis toolpath

qtvismach, a axis toolpath

Category: Qtvcp

I tried this out. Excellent job.
I did not if I move the origin the material stock does not move, even if I rebuild the material. Does this happen for you?
  • anfänger
  • anfänger's Avatar
04 Oct 2026 12:54
Replied by anfänger on topic Barnworks shop update

Barnworks shop update

Category: Show Your Stuff

During all this progress we also setup my wife's shop with warm and cold water

File Attachment:


and what once was my temporary home is now the shelter for our old sofa and her loom

File Attachment:


File Attachment:


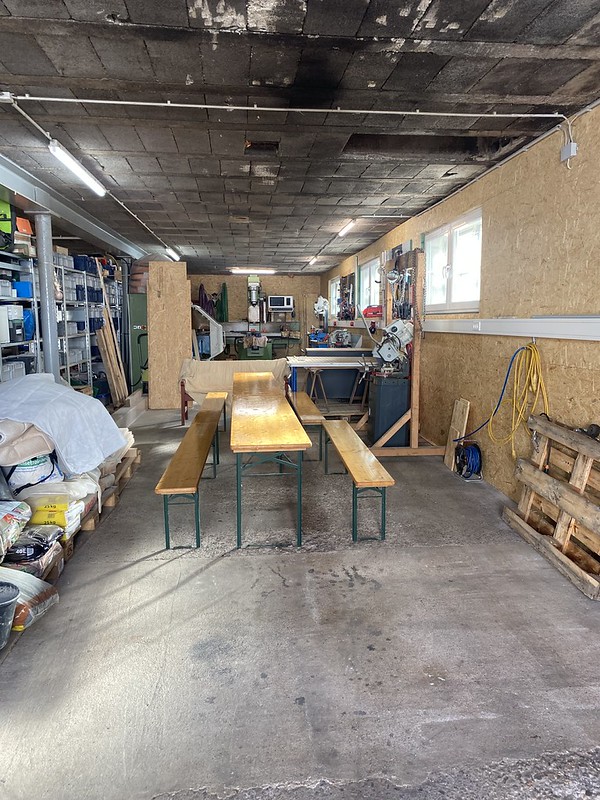
all that was left was to get sone beer and cake

File Attachment:


set up the benches 

File Attachment:


and wait in the courtyard by the fire with the dog for the friend to arrive

File Attachment:
  • anfänger
  • anfänger's Avatar
04 Oct 2026 12:45
Replied by anfänger on topic Barnworks shop update

Barnworks shop update

Category: Show Your Stuff

then it was time for the lathe.

File Attachment:


getting here under power and leveled was a bit more challenging. then there was another issue. In the old shop I could have a hoist on a roof beam to change the chucks... here not, so I needed another solution:

File Attachment:


An old winch, one multifix mount and a pickup crane did the trick

File Attachment:


File Attachment:


  • anfänger
  • anfänger's Avatar
04 Oct 2026 12:39
Replied by anfänger on topic Barnworks shop update

Barnworks shop update

Category: Show Your Stuff

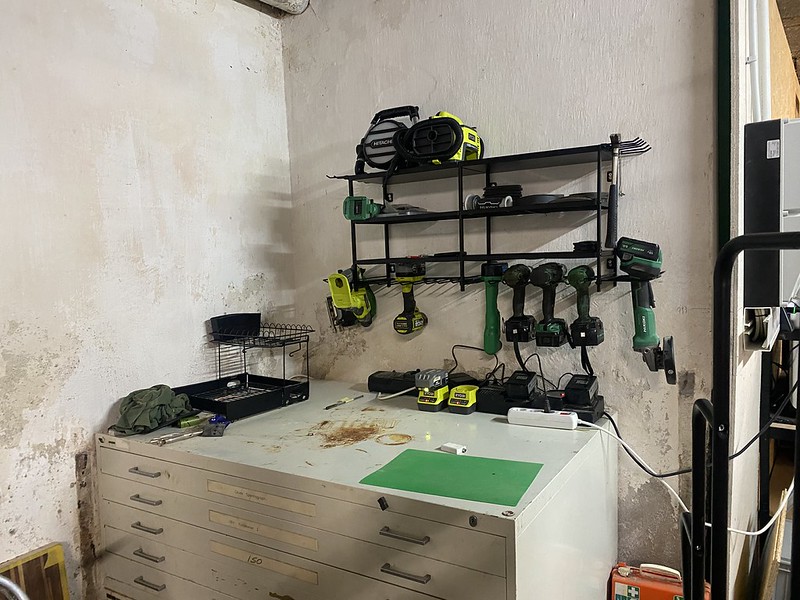
followed by the battery powered shit

File Attachment:


and the welding table 

File Attachment:


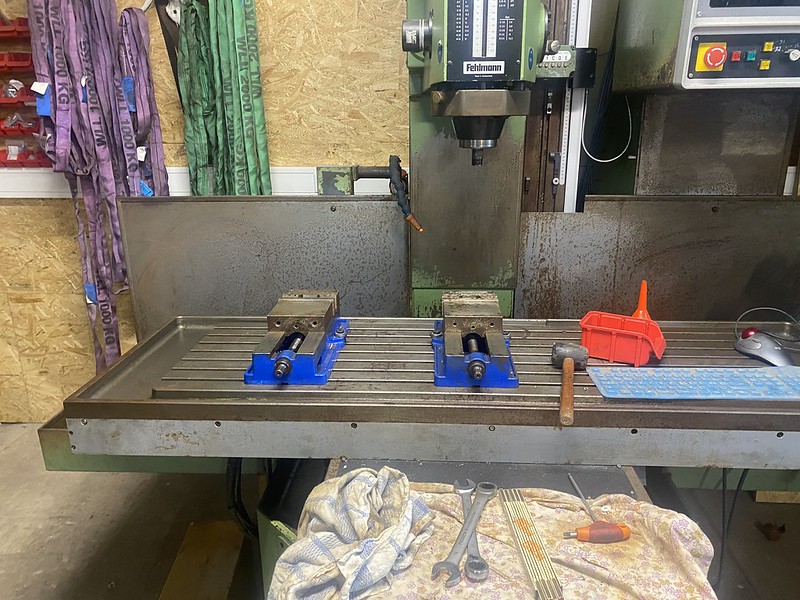
then the first cnc machine was ready to get leveled and under power:

File Attachment:


and for the first time since I started setting up this machine it got its two vices mounted:

File Attachment:


so it can be used soon hopefully and also I can start working on fully integrate the 4th axis.

 
  • anfänger
  • anfänger's Avatar
04 Oct 2026 12:33
Replied by anfänger on topic Barnworks shop update

Barnworks shop update

Category: Show Your Stuff

having the the wall ducts allow also to semi integrate the air lines

File Attachment:


File Attachment:


then it was time to set everything up beginning with the 3D Printers

File Attachment:


manual machines

File Attachment:


File Attachment:
  • anfänger
  • anfänger's Avatar
04 Oct 2026 12:26
Replied by anfänger on topic Barnworks shop update

Barnworks shop update

Category: Show Your Stuff

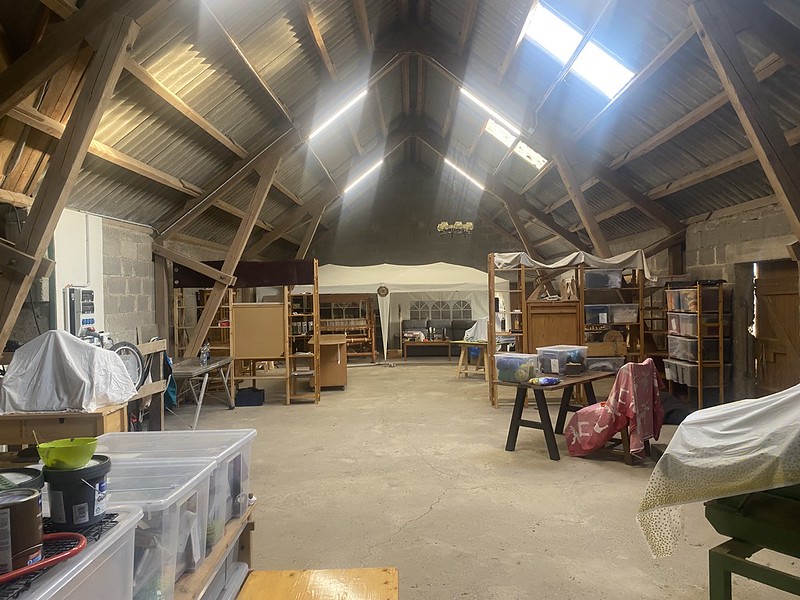
the there was really long time no progress, cause focus was on the house, which brings us to the point two months ago, where instead of going on our vacation we made a big leap with our shops.
Beginning by further insulating mine.

File Attachment:


File Attachment:


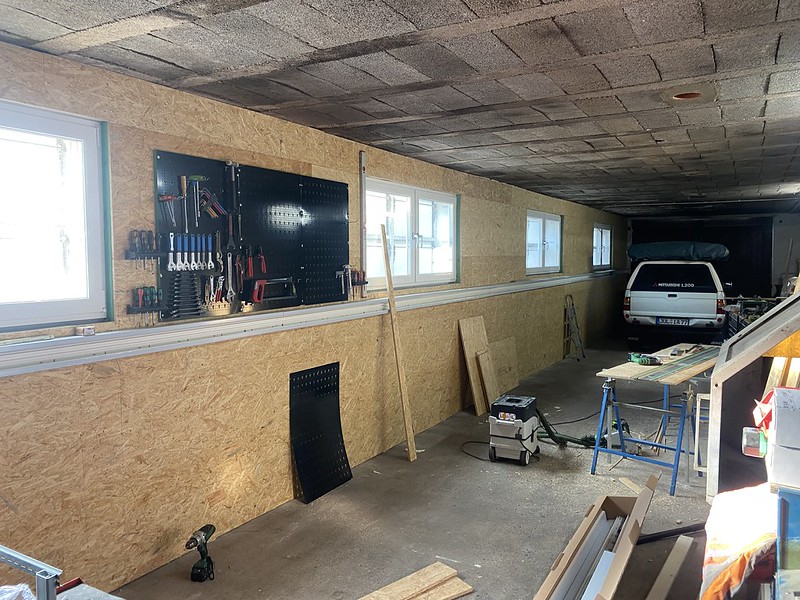
and finishing the walls

File Attachment:


setting up first work benches and begin wiring the whole shop

File Attachment:
  • anfänger
  • anfänger's Avatar
04 Oct 2026 12:17
Replied by anfänger on topic Barnworks shop update

Barnworks shop update

Category: Show Your Stuff

this was the time where the house became uninhabitable an I moved into the shop

File Attachment:


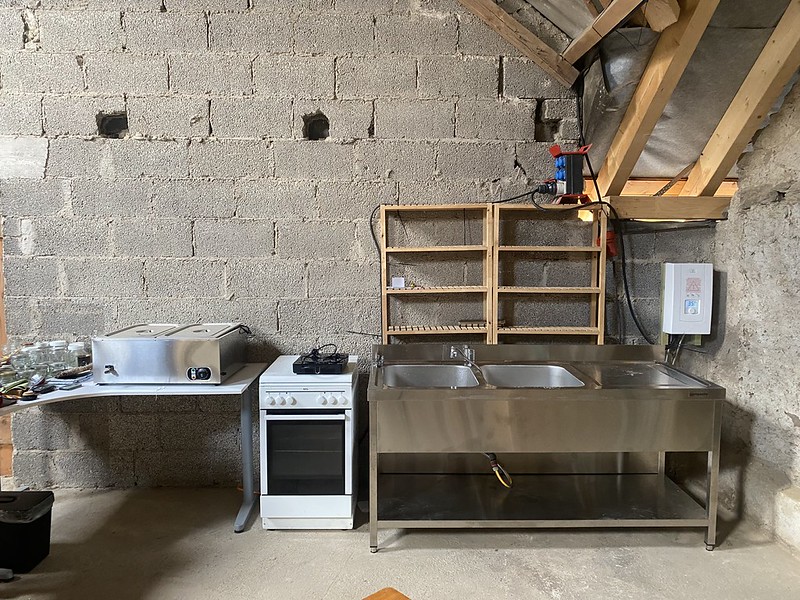
which showed that workbenches are great temporary kitchens:

File Attachment:


File Attachment:

 
  • anfänger
  • anfänger's Avatar
04 Oct 2026 12:14
Replied by anfänger on topic Barnworks shop update

Barnworks shop update

Category: Show Your Stuff

the old barn windows were really drafty and I want the shop to be more usable in winter I installed additional modern windows. 
File Attachment:
 after getting the breaker box in my house 
File Attachment:
 I could setup the new boxes in the workshop  
File Attachment:
 
File Attachment:
  • anfänger
  • anfänger's Avatar
04 Oct 2026 11:50
Replied by anfänger on topic Barnworks shop update

Barnworks shop update

Category: Show Your Stuff

Then it was moving day, the crew arrived with two truck and a forklift, I would haul my trailer in addition.

File Attachment:


File Attachment:


Loading went really fast with on truck on the street and on in the courtyard. at the new house both needed to fit in the courtyard cause the street is to narrow to park a truck there.

File Attachment:


first we unloaded my wife's carding machine to the 2nd floor

File Attachment:


where I could move it around on my own:

File Attachment:


while the professionals brought in the mill and the lathe.

File Attachment:


this was moving day.
  • anfänger
  • anfänger's Avatar
04 Oct 2026 10:50
Replied by anfänger on topic Barnworks shop update

Barnworks shop update

Category: Show Your Stuff

looks like renovating and moving while having a full time job takes much longer than expected.
But finally this weekend I was able invite over some friends to celebrate the latest incarnation of ma shop.
a lot has happend in the last years to get the shop to the state wehere I can continue using and working on my linuxcncn machines.

first step was to close up the hole for the never installed window and it would be blocked by a machine anyway

File Attachment:


the it was time to insulate nd cover the first wall cause here will land the heavy machine I can't move on my own.

File Attachment:


File Attachment:


the it was tie to haul the first smaller machines by myself 

File Attachment:


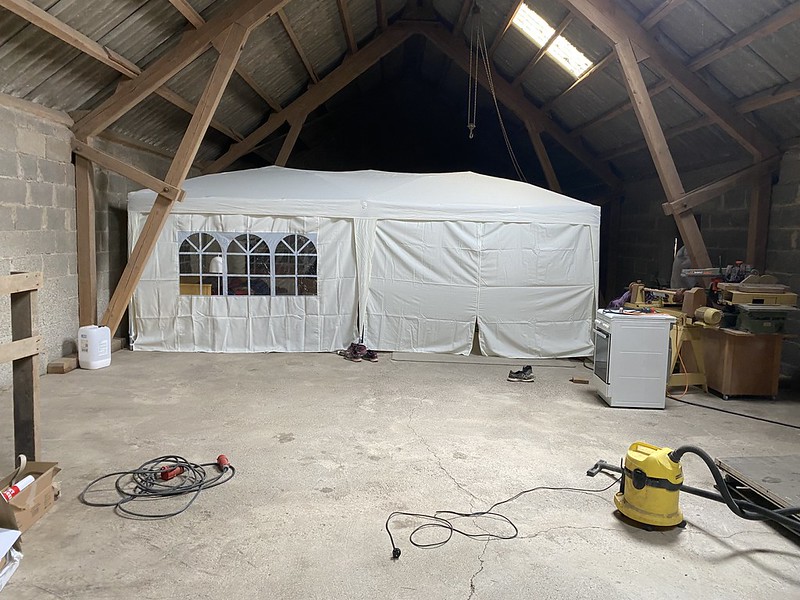
the wood shop and the fabric shop of my wife well be upstairs so I hoisted them up

File Attachment:


File Attachment:
  • tuxcnc
  • tuxcnc
04 Oct 2026 08:45

Standalone LinuxCNC machine simulator using the Stepper-Ninja HAL interface

Category: General LinuxCNC Questions

First, a gift - a script that launches both windows with one click.
#!/bin/bash
# change path in next line if needs
cd /usr/src/linuxcnc-sim
./scripts/setup-veth.sh
bash -c 'xfce4-terminal -x ip netns exec cnc-sim-ns   runuser -u "$USER" -- env   DISPLAY="$DISPLAY"   XAUTHORITY="${XAUTHORITY:-$HOME/.Xauthority}"   XDG_RUNTIME_DIR="${XDG_RUNTIME_DIR:-/run/user/$(id -u)}"   ./build/cnc-sim --config examples/mill/simulator.ini'
linuxcnc examples/phase3/phase3.ini
Everything seems to be working, but I found some errors in the settings.
Usually the Z axis looks for the limit switch at the top, here it goes down... You need to change the sign of the HOME_SEARCH_VELOCITY value to the opposite.
The work area is set to extremely small, it is unlikely that the real work will fit. When changing the field, you also need to set virtual limits.
And the worst thing is that I have an offset of several millimeters in the Z axis between Axis and the simulator. I don't know where this comes from. Of course, you can add some value in the material settings, but this is not very elegant.
Displaying 76 - 90 out of 12886 results.
Time to create page: 0.889 seconds
Powered by Kunena Forum