ColorCNC Colorlight 5A-75E/5A-75B as FPGA controller board
- muvideo
- Offline
- Senior Member
-

Less
More
- Posts: 62
- Thank you received: 30
05 Jan 2023 09:35 #260987
by muvideo
Replied by muvideo on topic ColorCNC Colorlight 5A-75E/5A-75B as FPGA controller board
Hi, sorry for the inaccuracies of my template, I should check It and sincronize It with my real working configuration.Hello Together again - I have found now a solution in my Joint Following Error on the Z Axis
At Fabios Github repo (github.com/faeboli/Lcnc/blob/master/supp...cncMill/LcncMill.hal)
I have copied his configuration to test my steppers.
I found an Error in the LcncMill.hal File:# Joint 2 setup setp Lcnc.00.stepgen.00.scale [JOINT_2]SCALE setp Lcnc.00.stepgen.02.acc_lim [JOINT_2]STEPGEN_MAXACCEL # setp Lcnc.00.stepgen.00.enable true
so i have changed the stepgen.02.acc_lim to stepgen.00.acc_lim and now i have no more Joint Following Errors. Maybe if some tried also this configuration it helps a little bit =) (Maybe also Fabio can change this error in the GitHub Repo)
Another Question: Are the Outputs from the stepgen Step/Dir +3V3? so can I connect it to a stepper driver (STEP/DIR)and only need a ground
Pin? or is this InverteInverte
Please Log in or Create an account to join the conversation.
- muvideo
- Offline
- Senior Member
-
Less
More
- Posts: 62
- Thank you received: 30
05 Jan 2023 10:40 - 05 Jan 2023 10:49 #260991
by muvideo
Hi,
the PID part can be confusing and intimidating for the newcomers to this configurations.
I should write more about this part in the documentation.
The simplified background is that in Lcnc the stepgen is a variable frequency pulse generator, this is a choice for having simple fpga code and fast and smooth pulse generation dynamics.
Since the frequency (i.e pulses per second) is the joint velocity scaled by a constant quantity (constant that depend on steps per revolution, gear ratio, lead screw etc) then Lcnc for the stepgen will accept as input the requested joint velocity.
Lcnc is not handling directly position requested, will provide only position feedback (by counting how many steps have been generated).
Usually you need to move the joint to a certain position, and linuxcnc will provide this as commanded position, so the PID here will "translate" the position requested from linuxcnc to velocity command sent to Lcnc, so it sits between Linuxcnc and Lcnc.
But Pid need also to know the actual position of the axis at every instant in order to provide correct calculations.
So to summarize pid need two inputs: position you want to reach and actual joint position, and provides one output: requested joint velocity.
Here the feedback part could generate some confusion, since in your configuration there will have no real world feedback from the axis: you dont have encoders. But the fpga step generator will take some time to move the axis, due to for example acceleration limit imposed in hal, or hardware limits in step rate, and since the acceleration is limited, and so the velocity, the actual position will change in a finite time, and the PID will read this in positon feedback from Lcnc for it's intenal calculations,
In my hal file all this configuration is where you read:
Replied by muvideo on topic ColorCNC Colorlight 5A-75E/5A-75B as FPGA controller board
Okay thank you for the quick reply - I have a 5a75b.
I was only a little bit confused because there are no step and dir pins connected by the joints in the hal file.
I know only a little bit about PID - So for my Understanding the PID gives the command to the FPGA and the FPGA produces the Step/Dir signals which goes to the Buffers- right?
Hi,
the PID part can be confusing and intimidating for the newcomers to this configurations.
I should write more about this part in the documentation.
The simplified background is that in Lcnc the stepgen is a variable frequency pulse generator, this is a choice for having simple fpga code and fast and smooth pulse generation dynamics.
Since the frequency (i.e pulses per second) is the joint velocity scaled by a constant quantity (constant that depend on steps per revolution, gear ratio, lead screw etc) then Lcnc for the stepgen will accept as input the requested joint velocity.
Lcnc is not handling directly position requested, will provide only position feedback (by counting how many steps have been generated).
Usually you need to move the joint to a certain position, and linuxcnc will provide this as commanded position, so the PID here will "translate" the position requested from linuxcnc to velocity command sent to Lcnc, so it sits between Linuxcnc and Lcnc.
But Pid need also to know the actual position of the axis at every instant in order to provide correct calculations.
So to summarize pid need two inputs: position you want to reach and actual joint position, and provides one output: requested joint velocity.
Here the feedback part could generate some confusion, since in your configuration there will have no real world feedback from the axis: you dont have encoders. But the fpga step generator will take some time to move the axis, due to for example acceleration limit imposed in hal, or hardware limits in step rate, and since the acceleration is limited, and so the velocity, the actual position will change in a finite time, and the PID will read this in positon feedback from Lcnc for it's intenal calculations,
In my hal file all this configuration is where you read:
- joint.1.motor-pos-cmd => pid.1.command # here the requested position from linuxcnc is connected to PID input command
- Lcnc.00.stepgen.01.pos-fb => pid.1.feedback # here the actual position feedback of the axis from Lcnc is connected to the PID feedback
- pid.1.output => Lcnc.00.stepgen.01.vel-cmd # here you connect the pid output to Lcnc velocity command
About PID configuration, for the stepgen it is very simple, since the feedback dynamics are very predictable (some reasons here, basically the feedback here is not from the real axis position*, but from stepgen in fpga, so no disturbances from the real world) you can use the parameters you see in the hal file:
setp pid.1.FF1 1.0
setp pid.1.Pgain 200
setp pid.1.Igain 20
setp pid.1.Dgain 0
setp pid.1.deadband 0.01
If I understand correctly TOLP implementation, the position pid part in his software is already embedded in the driver so his implementation hides most of this and your life is simplified.
I prefer to not rewrite a PID logic inside my driver, since we already have a very good PID in ours hal components.
*Note:
If you will ever add encoders to your machine, and modify the board to read inputs, this configuration could easily be modified to accept feedback from encoders instead than from Lcnc, so you will have a full closed loop axis. In this case a proper PID calibration is needed since the PID will be dealing with real world and unpredictable disturbances.
Last edit: 05 Jan 2023 10:49 by muvideo.
The following user(s) said Thank You: juergenmoser
Please Log in or Create an account to join the conversation.
- wuyatom
- Offline
- Senior Member
-
Less
More
- Posts: 42
- Thank you received: 0
05 Jan 2023 11:09 #260992
by wuyatom
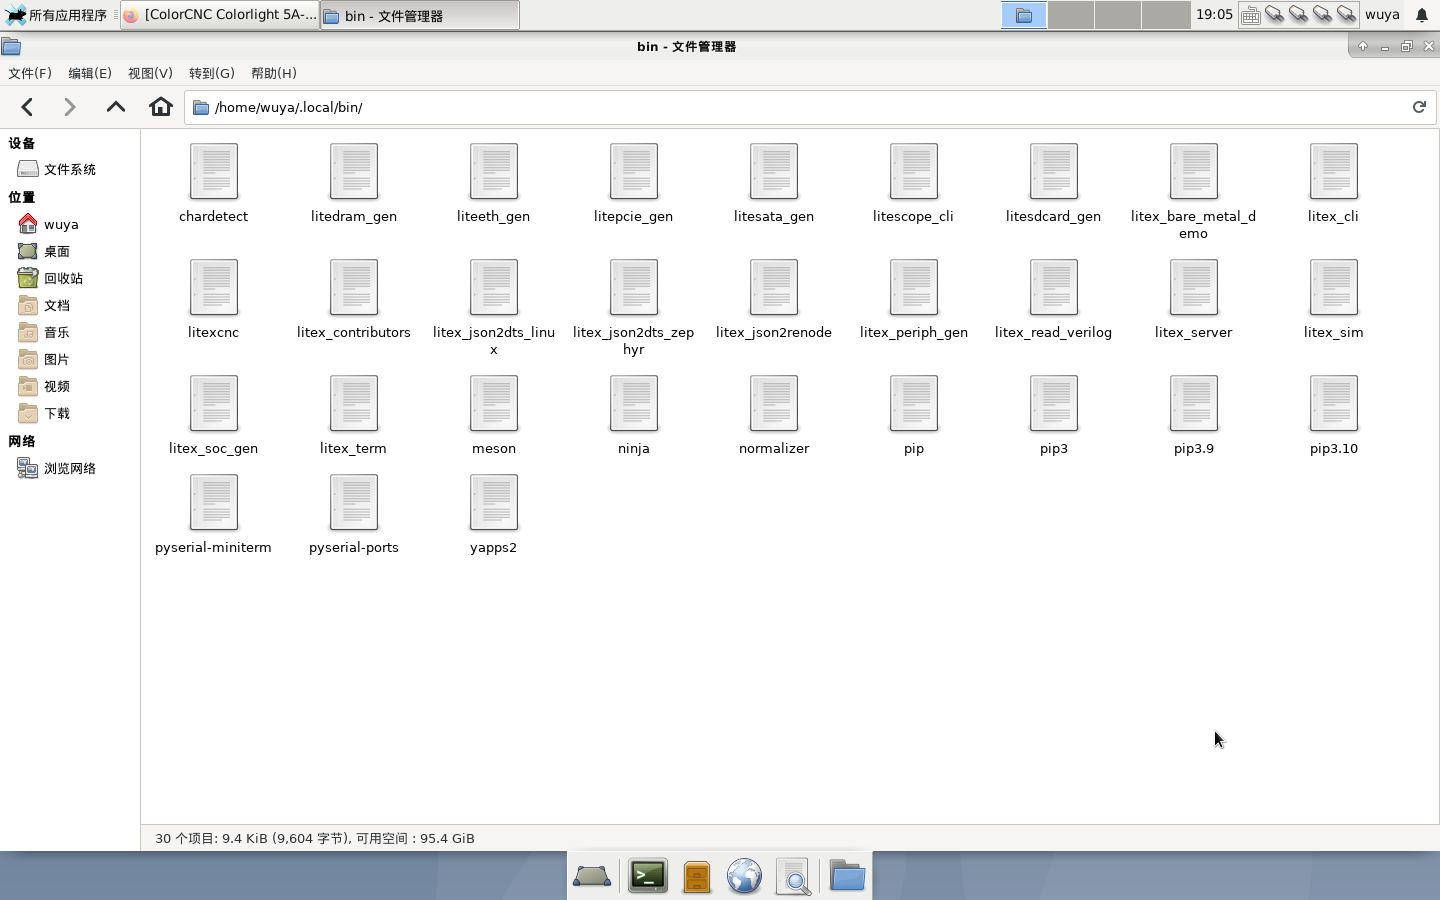

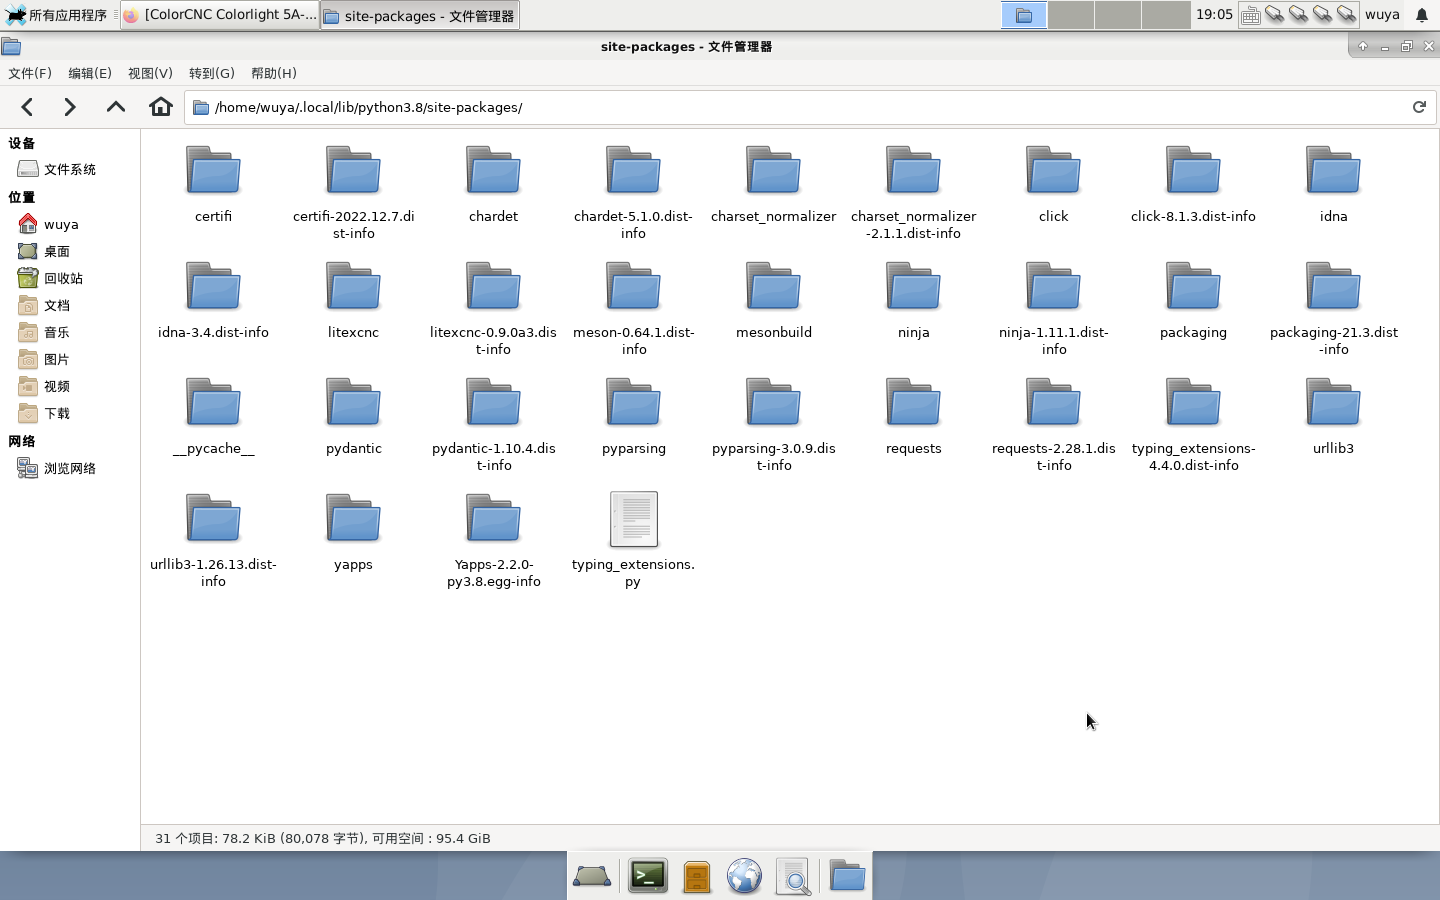
The command cannot be recognized. Is there a problem with my python 3.8 environment
Replied by wuyatom on topic ColorCNC Colorlight 5A-75E/5A-75B as FPGA controller board
The command cannot be recognized. Is there a problem with my python 3.8 environment
Attachments:
Please Log in or Create an account to join the conversation.
- juergenmoser
- Offline
- Junior Member
-

Less
More
- Posts: 26
- Thank you received: 10
05 Jan 2023 13:18 #260998
by juergenmoser
Replied by juergenmoser on topic ColorCNC Colorlight 5A-75E/5A-75B as FPGA controller board
Hi Muvideo!
Thank you for your excellent discription and explanations! Now I am understanding it a little bit more. Also now I Understand why my Steppers are not working - I count at the Pin Header the Wrong Pins
 So I typed in the HUB75 Pinout at google and now I see what I have doing wrong!

Thank you all for your helping. @ TOLP I will also try at night your new file from pypi.org and will test it.
Thank you for your excellent discription and explanations! Now I am understanding it a little bit more. Also now I Understand why my Steppers are not working - I count at the Pin Header the Wrong Pins
Thank you all for your helping. @ TOLP I will also try at night your new file from pypi.org and will test it.
Please Log in or Create an account to join the conversation.
- TOLP2
- Offline
- Elite Member
-

Less
More
- Posts: 225
- Thank you received: 178
05 Jan 2023 13:59 - 05 Jan 2023 19:27 #261001
by TOLP2
Replied by TOLP2 on topic ColorCNC Colorlight 5A-75E/5A-75B as FPGA controller board
@wuyatom: Unverified, but I think you can also try to call:
I'm typing on a smartphone, so cannot verify at this moment.
Edit:
Just verified that indeed you can use the command above. Make sure that when you call python it starts the correct version where litexcnc is installed. In some cases you must use python3 or python38.
python -m litexcnc install_driverI'm typing on a smartphone, so cannot verify at this moment.
Edit:
Just verified that indeed you can use the command above. Make sure that when you call python it starts the correct version where litexcnc is installed. In some cases you must use python3 or python38.
Last edit: 05 Jan 2023 19:27 by TOLP2. Reason: Verified solution
Please Log in or Create an account to join the conversation.
- deroj
- Offline
- Senior Member
-
Less
More
- Posts: 63
- Thank you received: 21
05 Jan 2023 17:29 - 05 Jan 2023 18:38 #261010
by deroj
Replied by deroj on topic ColorCNC Colorlight 5A-75E/5A-75B as FPGA controller board
Hi.
I am following this with big interesst.
But one, maybe stupid, question.
How do i get the bit file into the fpga?
I tried a raspberry pi 4 with openocd and bcm2835gpio. didn
t work.
altera usb-blaster from amazon and openfpgaloader, didn`t work...
do you have a setup for me that work?
thank you
OKay...my fault. forgot to install the FTDI driver with openocd...no it works.
But when I try to install the driver it gives me permission errors.
litexcnc install_driver :
.....
Linking litexcnc.so
cp litexcnc.so /usr/lib/linuxcnc/modules/
cp: reguläre Datei '/usr/lib/linuxcnc/modules/litexcnc.so' kann nicht angelegt werden: Keine Berechtigung
make: *** [/usr/share/linuxcnc/Makefile.modinc:105: install] Fehler 1
Last edit: 05 Jan 2023 18:38 by deroj.
Please Log in or Create an account to join the conversation.
- deroj
- Offline
- Senior Member
-
Less
More
- Posts: 63
- Thank you received: 21
05 Jan 2023 19:39 #261024
by deroj
Replied by deroj on topic ColorCNC Colorlight 5A-75E/5A-75B as FPGA controller board
I gave it another try.
I tried
"sudo python3 halcompile.py --install litexcnc.c litexcnc_eth.c litexcnc_debug.c stepgen/pos2vel.c"
it run and copied both files.
then i run halrun to test it.
I tried
"sudo python3 halcompile.py --install litexcnc.c litexcnc_eth.c litexcnc_debug.c stepgen/pos2vel.c"
it run and copied both files.
then i run halrun to test it.
oj@oj-turner:~/LiteX-CNC$ halrun
halcmd: loadrt litexcnc
Note: Using POSIX realtime
litexcnc: dlopen: /usr/lib/linuxcnc/modules/litexcnc.so: undefined symbol: json_object_array_length
<stdin>:1: waitpid failed /usr/bin/rtapi_app litexcnc
<stdin>:1: /usr/bin/rtapi_app exited without becoming ready
<stdin>:1: insmod for litexcnc failed, returned -1
Please Log in or Create an account to join the conversation.
- TOLP2
- Offline
- Elite Member
-
Less
More
- Posts: 225
- Thank you received: 178
05 Jan 2023 19:43 - 05 Jan 2023 19:50 #261026
by TOLP2
Replied by TOLP2 on topic ColorCNC Colorlight 5A-75E/5A-75B as FPGA controller board
Can you try to use:
If you have installed litexcnc in the user directory (either with the --user tag or it defaulted to it and a warning was given), you might have to reinstall the package. But give it a try first, if it says that litexcnc is not installed, then you need to reinstall. Reinstallation is easy with these commands:
Edit:
I just missed your message and now see that you are compiling by hand. That won't work, as it is required to link the library with lib_json. Please use the commands above, as this will download the required libraries and link them correctly.
sudo litexcnc install_driverIf you have installed litexcnc in the user directory (either with the --user tag or it defaulted to it and a warning was given), you might have to reinstall the package. But give it a try first, if it says that litexcnc is not installed, then you need to reinstall. Reinstallation is easy with these commands:
pip uninstall litexcnc
sudo pip install --extra-index-url https://test.pypi.org/simple/ litexcnc
Edit:
I just missed your message and now see that you are compiling by hand. That won't work, as it is required to link the library with lib_json. Please use the commands above, as this will download the required libraries and link them correctly.
Last edit: 05 Jan 2023 19:50 by TOLP2.
Please Log in or Create an account to join the conversation.
- deroj
- Offline
- Senior Member
-
Less
More
- Posts: 63
- Thank you received: 21
05 Jan 2023 19:58 - 05 Jan 2023 20:04 #261029
by deroj
Replied by deroj on topic ColorCNC Colorlight 5A-75E/5A-75B as FPGA controller board
since the script runs apt to install libjson-c-dev, i did it manually.
but i installed it again, your way.
but the error is the same in halrun
running linux mint 21
Linux oj-turner 6.0.0-6-rt-amd64 #1 SMP PREEMPT_RT Debian 6.0.12-1 (2022-12-09) x86_64 x86_64 x86_64 GNU/Linux
LINUXCNC - 2.9.0~pre0+git20221105.ffb6bda926
but i installed it again, your way.
but the error is the same in halrun
running linux mint 21
Linux oj-turner 6.0.0-6-rt-amd64 #1 SMP PREEMPT_RT Debian 6.0.12-1 (2022-12-09) x86_64 x86_64 x86_64 GNU/Linux
LINUXCNC - 2.9.0~pre0+git20221105.ffb6bda926
Last edit: 05 Jan 2023 20:04 by deroj.
Please Log in or Create an account to join the conversation.
- TOLP2
- Offline
- Elite Member
-
Less
More
- Posts: 225
- Thank you received: 178
05 Jan 2023 21:35 #261035
by TOLP2
Replied by TOLP2 on topic ColorCNC Colorlight 5A-75E/5A-75B as FPGA controller board
Which halcompile do you use? LitexCNC comes with a modified version of halcompile in order to be able to link libjson correctly. I think you are using the original which is part of LinuxCNC. The problem with the orginal version is that it wil compile, but it won't run because of the missing link.since the script runs apt to install libjson-c-dev, i did it manually.
but i installed it again, your way.
but the error is the same in halrun
running linux mint 21
Linux oj-turner 6.0.0-6-rt-amd64 #1 SMP PREEMPT_RT Debian 6.0.12-1 (2022-12-09) x86_64 x86_64 x86_64 GNU/Linux
LINUXCNC - 2.9.0~pre0+git20221105.ffb6bda926
Please Log in or Create an account to join the conversation.
Moderators: PCW, jmelson
Time to create page: 0.726 seconds