Light Machine Corp. Benchman XTr (retrofit)
- genixia
- Offline
- Junior Member
-

Less
More
- Posts: 22
- Thank you received: 0
17 Jul 2017 23:07 #95946
by genixia
Replied by genixia on topic Light Machine Corp. Benchman XTr (retrofit)
My guesstimate is that as I got it it needs about 4 CFM. I've adjusted the airflow down temporarily until I can get better air.
Lots of trial and error with the probe this weekend. The cable has no visible identifier. It is sheathed in 3 overlapping lengths of heatshink, and underneath the heatshrink is that gooey black tape wrap that you often see on wiring harnesses. Underneath that is the Renishaw cable. Anyway once I pulled the tape from the probe end I noted that the heatshrink and tape did not extend totally into the conduit clamp. The conduit clamp itself is corroded, especially the 'bucket' that the conduit is supposed to sit in.
Eventually during my trials the probe completely missed a trigger, so there's something else going on, possibly mechanical. Carefully rewiring to remove the last 2" of the cable made no change to the behaviour, and I later saw another miss when testing with my hand. I think I'm going to have to get inside the probe to see what's going on. I managed to use it to manually set some tool heights though, so not all is lost.
Wiring-wise, it looks like just red and blue are connected internally. I assume from the schematic that they go to zhome and xhome signals. The cable ground shield is effectively connected to the probe housing. Are yellow and green simply floating? Or grounded at one or both ends? That's not clear to me yet.
I found that bulb for the power switch and I think I have a suitable replacement on its way from digikey. It appears to be a T3 1/4 9mm bayonet blub, 24-30V 1.2W. I'll post the digikey part number once I know for sure.
I know that the x-axis encoder was replaced, so that explains the missing error compensation. I wonder if it's possible to generate a null compensation file for X so I can keep using Y and Z compensation. Anyway, it might simply be one more reason to retrofit linuxcnc earlier rather than later.
Please Log in or Create an account to join the conversation.
- genixia
- Offline
- Junior Member
-
Less
More
- Posts: 22
- Thank you received: 0
17 Jul 2017 23:13 - 17 Jul 2017 23:13 #95947
by genixia
Replied by genixia on topic Light Machine Corp. Benchman XTr (retrofit)
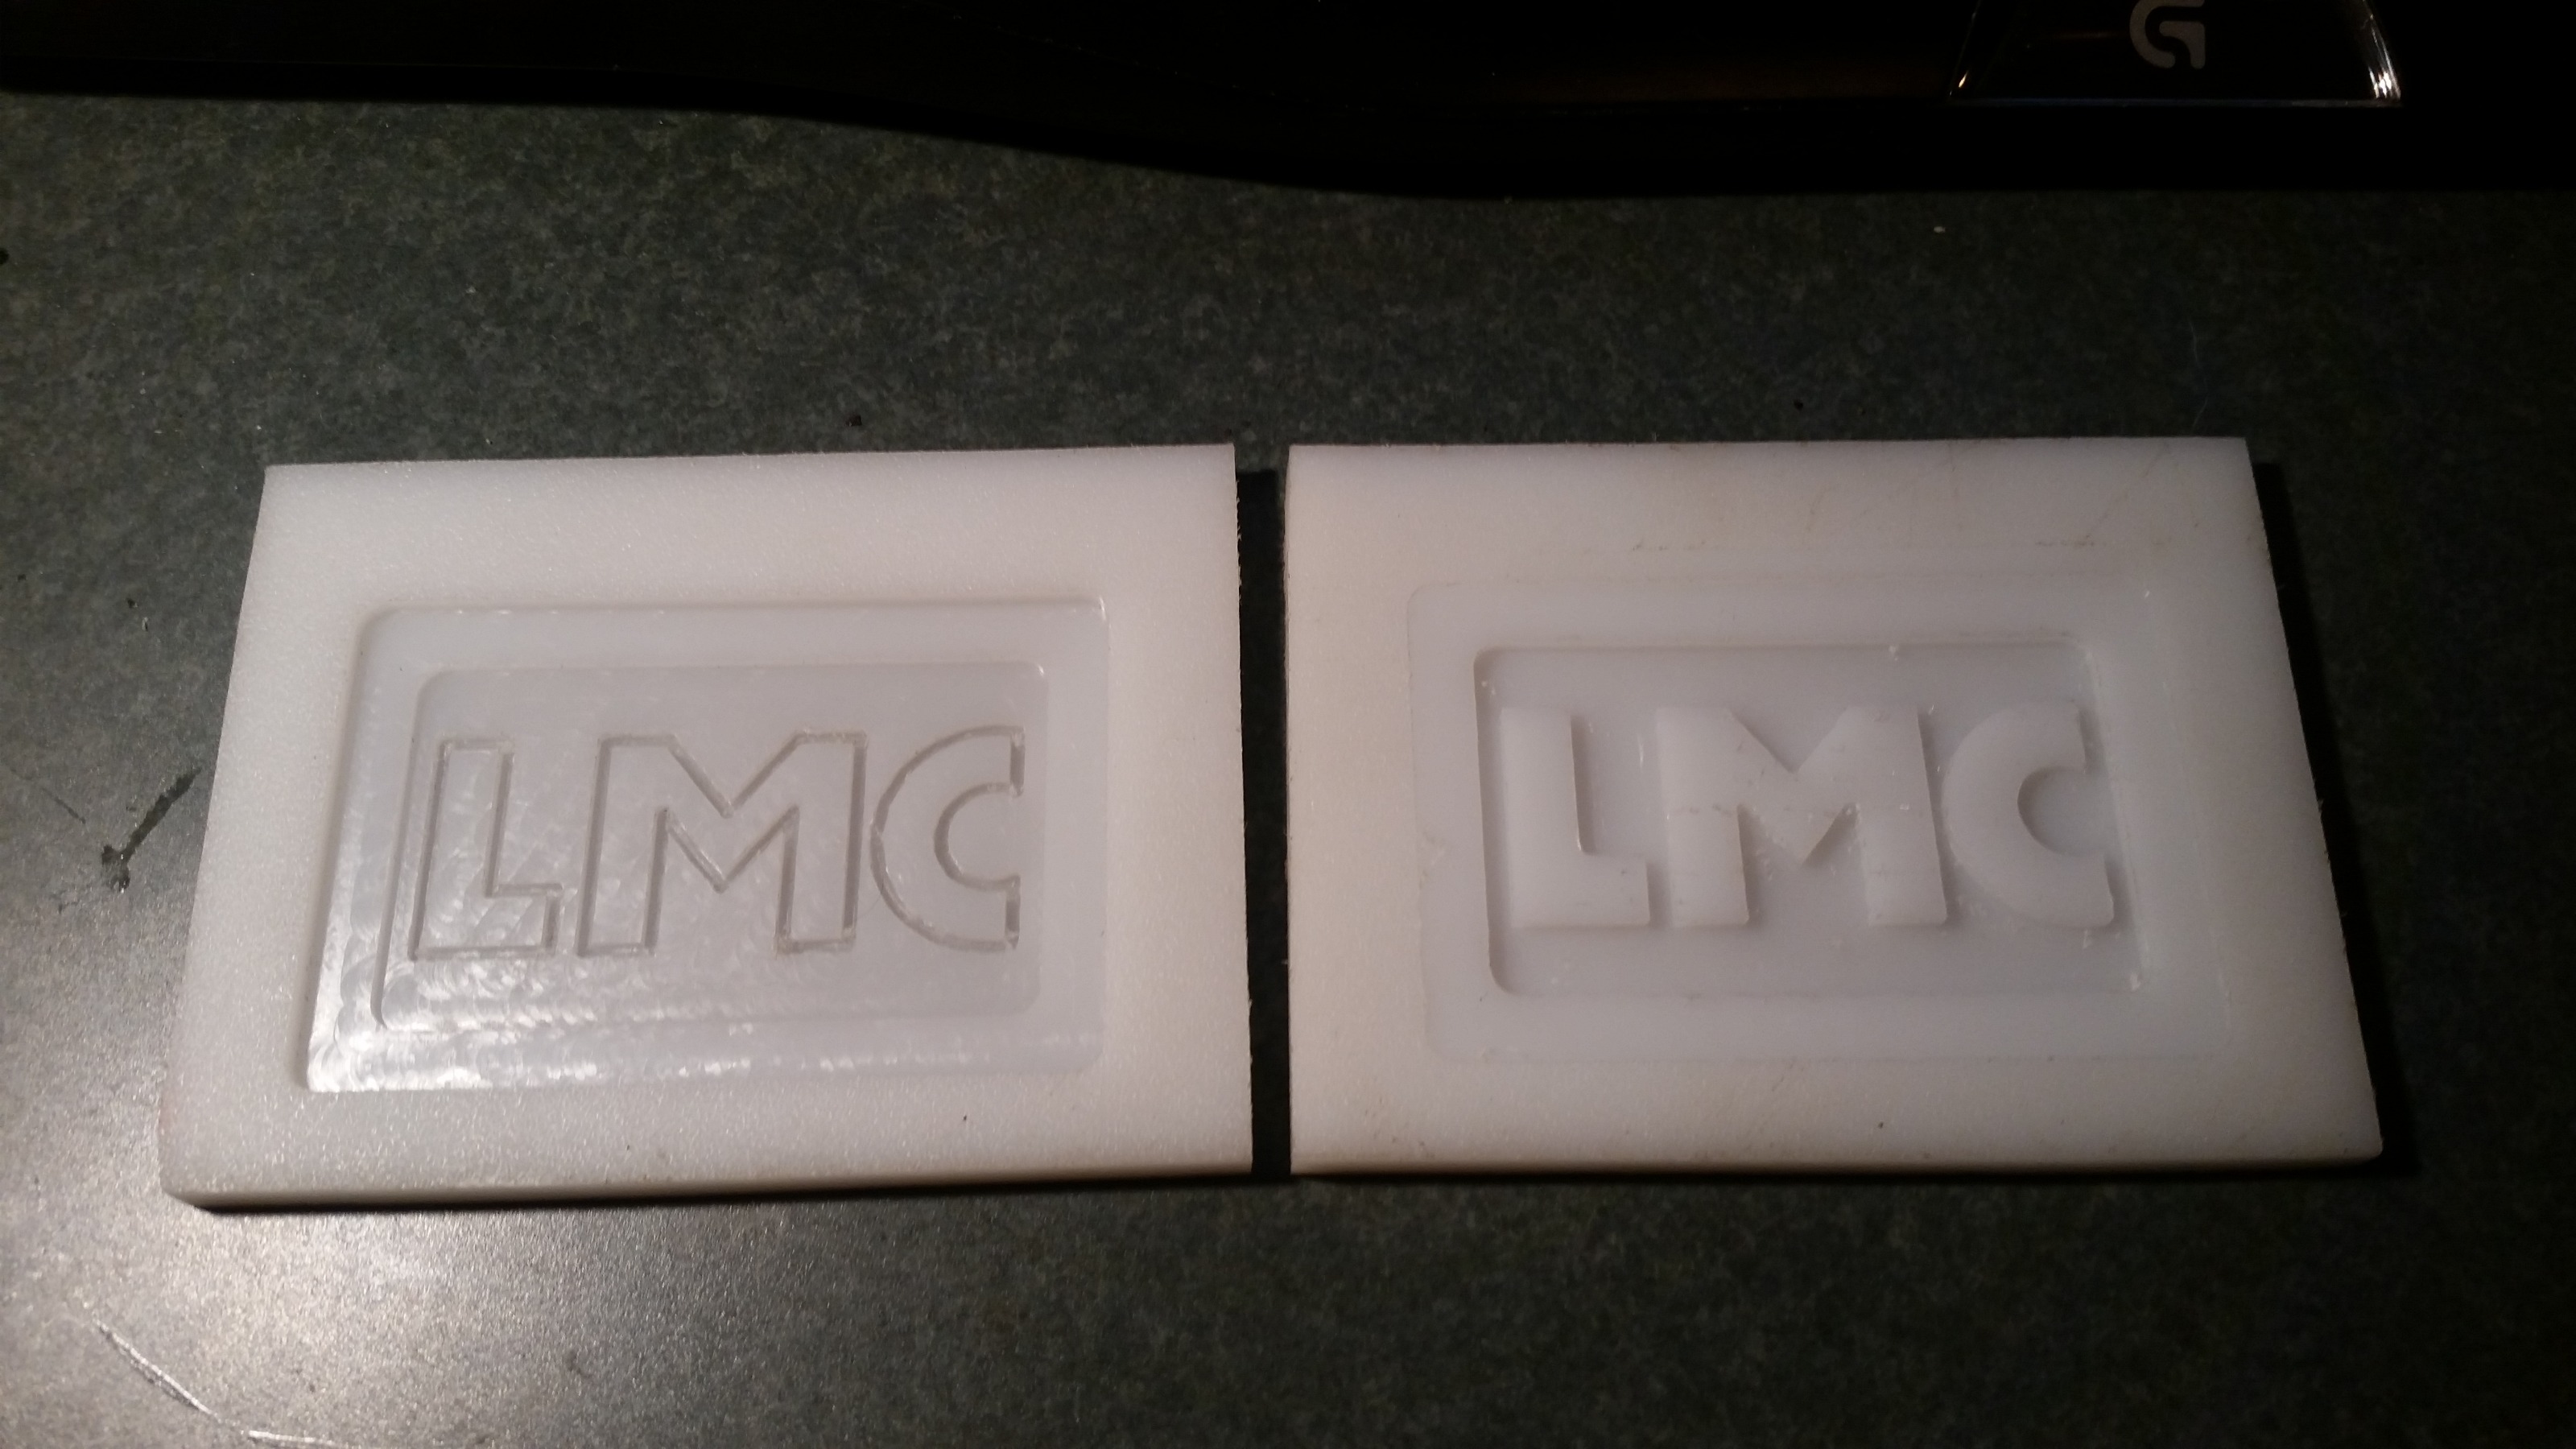
Most important news: First cuts!
Last edit: 17 Jul 2017 23:13 by genixia.
Please Log in or Create an account to join the conversation.
- x-Intelitek Engineer
- Offline
- Premium Member
-

Less
More
- Posts: 113
- Thank you received: 22
18 Jul 2017 17:27 #96006
by x-Intelitek Engineer
Replied by x-Intelitek Engineer on topic Light Machine Corp. Benchman XTr (retrofit)
The only thing that Intelitek did was to shorten the standard cable and put the Fischer connector on the end. If your cable is covered in heatshrink and gooey black tape, it has been altered in the field. IIRC, there are only 2 wires used in that assembly, the system is looking for a switch closure. We also had a digitizing probe that had an LED to indicate contact. That probe had 4 wires. At least that's the way I remember it.
Please Log in or Create an account to join the conversation.
- genixia
- Offline
- Junior Member
-
Less
More
- Posts: 22
- Thank you received: 0
20 Jul 2017 05:56 #96121
by genixia
Replied by genixia on topic Light Machine Corp. Benchman XTr (retrofit)
OK, that's good to know. I'll have no qualms about removing the heatshink and cloth tape to inspect the actual cable. I've discovered that when the cable is hung from the probe end that coolant drips out of the connector end of the heatshrink, so that needs to happen. Obviously 3 overlapping lengths of heatshrink is not the way to go! At this point I'm pretty certain that the probe end wiring is good. You, the schematic, the block diagram all agree with Mr Fluke that only two wires are connected. The issue is somewhere else. Maybe play in the Z-Axis somewhere? I might try disconnecting the brake and see if that changes anything.
Pilot lamp bulb in the power switch is confirmed T3.25 Mini bayonet. Digikey CM1819-ND works.
Pilot lamp bulb in the power switch is confirmed T3.25 Mini bayonet. Digikey CM1819-ND works.
Please Log in or Create an account to join the conversation.
- x-Intelitek Engineer
- Offline
- Premium Member
-
Less
More
- Posts: 113
- Thank you received: 22
20 Jul 2017 12:24 #96135
by x-Intelitek Engineer
Replied by x-Intelitek Engineer on topic Light Machine Corp. Benchman XTr (retrofit)
I do not believe the issue is in the Z-Axis.
When the system sees the switch closure on the external interrupt, (asynchronous), it is supposed to immediately capture the X, Y, & Z encoder positions.
If the Z-Axis is retracting, then it is seeing the probe closure.
If it is seeing the probe closure, it should be capturing position.
If it isn't collecting the encoder positions, that is another issue altogether.
Perhaps you are running one of the earlier versions of the software, we did a lot of updates early in the product life.
The following user(s) said Thank You: genixia
Please Log in or Create an account to join the conversation.
- cncamateur
- Offline
- New Member
-

Less
More
- Posts: 9
- Thank you received: 0
26 Jul 2017 19:22 #96501
by cncamateur
Replied by cncamateur on topic Light Machine Corp. Benchman XTr (retrofit)
I have my machine running now, I would like to add a tool setting block to the original SW, not sure if my machine came with the tool height sensor. IF it was equipped, where would the connector be? If its just a switch closure, can I add it to the machine if not originally equipped?
Please Log in or Create an account to join the conversation.
- x-Intelitek Engineer
- Offline
- Premium Member
-
Less
More
- Posts: 113
- Thank you received: 22
26 Jul 2017 19:46 #96504
by x-Intelitek Engineer
Replied by x-Intelitek Engineer on topic Light Machine Corp. Benchman XTr (retrofit)
The Photo you attached back in June shows a CE version of the XT which was our design for Europe.
IIRC that machine had a connector that was just inside the door on the rear of the box containing the front panel switches, or right nearby with the connector facing towards the rear of the machine. It would be a small, think approx 1/4"Ø, gray connector. You could also look at the connector for the front panel on the main board. You are looking for wires on positions 35 and 36 of the connector. A switch closure between those two pins is what you need to activate the probe input.
Good Luck
Please Log in or Create an account to join the conversation.
- cncamateur
- Offline
- New Member
-
Less
More
- Posts: 9
- Thank you received: 0
26 Jul 2017 20:04 #96508
by cncamateur
Replied by cncamateur on topic Light Machine Corp. Benchman XTr (retrofit)
Thanks, this actually raises another question in my mind. I call Intellitek one time a while ago when trying to get the Nextmove card working, and asked them if the PCI2 card would work. At the time I was also looking at a Benchman MX, and Intellitek said that the MX used the PCI2 card, and was different than the XT because all of them were wired to be CE compliant. If mine is the CE version, is it possible that a PCI2 card would work?
Please Log in or Create an account to join the conversation.
- x-Intelitek Engineer
- Offline
- Premium Member
-
Less
More
- Posts: 113
- Thank you received: 22
26 Jul 2017 20:20 #96511
by x-Intelitek Engineer
Replied by x-Intelitek Engineer on topic Light Machine Corp. Benchman XTr (retrofit)
Both the MX and the CE-XT used the same Nextmove PCI card while I was there (until late 2006)
Please Log in or Create an account to join the conversation.
- x-Intelitek Engineer
- Offline
- Premium Member
-
Less
More
- Posts: 113
- Thank you received: 22
26 Jul 2017 20:21 #96512
by x-Intelitek Engineer
Replied by x-Intelitek Engineer on topic Light Machine Corp. Benchman XTr (retrofit)
It was simply called Nextmove PCI.
Please Log in or Create an account to join the conversation.
Time to create page: 0.367 seconds