Optimum Optimill MH50V CNC conversion
- Unlogic
- Offline
- Elite Member
-

Less
More
- Posts: 237
- Thank you received: 118
19 Apr 2024 09:47 - 19 Apr 2024 09:49 #298611
by Unlogic
Replied by Unlogic on topic Optimum Optimill MH50V CNC conversion
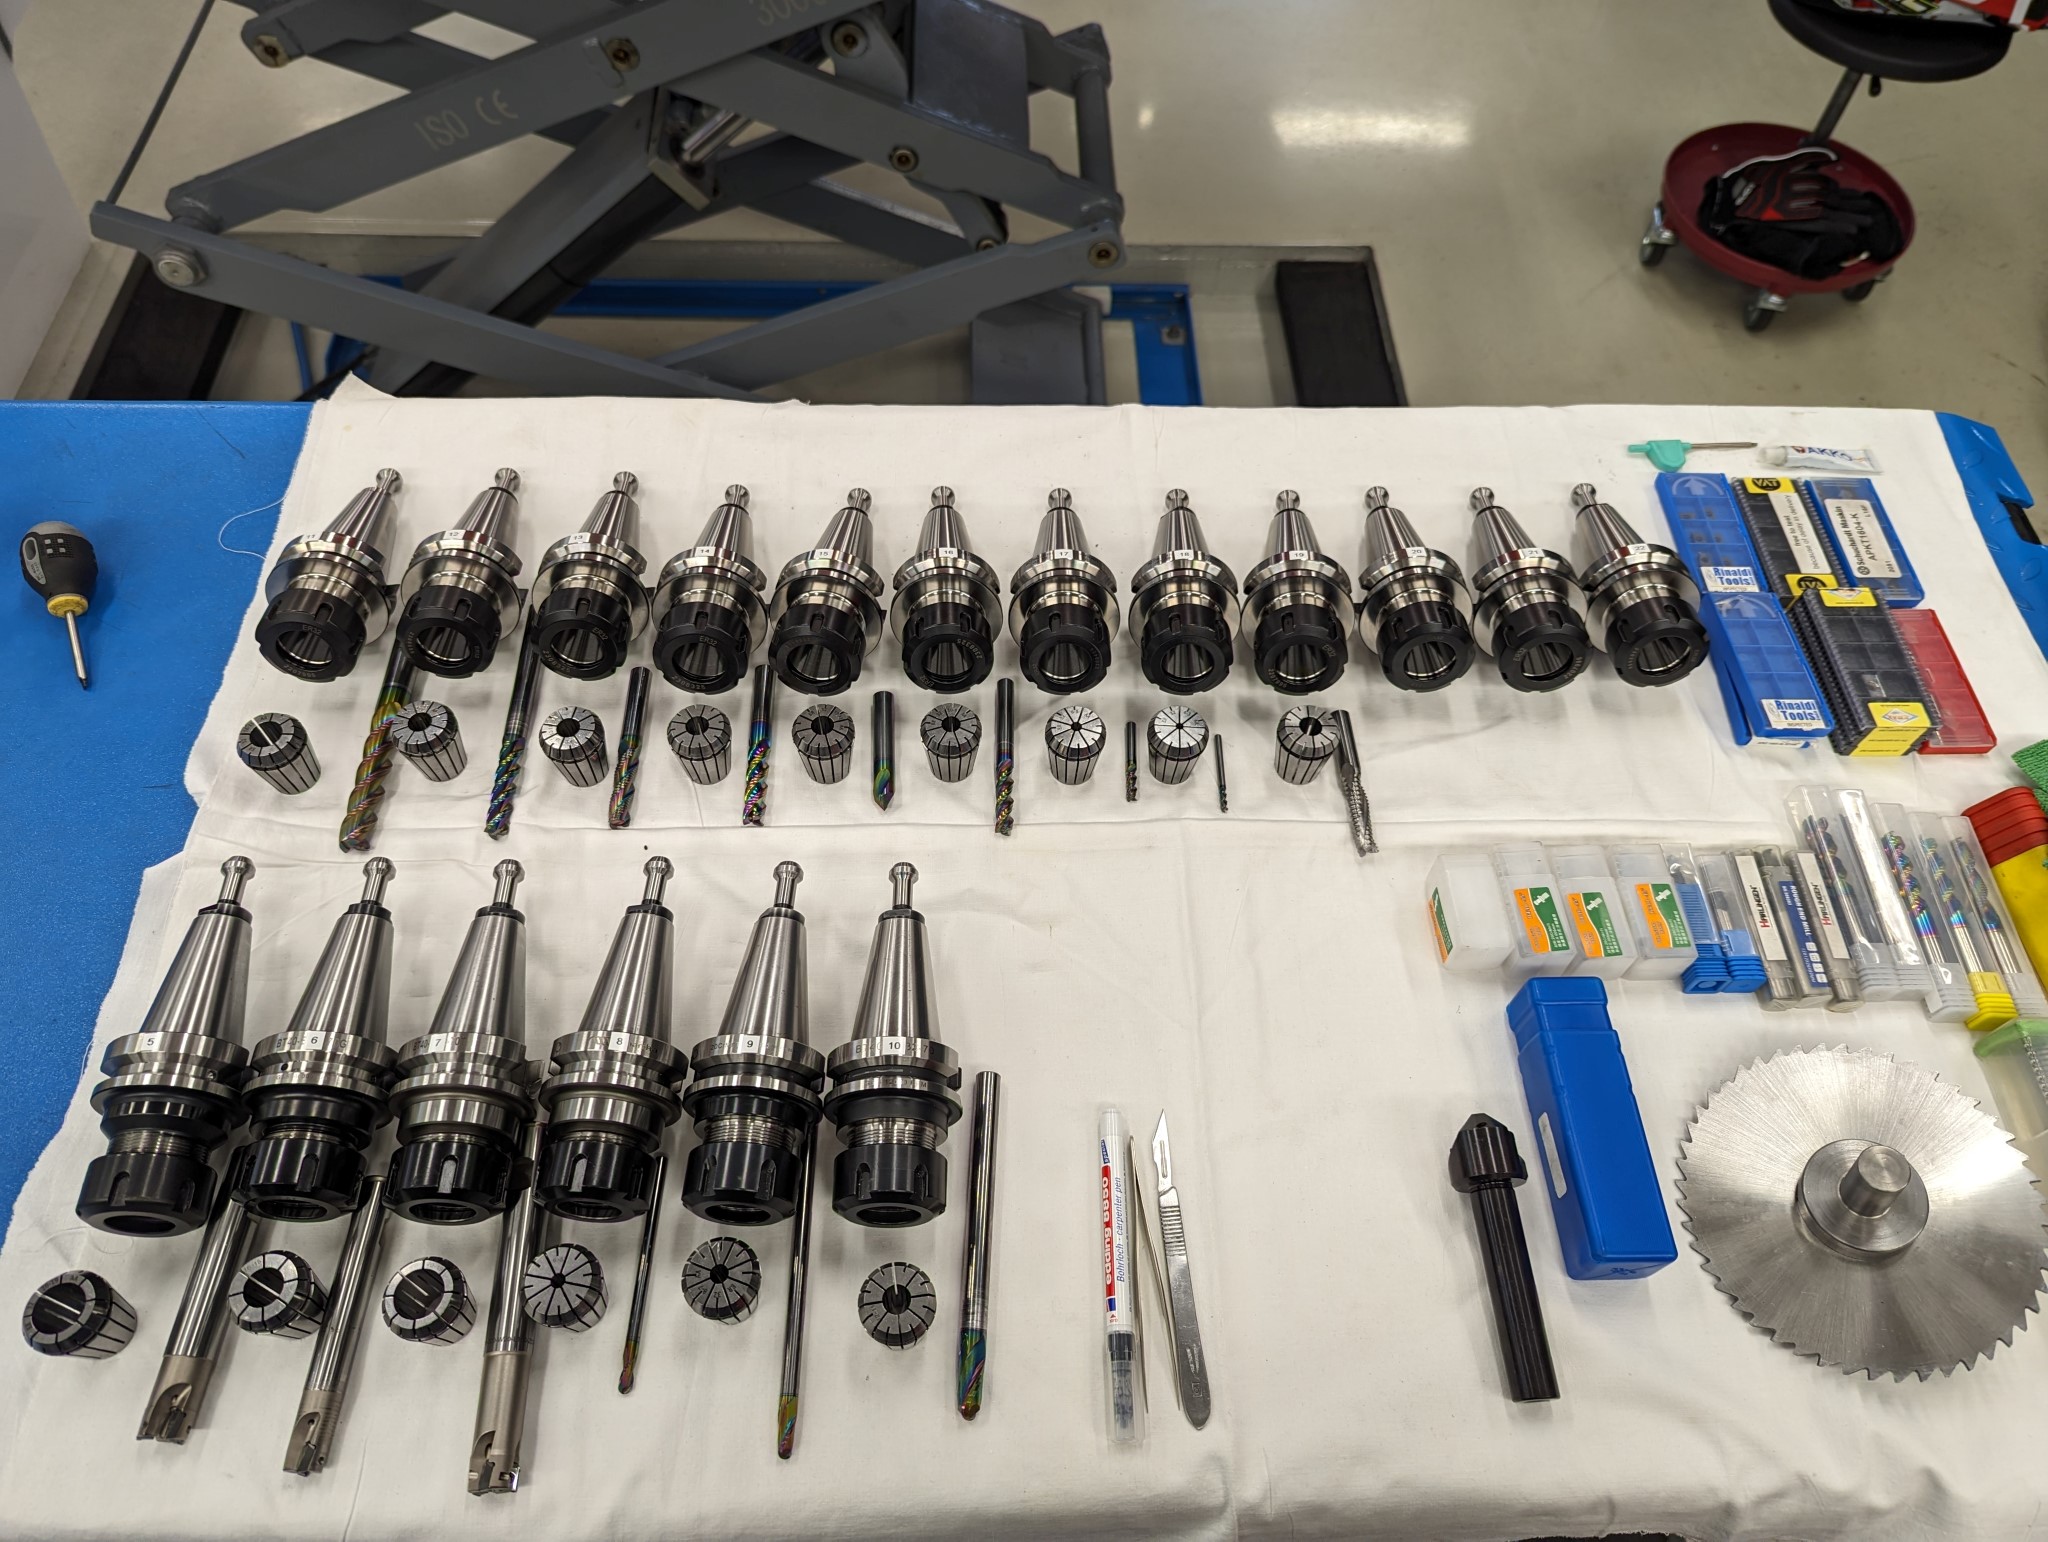
Since the last update I've been finishing the tooling in preparation for the first CNC chips.
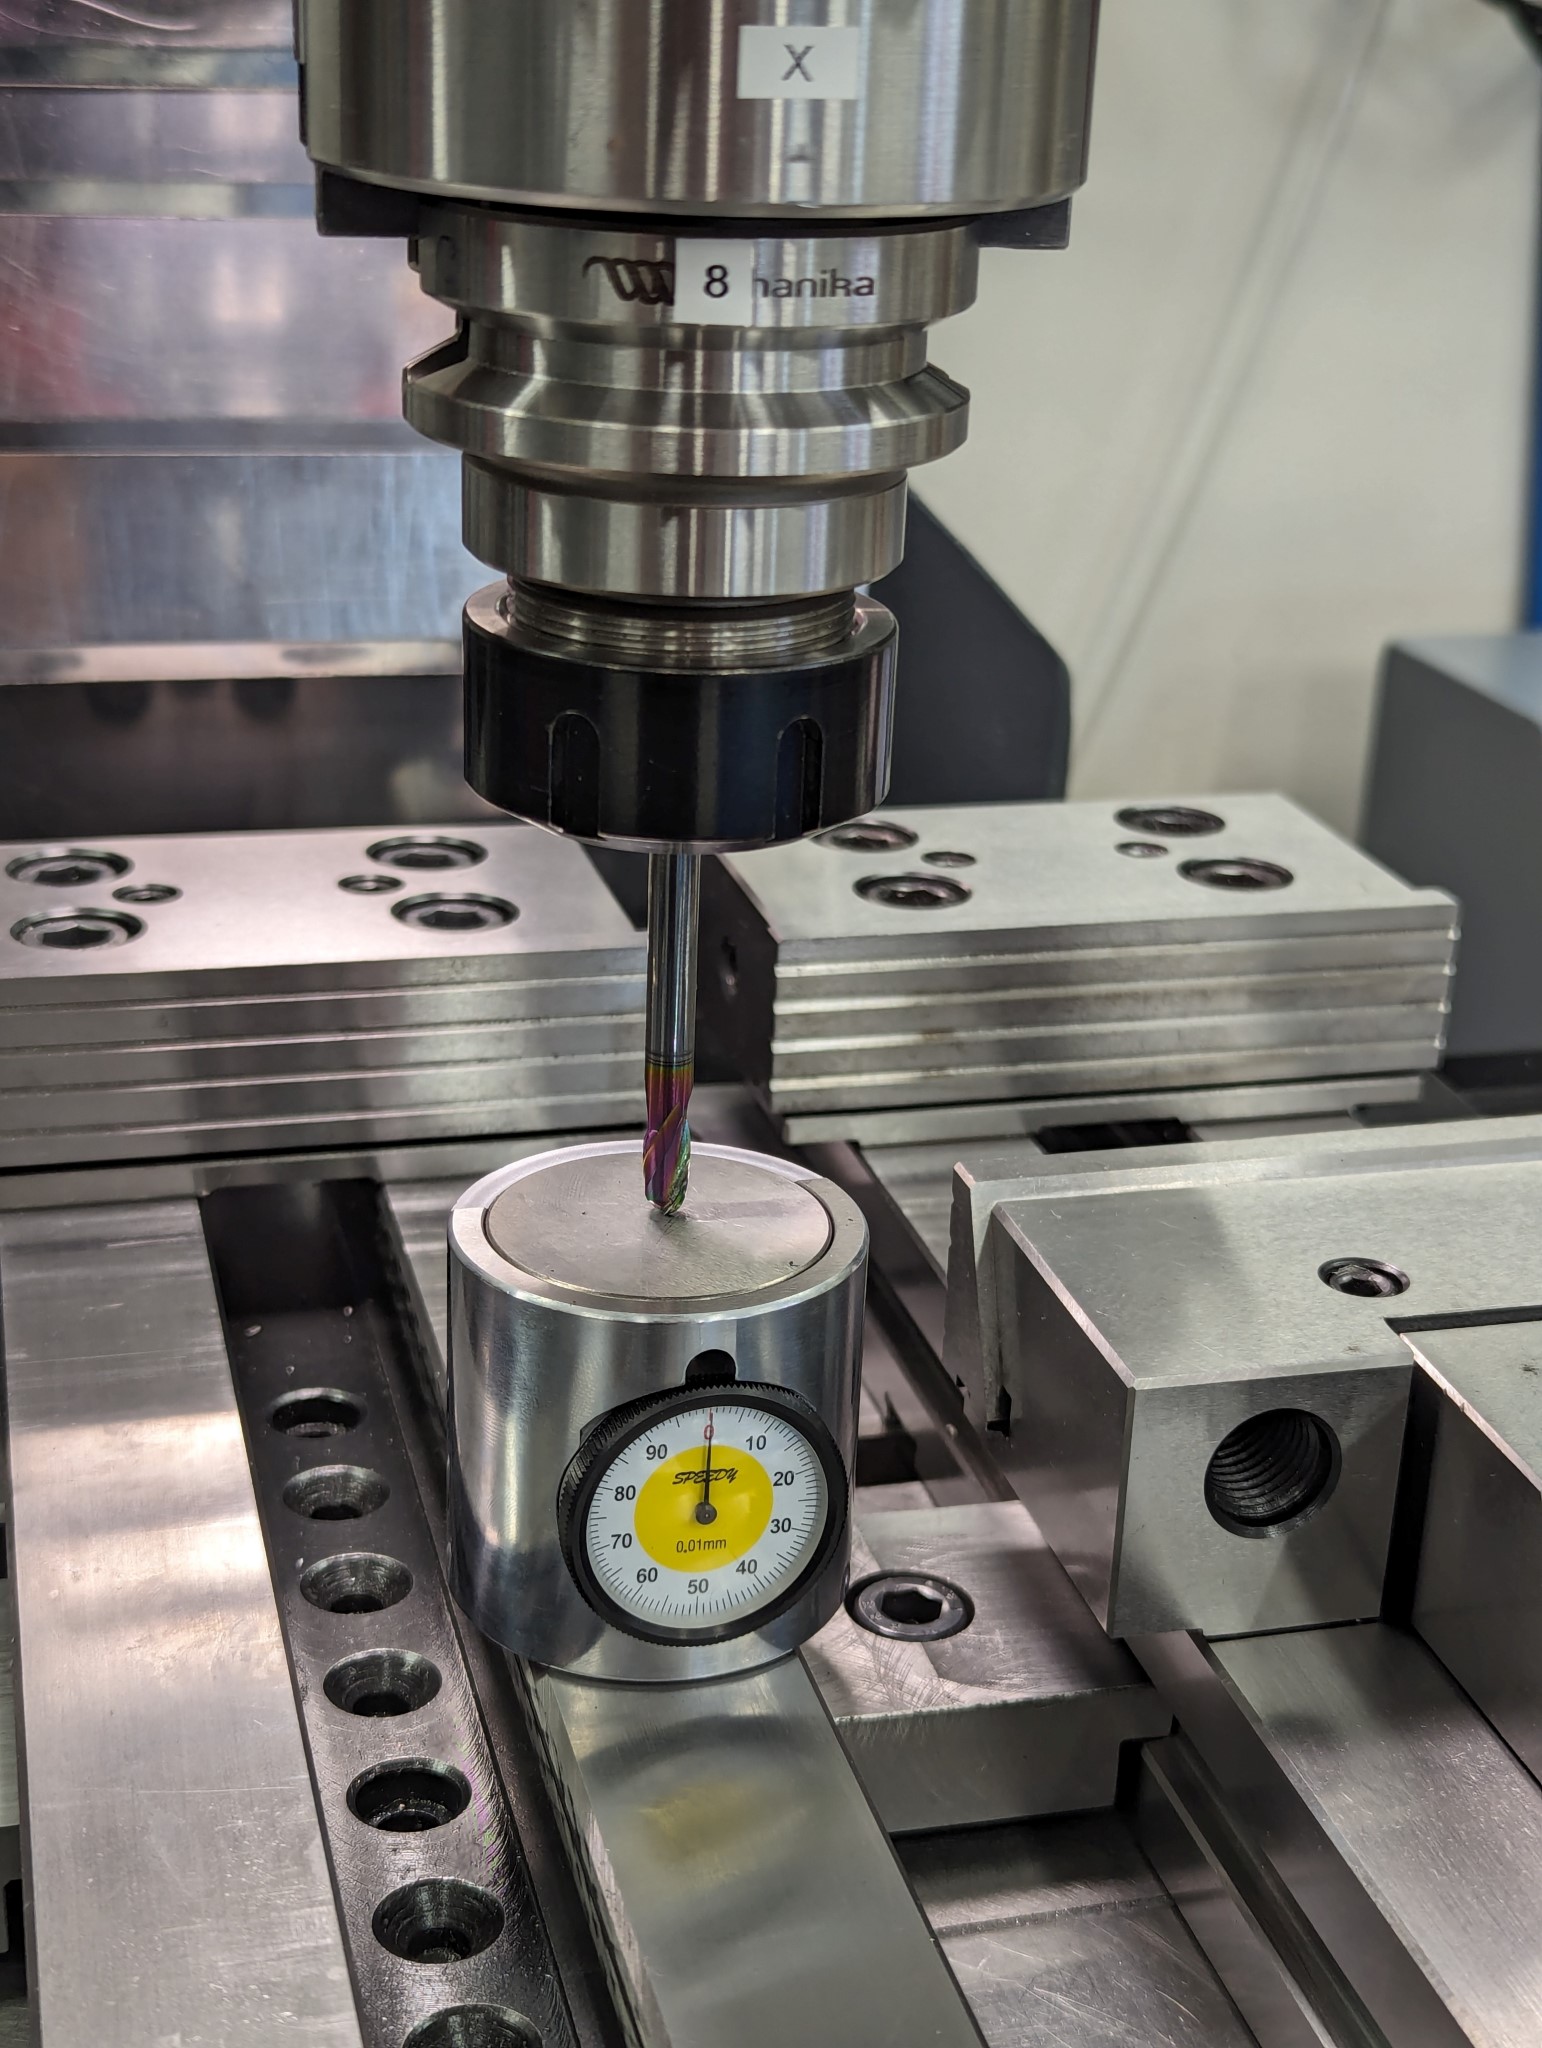
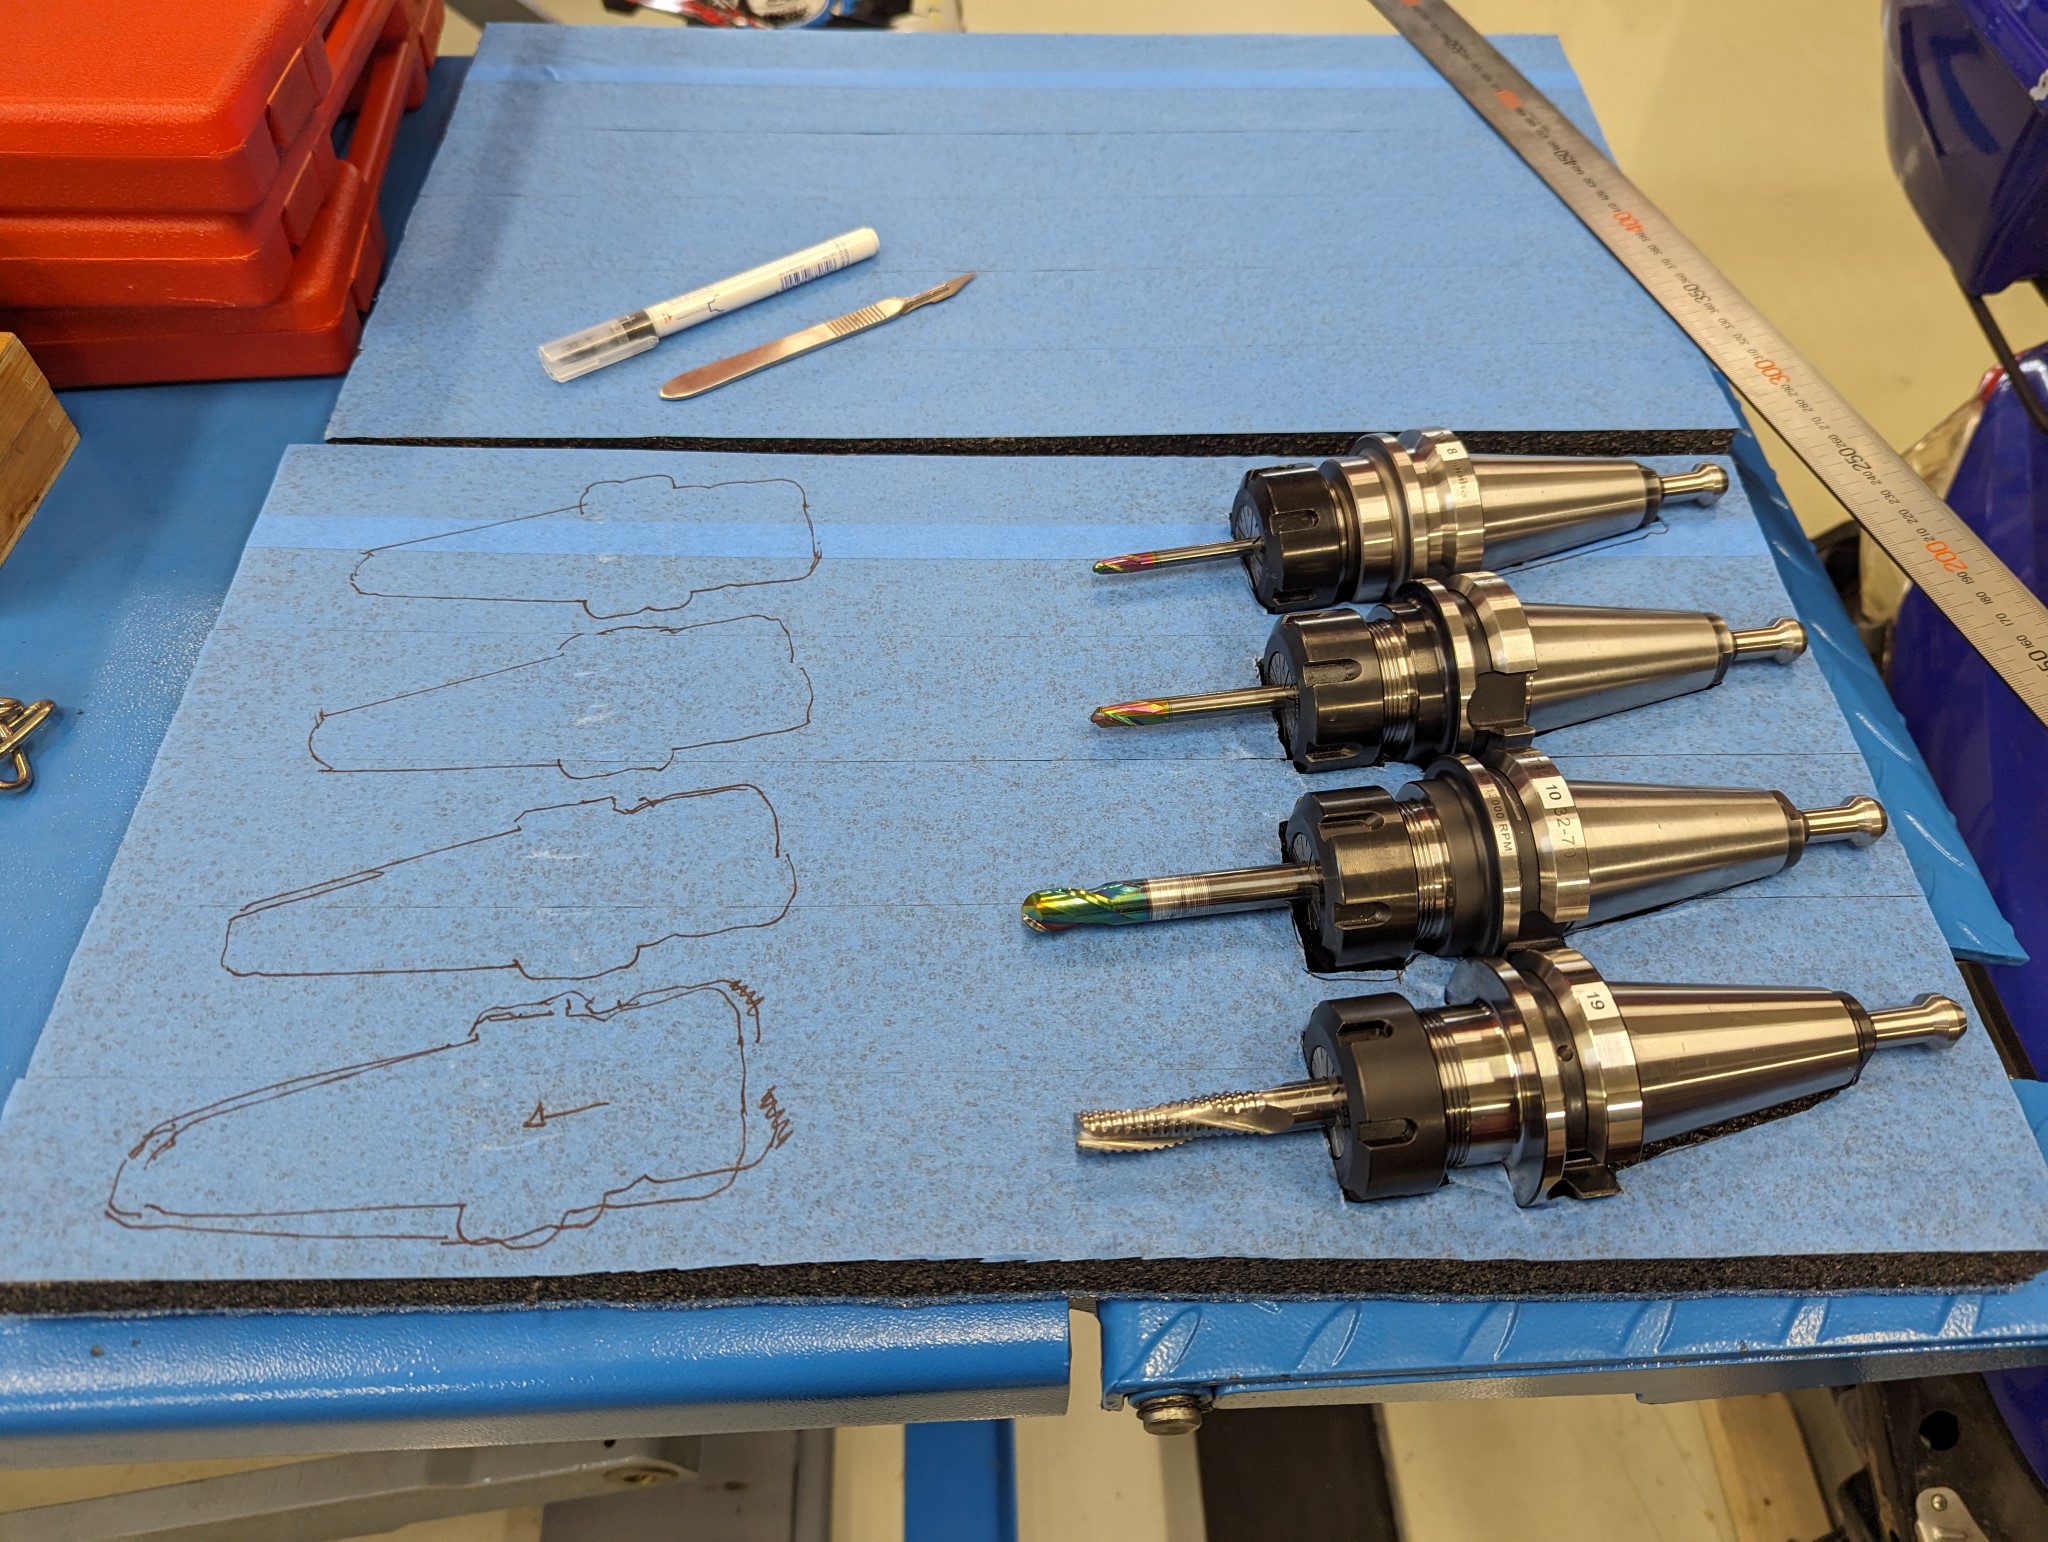
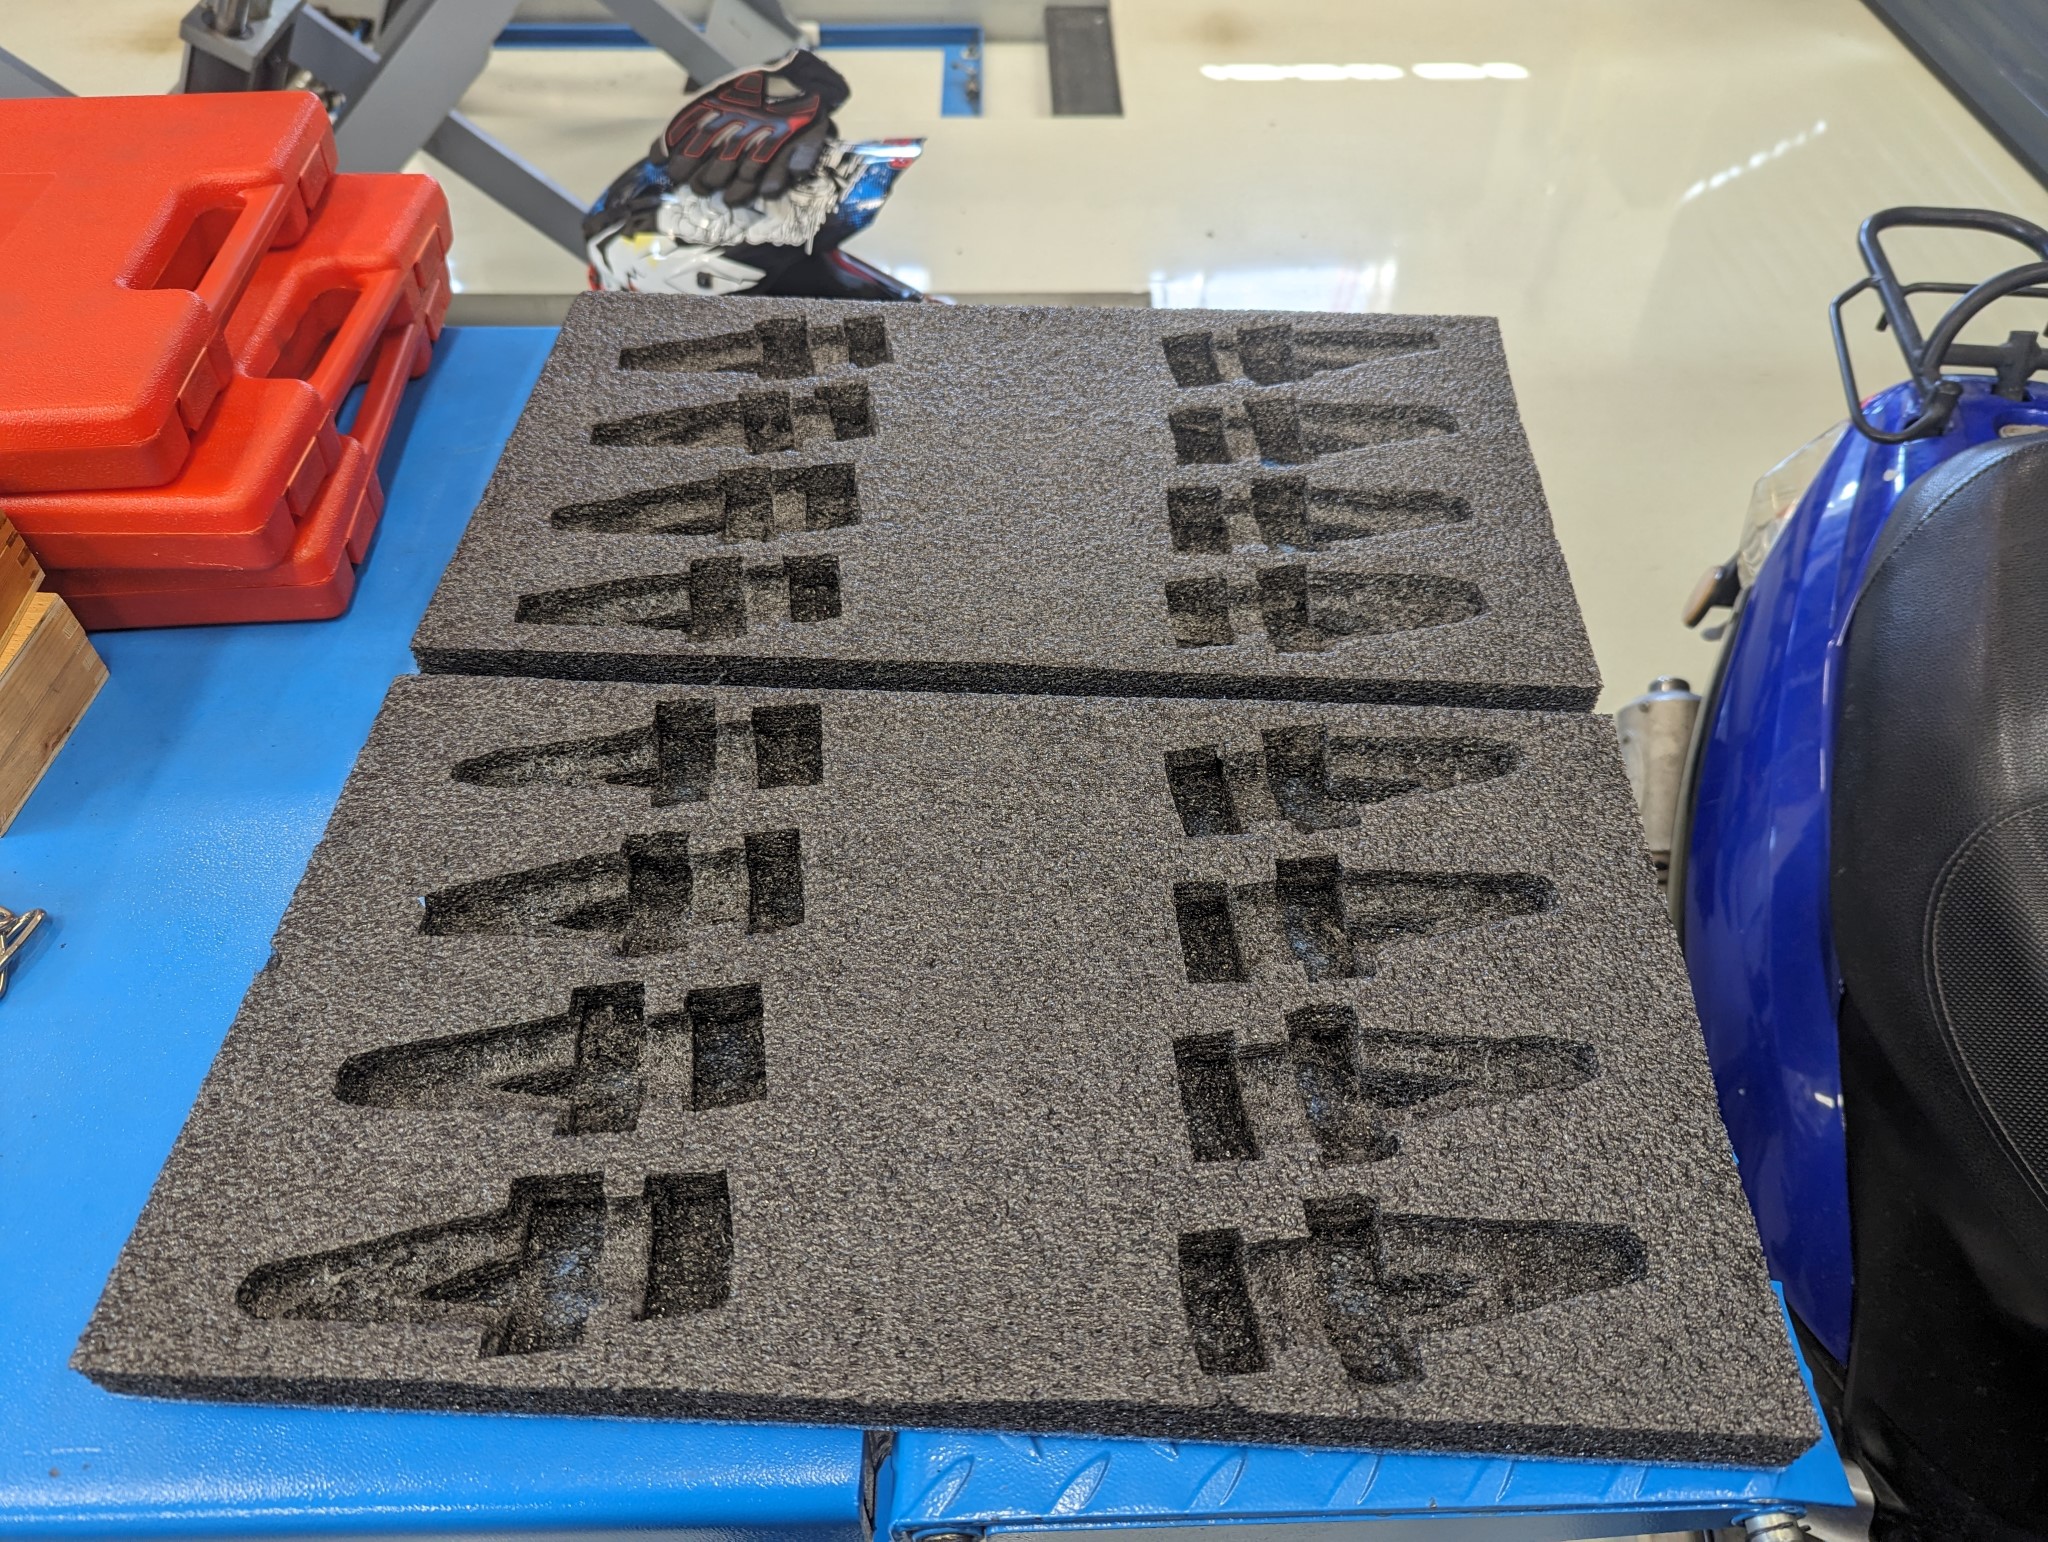
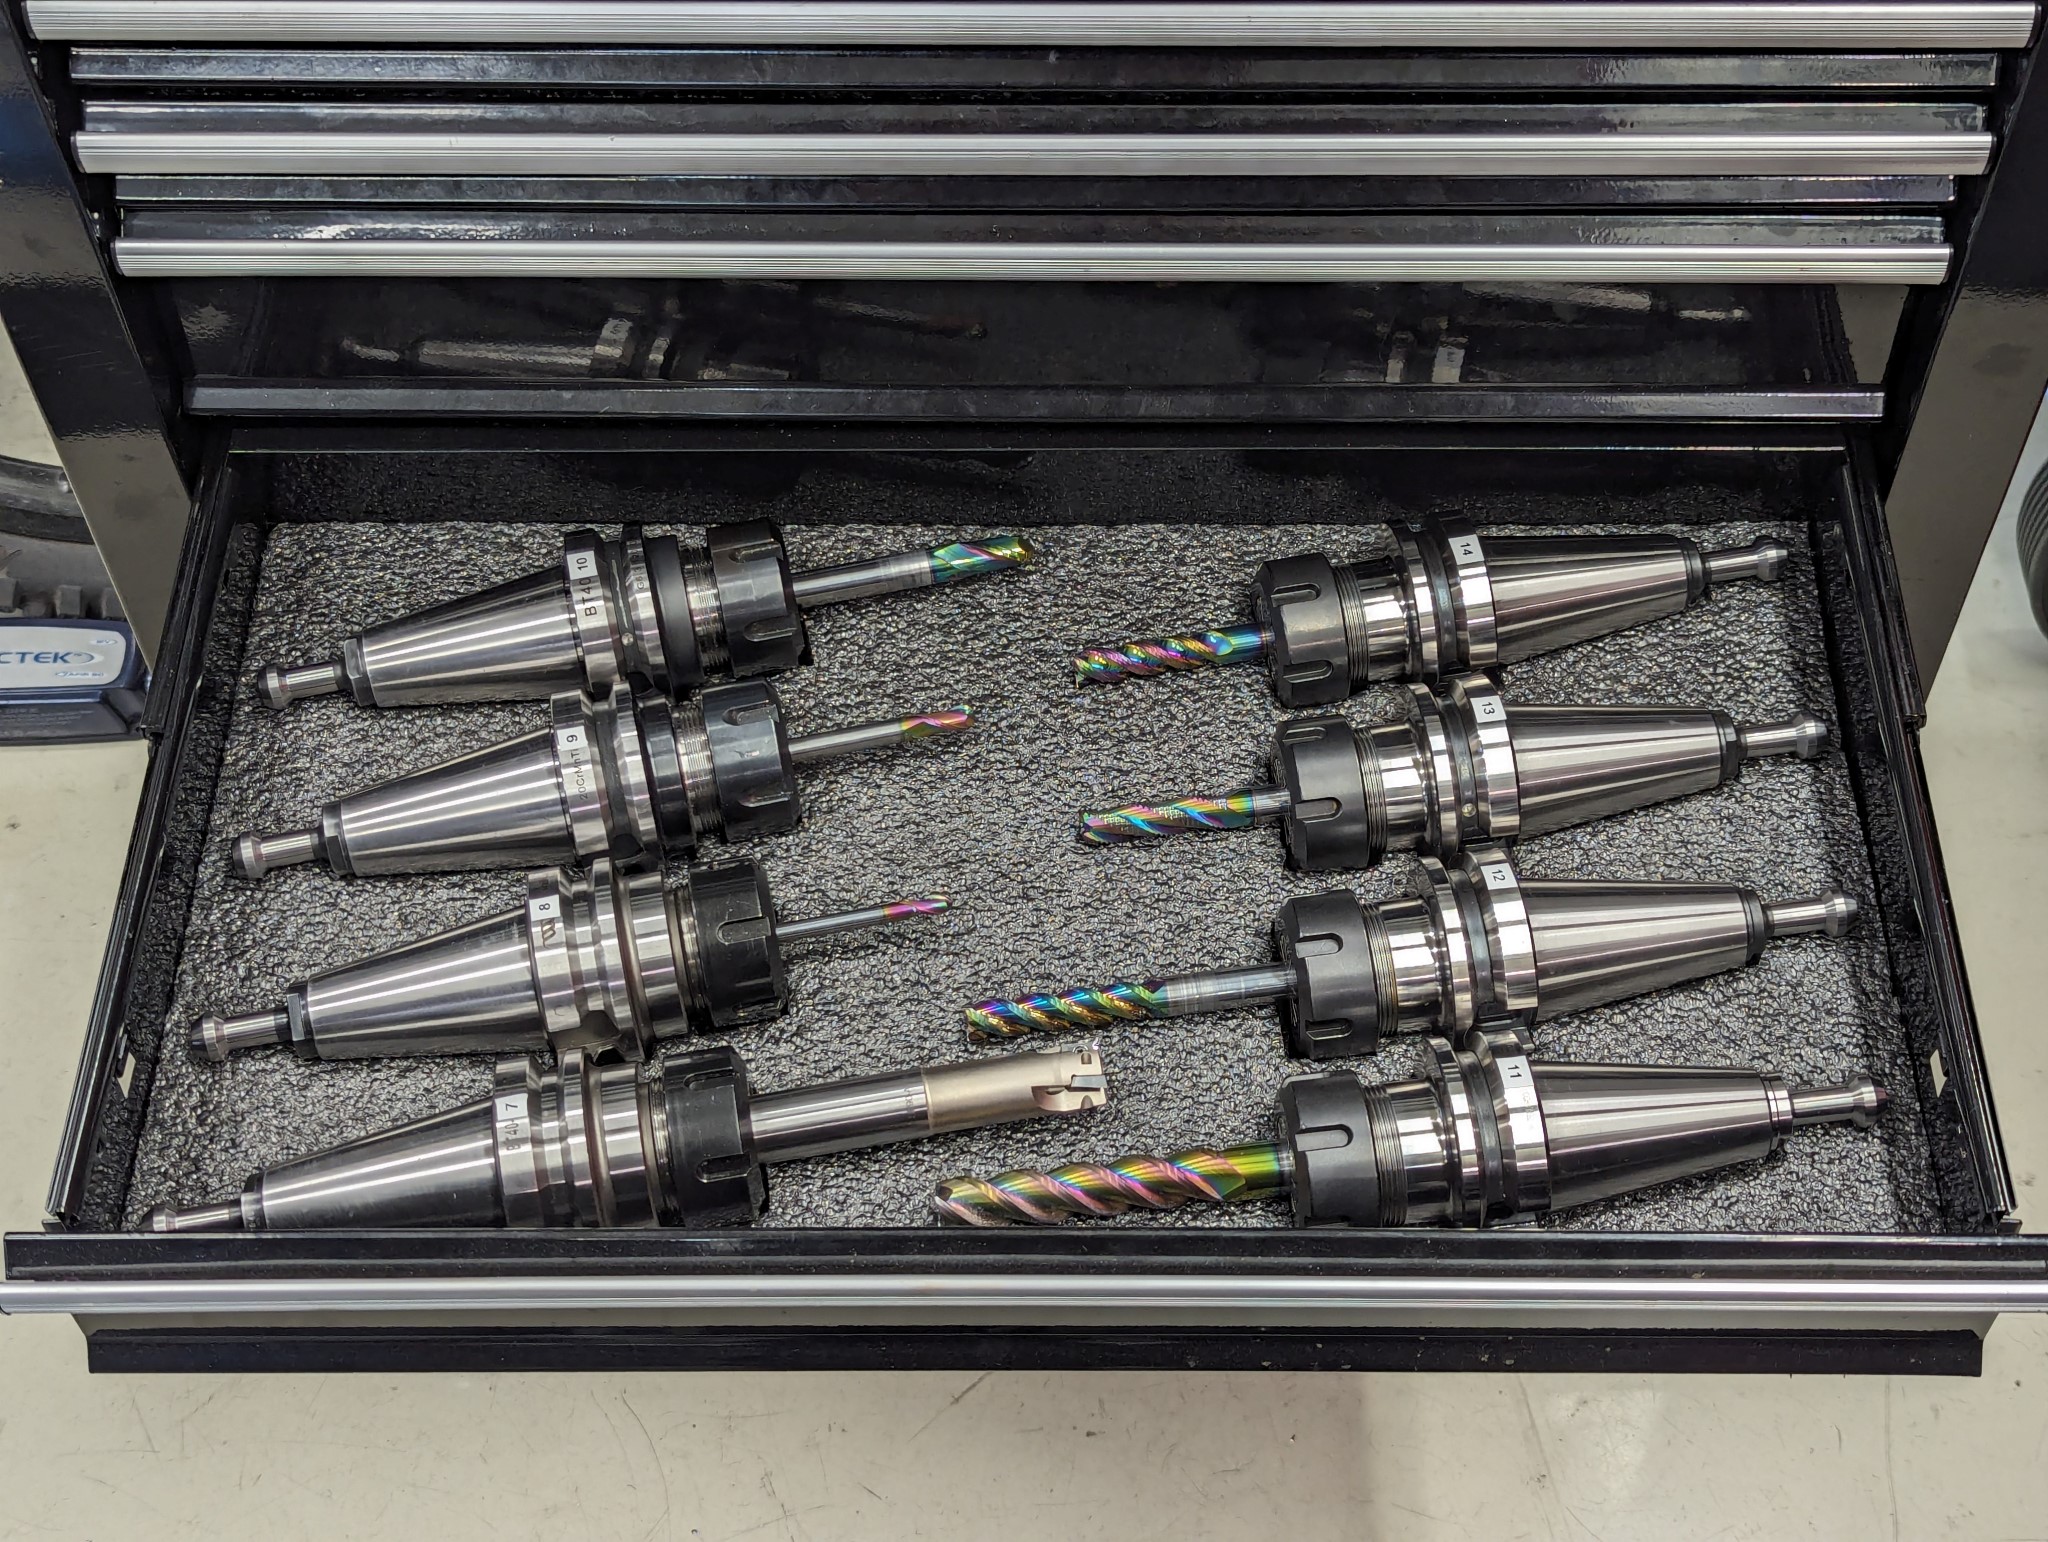
Bought some more ER32 collets and BT40 ER32 tool holders. Made some room for them in my little tool card which lives beside the mill and measured all the tool offsets so they could be entered into Probe Basic. I'm planning to mirror the tool information in FreeCAD later on.
Cutting the Kaizen style tool foam takes a while but the end result is worth it in my opinion.
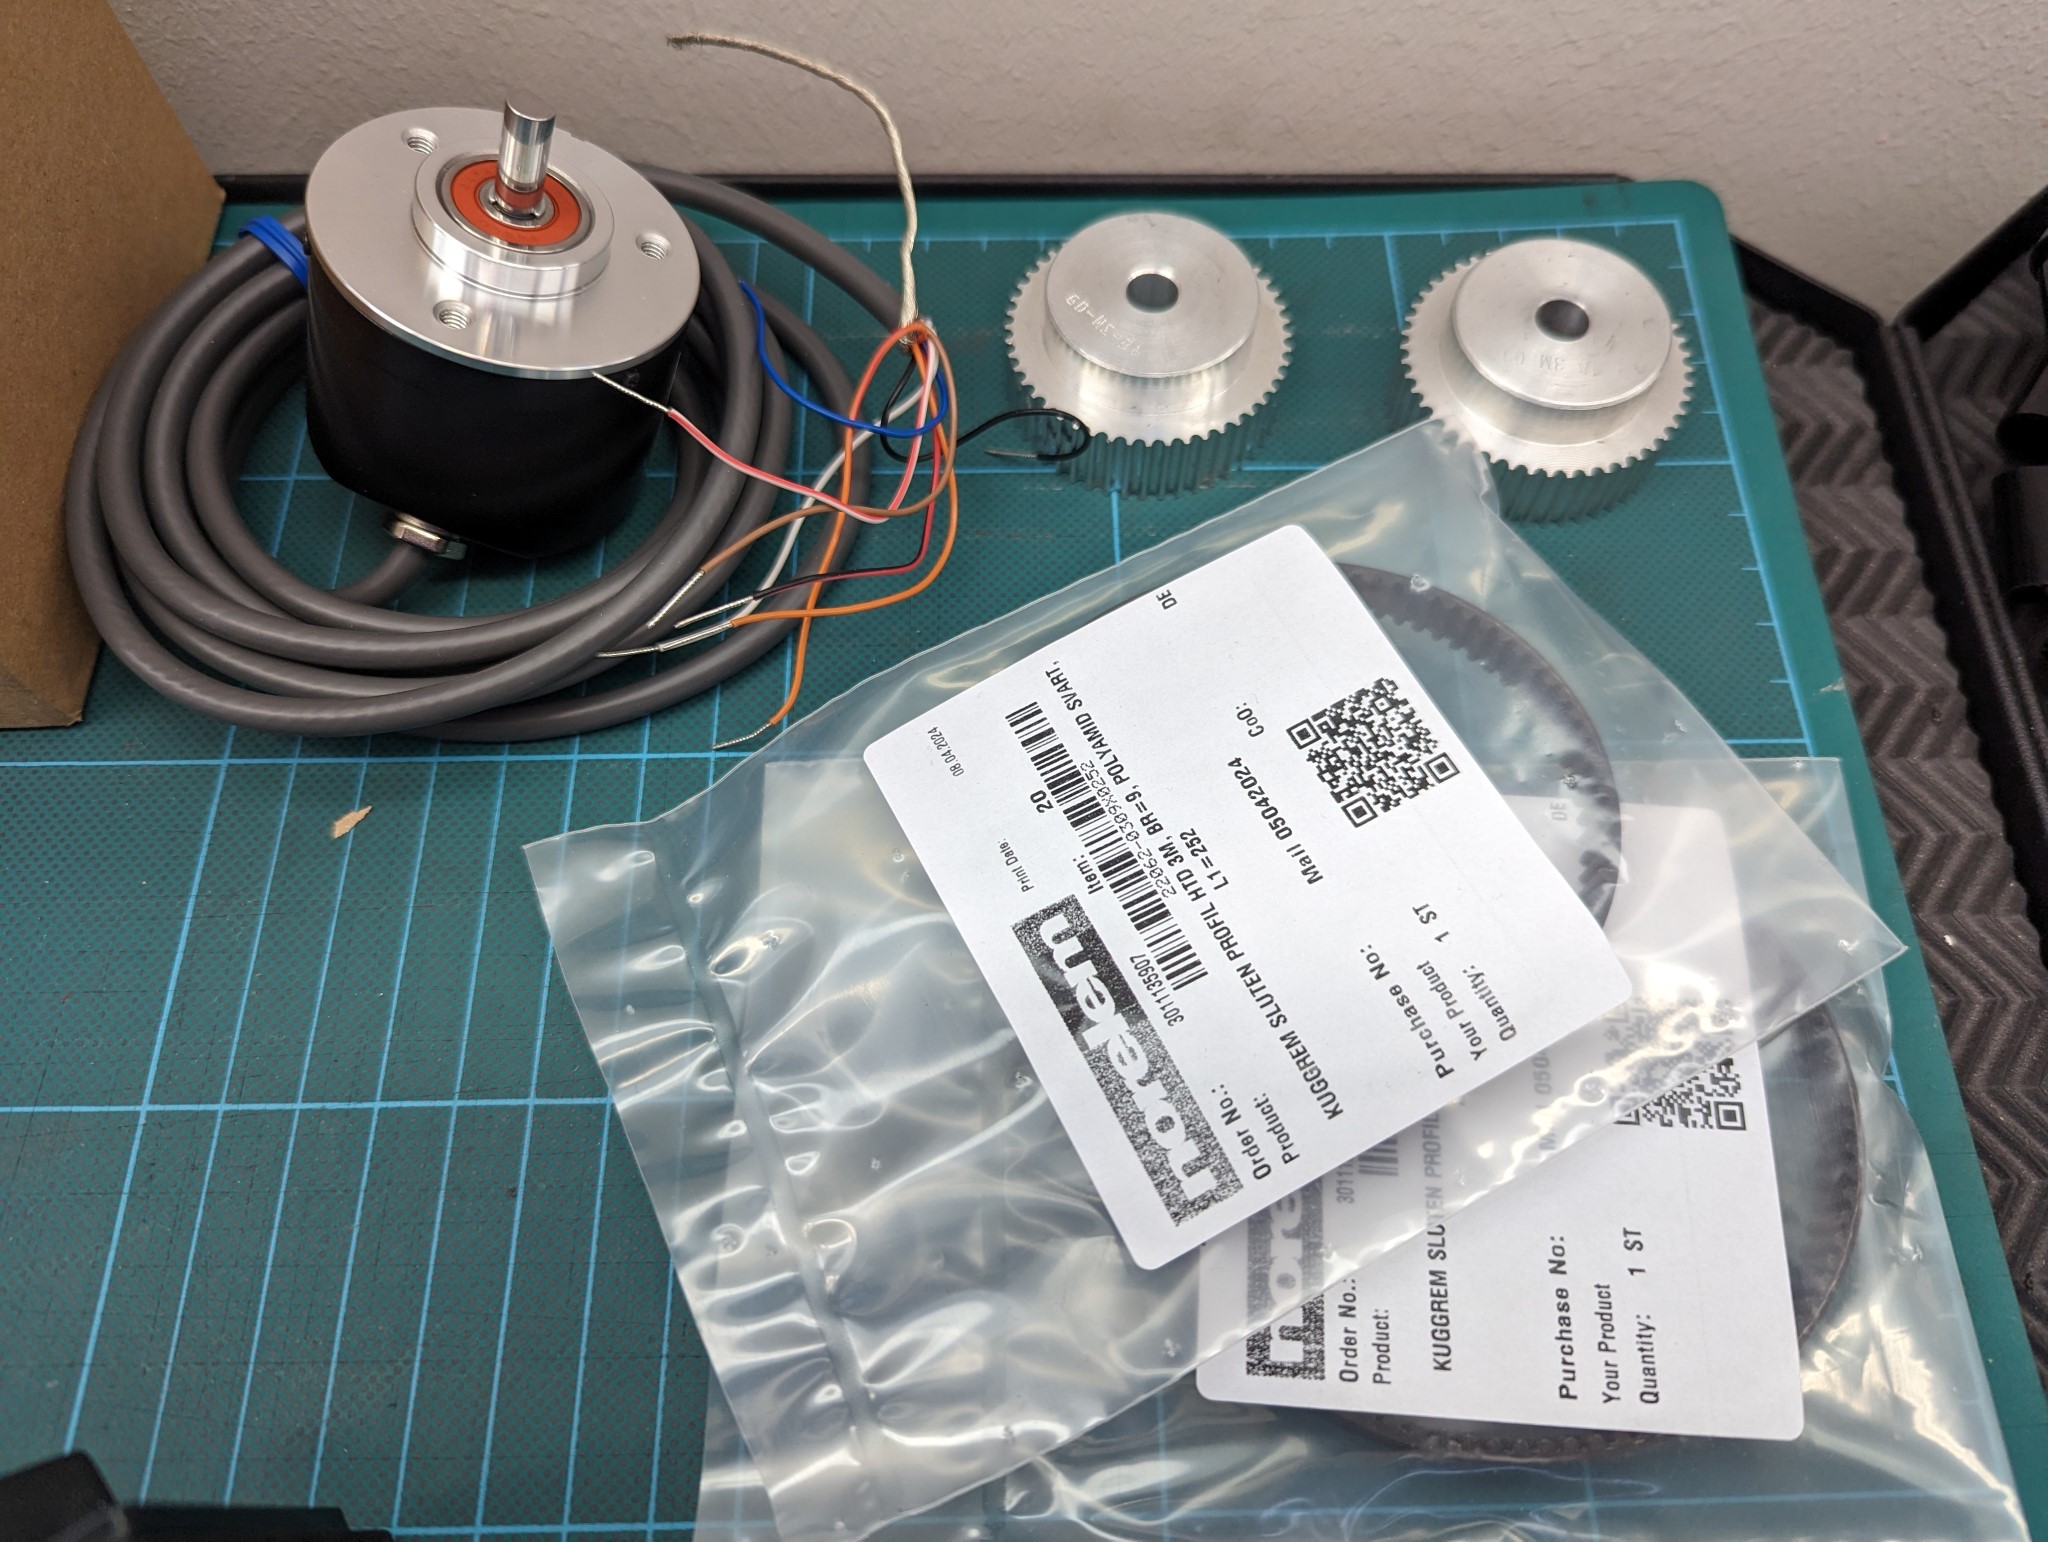
The Omron encoder along with the belts and pulleys that I ordered have arrived but I haven't installed them yet.
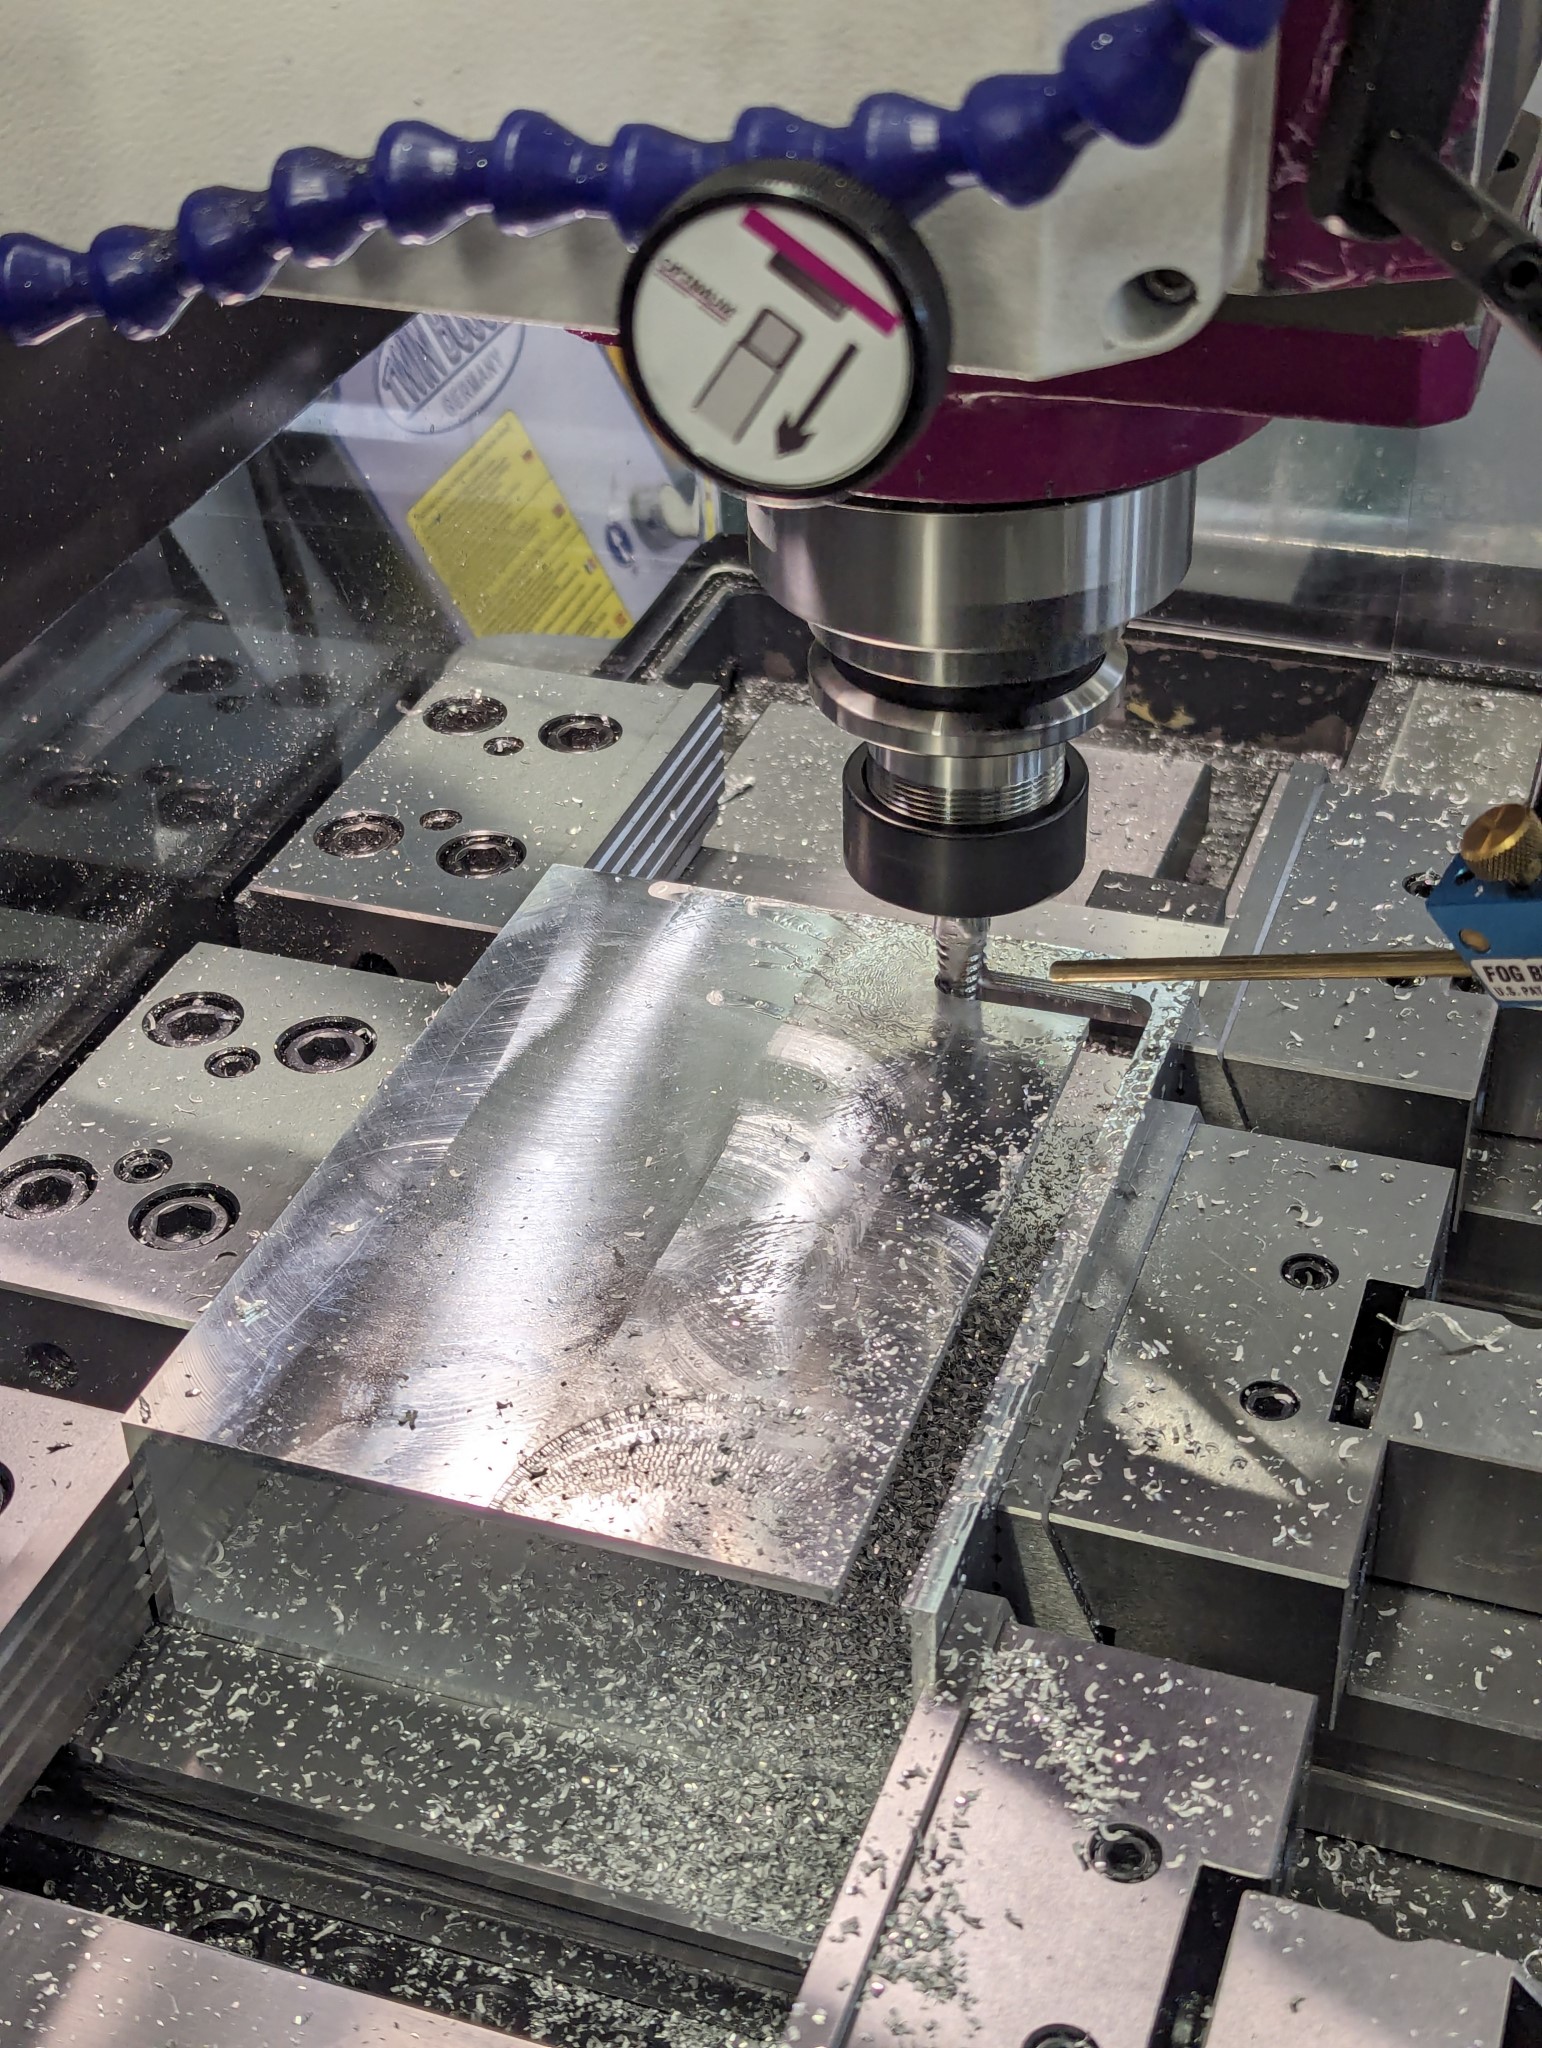
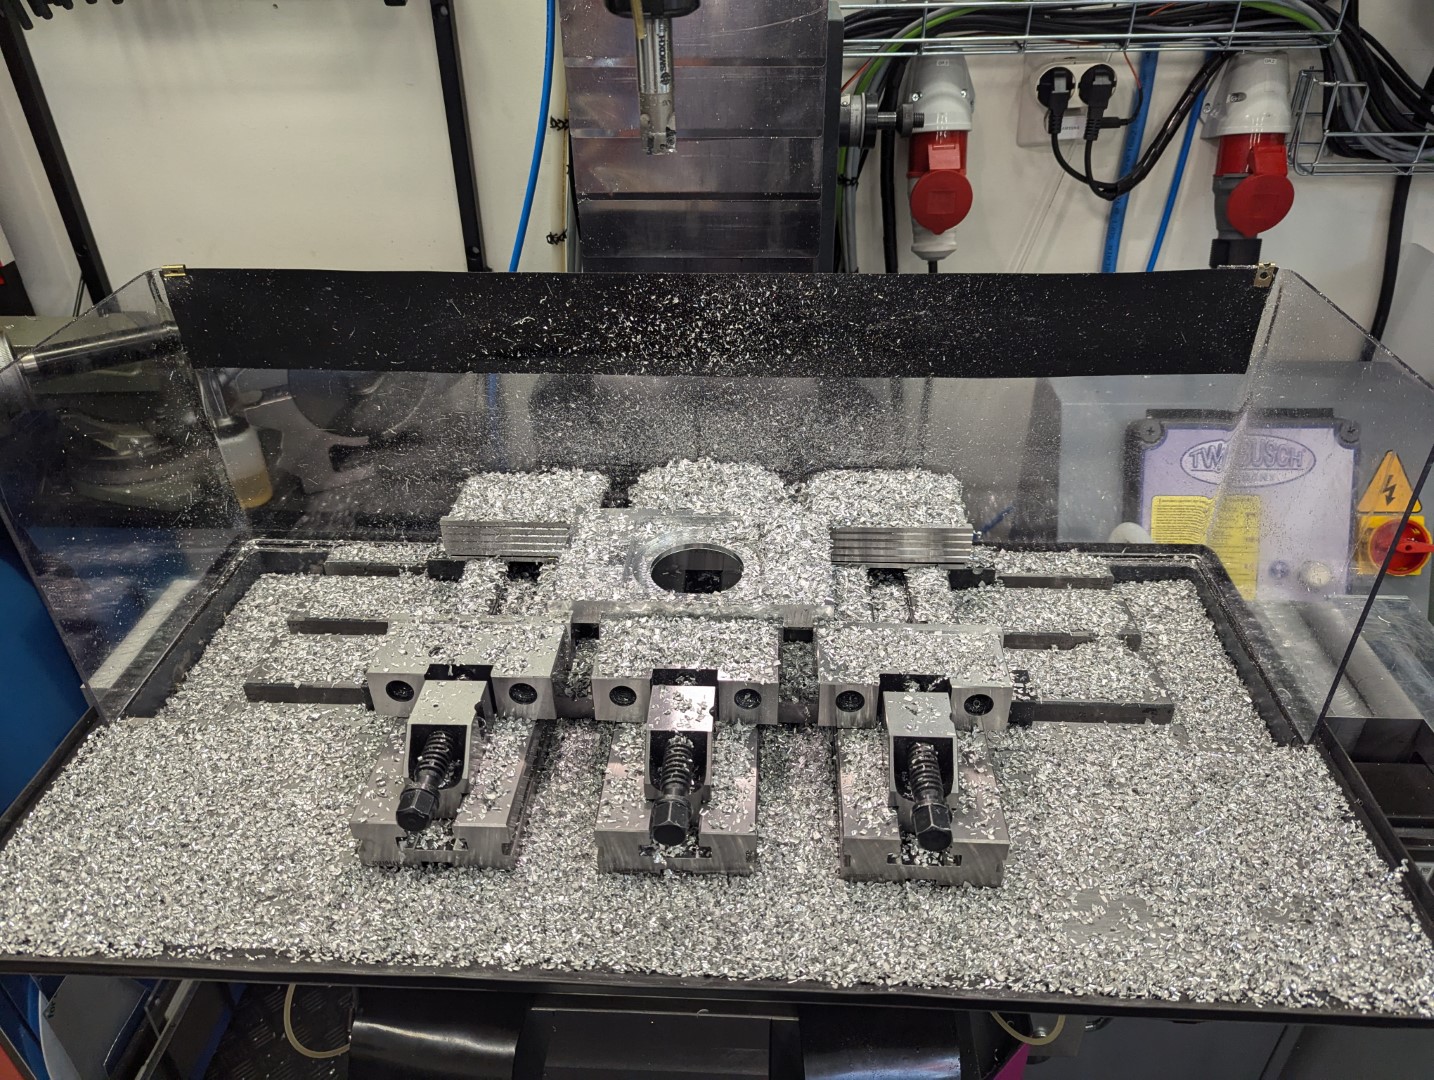
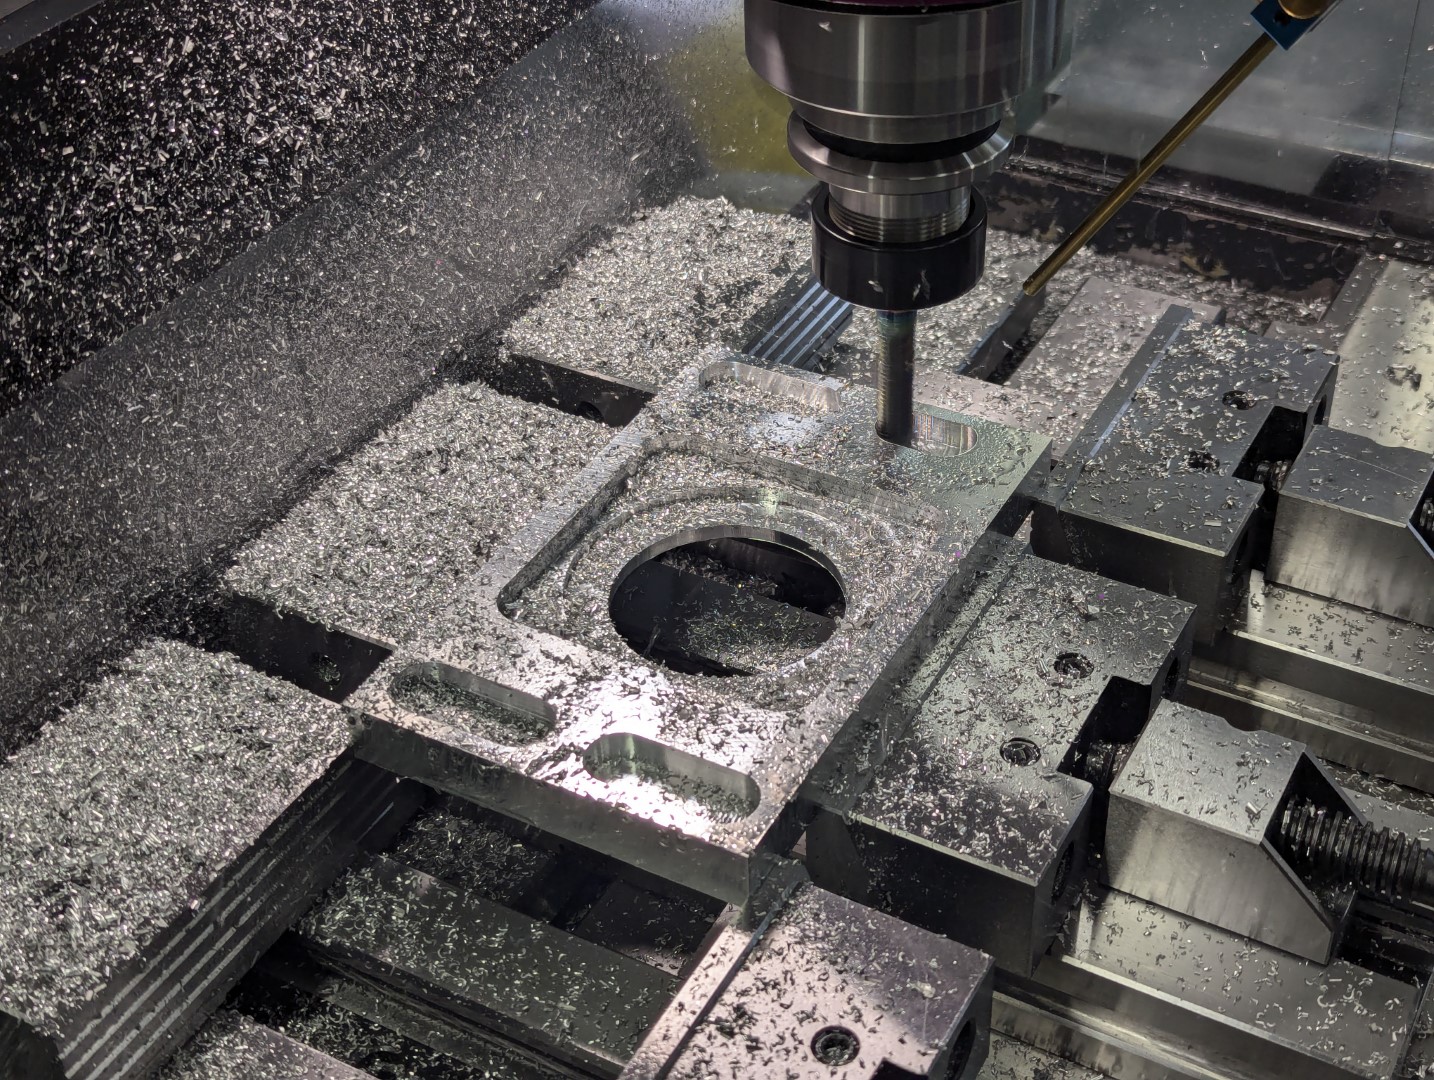
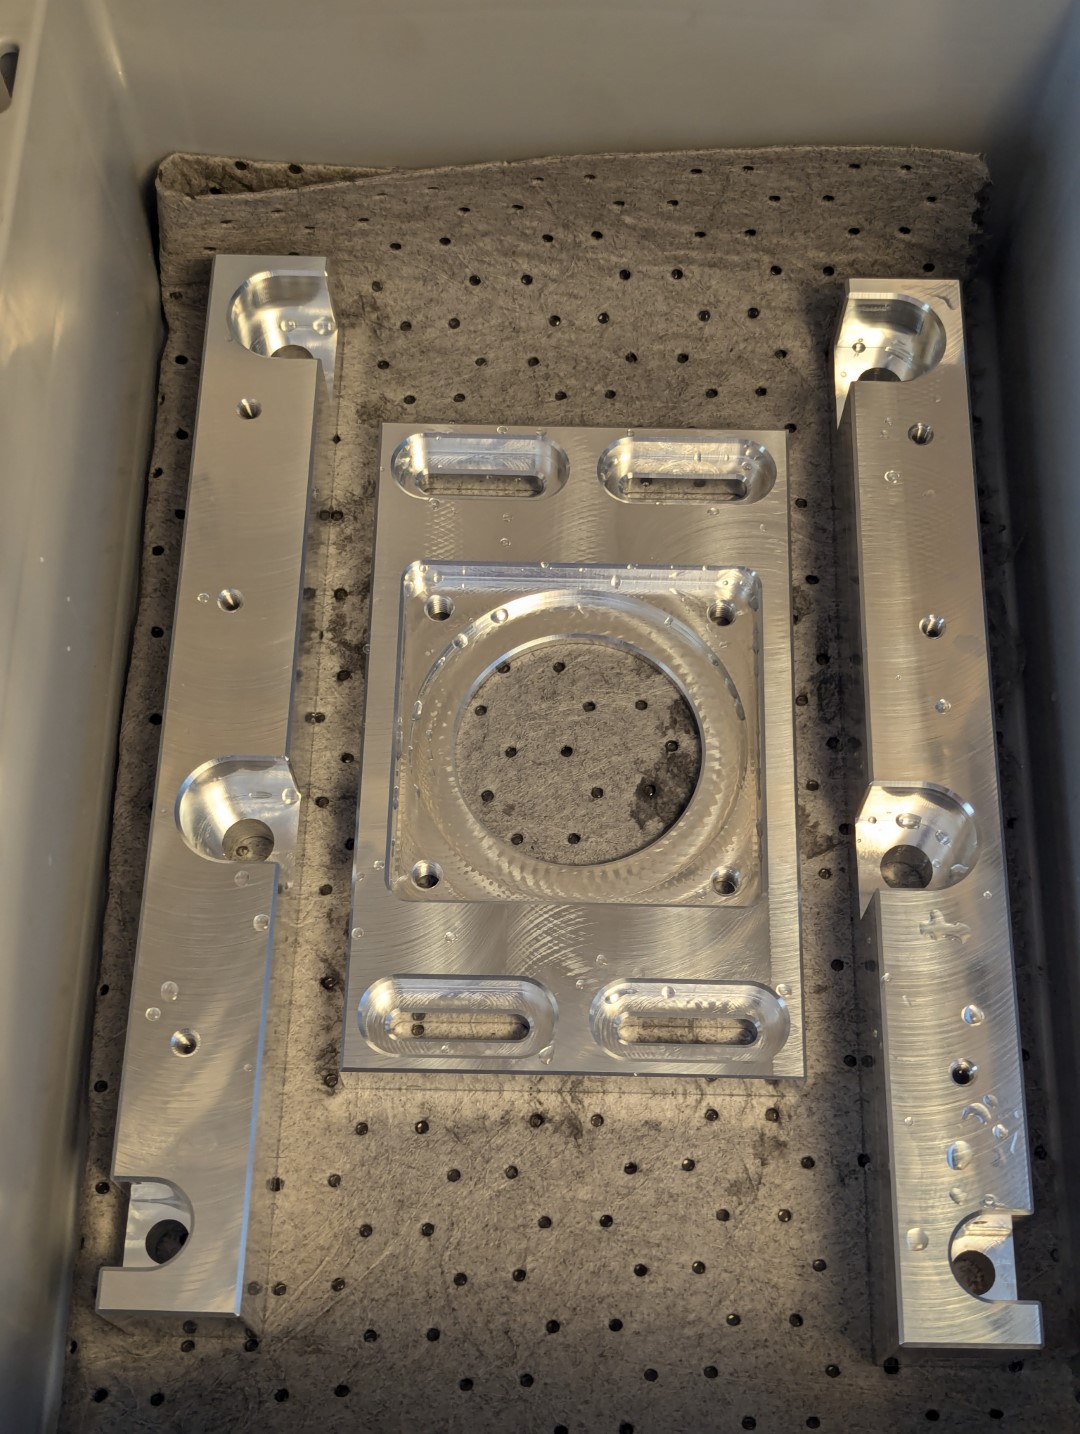
Here are the first actual CNC chips done on the machine.
The part I'm milling is gonna be the belt and pulley cover for the Y-axis.
Attachments:
Last edit: 19 Apr 2024 09:49 by Unlogic.
The following user(s) said Thank You: tommylight, pommen, rodw, besriworld
Please Log in or Create an account to join the conversation.
- Unlogic
- Offline
- Elite Member
-

Less
More
- Posts: 237
- Thank you received: 118
13 May 2024 09:34 - 13 May 2024 20:27 #300497
by Unlogic
Replied by Unlogic on topic Optimum Optimill MH50V CNC conversion
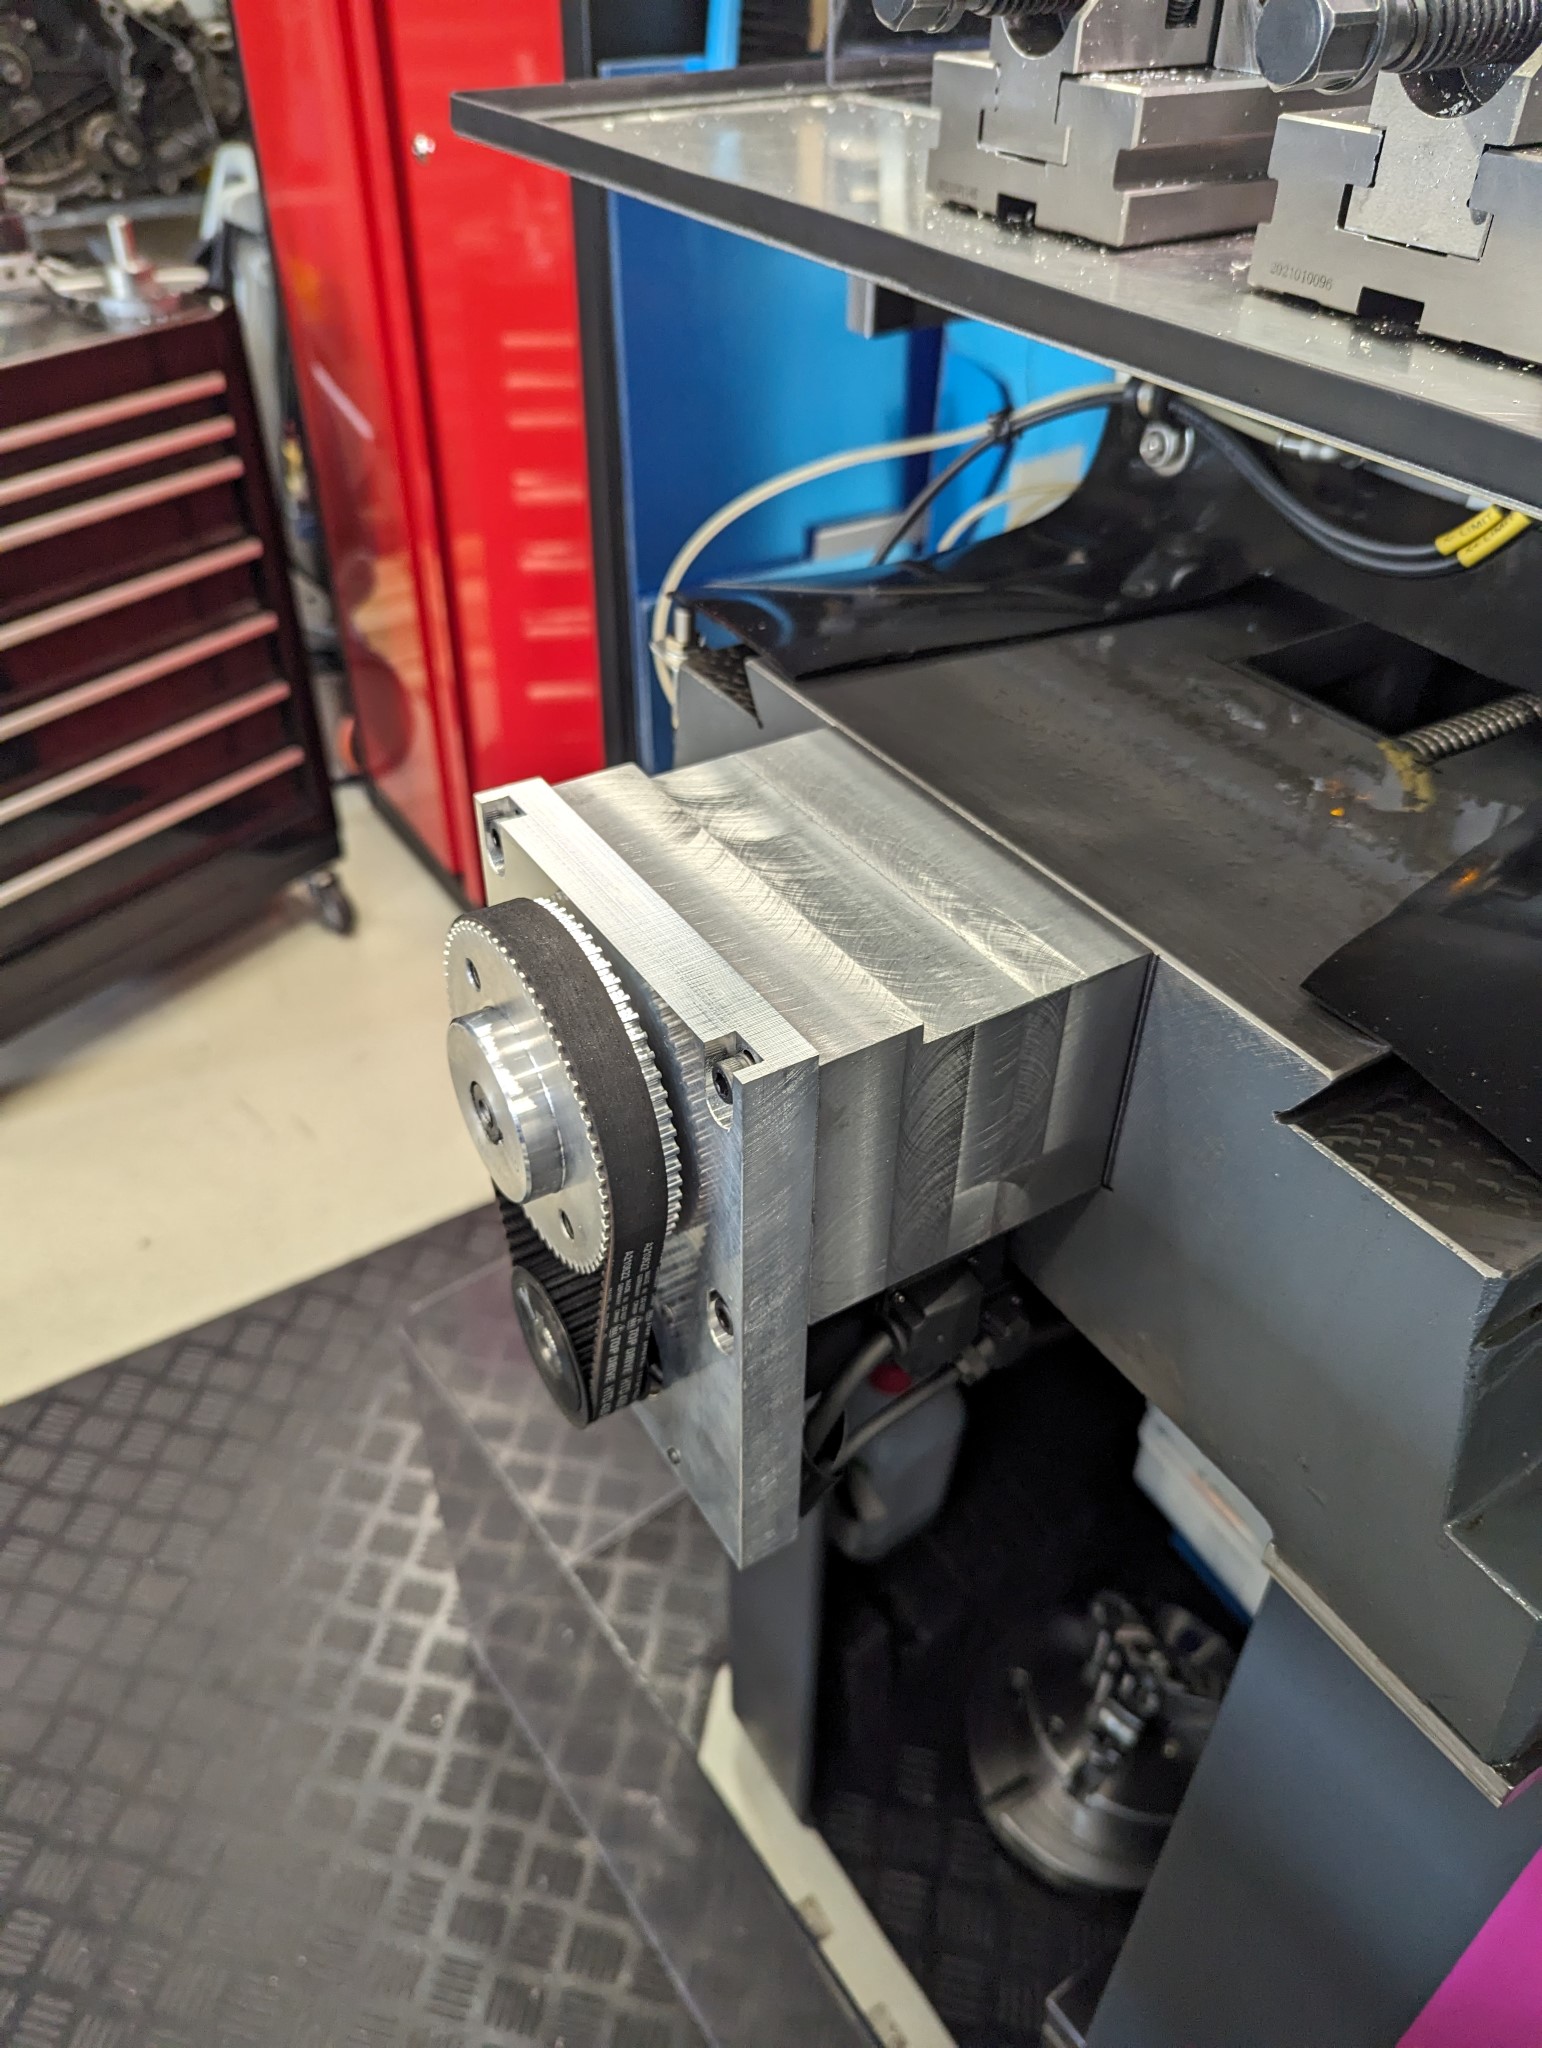
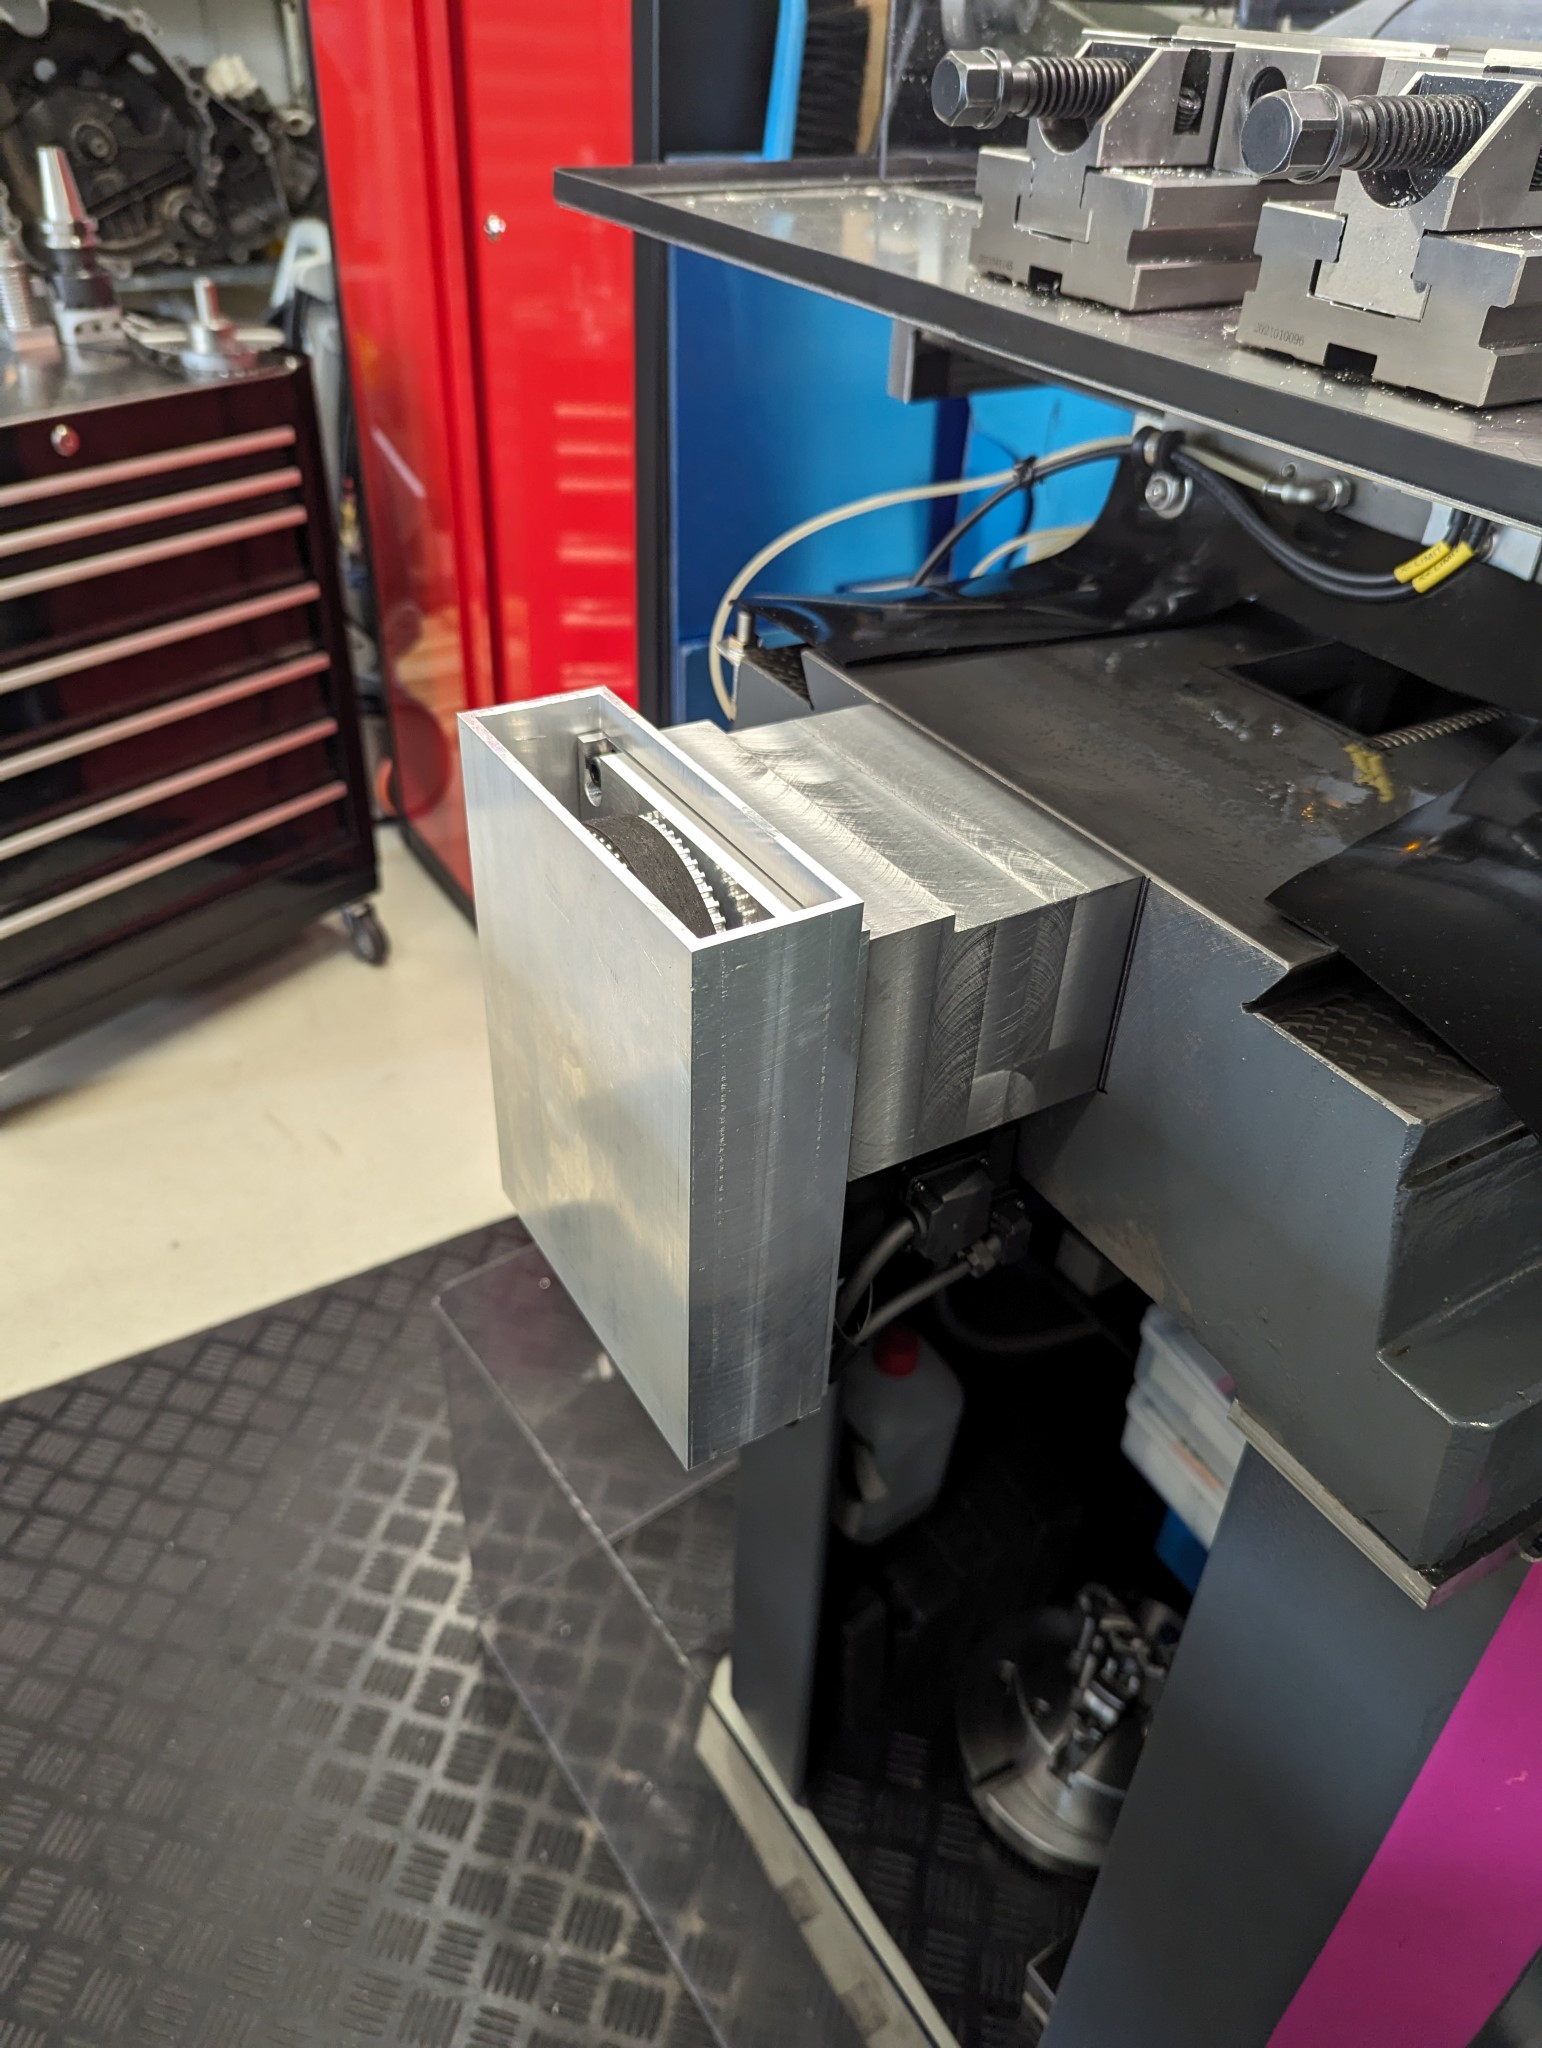
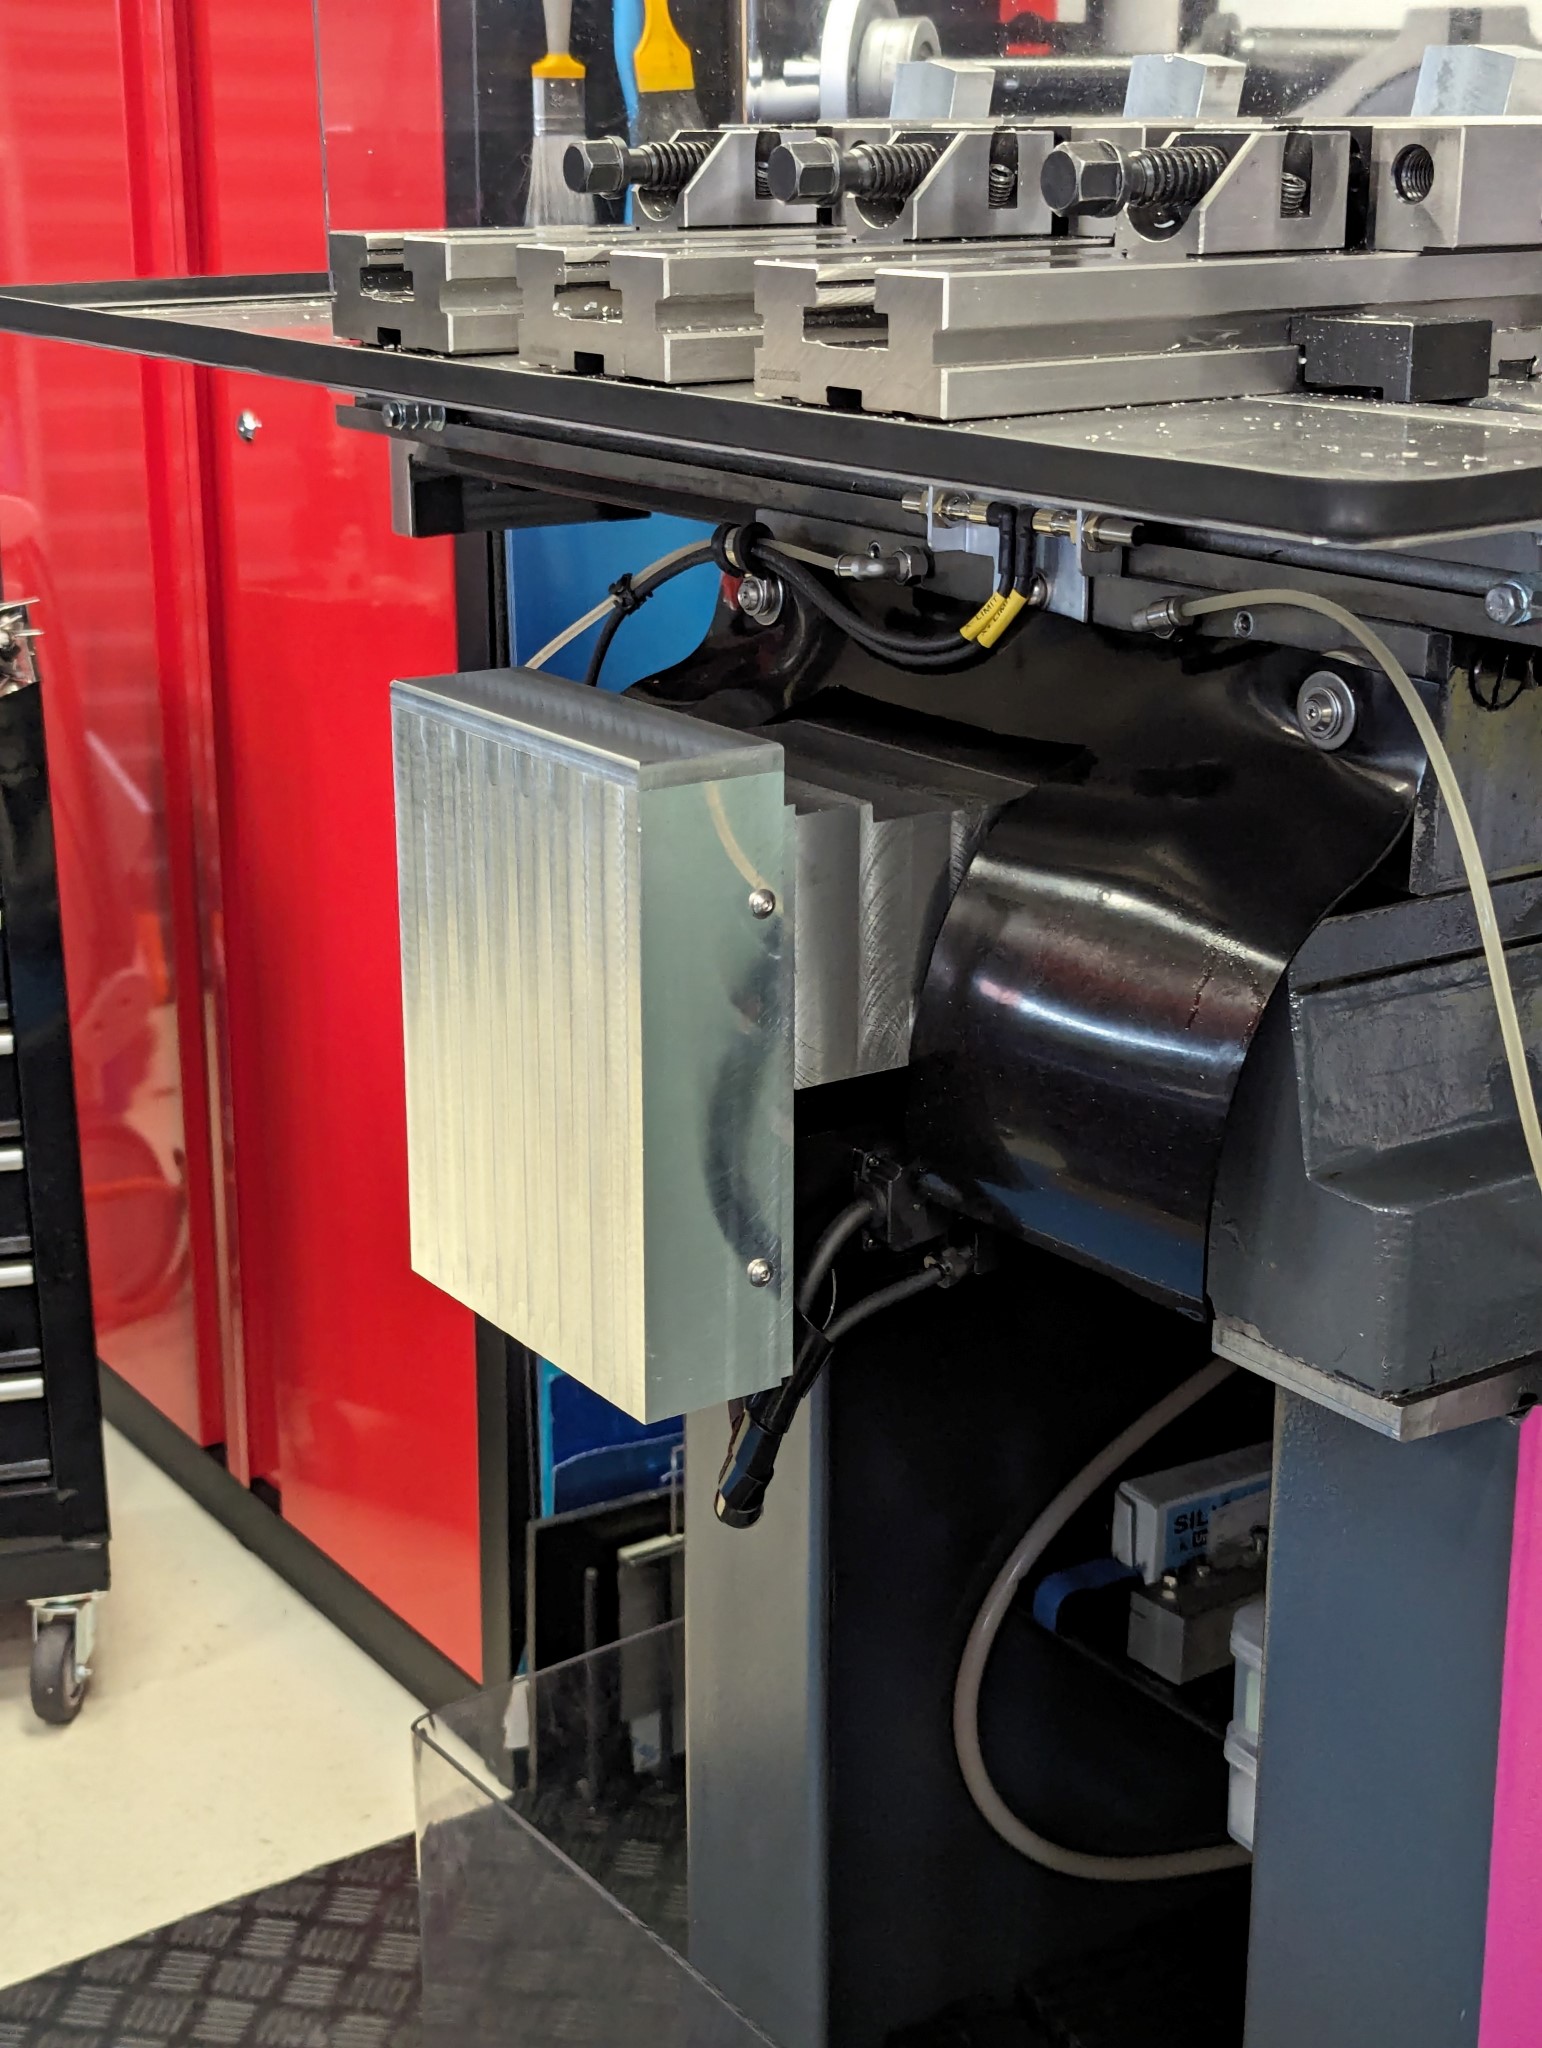
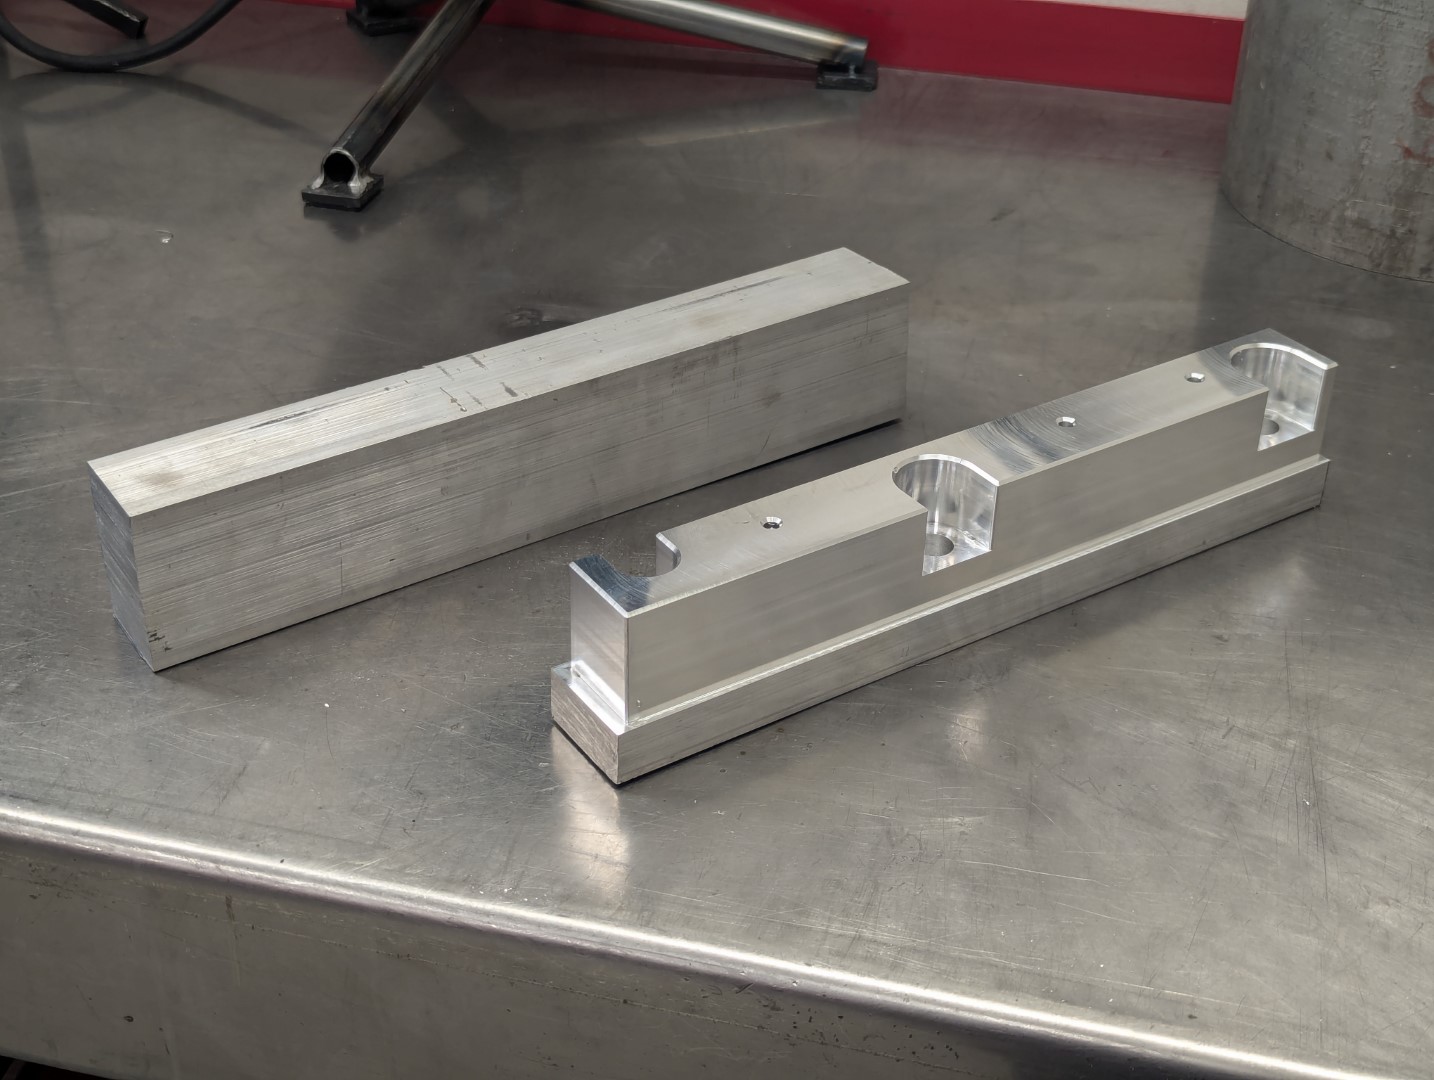
I've got everything up and running now. However when making the first parts it became clear that the belt covers I had neglected to make during the build process were a must so I've made covers for both the X and Y-axis belts now.
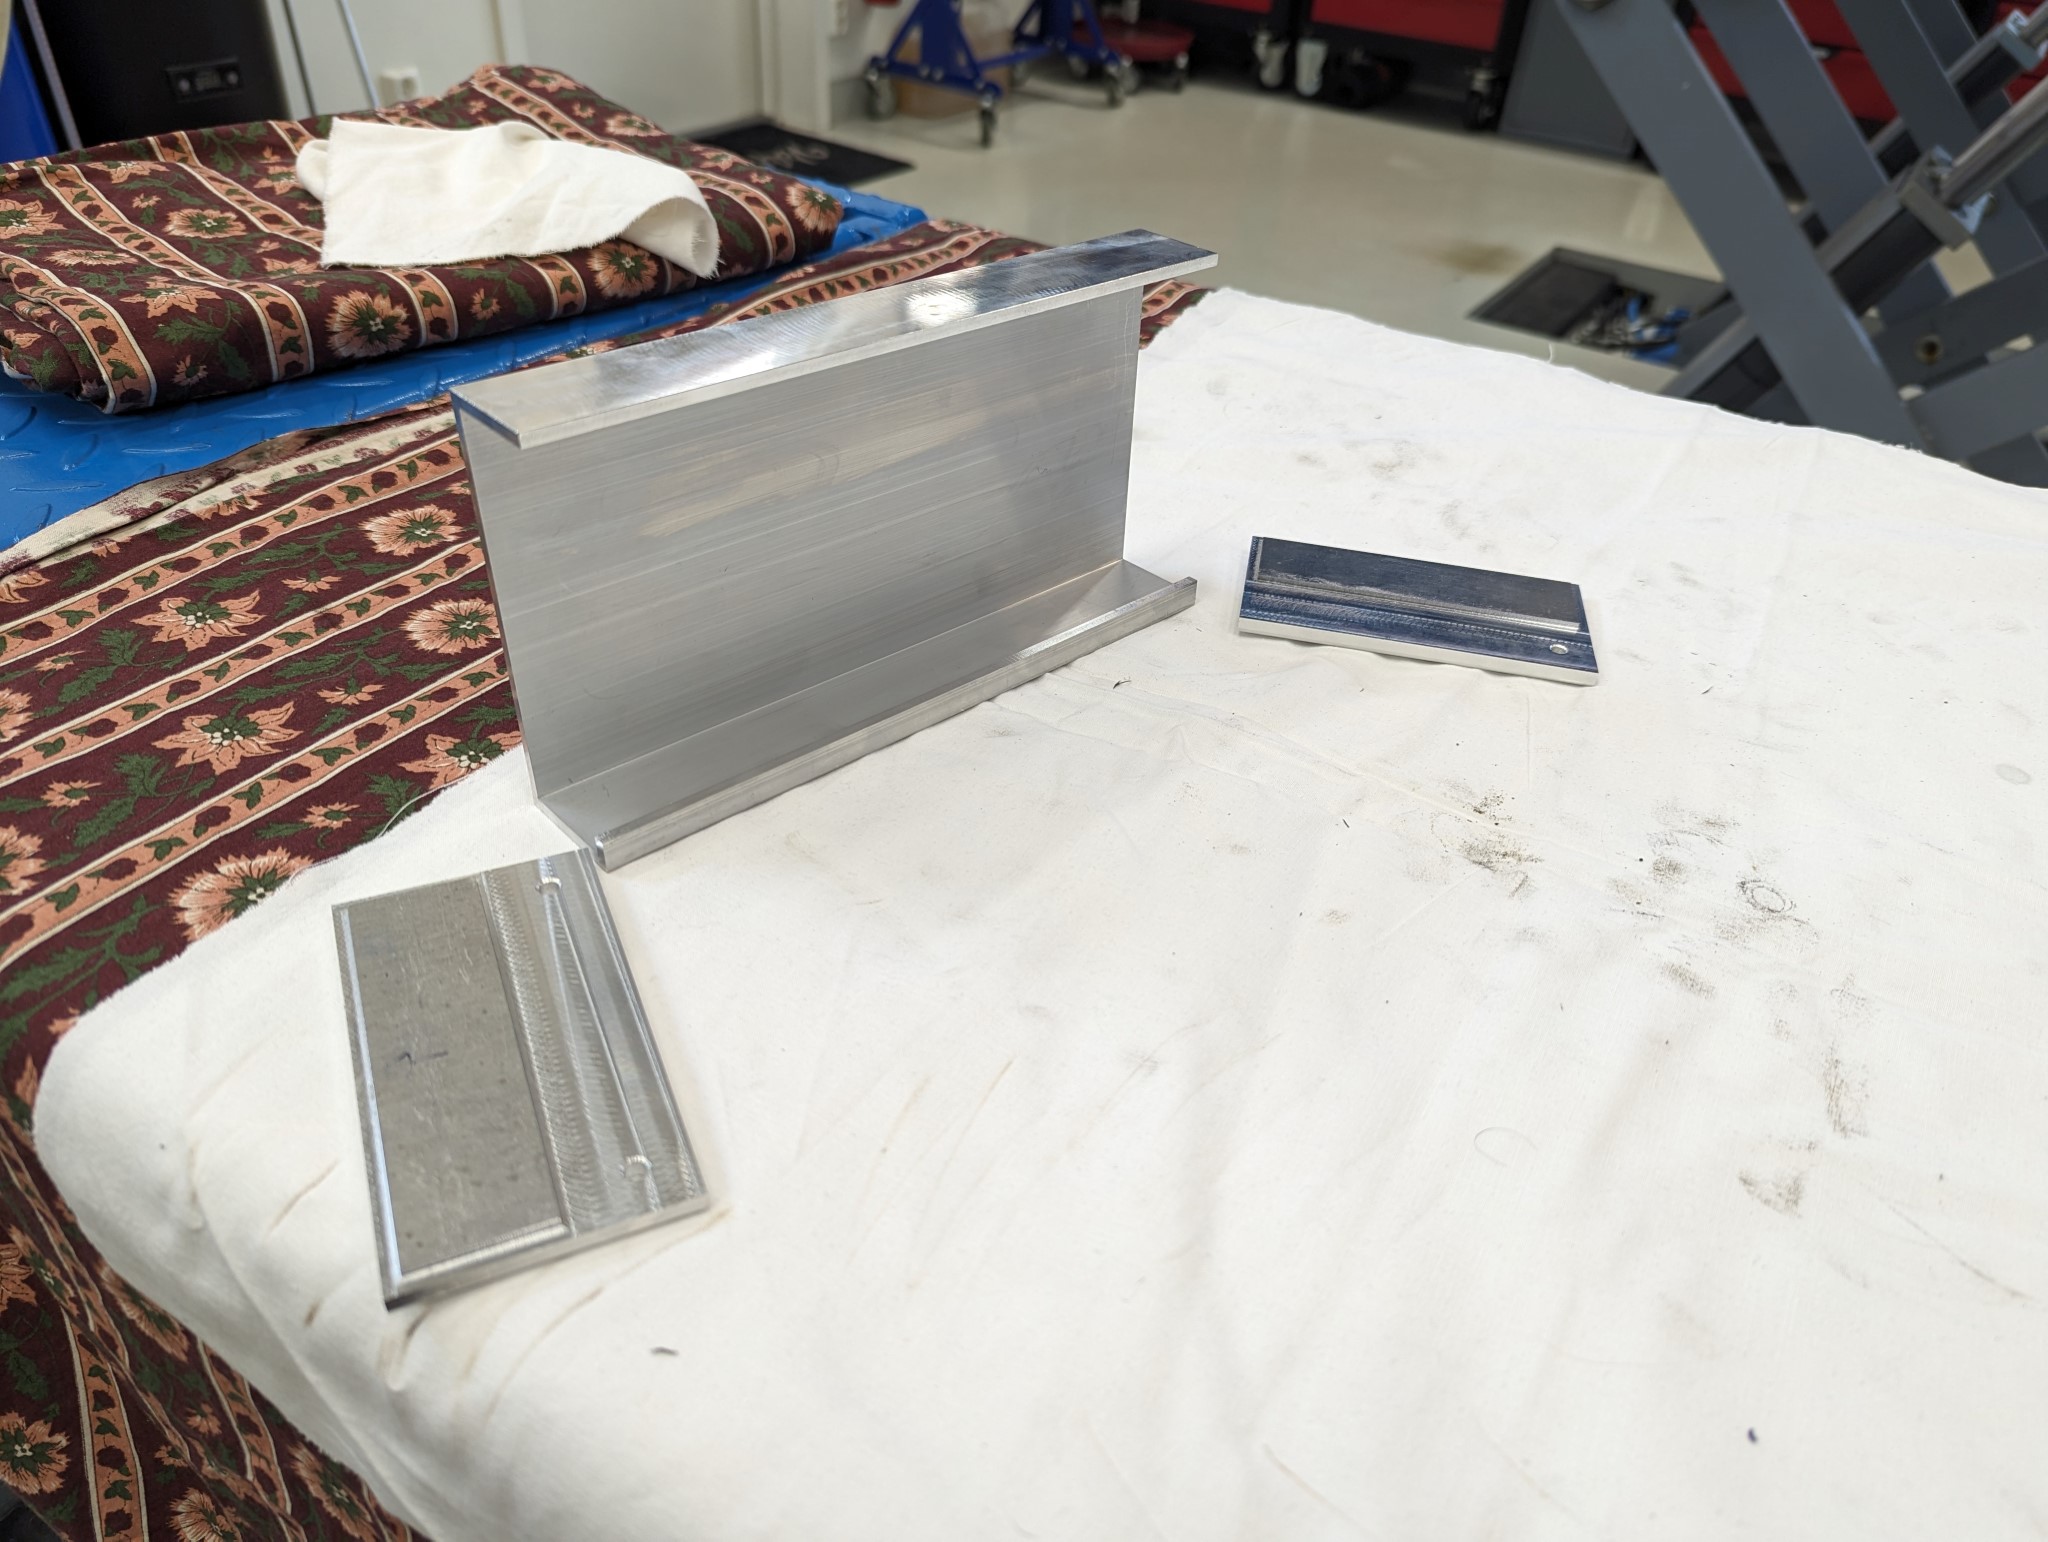
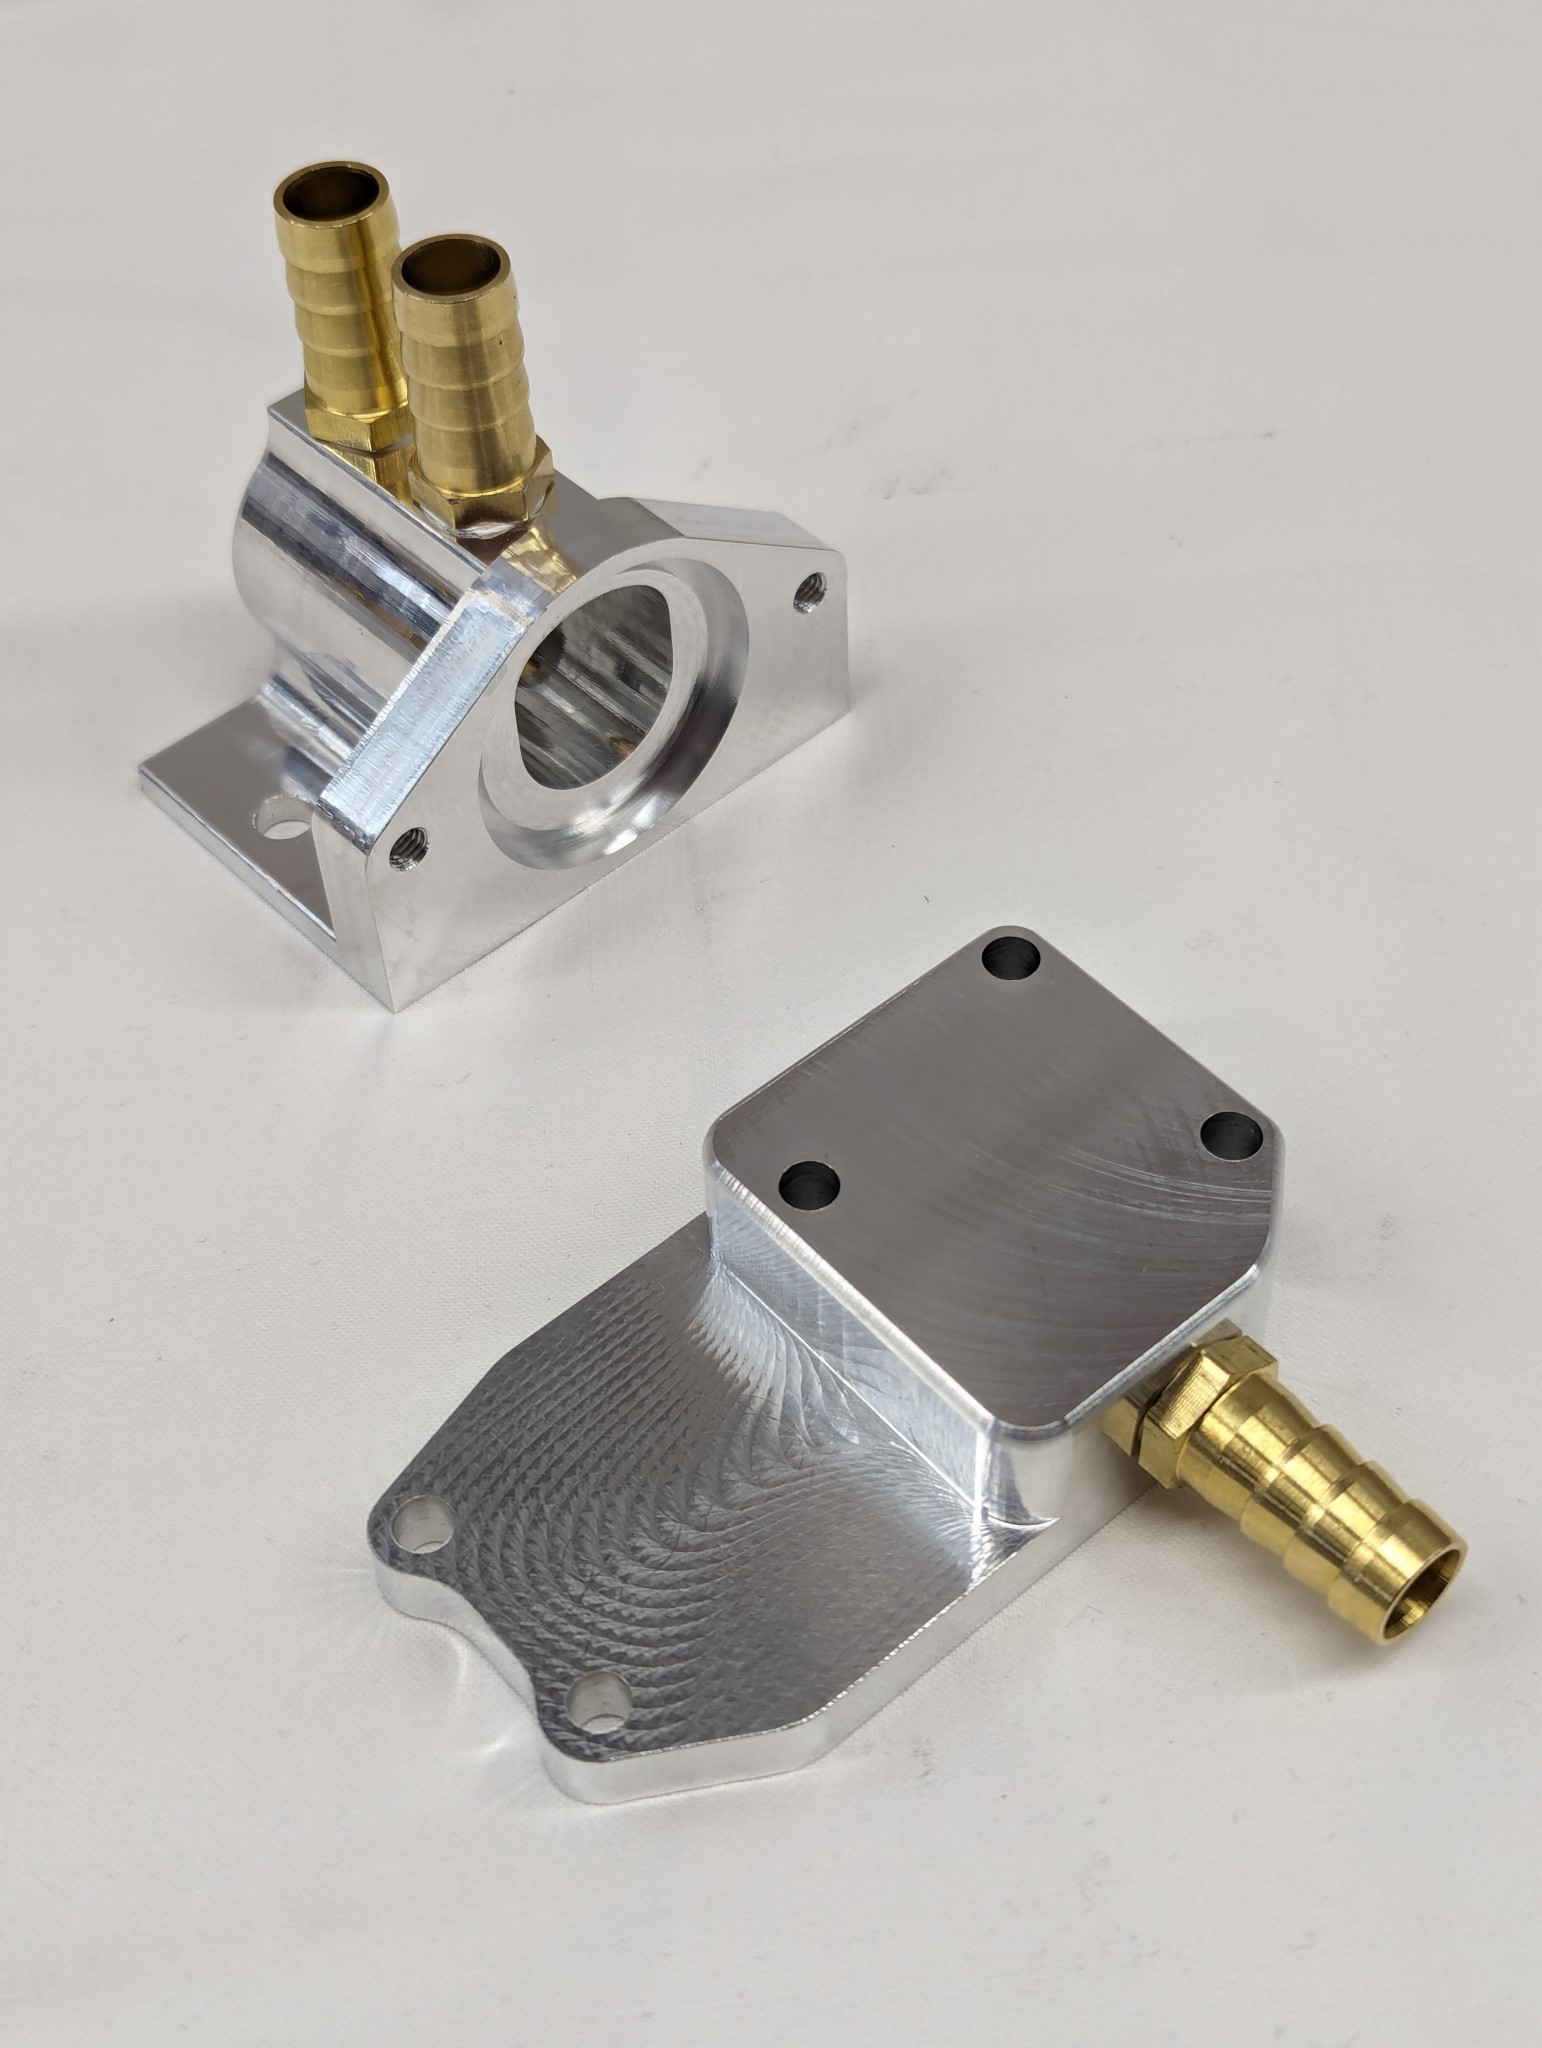
I used aluminum extrusions as the base for both covers with end plates made from billet aluminum.
Here is the Y-axis belt cover being made.
Here is how it looks installed on the machine.
I used aluminum extrusions as the base for both covers with end plates made from billet aluminum.
Here is the Y-axis belt cover being made.
Here is how it looks installed on the machine.
Attachments:
Last edit: 13 May 2024 20:27 by Unlogic. Reason: Fighting with the editor
The following user(s) said Thank You: besriworld
Please Log in or Create an account to join the conversation.
- Unlogic
- Offline
- Elite Member
-

Less
More
- Posts: 237
- Thank you received: 118
13 May 2024 09:38 - 13 May 2024 20:28 #300498
by Unlogic
Replied by Unlogic on topic Optimum Optimill MH50V CNC conversion
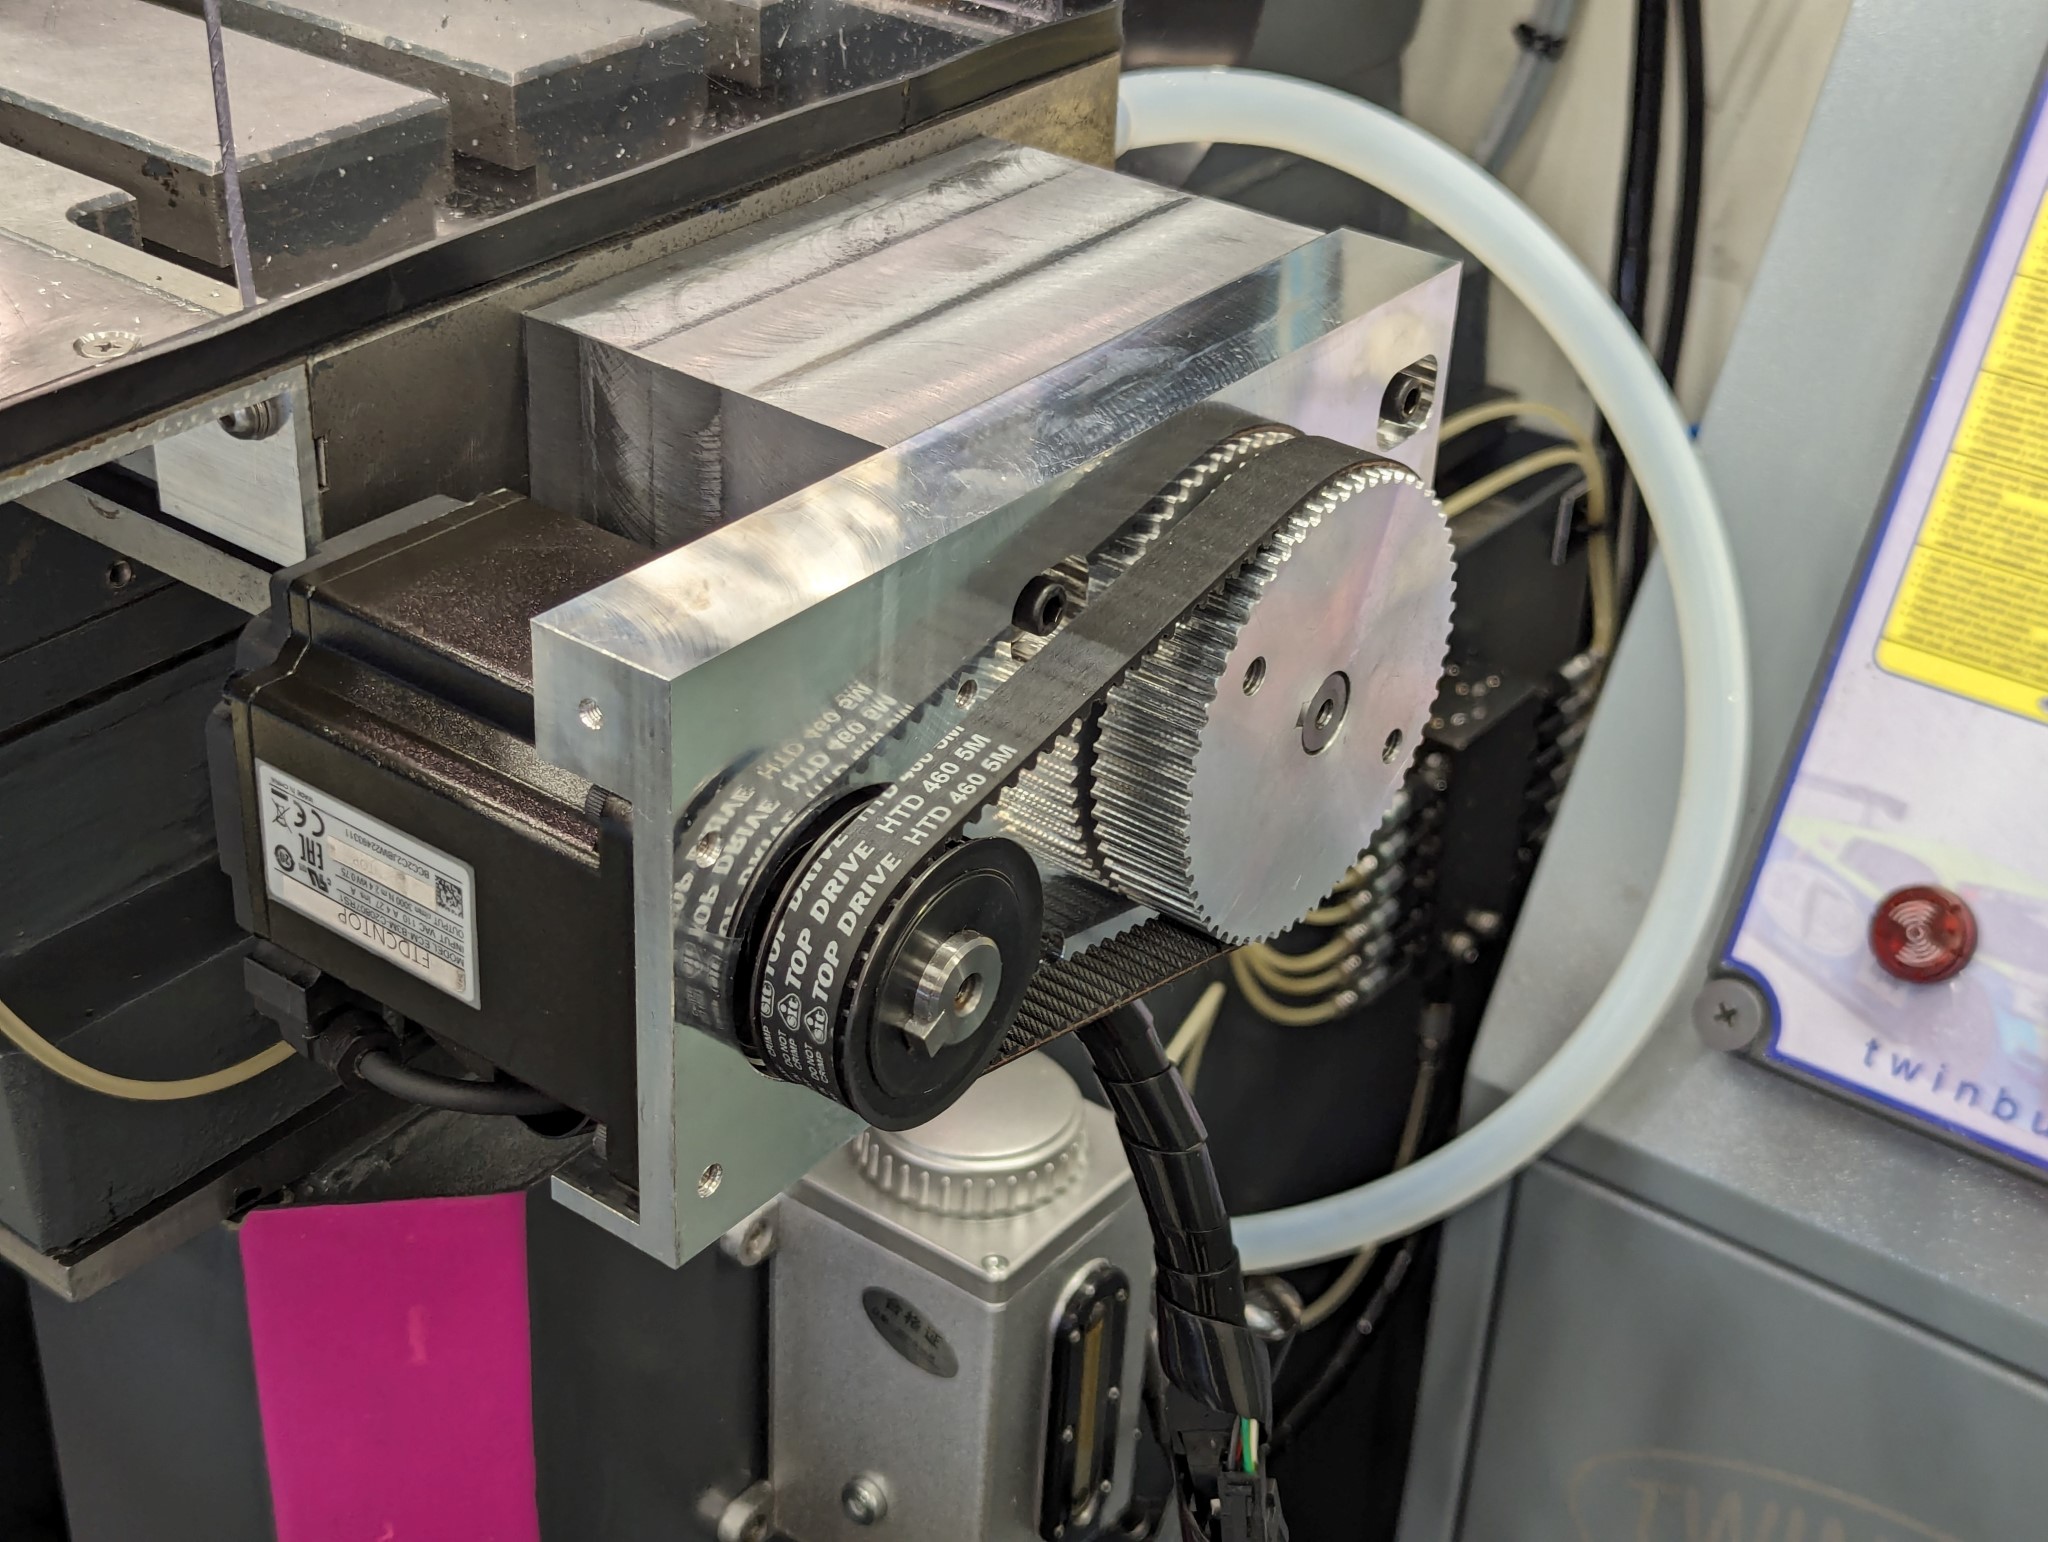
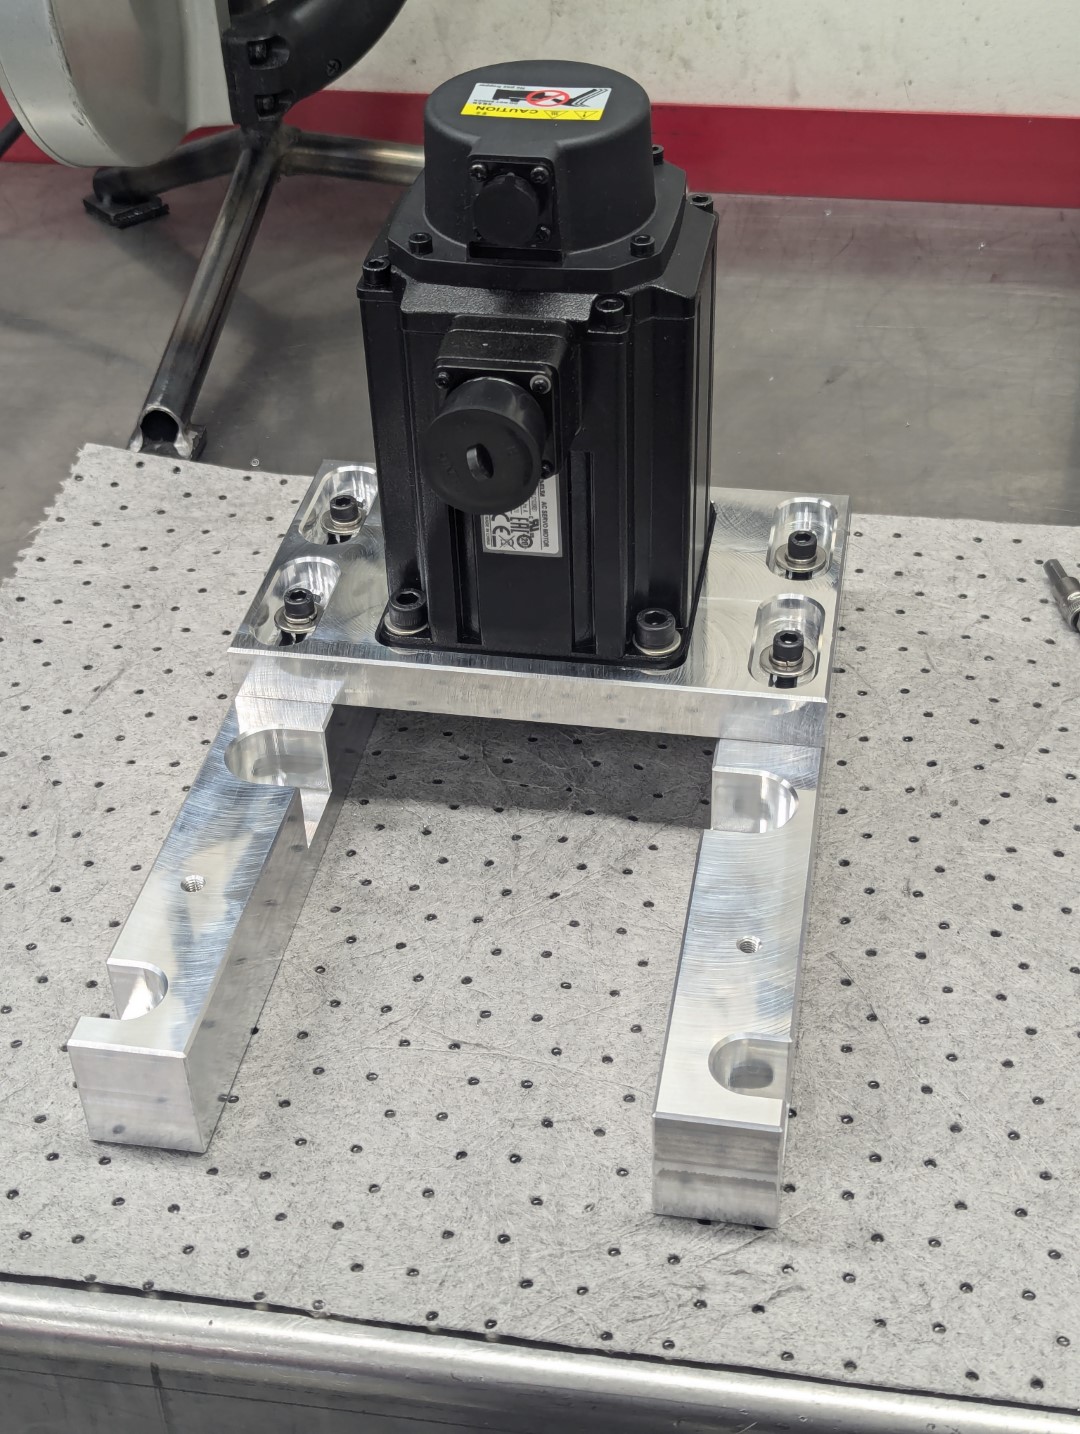
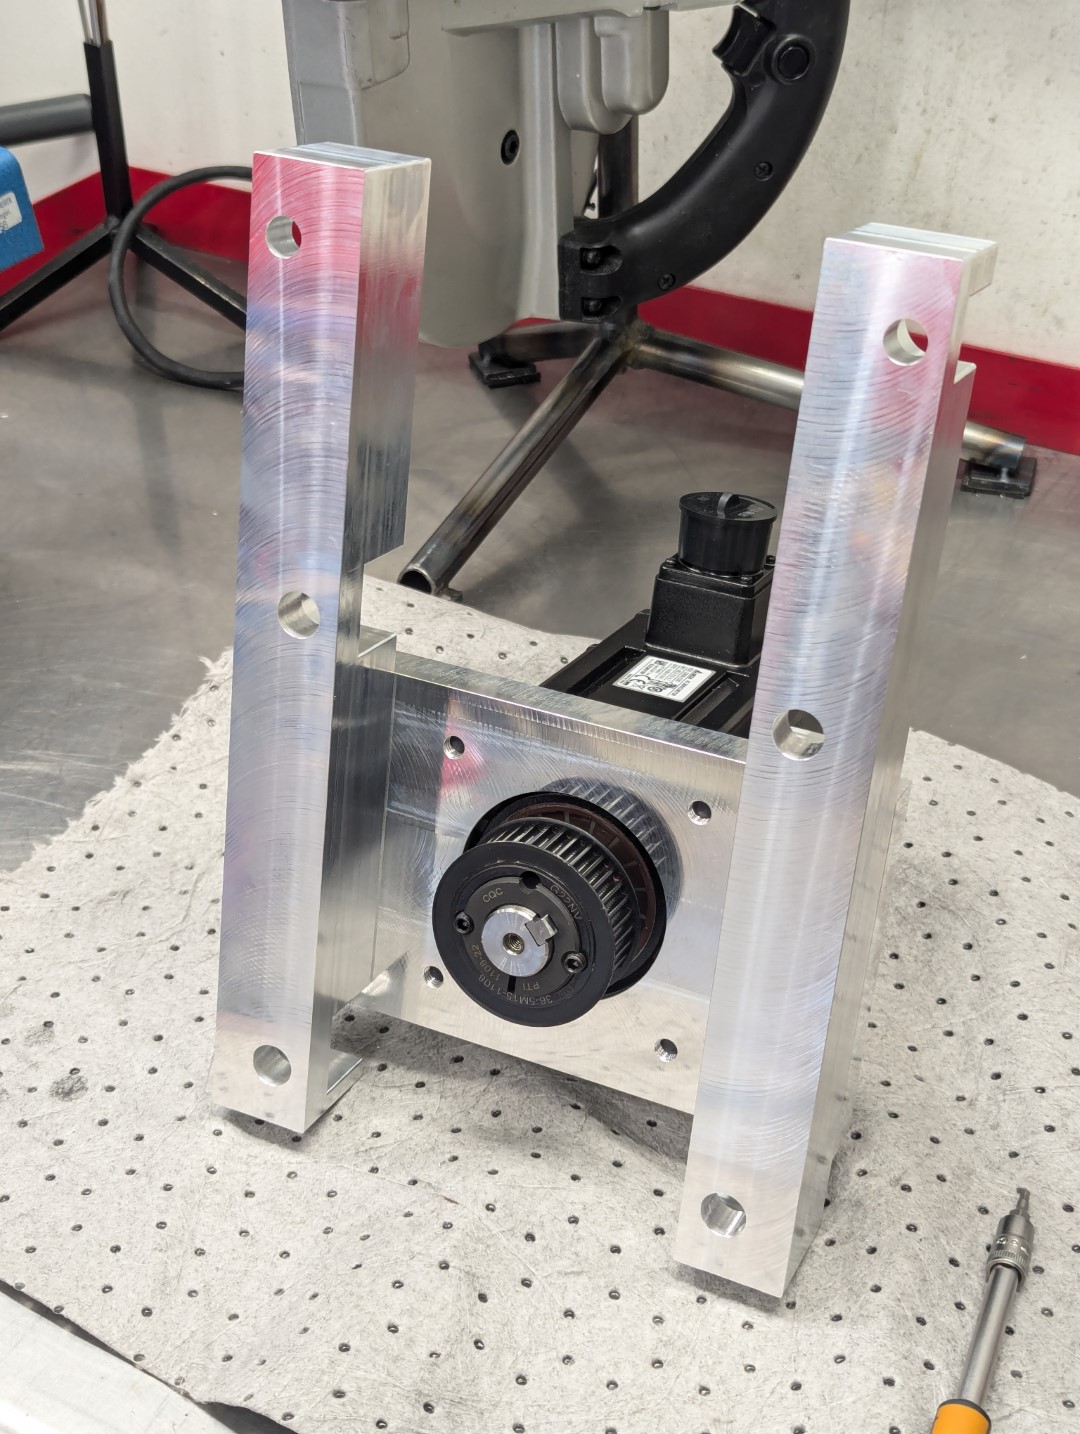
The X-axis belt cover is designed a bit differently as one of the belt pulleys protrude a few millimeters below the servo mounting bracket.
Here is how it looks installed.
The next items on the "Todo list" now are to replace the spindle bearings and get jog controls in Probe Basic to play ball with my physical jog buttons. However first I'm planing to make a few batches of parts as I'm itching to do some proper CNC milling
Here is how it looks installed.
The next items on the "Todo list" now are to replace the spindle bearings and get jog controls in Probe Basic to play ball with my physical jog buttons. However first I'm planing to make a few batches of parts as I'm itching to do some proper CNC milling
Attachments:
Last edit: 13 May 2024 20:28 by Unlogic.
The following user(s) said Thank You: tommylight, besriworld
Please Log in or Create an account to join the conversation.
- Unlogic
- Offline
- Elite Member
-

Less
More
- Posts: 237
- Thank you received: 118
01 Jun 2024 12:47 - 01 Jun 2024 21:09 #302054
by Unlogic
Replied by Unlogic on topic Optimum Optimill MH50V CNC conversion
I've started milling the first proper parts after the conversion and I have so say that I'm very pleased with the precision and performance of the Delta B3 servos along with the extra preloaded Bosch-Rexroth ball screws.
Posted a short video on YouTube showing the results of milling 6082 aluminium using a 12mm DLC coated carbide end mill. The adaptive tool path is generated using FreeCAD.
The only thing I really have to look at now is the spindle which is completely untouched with the stock bearing, motor and VFD. Even at a measly 1500 rpm it gets too hot for my comfort and the gearbox is way to noisy for long term use.
I have new bearings for the spindle on the shelf but I'm leaning more and more towards replacing the whole thing with a proper belt driven ATC spindle and Delta 2KW 6000rpm servo. That should bring down the noise and give much better control.
Last edit: 01 Jun 2024 21:09 by Unlogic. Reason: Fixed typo
The following user(s) said Thank You: tommylight, besriworld, ClarkSavage
Please Log in or Create an account to join the conversation.
- Unlogic
- Offline
- Elite Member
-

Less
More
- Posts: 237
- Thank you received: 118
18 Jun 2024 16:40 #303282
by Unlogic
Replied by Unlogic on topic Optimum Optimill MH50V CNC conversion
I've started using the mill more and more lately and I'm amazed how good the finish is of the produced parts.
Today however it was my time to release the magic smoke...
I still have my homing speeds set very slow and I must have homed the machine hundreds of times since I finished the build. For this reason the homing takes a while to do. So today I turned on the machine and initiated the homing process while went outside to get some stuff.
When I came back I noticed a message on the screen about an amplifier fault. Didn't think much about until I cleared the fault and tried to jog the X-axis. It was then I noticed that the X-axis was completely jammed to one side and the poor proximity limit switch was all mangled.
I removed one of the belt covers and manually jogged the machine of the limit switch. When I tried to jog the X-axis it would always move in the same direction not matter which way I jogged it. It was now that the idea about the fiddly soldering in the DB-44 connectors popped up in the back of my head. Soldering the very tiny cables onto the DB-44 connector was a very fiddly business and the X-axis was the first one I did...
Opened up the control cabinet and took apart the DB-44 connector for the X-axis servo drive and after some poking with a tiny screw driver I found that the insulation had melted during soldering the twisted pair cables for the DIR-/DIR+ signals at the point where they crossed. Pried them apart and added some insulation thinking I had fixed the problem. But when I tested jogging the axis would still always move in the same direction.
Turns out that the short circuit had fried the DIR+ output on the first stepgen of the Mesa 7i96S board. Moved the X-axis to the fifth stepgen output for now and ordered and new Mesa 7i96S board from Welectron as I could see no visible damage on the board itself.
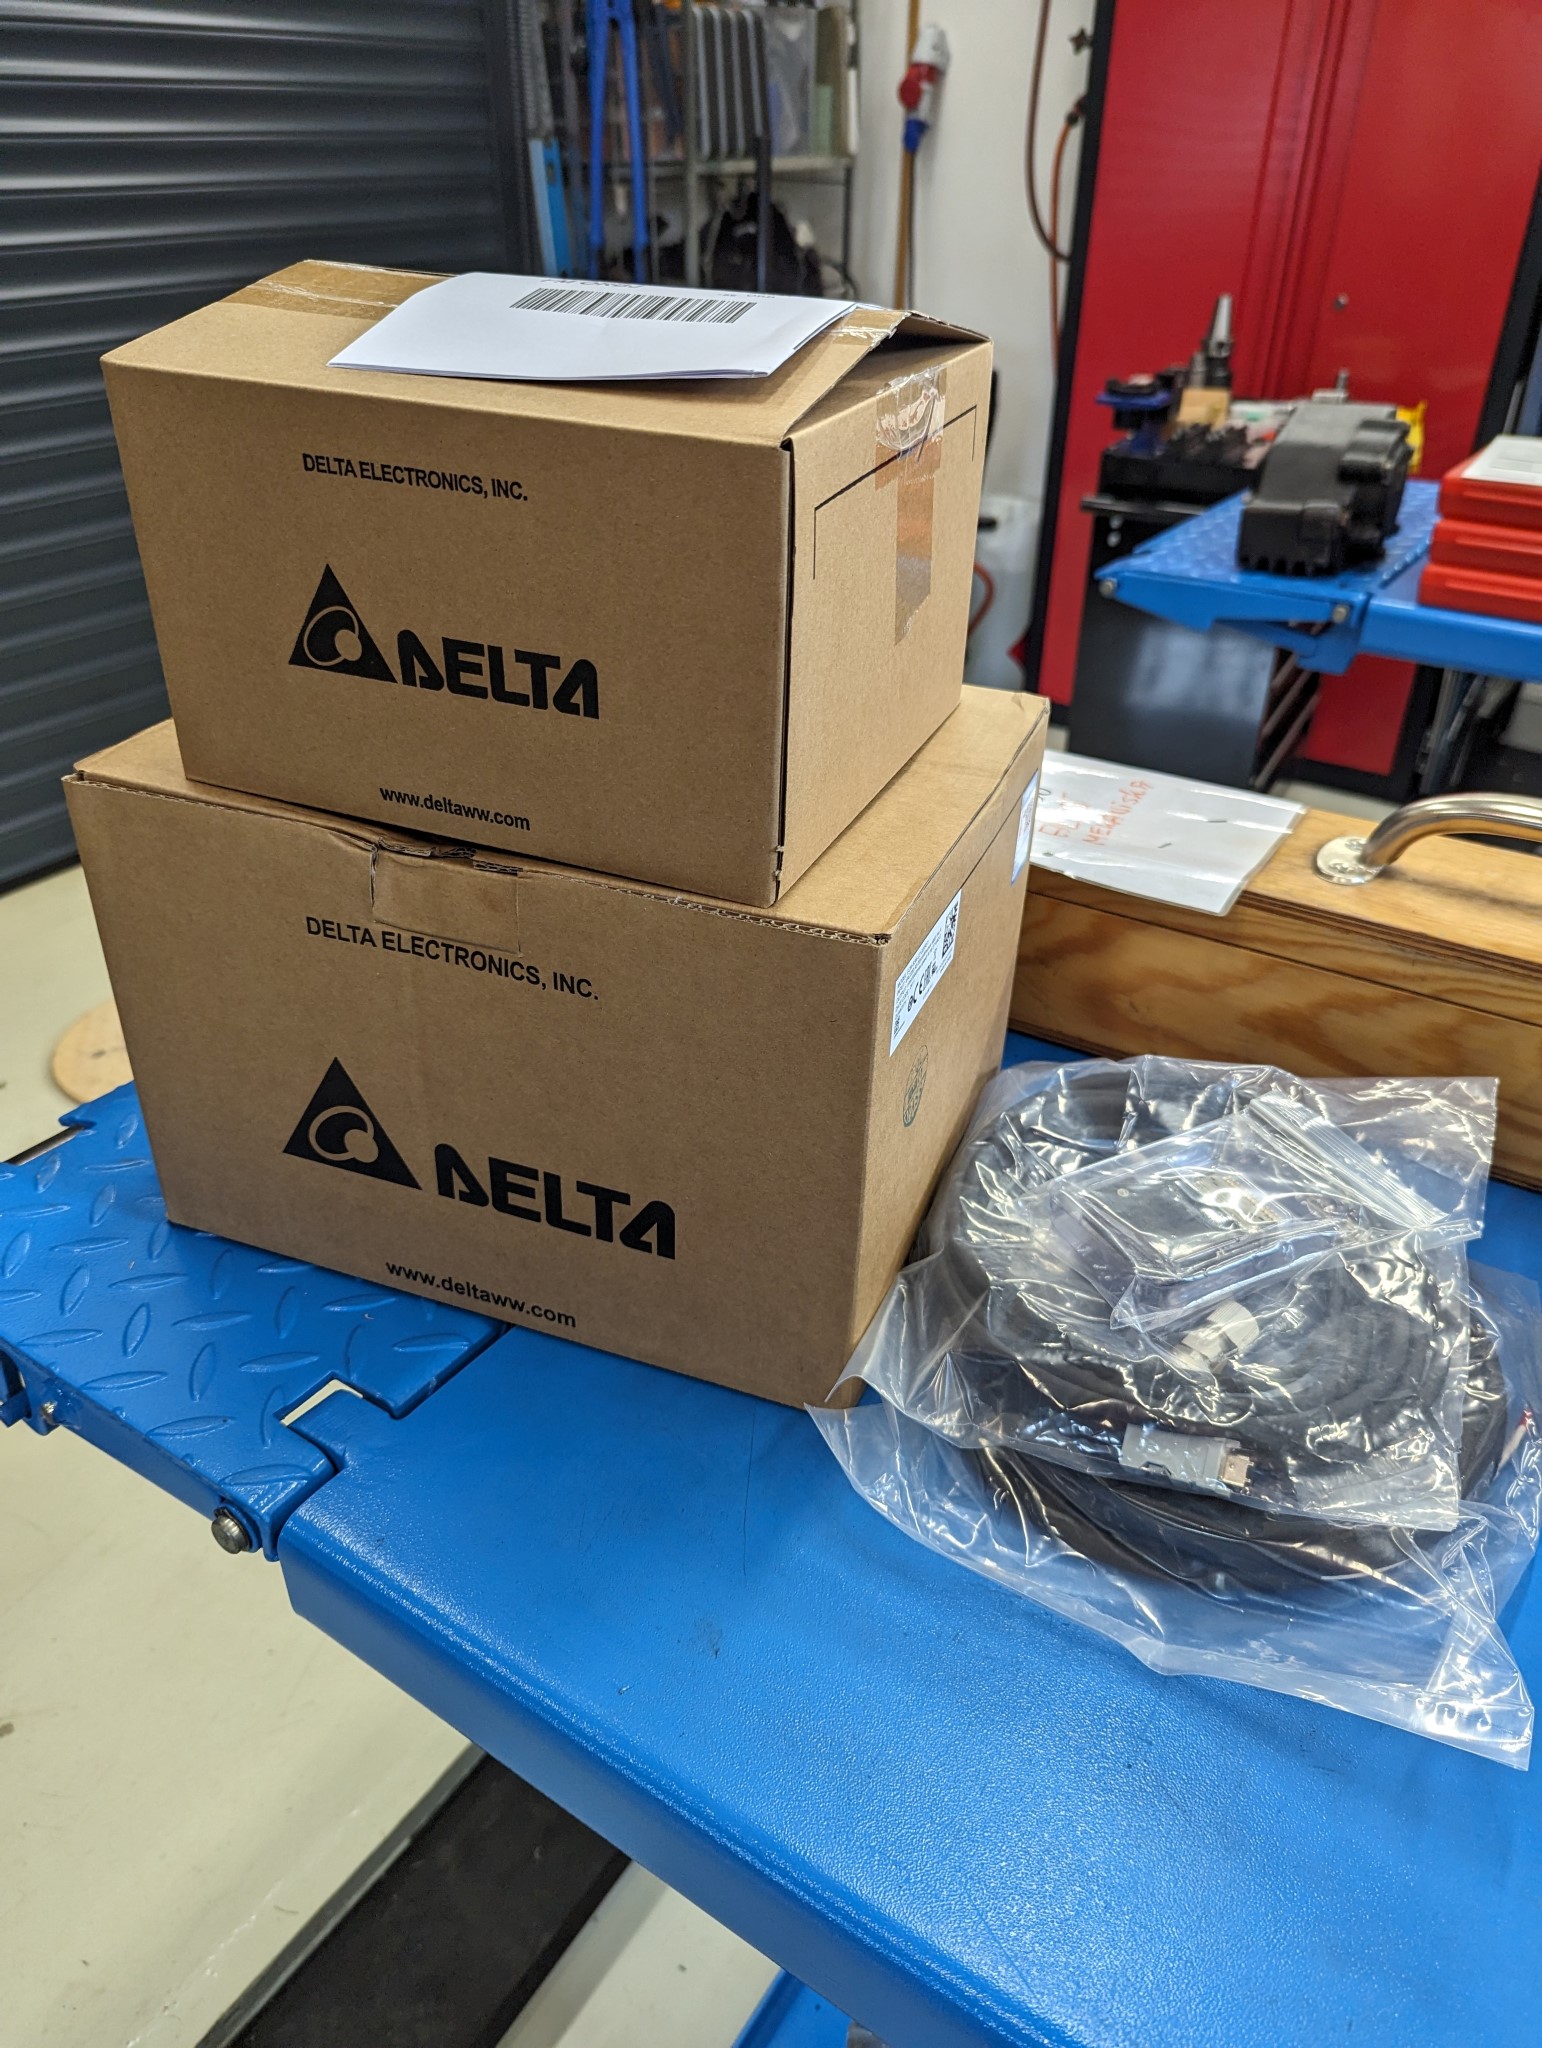
On a more positive note the 400V 2KW 3000/6000 RPM servo that I will be using for the spindle has arrived.
I now need to order some HTD 5M or HTD 8M pulleys and belts for it and then machine one of the pulleys to fit on the shaft for the quill drive (removing the magnets on the shaft in the process).
I'd also like to add a pneumatic cylinder for the tool release but I haven't found a suitable unit yet so that may have to wait.
Attachments:
Please Log in or Create an account to join the conversation.
- Unlogic
- Offline
- Elite Member
-

Less
More
- Posts: 237
- Thank you received: 118
18 Jun 2024 16:47 #303283
by Unlogic
Replied by Unlogic on topic Optimum Optimill MH50V CNC conversion
A little note to the post above, the reason why the short circuit appeared today is most likely due to the very humid summer air we have here at the moment following a few days of rain.
The following user(s) said Thank You: tommylight, mkudlacek
Please Log in or Create an account to join the conversation.
- mkudlacek
- Offline
- New Member
-

Less
More
- Posts: 8
- Thank you received: 4
22 Aug 2024 16:44 #308411
by mkudlacek
Replied by mkudlacek on topic Optimum Optimill MH50V CNC conversion
Hello, I would like to thank you for the E-Stop routine HAL. It saved me good couple of hours of head scratching:) Your build looks amazing! M.
The following user(s) said Thank You: pommen, Unlogic
Please Log in or Create an account to join the conversation.
- Unlogic
- Offline
- Elite Member
-

Less
More
- Posts: 237
- Thank you received: 118
10 Sep 2024 10:22 #309823
by Unlogic
Replied by Unlogic on topic Optimum Optimill MH50V CNC conversion
I've finished the removal of the gearbox on the mill and replaced it with 1:1 belt drive using the 2kw 6000 rpm Delta B3 servo I purchased earlier this summer.
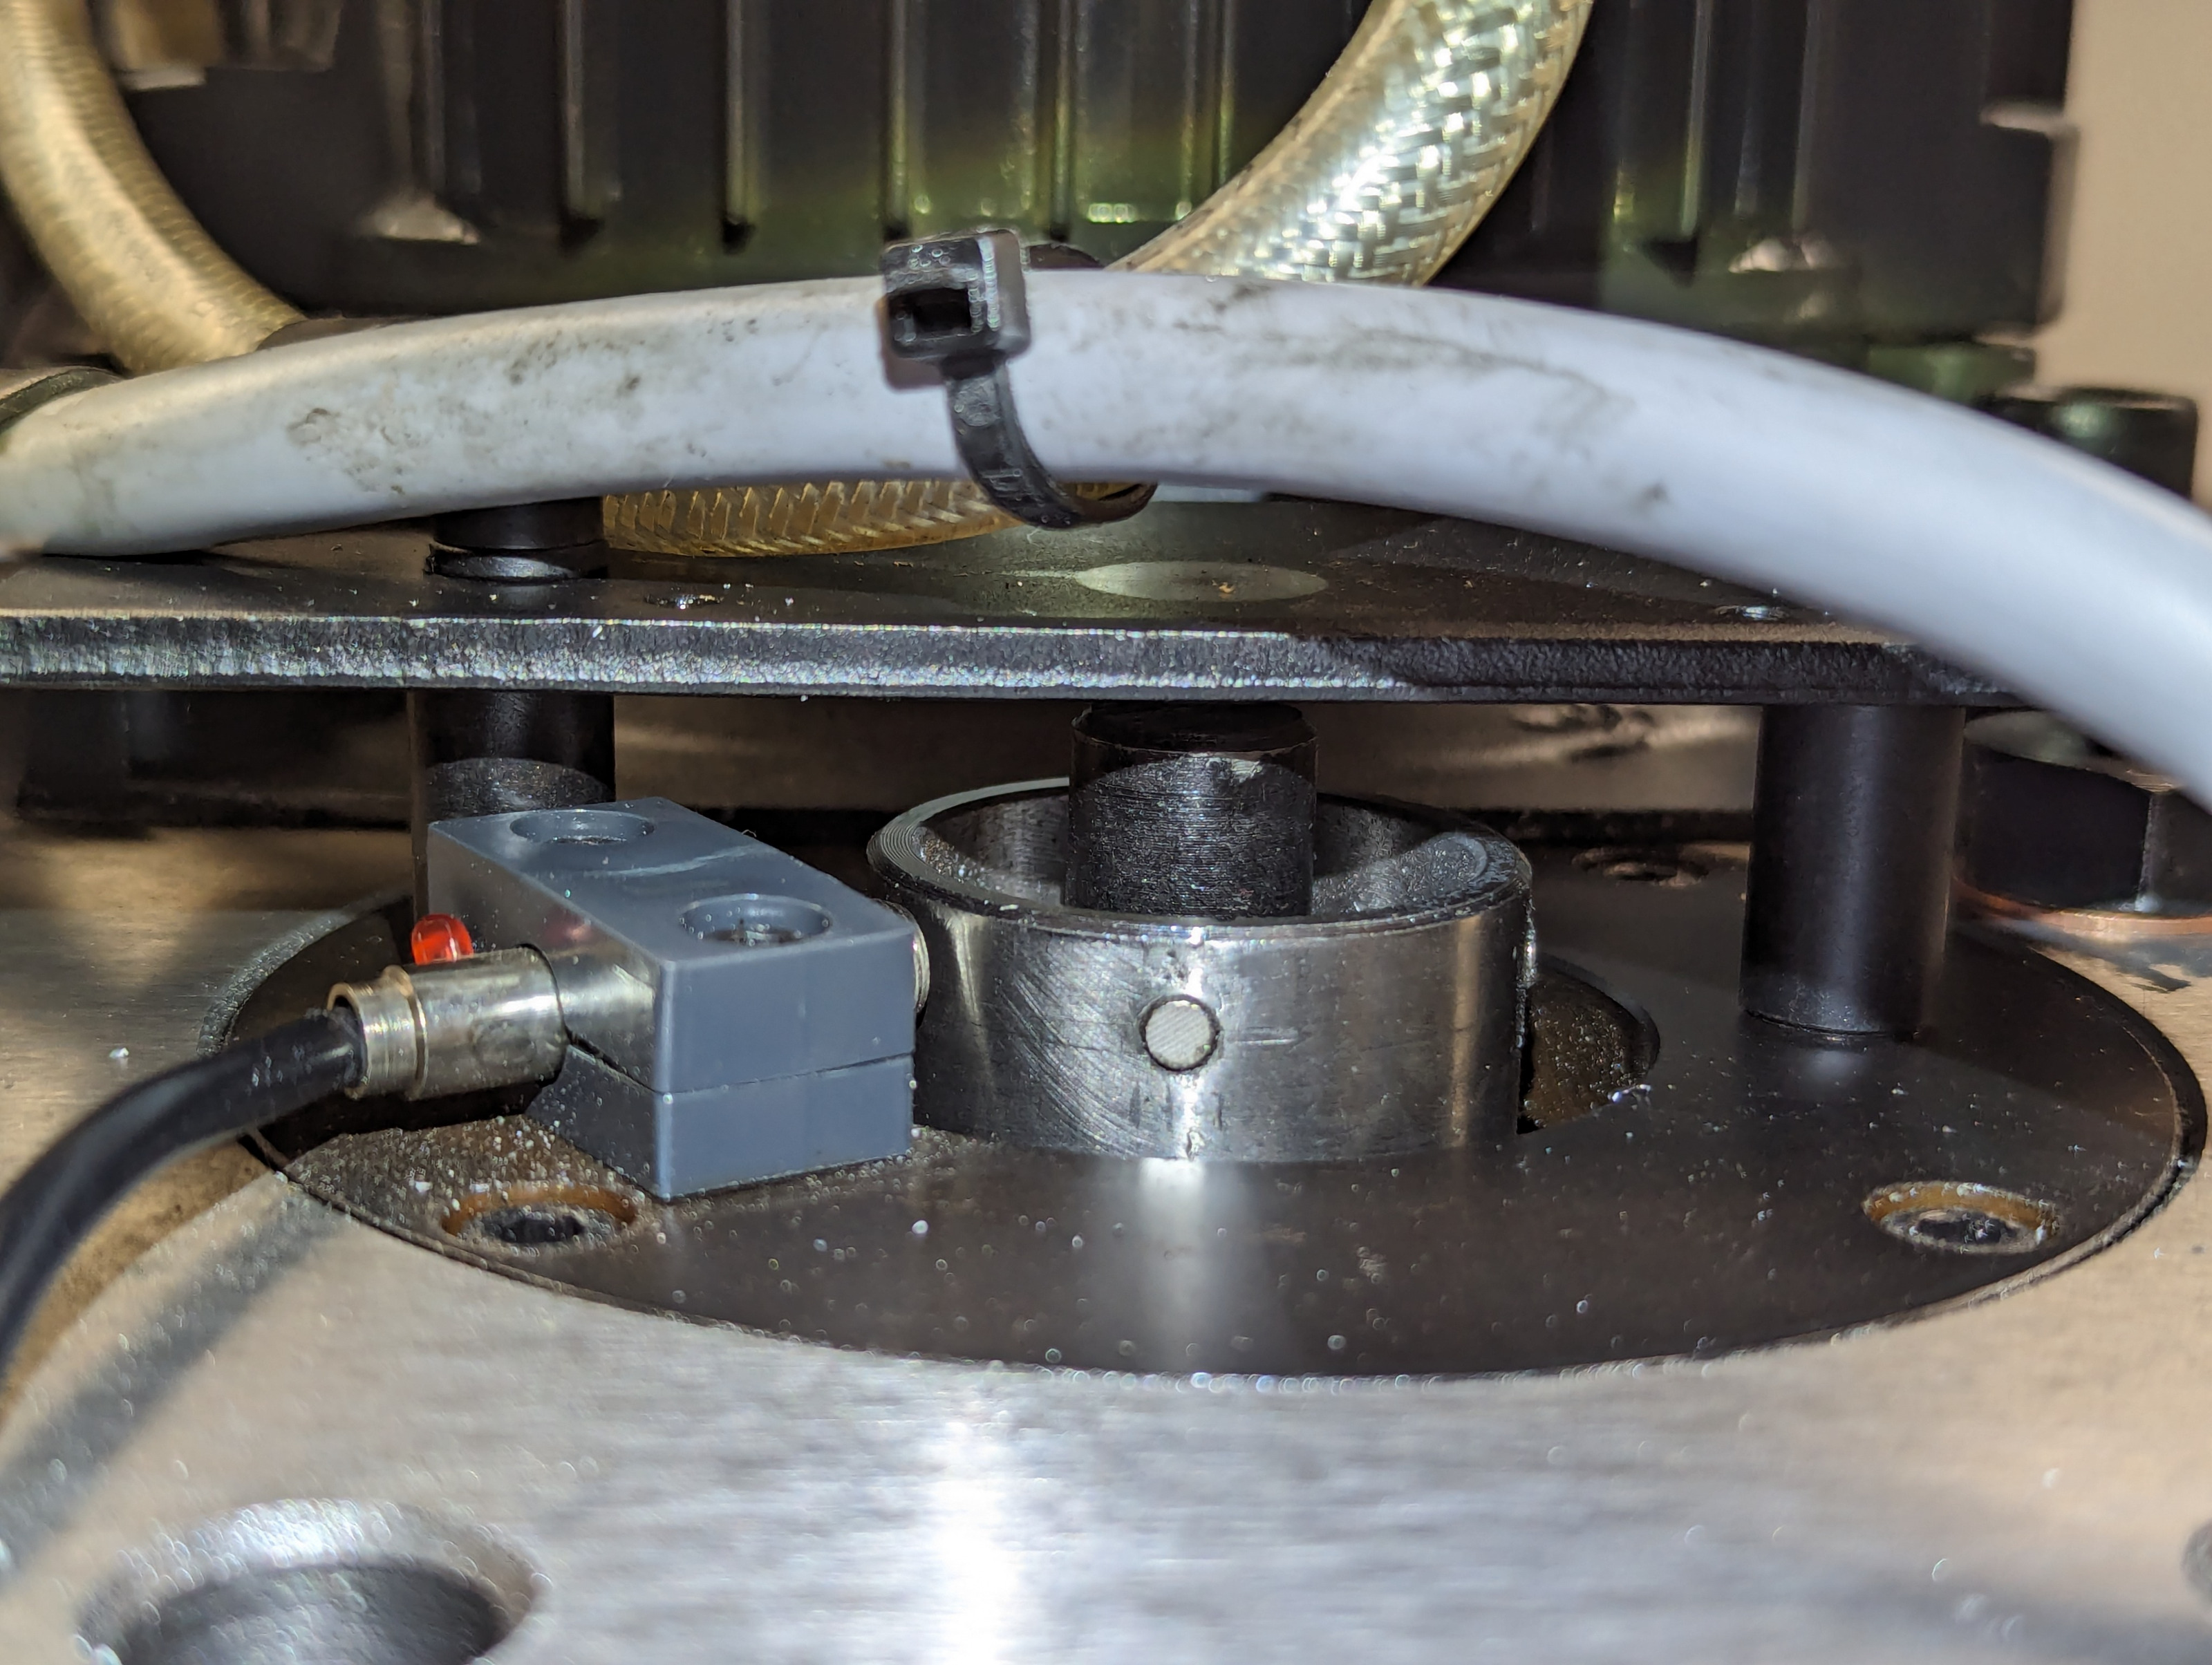
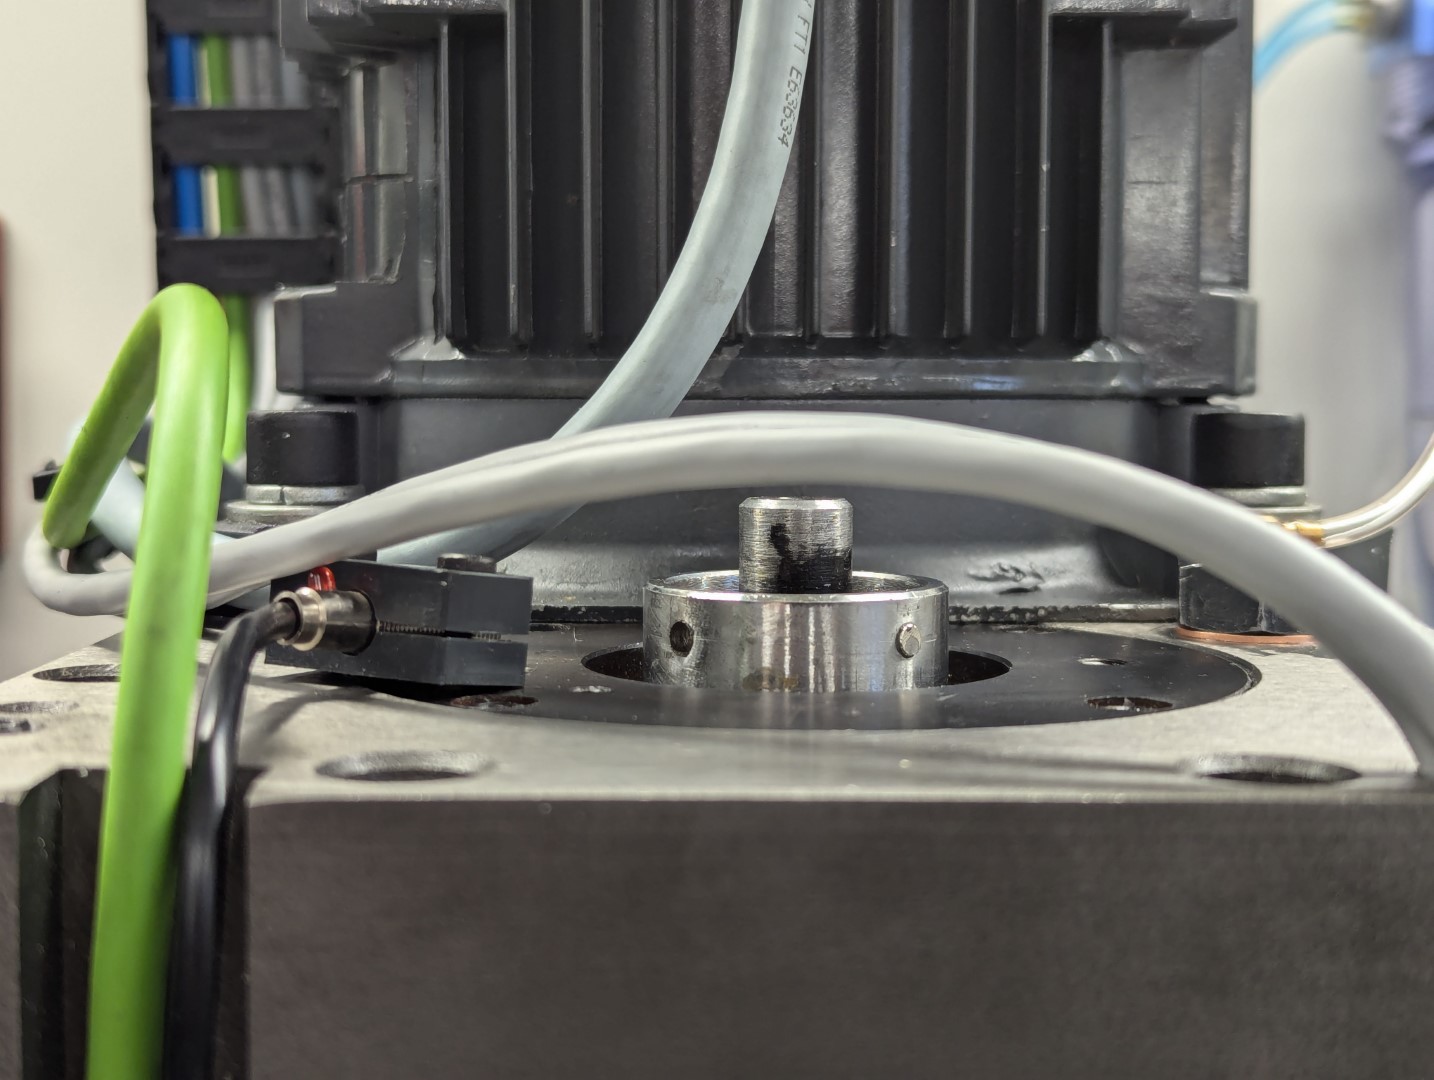
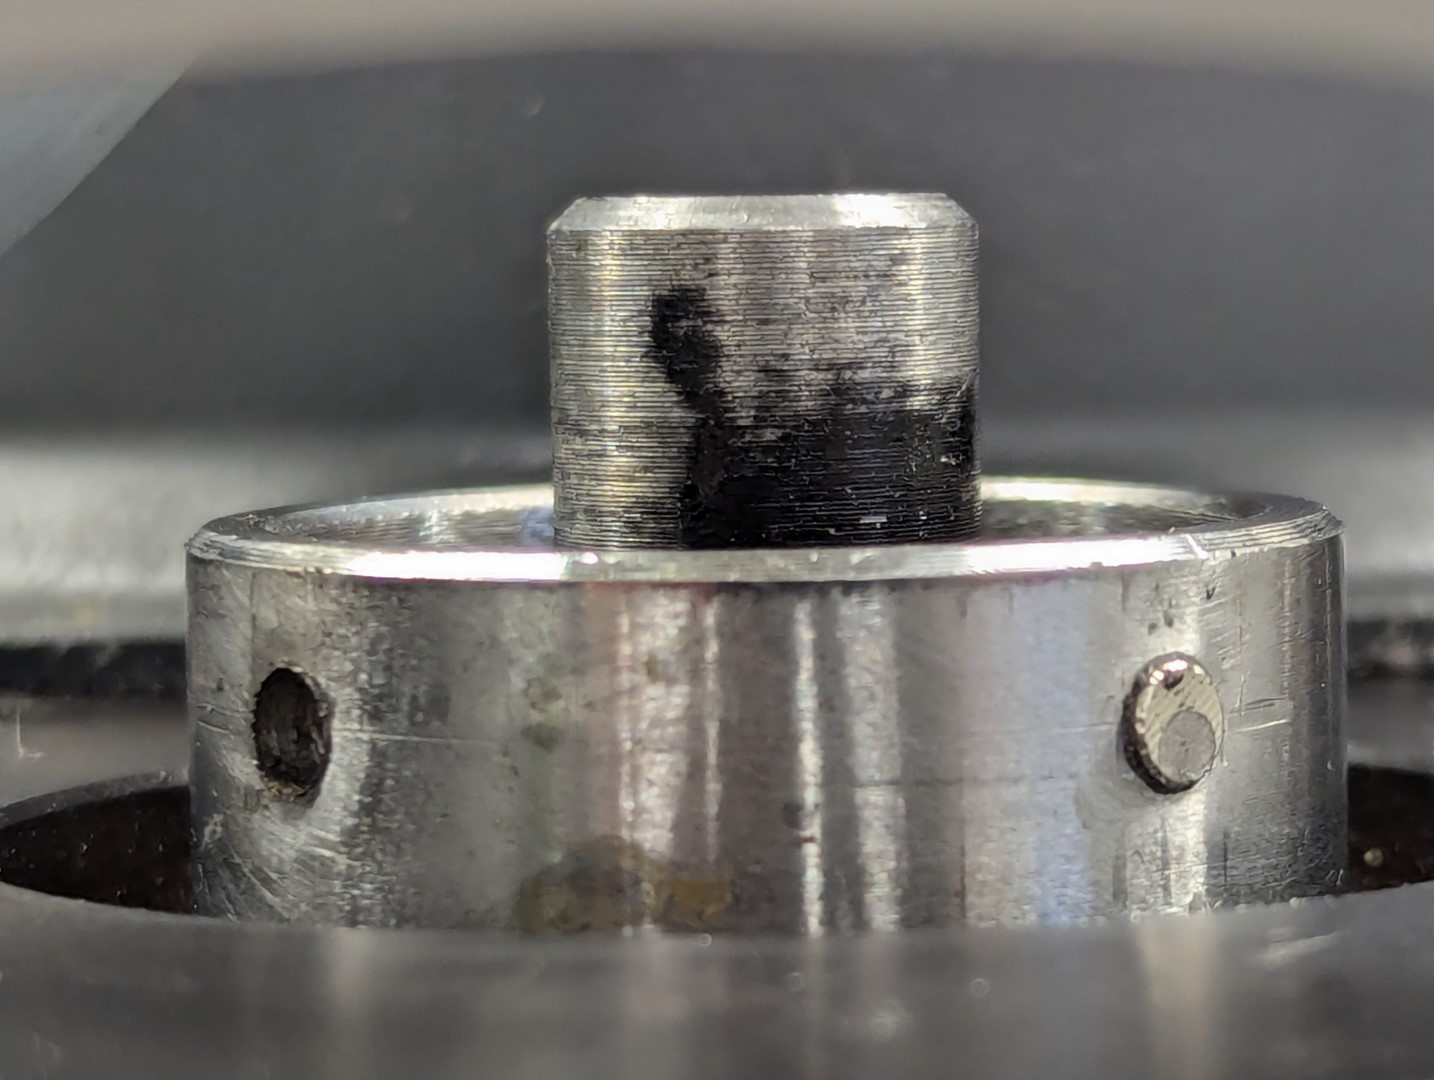
The first step of the process was to remove the magnets for the RPM sensor that came with the mill from factory.
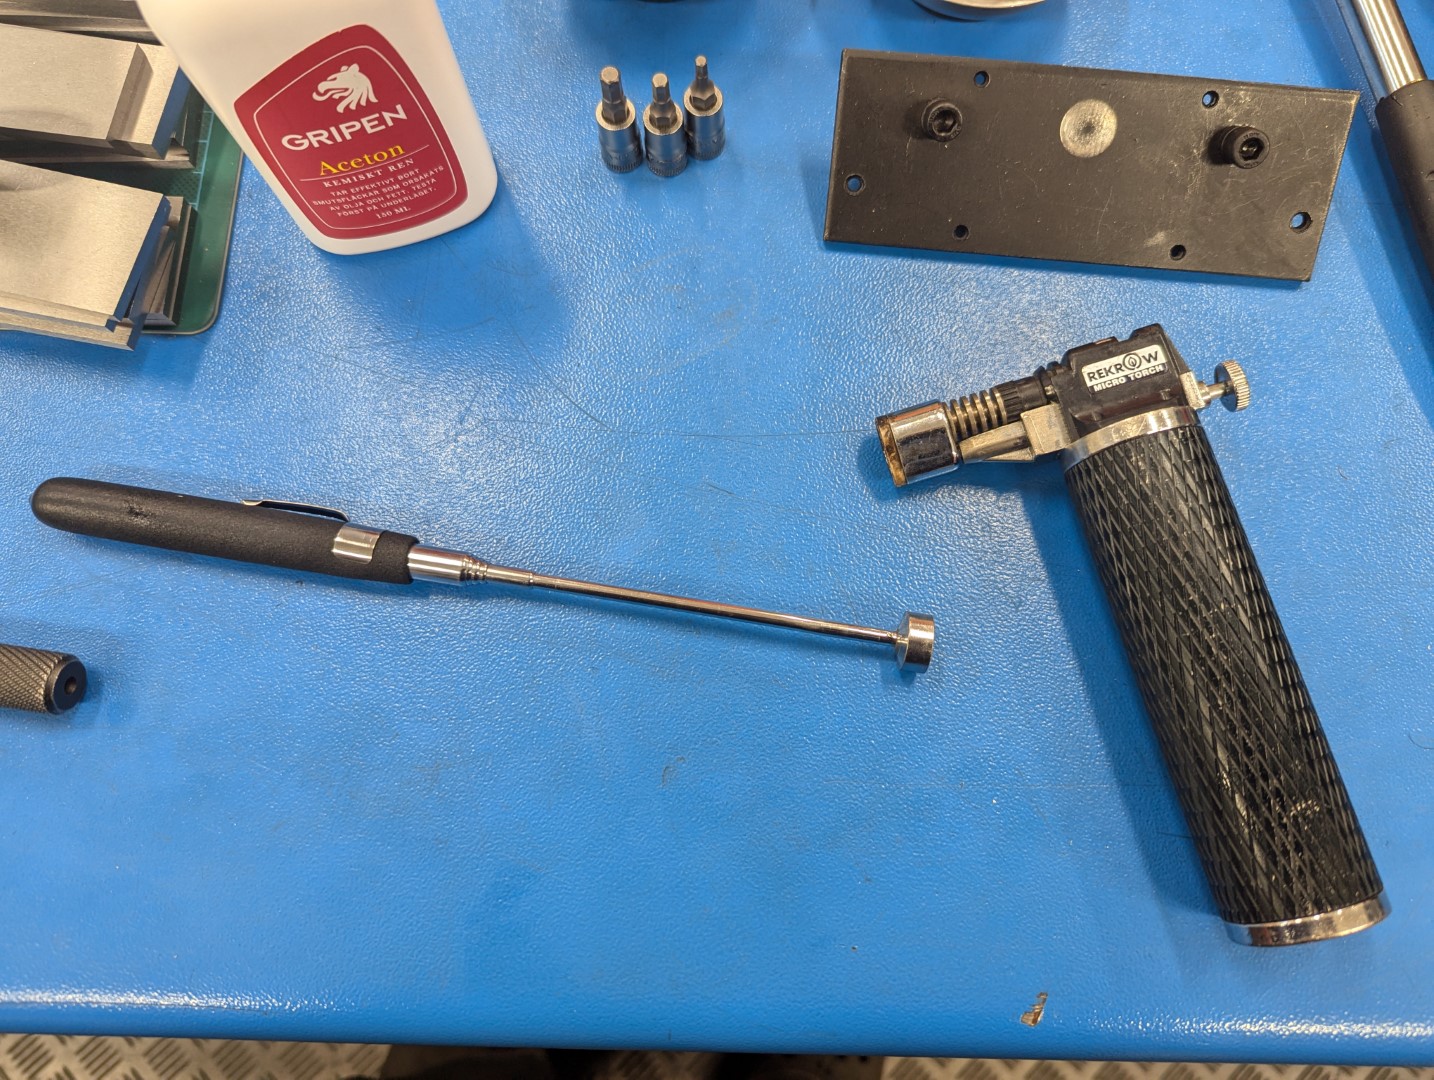
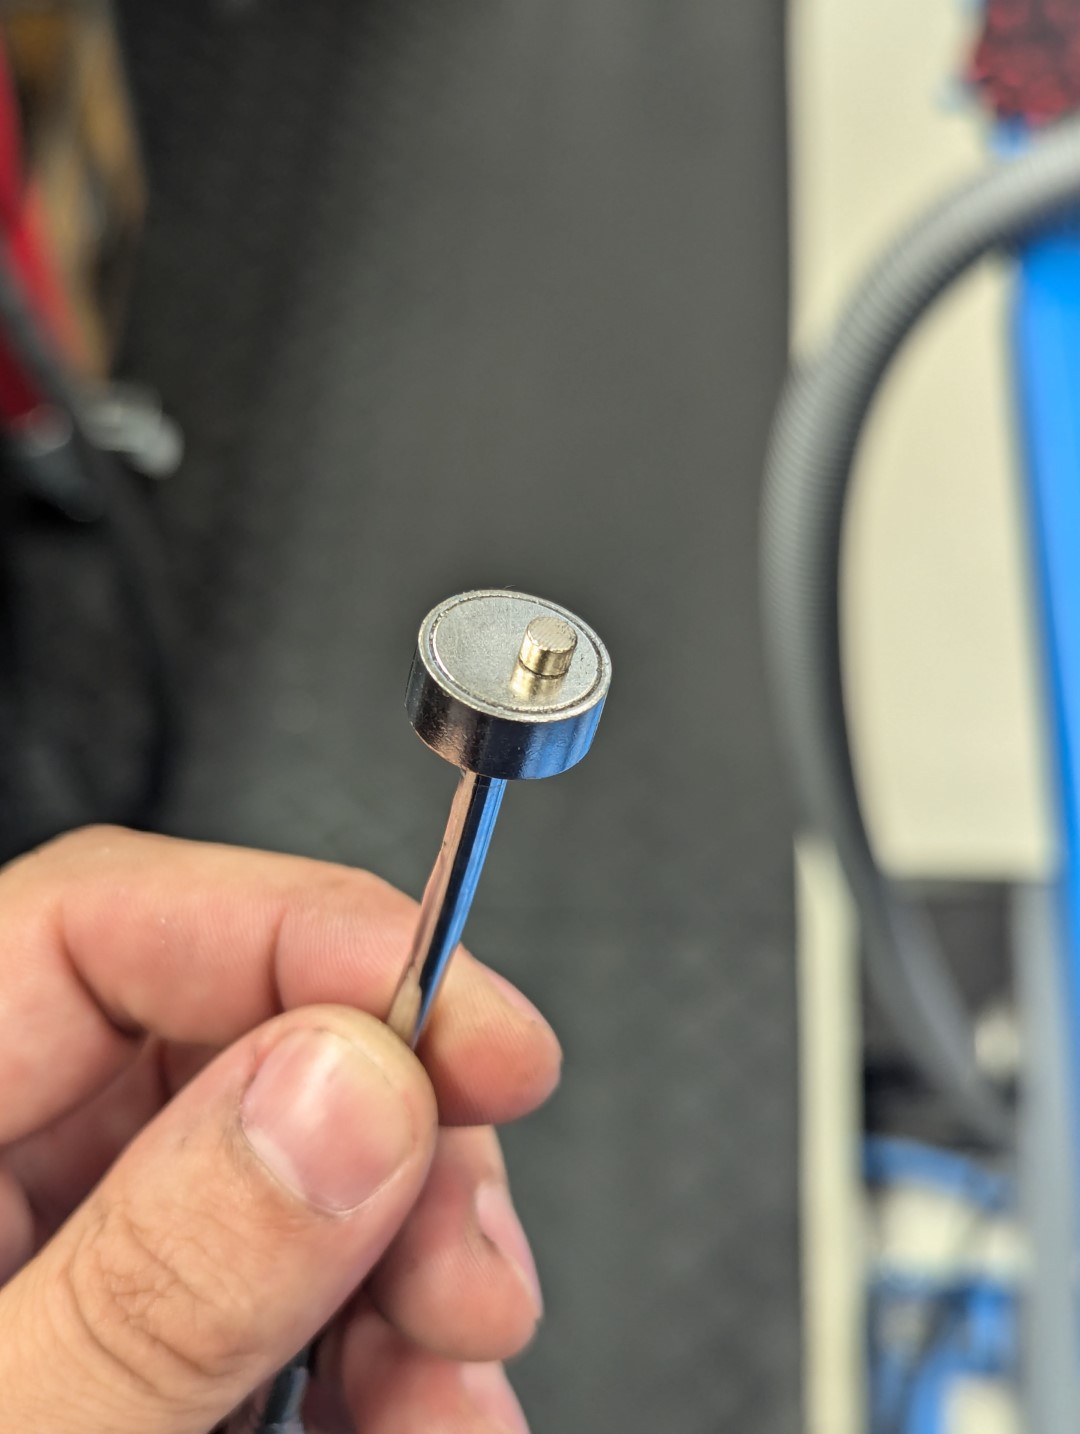
The magnets were not just pressed in but also glued in place which made them a bit tricky to remove. What ended up working best in the end was heat from a small gas torch and a strong magnet to pull them out while hot.
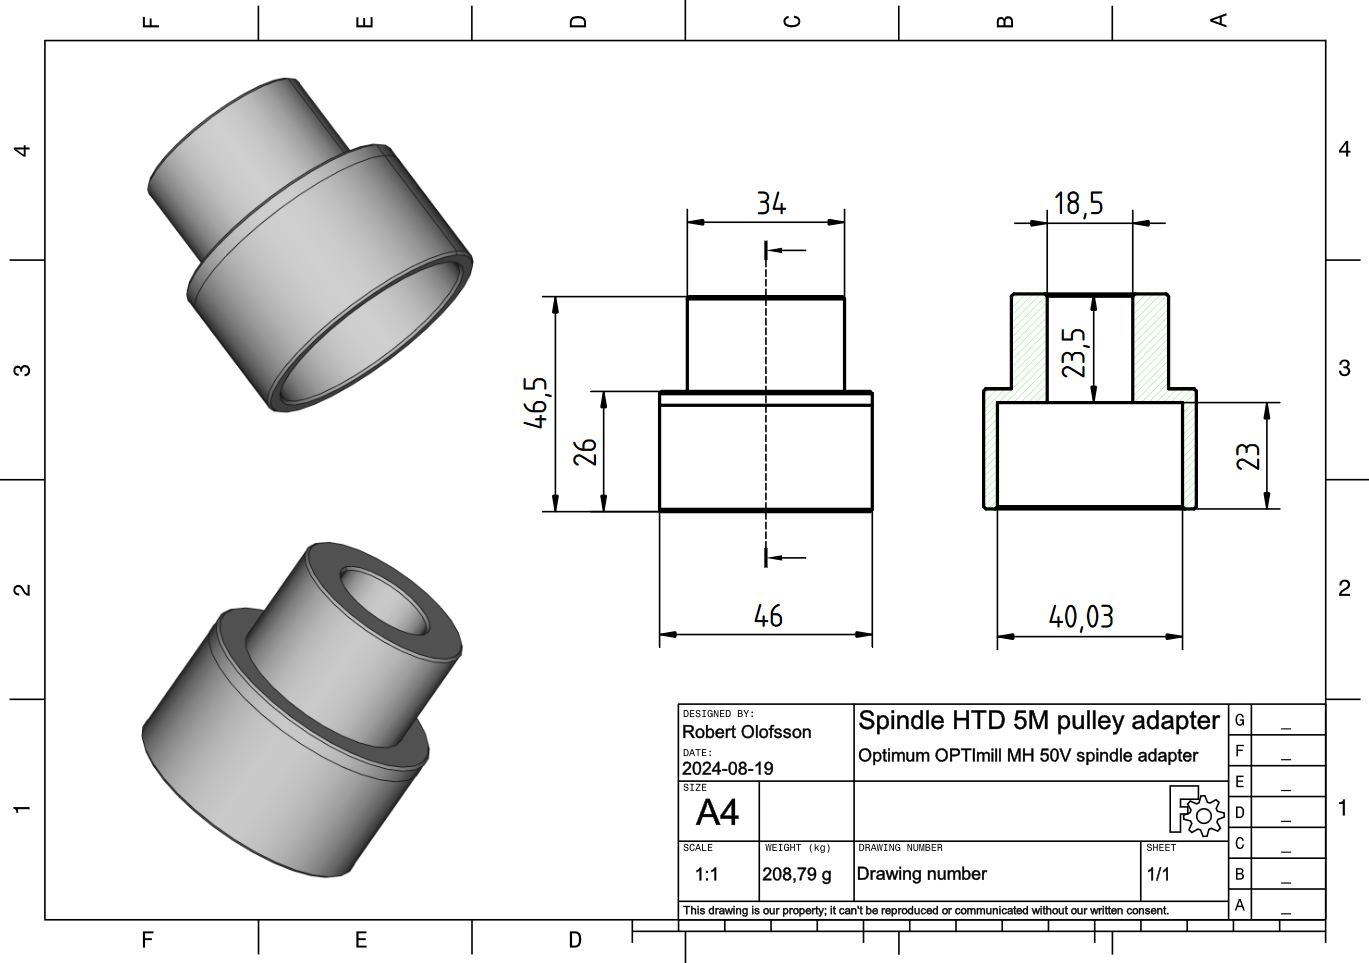
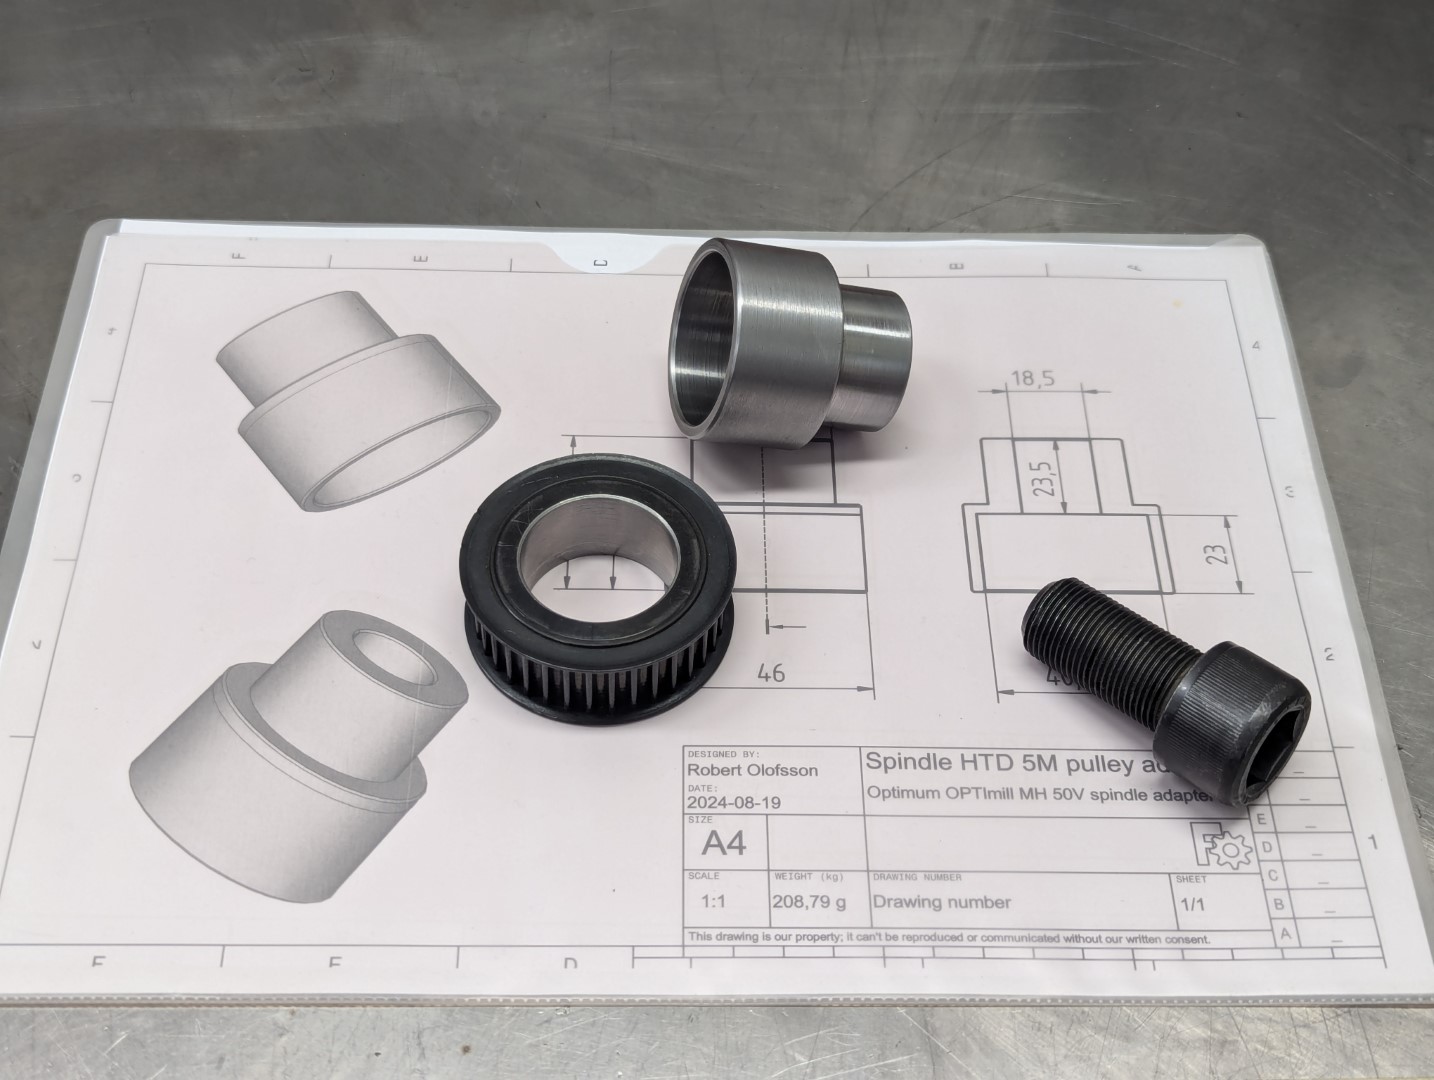
Next up was the design of an adapter in FreeCAD so that I could attach a tooted pulley to the end of the shaft.
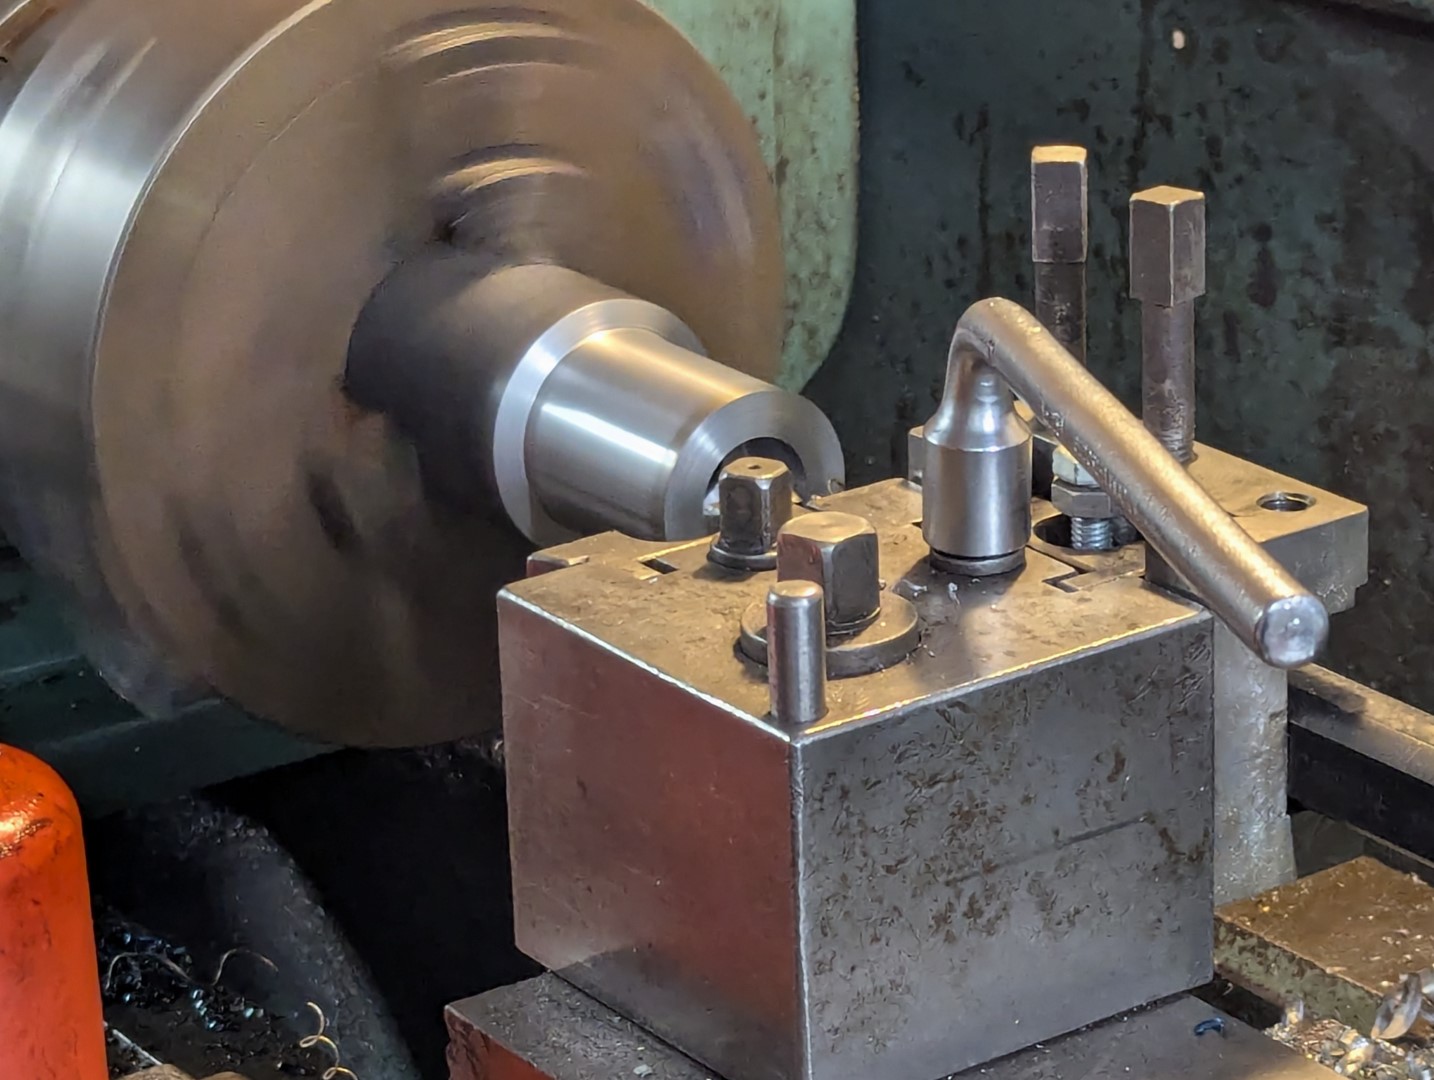
Bought some S355 steel and a steel pulley and had a friend machine them for me on his lathe.
Attachments:
Please Log in or Create an account to join the conversation.
- Unlogic
- Offline
- Elite Member
-

Less
More
- Posts: 237
- Thank you received: 118
10 Sep 2024 10:25 #309824
by Unlogic
Replied by Unlogic on topic Optimum Optimill MH50V CNC conversion
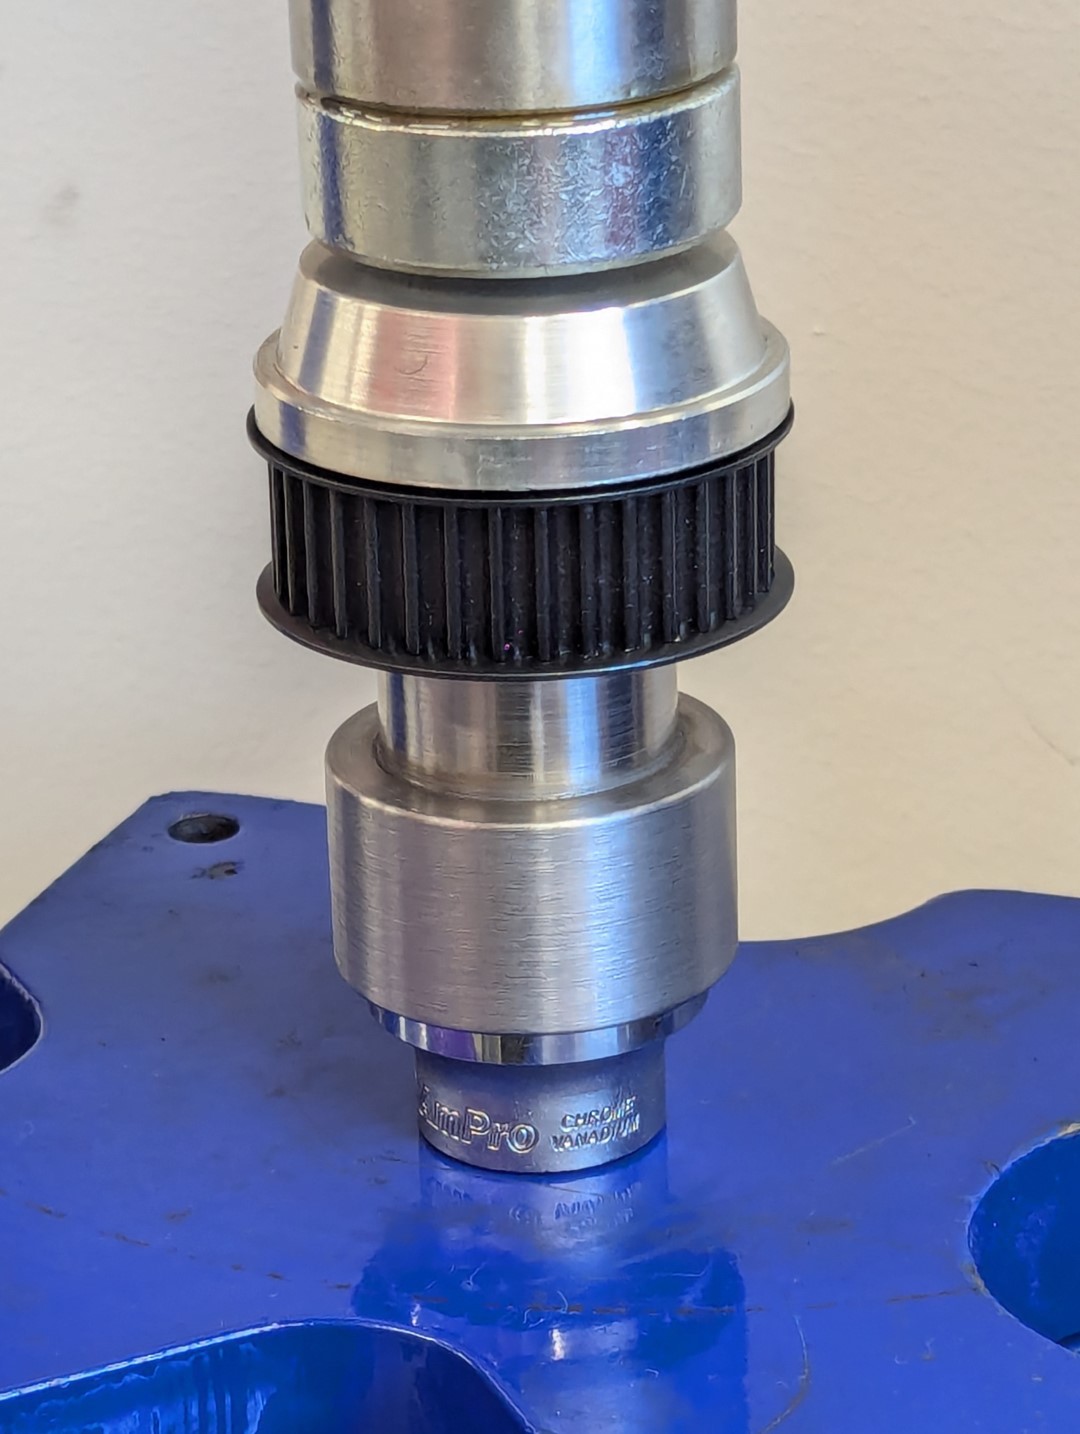
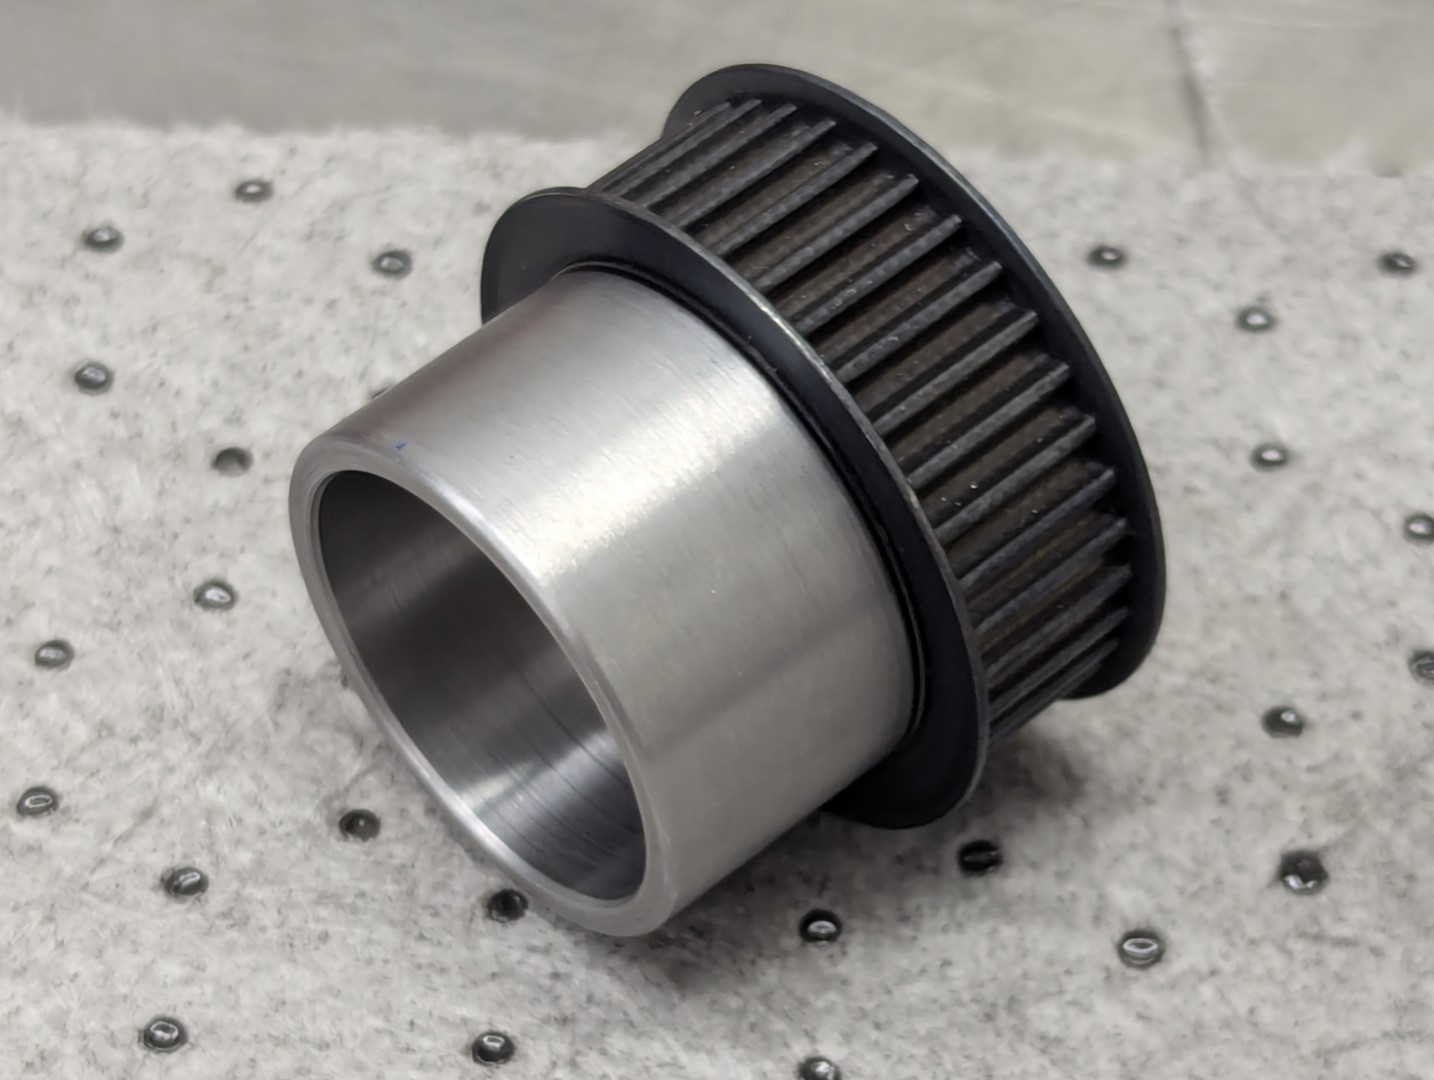
The hole in the pulley is 0.02 mm smaller than the top of the adapter which should hopefully be enough to hold it in place without slipping when used together with some Loctite 638.
Here is a video showing how it fits on the shaft:
The hole at the top of the adapter is threaded M20x1 so that I can attach a puller if I ever need to remove the adapter in the future.
Here is a video showing how it fits on the shaft:
The hole at the top of the adapter is threaded M20x1 so that I can attach a puller if I ever need to remove the adapter in the future.
Attachments:
Please Log in or Create an account to join the conversation.
- Unlogic
- Offline
- Elite Member
-

Less
More
- Posts: 237
- Thank you received: 118
10 Sep 2024 10:31 #309826
by Unlogic
Replied by Unlogic on topic Optimum Optimill MH50V CNC conversion
Attachments:
The following user(s) said Thank You: tommylight, besriworld
Please Log in or Create an account to join the conversation.
Moderators: piasdom
Time to create page: 0.735 seconds


