Optimum Optimill MH50V CNC conversion
- Unlogic
- Offline
- Elite Member
-

- Posts: 240
- Thank you received: 120
This is my first topic in this forum but I've been lurking here for some time reading up on all the nicely documented retrofits and conversions of various machines. I thought it was time present my own CNC conversion that I've been planing for quite some time and give proper attribution to all the helpful people who's posts here on the forum have been of immense value to me.
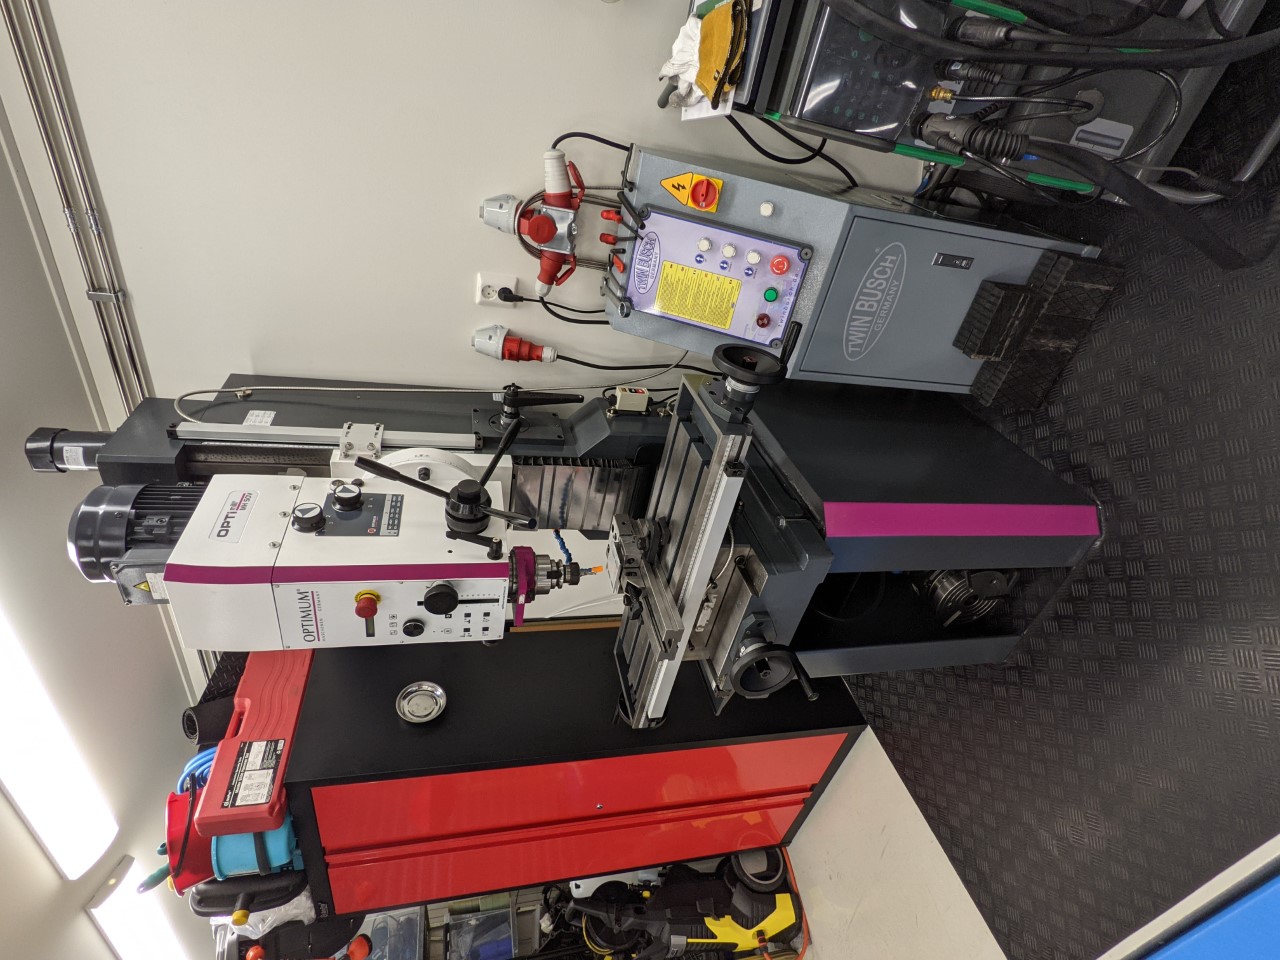
The machine I'm converting is a larger type of Chinese mill branded and sold by Optimum as the MH50V model.
I originally purchased the smaller MH35V model but I had to wait forever for it to be delivered and when it arrived it had lots of defects so in the end the local Optimum reseller compensated me by exchanging it for the larger MH50V model. This was my first mill so it's been a learning experience and I'm really glad I started with manual milling to get a feel for how it should be done.
As with many Chinese made manual mills the machine left a bit to desired so over the past two years I've trammed and shimmed the machine, extended the table, added polycarbonate chip guards, flood and mist coolant along with a Android based TouchDRO with glass scales (more on these mods are available in my thread at The Hobby Machinist ).

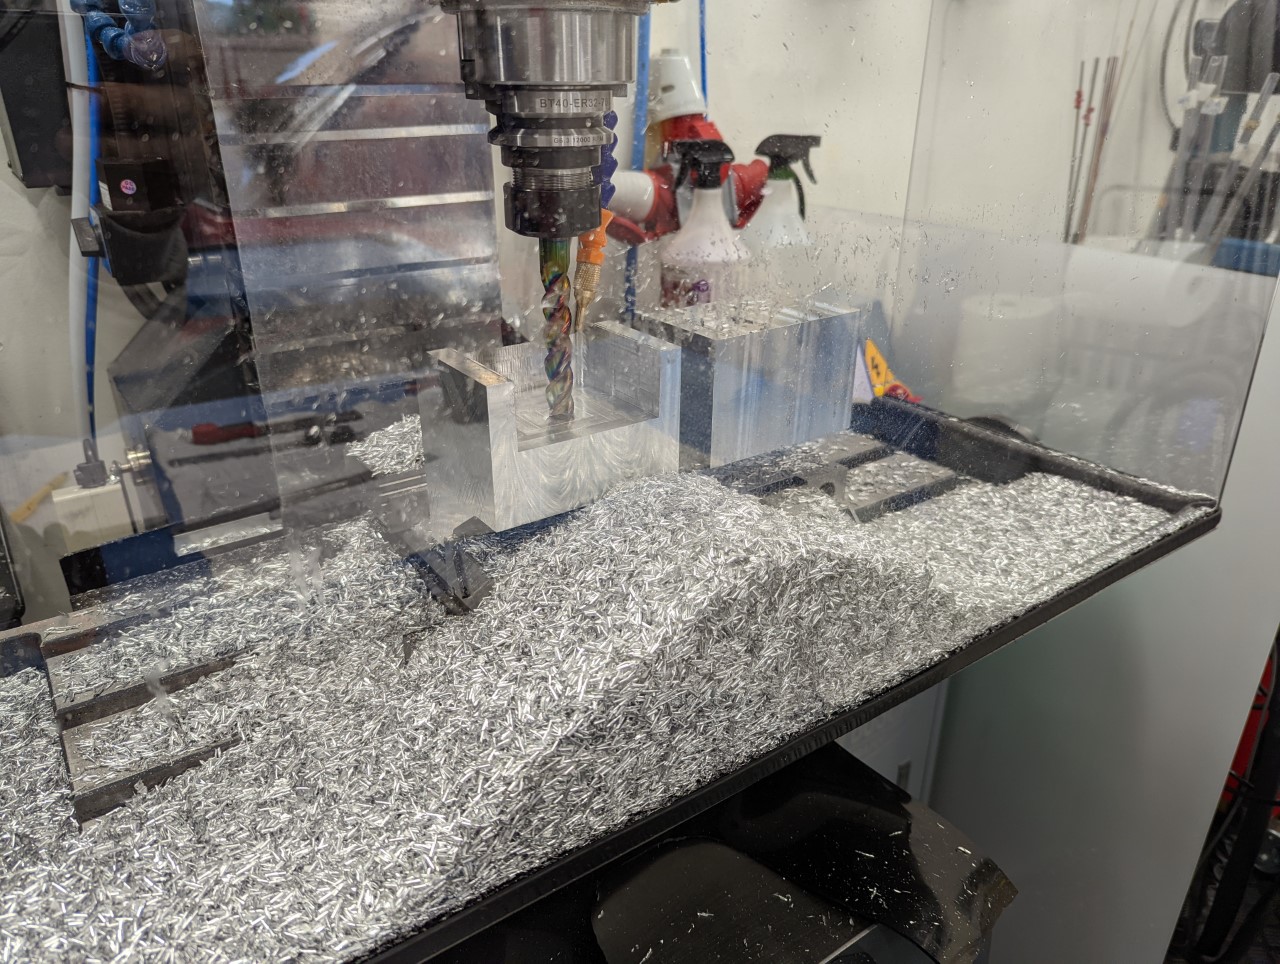
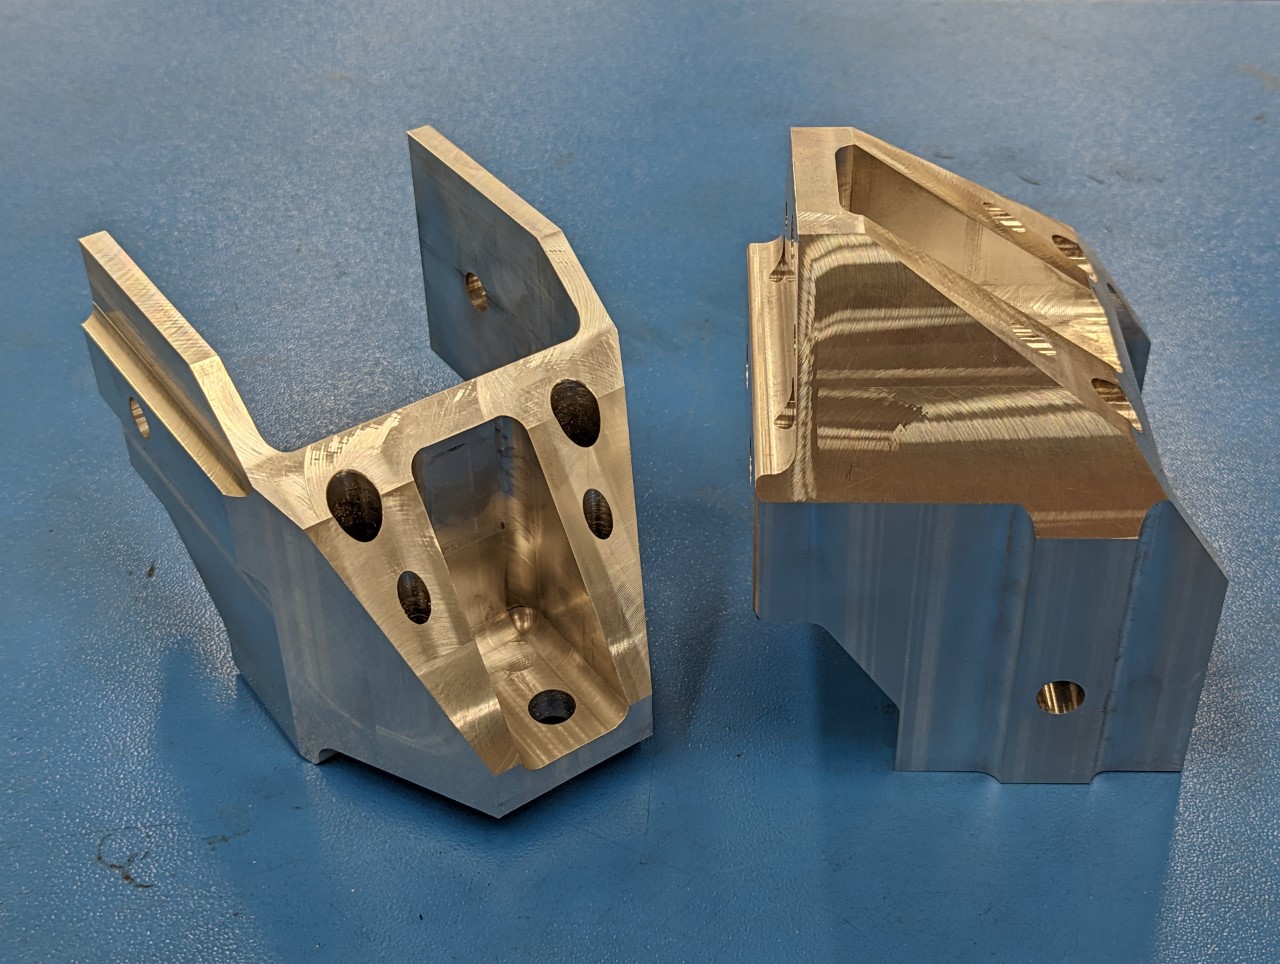
For manual milling this worked really well and I've done quite few billet parts for my motorsports related hobbies, even some larger parts.
However after getting the hang of manual milling I realized that it was time to move on to more advanced parts and that CNC was the way to go. Initially I looked at purchasing a brand new CNC mill but I realized there was very few if any options that met the size requirements I had.
The machines were either very small or very large. Also the vendor lock-in effects and various silly software licenses involved with many commercial CNC control systems appalled me after working for 20 years as an entrepreneur in Open Source software development.
In the meantime I also came across this very thorough German thread by Lukas Fässler who is doing a top notch rebuild and CNC conversion of the Optimum MH50G model: forum.zerspanungsbude.net/viewtopic.php?t=43263
I also noted that a company called Mobasi sold preconverted machines of the same model as mine ( link ). I tried contacting them so see if they would sell me a retrofit kit but I never got a reply.
However at least this showed me this machine must have some potential in CNC form if central lubrication and ball screws are added. So I began researching what parts that could be suitable to use. I'm not trying to reinvent the wheel instead I tried to go with proven parts as far as possible based on what had worked well for others on this forum and other CNC related forums.
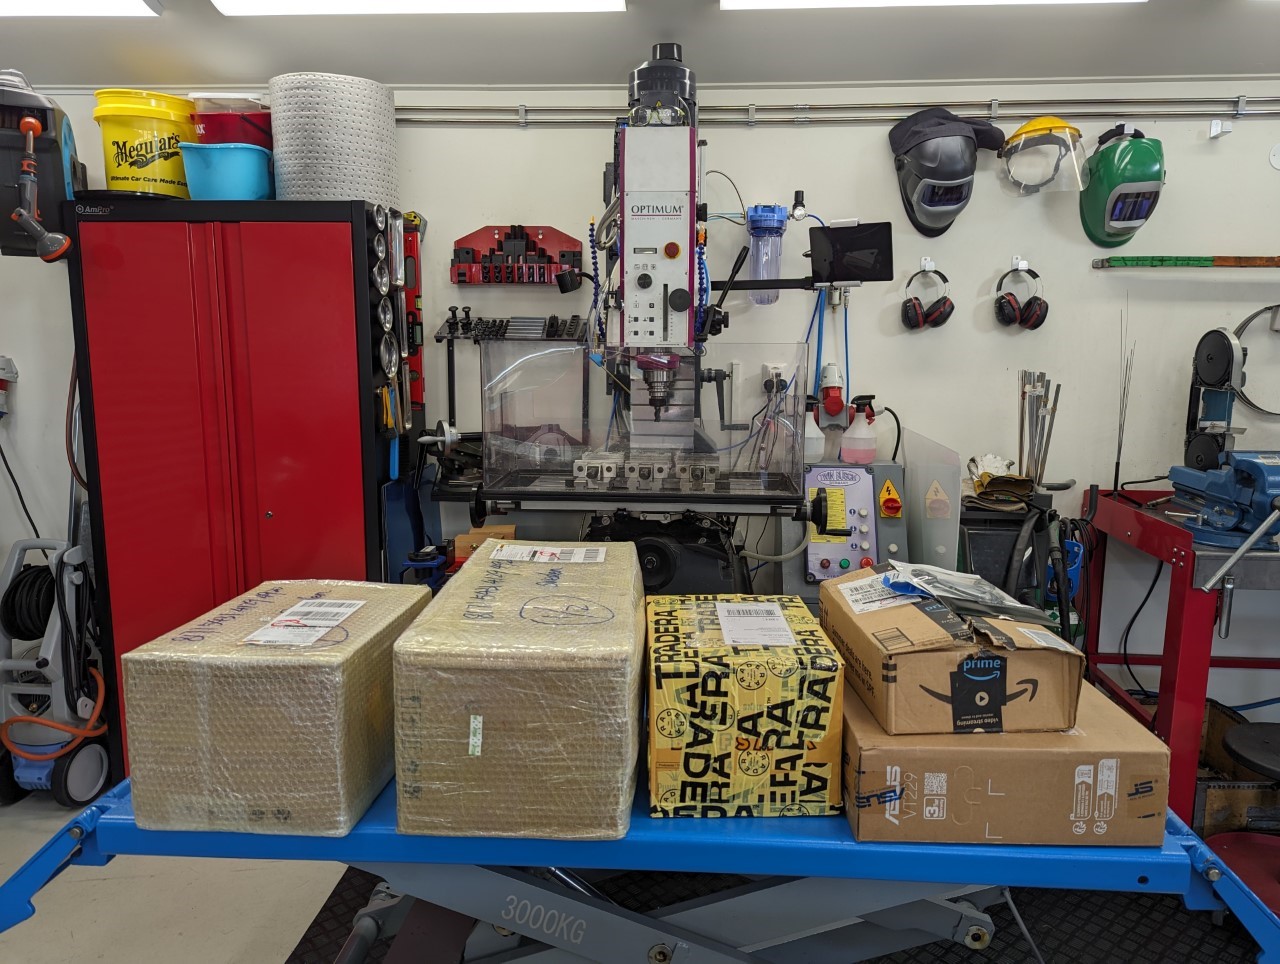
After planing this for several months I finally started ordering parts at the end of this summer and shortly afterwards the packages started arriving.
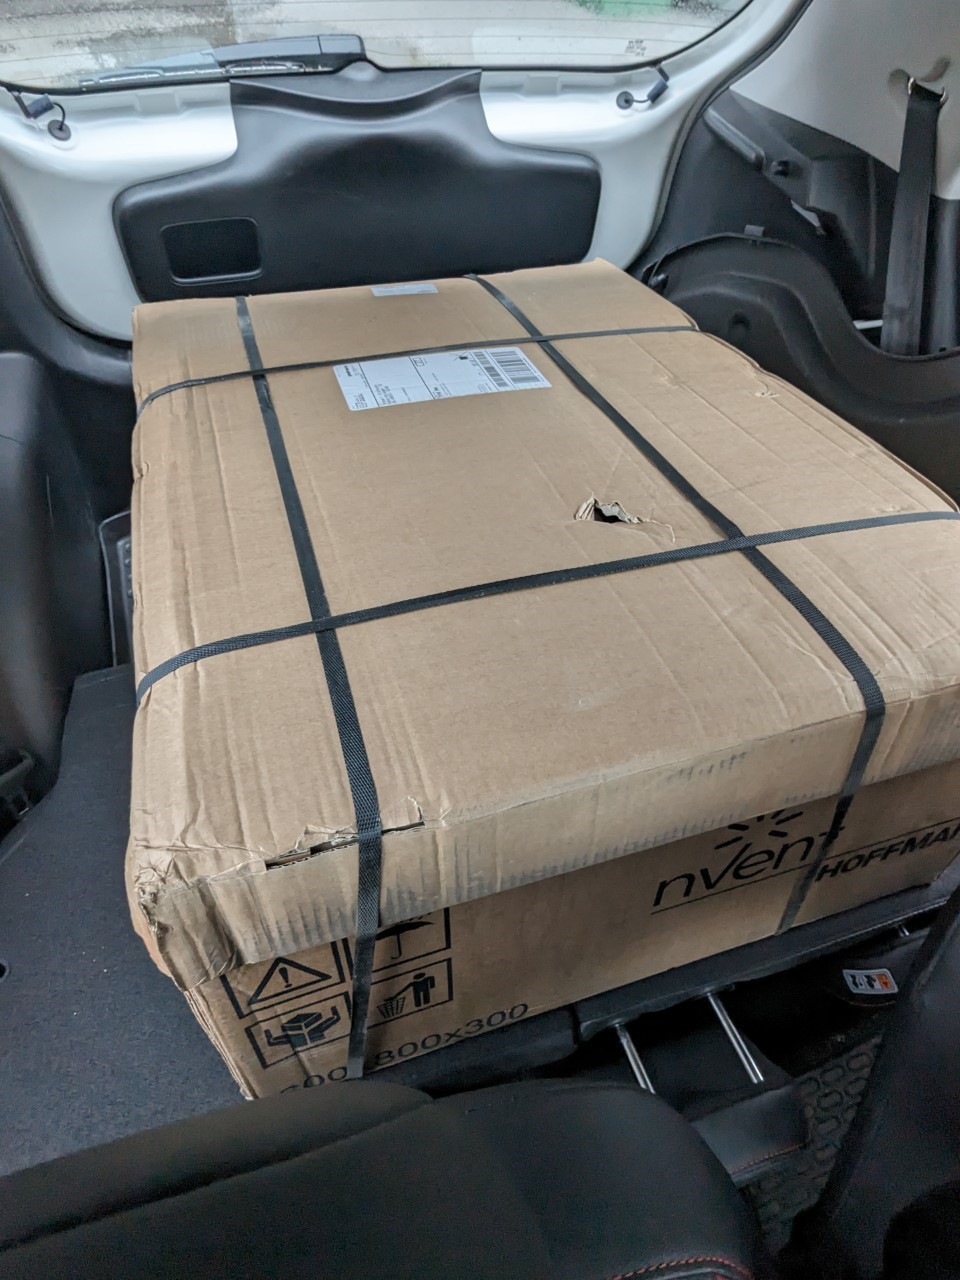
The recipe of parts I settled on was essentially the following:
- Mesa 7i96S + Mesa 7i84 (I would have preferred a 7i76E but they were not available)
- Delta B3 servos 750W for X/Y and 1000W for Z
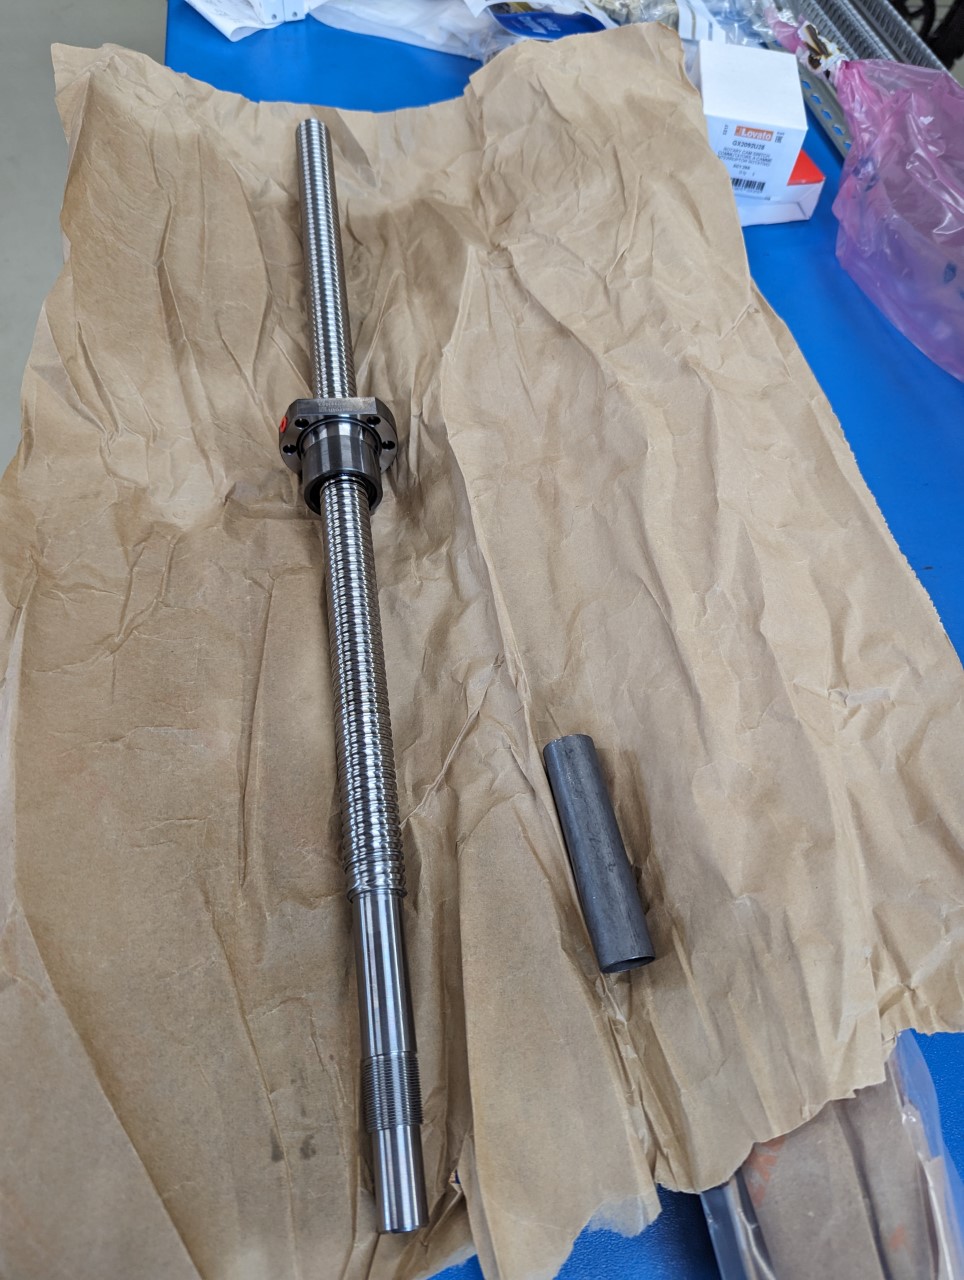
- Bosch Rexroth C5 ballscrews with preloaded nuts
- ABB SSR10 e-stop relay
- Schneider Electric LP4K0910BW3 low power/low noise contactors
- Eaton M22 buttons for e-stop/reset, jog, pause, resume
- TDK-Lamda RSEN2030L and RTEN-5040 EMC filters
HP Elitedesk 800 G2 (avoid this computer)- A vintage Intel DQ45EK motherboard and Q9550S CPU
- ASUS VT229H touch screen monitor
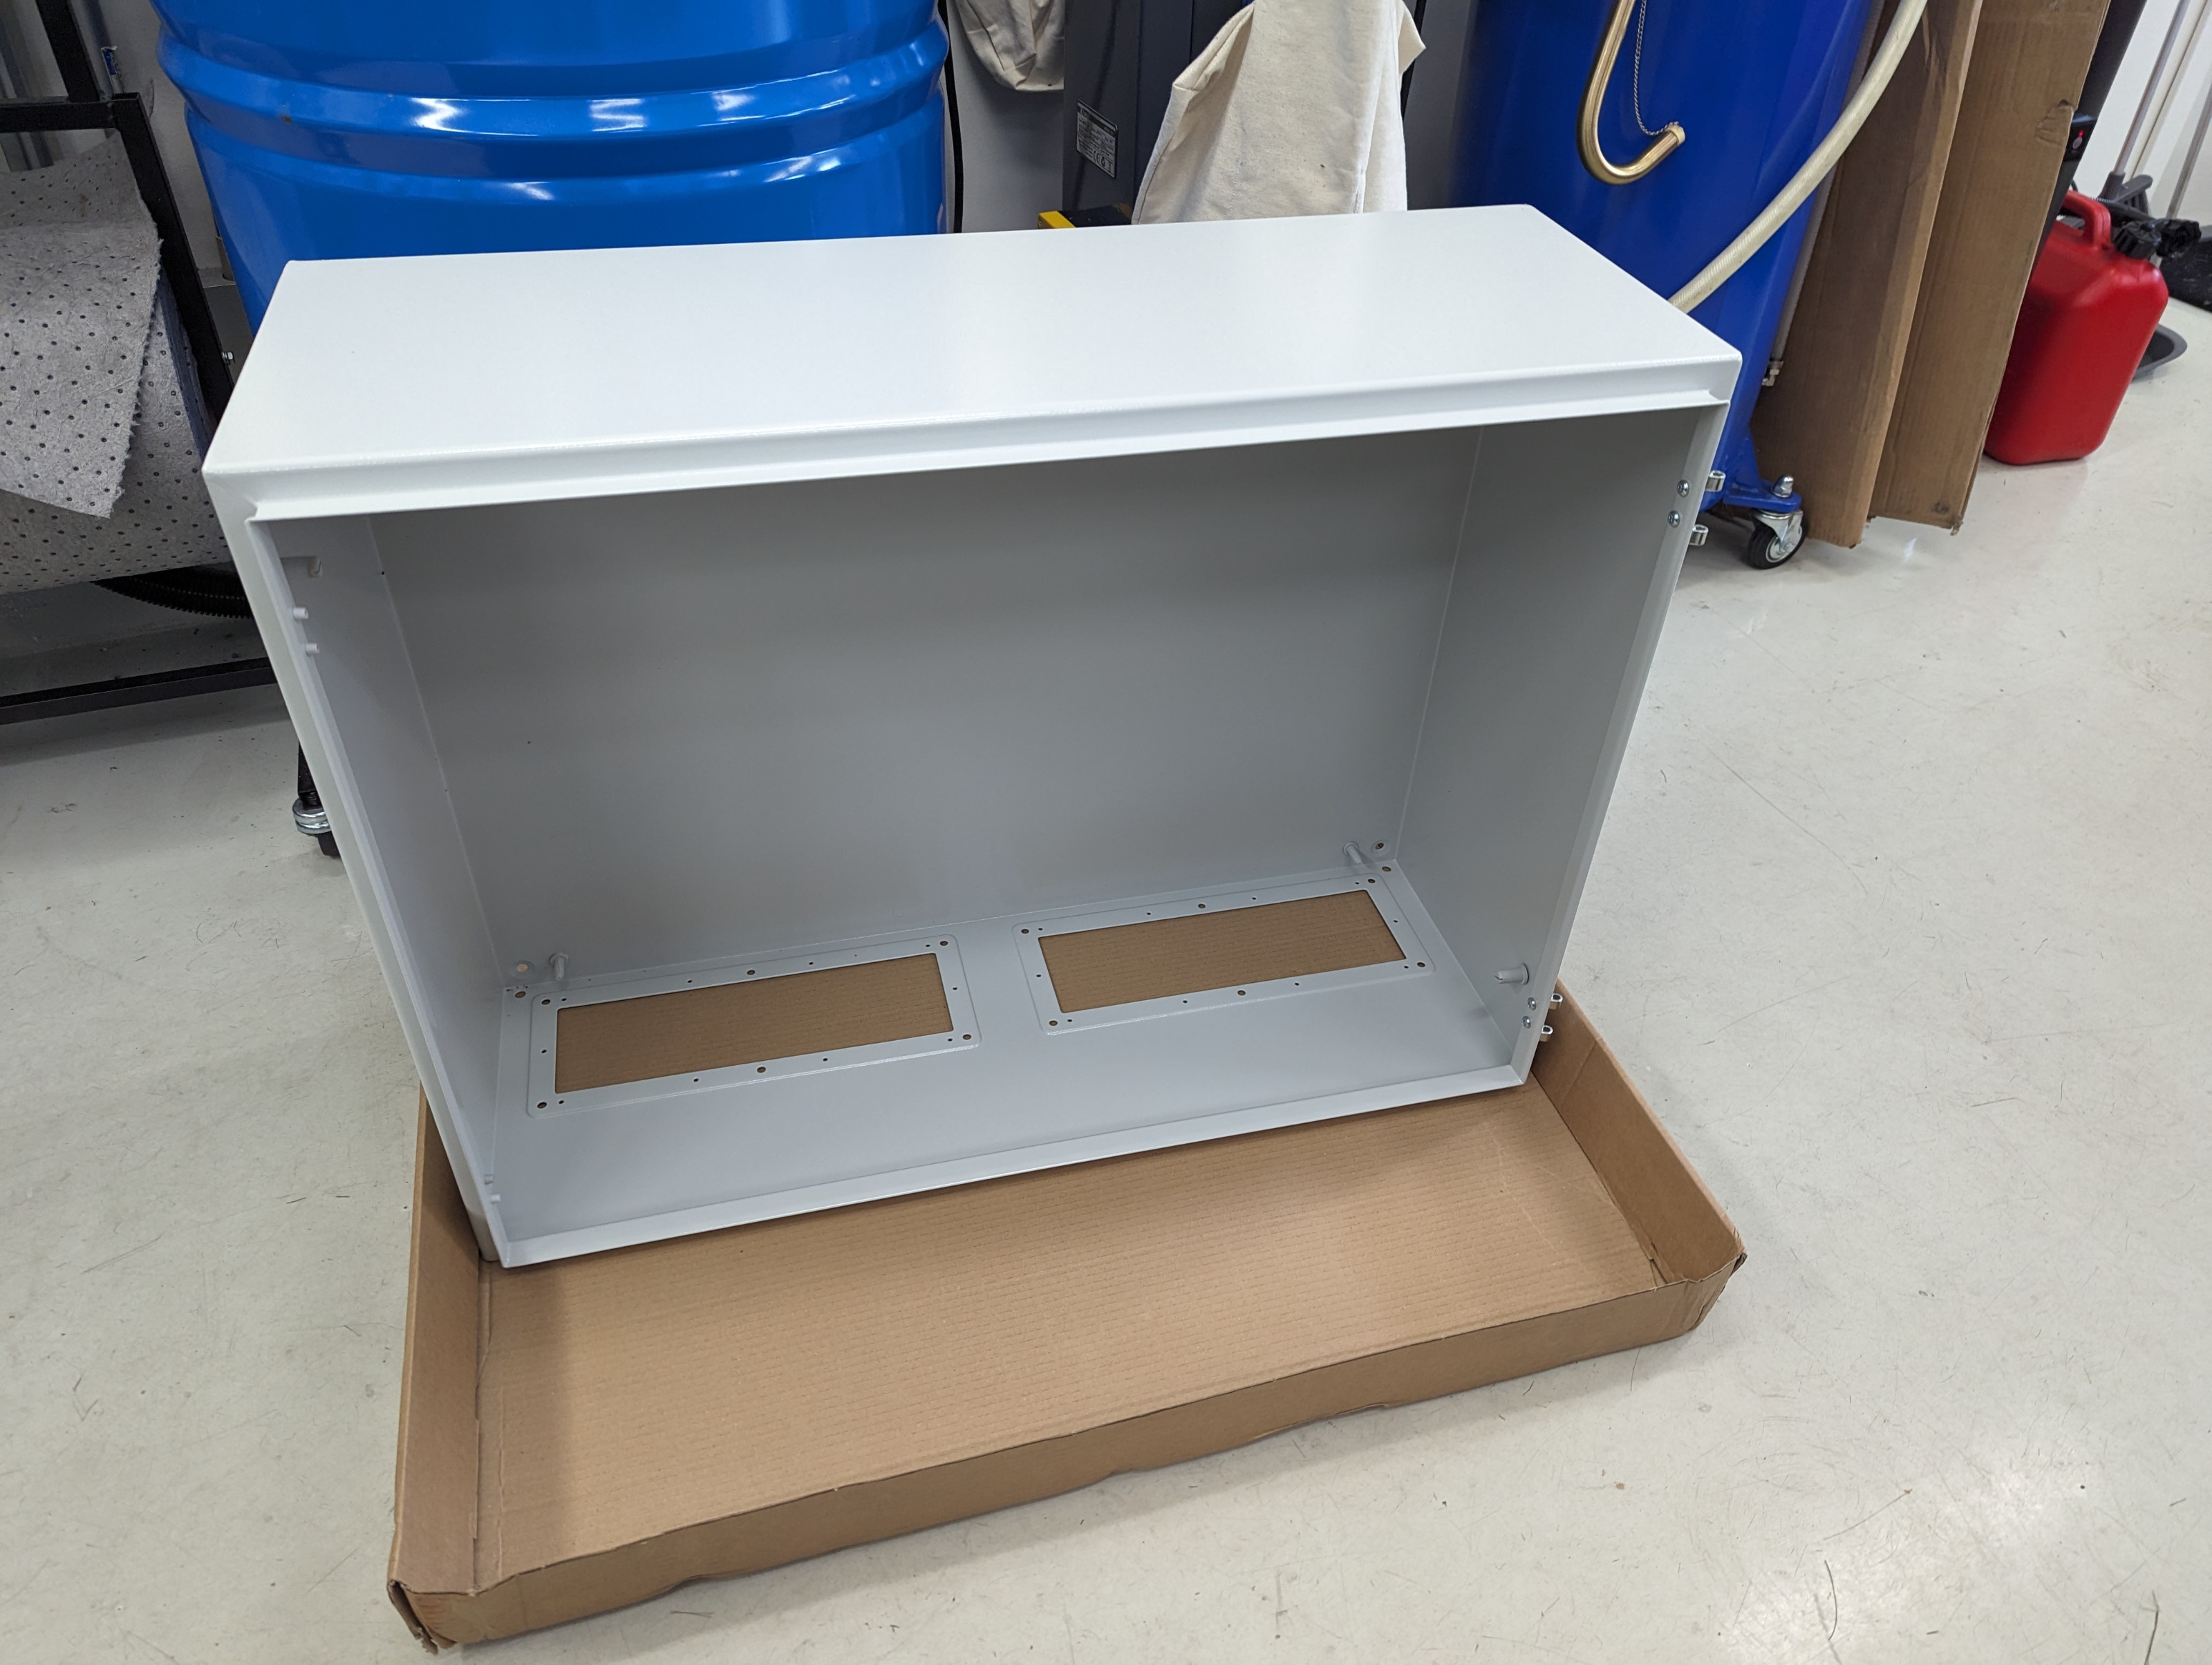
- Eldon MAS0608030R5 enclosure
Attachments:
Please Log in or Create an account to join the conversation.
- Unlogic
- Offline
- Elite Member
-
- Posts: 240
- Thank you received: 120
Servo selection was a tricky topic and for a long time a leaned towards Teknic ClearPath servos however in the end the wide range of available models, price, functionality and extensive documentation of the Delta B3 servos won me over. I would never have considered these if it wasn't for the helpful posts from people on this forum who already had these servos up and running ( link , link ).
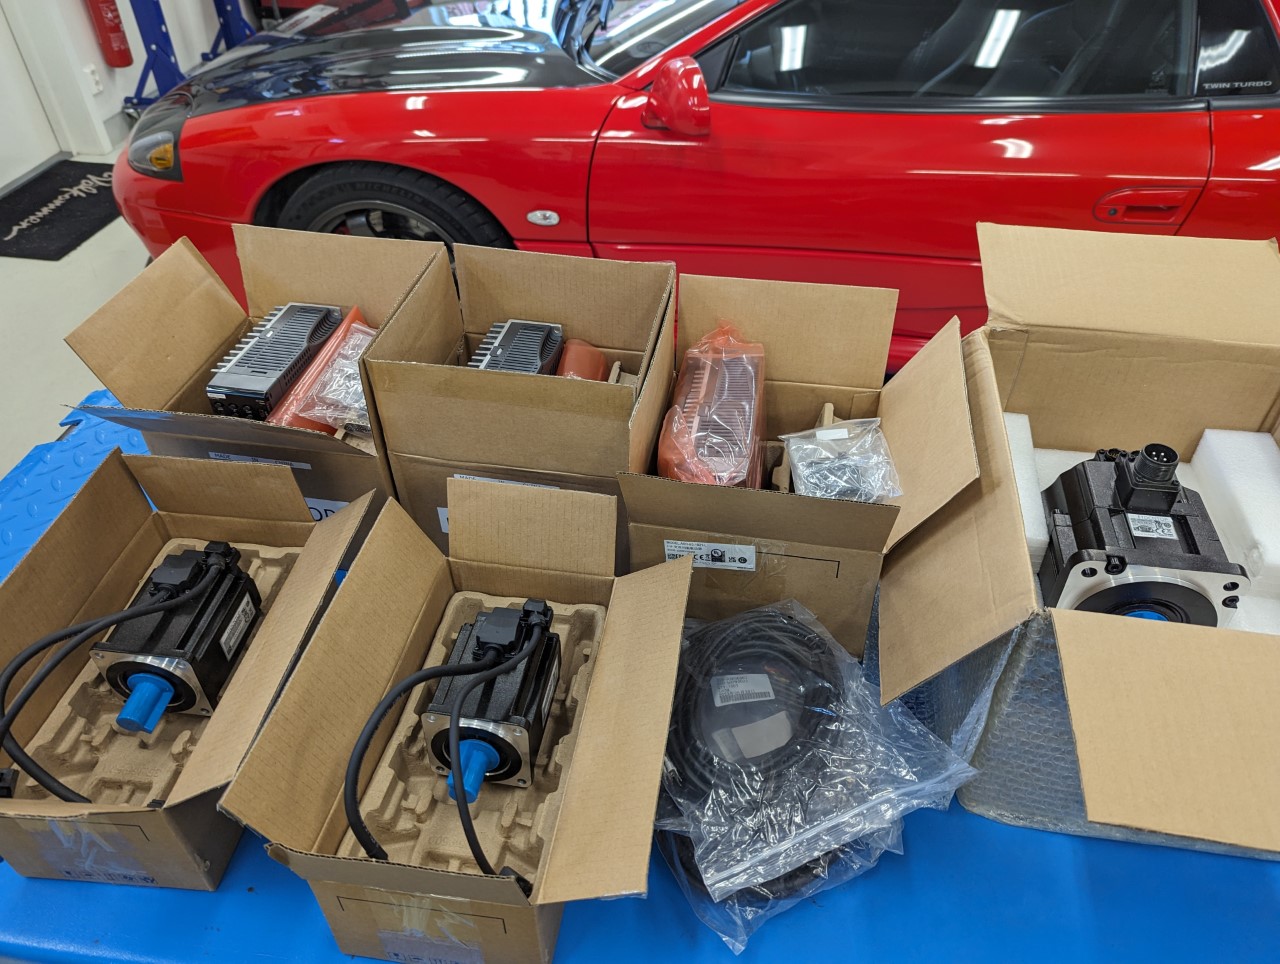
Delta seems to be continually updating the manual for the B3 series because the manual has grown with over 200 pages since I first downloaded it and started reading up on all the configuration options they allow for. The manual is now over a 1000 pages and freely available on their website without any login required.
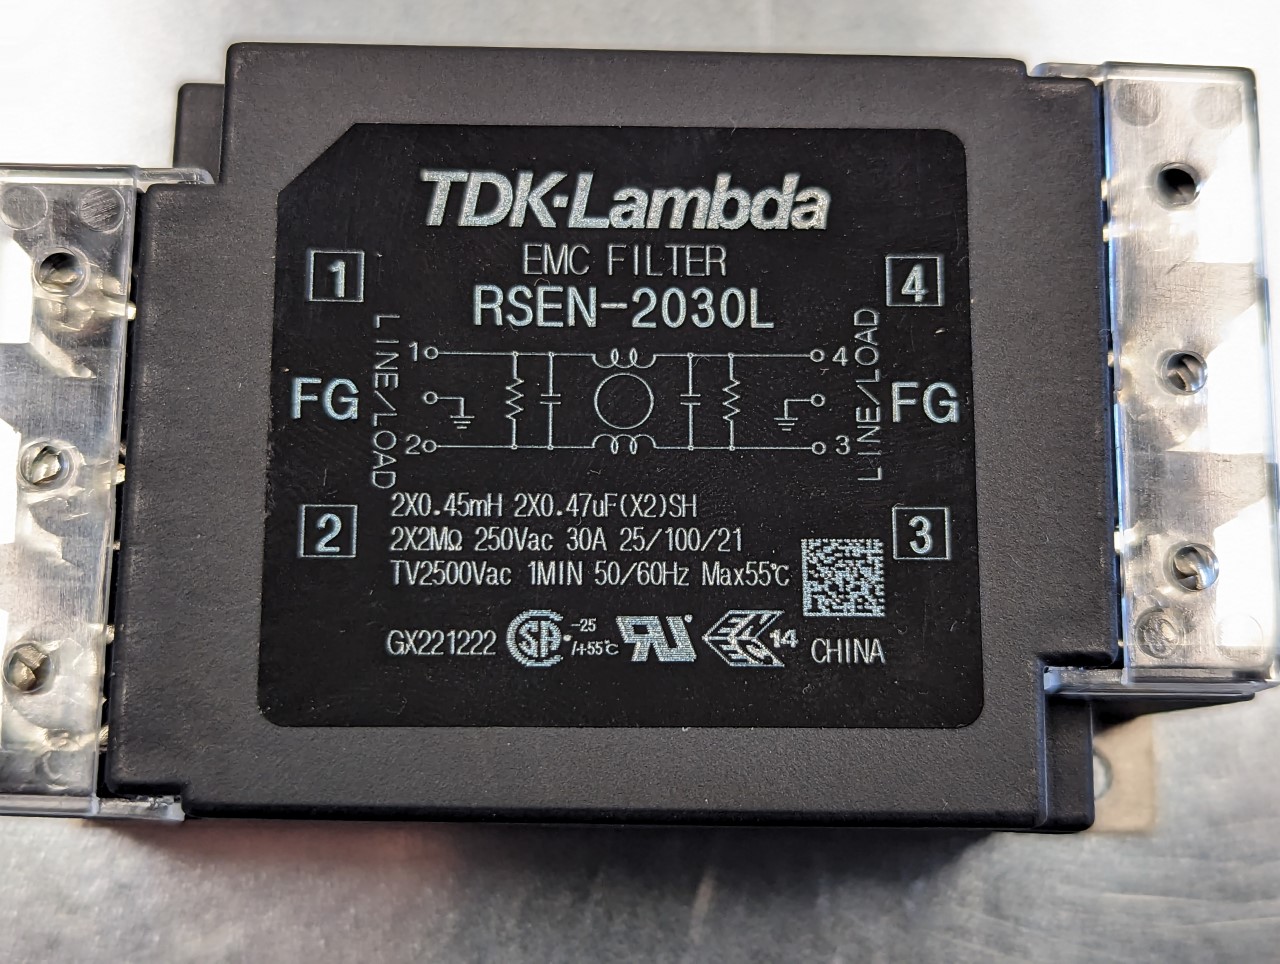
The manual specifies that EMF023A21A EMI filters should be used with these servos and drives but I was unable to find anyone selling them and when I contacted Delta they had a 12 week lead time so instead I opted for the TDK-Lamda 2030L filters which I saw where recommended in a post over at CNCZone.
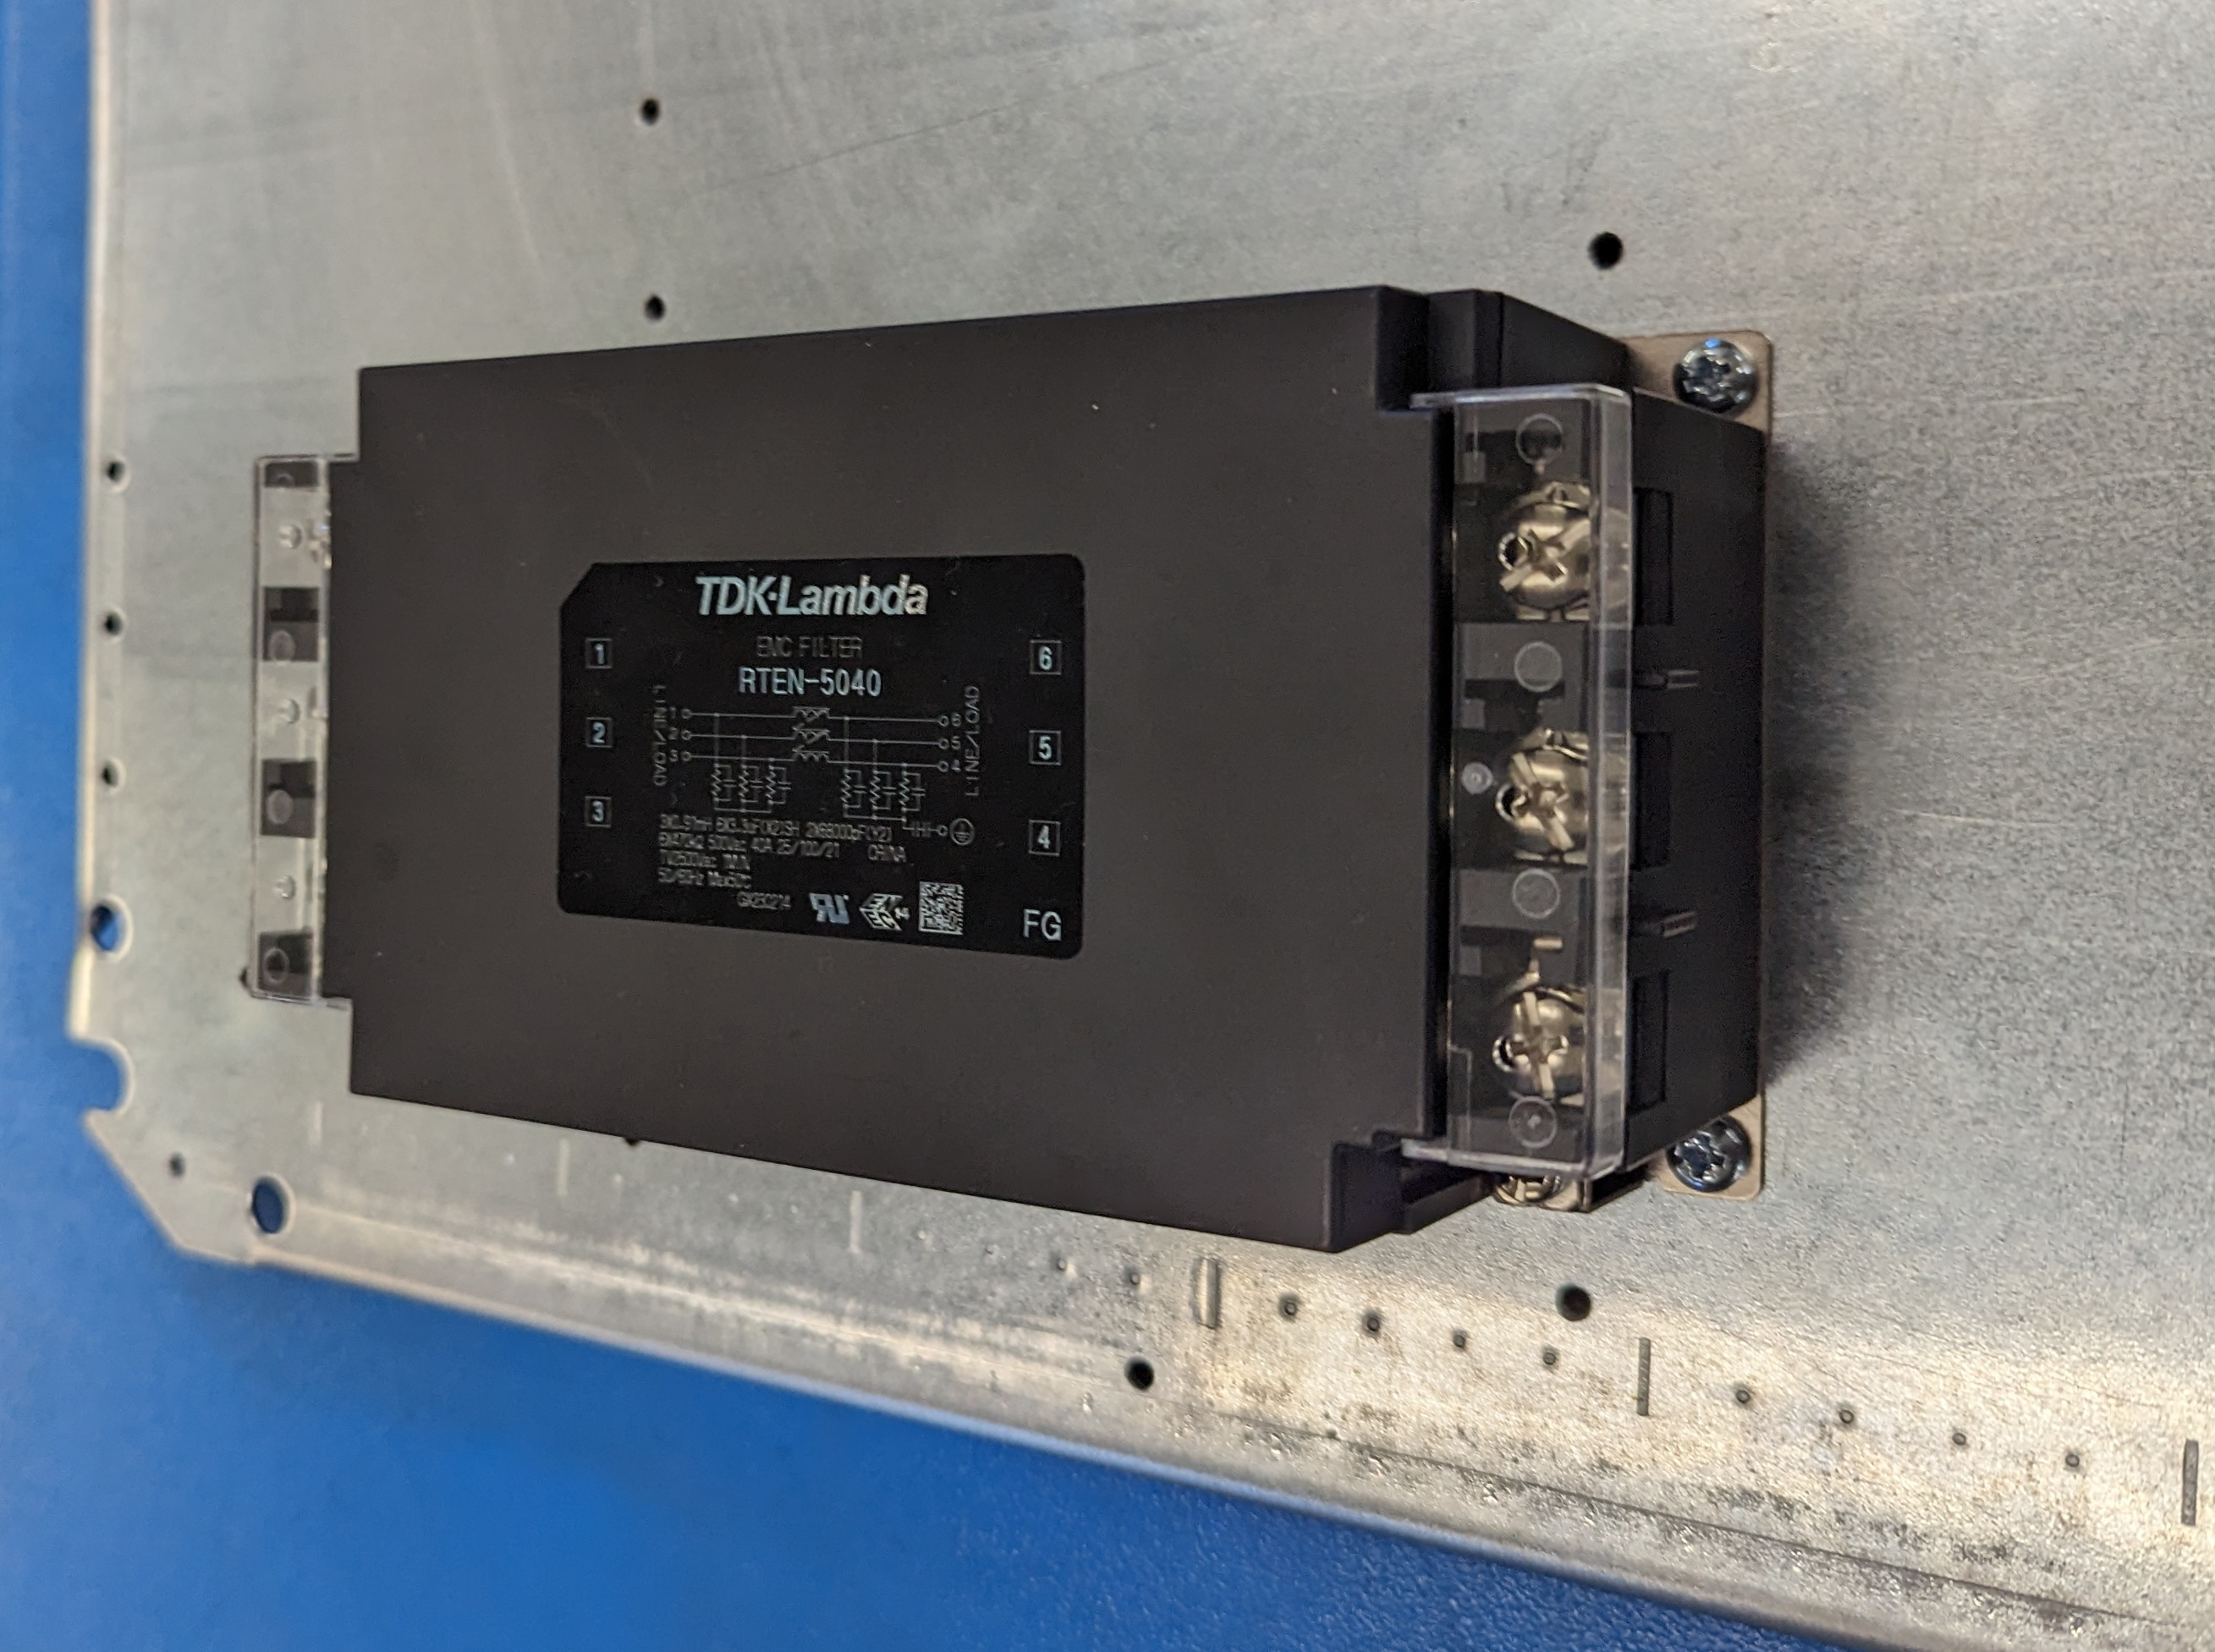
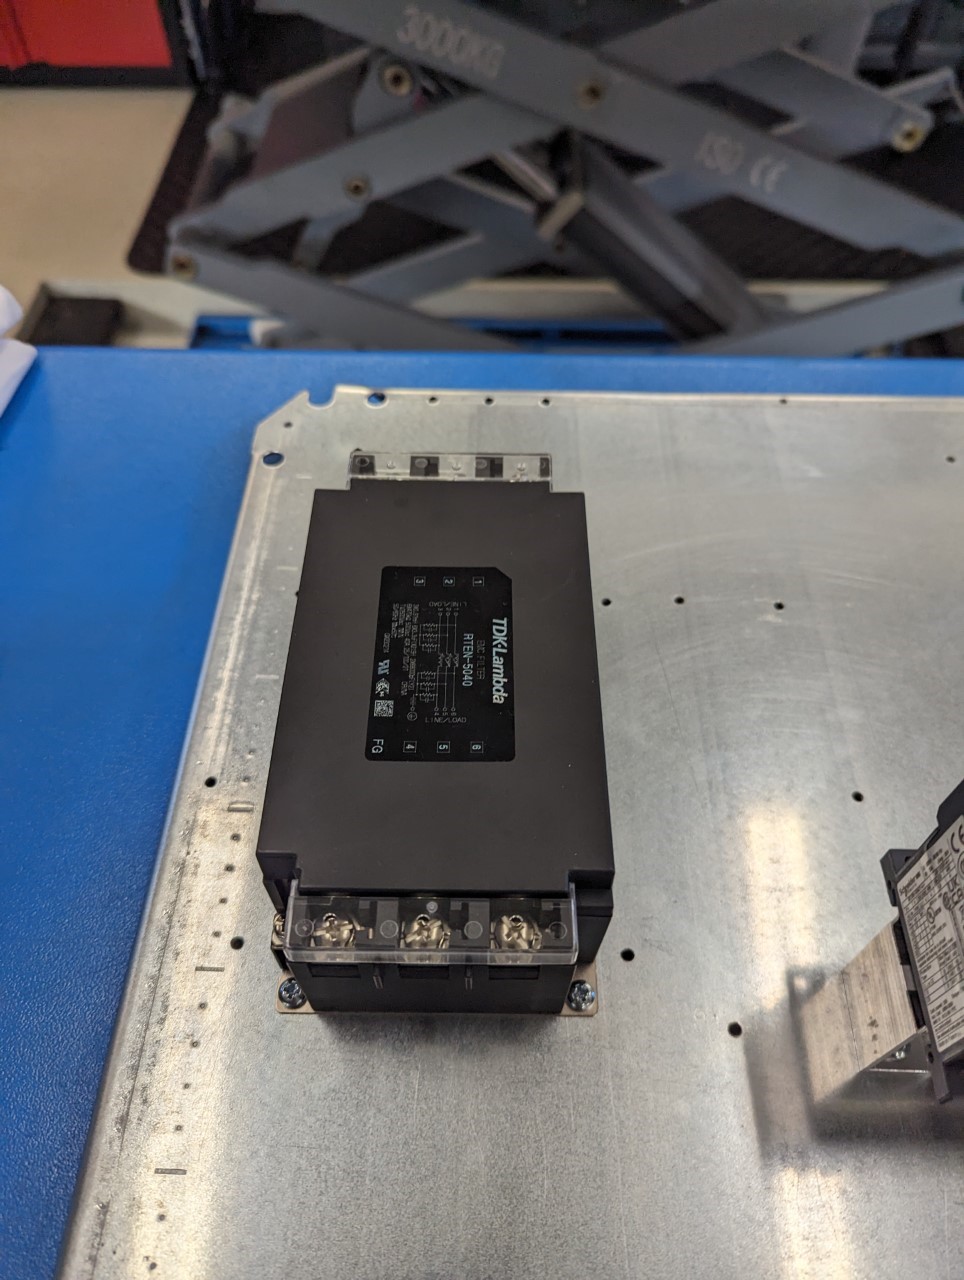
The VFD for the spindle also needed a EMI filter but all the smaller 3-phase TDK-Lamda models were out of stock so I had to opt for the rather large RTEN-5040 model.
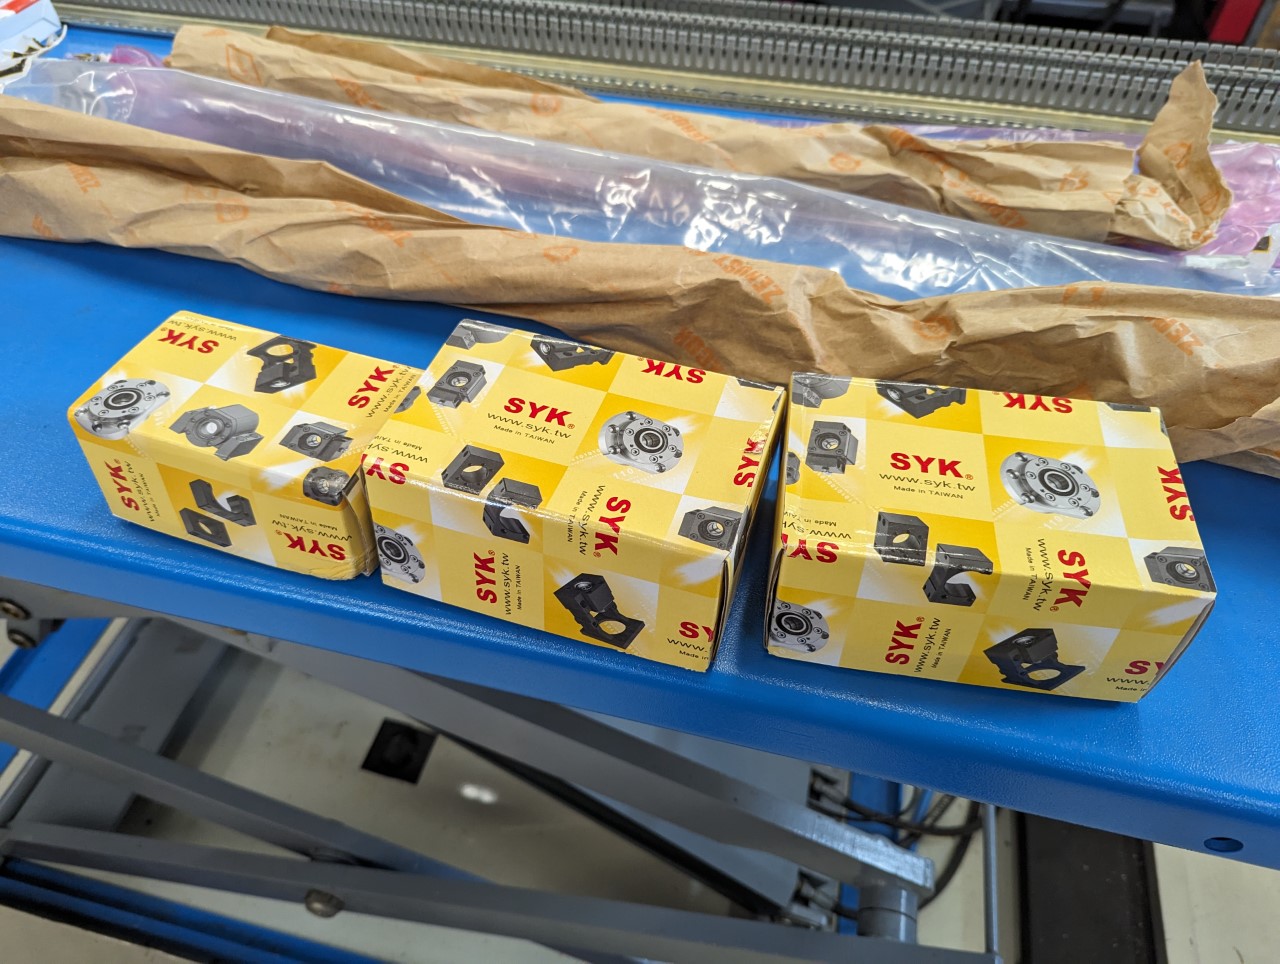
The ball screws and bearing blocks arrived with a shorter than expected 3 weeks lead time. They were the last major parts I was waiting for so with them on hand I began the actual work on converting the machine.

Attachments:
Please Log in or Create an account to join the conversation.
- Unlogic
- Offline
- Elite Member
-
- Posts: 240
- Thank you received: 120
Please Log in or Create an account to join the conversation.
- Unlogic
- Offline
- Elite Member
-
- Posts: 240
- Thank you received: 120

I had never used printable heat shrink before but it turned out to be really useful and realize why so many people use it. The Dymo branded cartridges are crazy expensive but luckily there are non Dymo branded ones available these days for 25% of the price of the genuine ones.
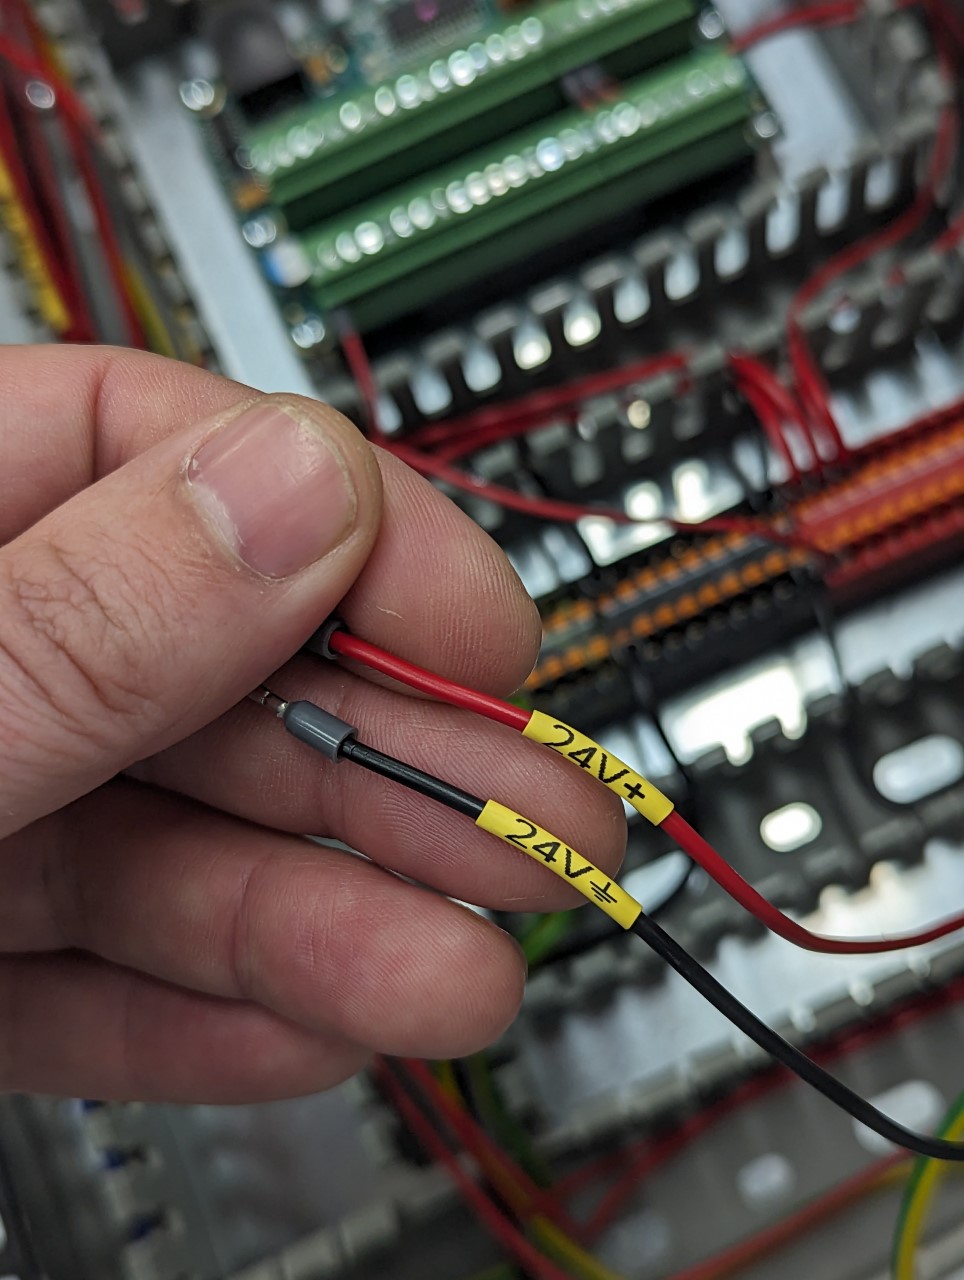
The Delta servo drives provide a plethora of functions which can be mapped to the various input and output pins on the DB44 connector. Before I soldered the cables for the DB44 connectors I decided to do some testing just so see that I had everything in the right place.

When I had identified all the pins I needed and configured their functions on the drives I made this wiring diagram so I didn't have too keep everything in my head

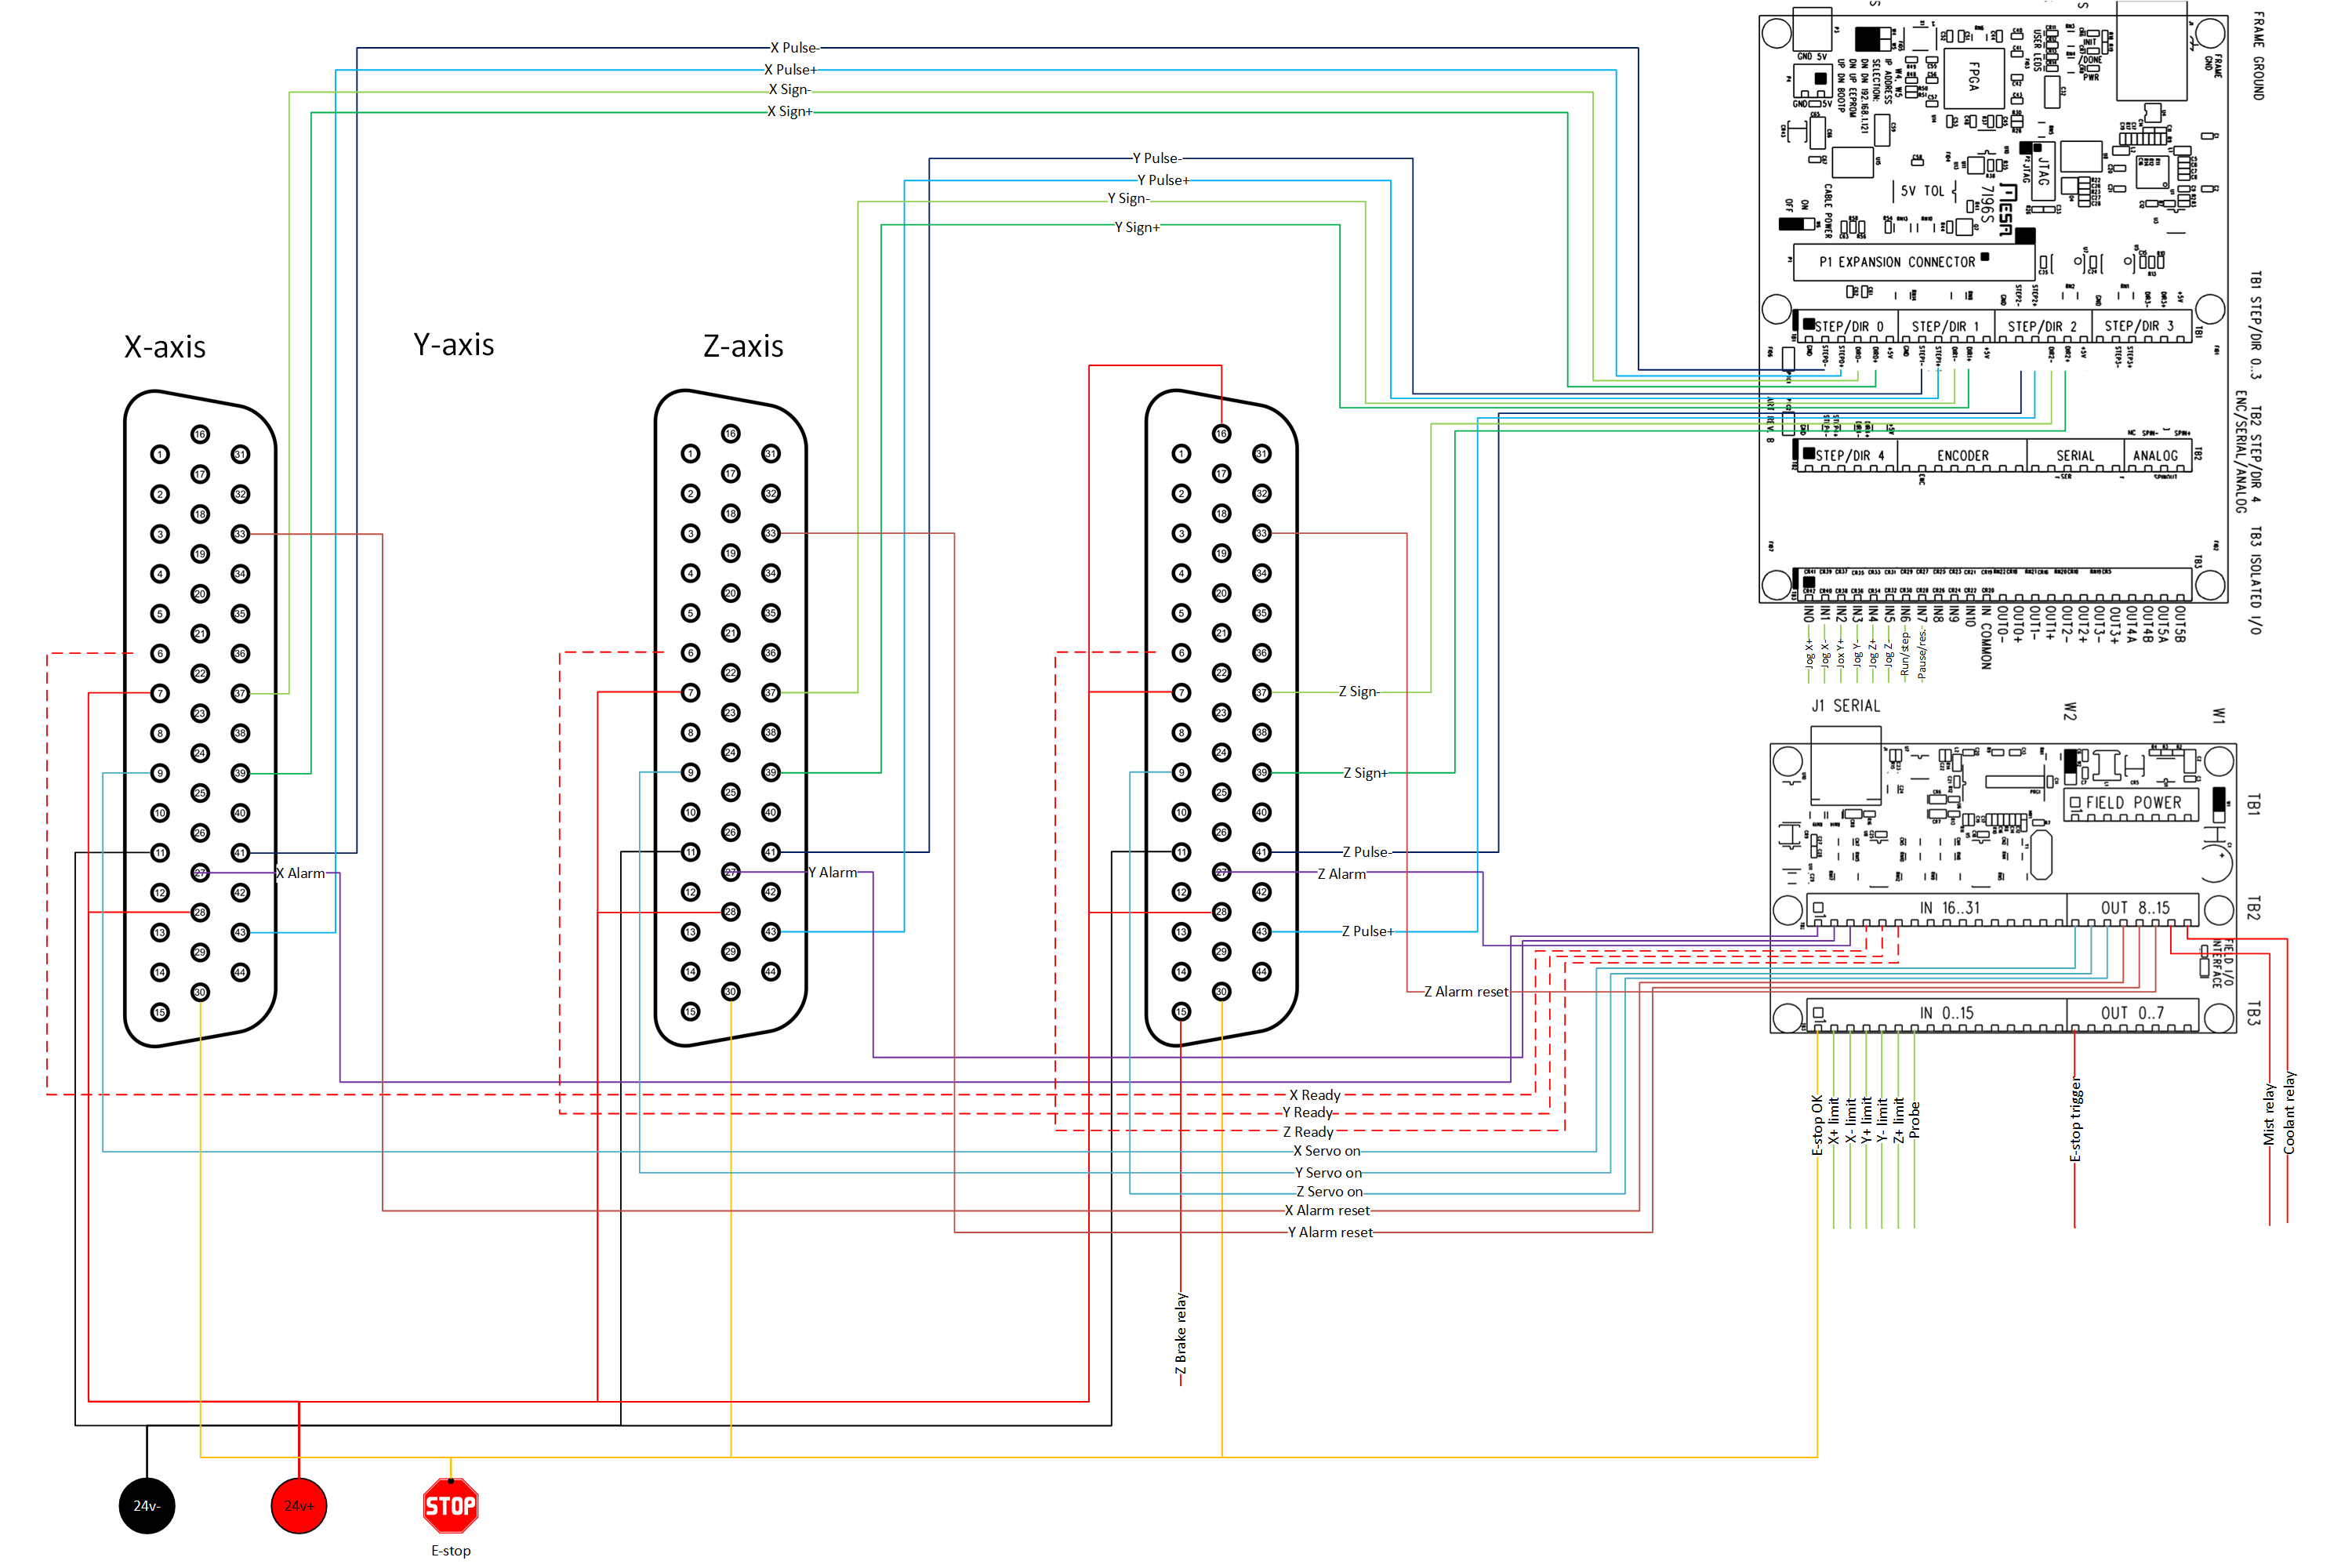
As you can see on the wiring diagram I avoided using the outputs on the Mesa 7i76S card for now as they have no short circuit protection. Instead I opted to use the outputs on the 7i84 instead as they have short circuit protection, overvoltage clamps and per driver chip thermal shutdown which felt safer in case I'd do some wiring mishap.
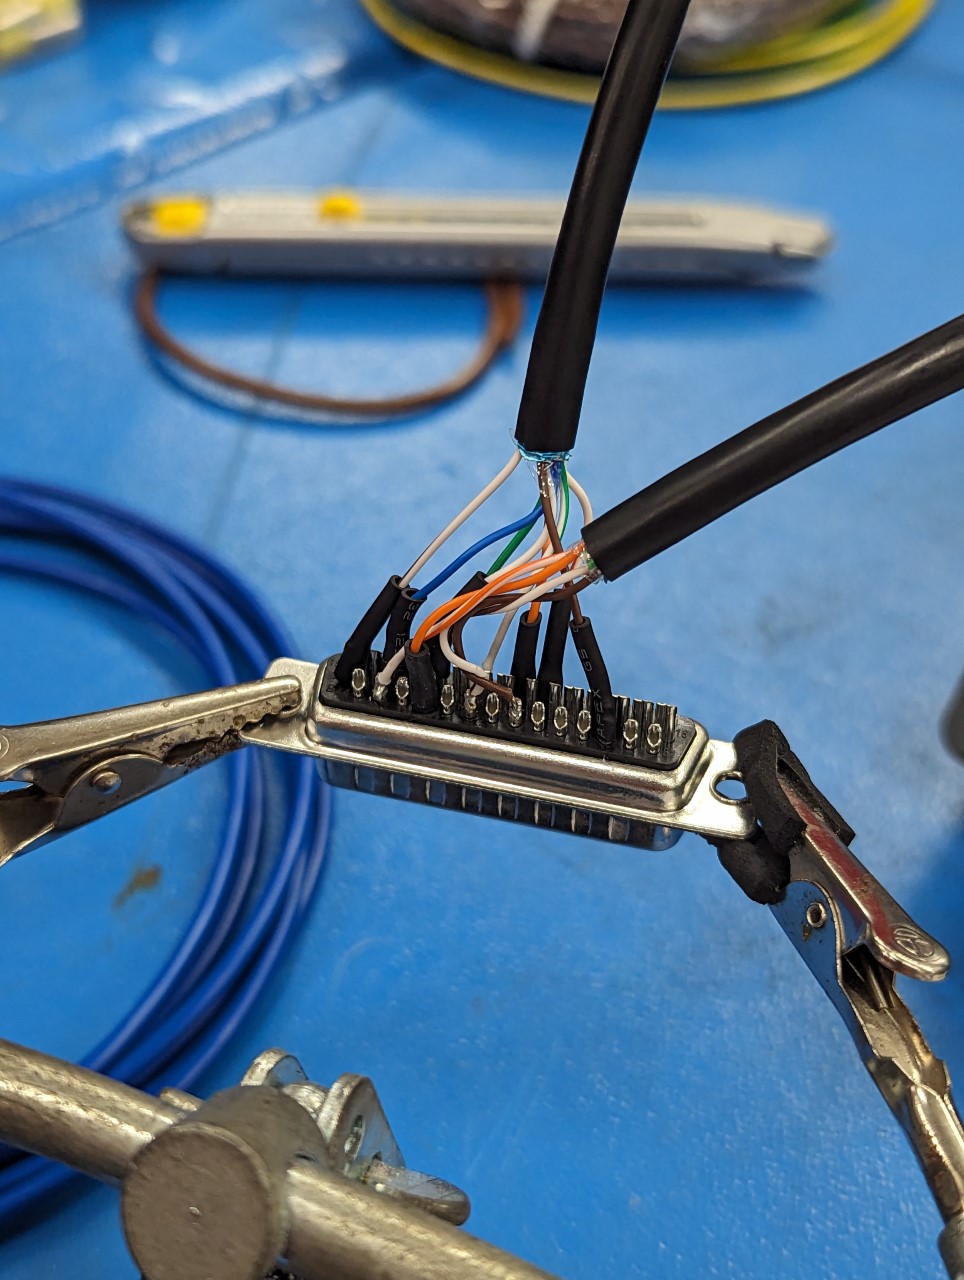
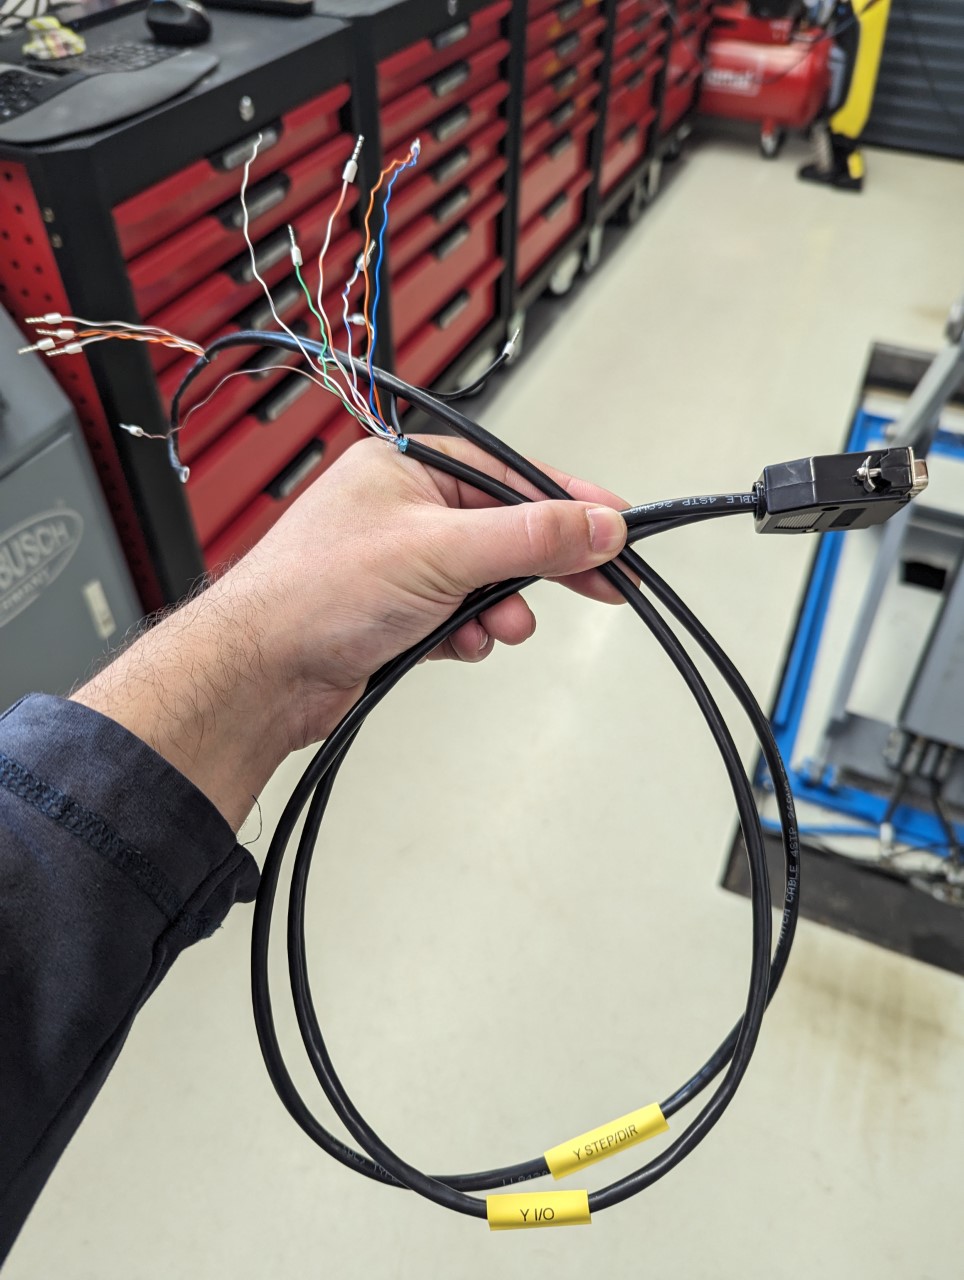
I ended up needing a lot of conductors for the DB44 connector on the servo drives and the step/dir signals should be done using twisted pair cables as they are differential signals. I spent a considerable amount of time trying to find a suitable cable but in the end I used ordinary shielded CAT6 cable with multi strand cables (not solid core). In order to get enough conductors I used two CAT6 cables for each servo.
One cable where I only used two pairs of wires for the step/dir signals, both the shield and the two unused pairs in this cable where grounded as close as possible to the Mesa 7i76S card as possible (on of the mounting screws).
Then another cable for all the I/O pins from the drive to the 7i84 card. Here I used all the pairs but still grounded the shield. For the Z-axis drive I had to add a separate cable for the brake release relay which is controlled by the servo drive itself.

Attachments:
Please Log in or Create an account to join the conversation.
- Unlogic
- Offline
- Elite Member
-
- Posts: 240
- Thank you received: 120
I knew for RotarySMP's posts in his Schaublin thread that this model could be a bit challenging and boy was he right. Based on his experiences I knew that it would perform best regarding latency/jitter in legacy mode but the BIOS on was really picky when it came to booting from USB drives in legacy mode. NTFS formatted USB-drives would show up but a proper Debian 12.2 installer written to USB-drive with DD would only show up as bootable in the BIOS menu when using UEFI mode.
In the end I used the USB swap method mentioned in his thread. To fool the BIOS I used a NTFS formatted USB-drive so that I would get the option to show up in the BIOS boot menu and then I swapped it for the USB-drive with the Debian installer on before I continued.
Next hurdle was that the machine refused to boot from the NVMe drive in legacy mode after Debian 12.2 had been installed. Seems like the BIOS doesn't support booting from NVMe drives in legacy mode. I solved that by installing GRUB on a separate USB-drive which I left connected to the computer.
After that I thought that I had passed all the hurdles and proceeded to install the LinuxCNC packages following the 2.9 install guide. This proceeded smoothly but the latency tests were nothing to write home about even though all possible options were disabled in the BIOS and the relevant GRUB boot parameters set.
When I started communicating with the Mesa card I got a lot of communication related errors and then also noticed very bad ping times. This is when I found out that the Intel i219-LM network card in this machine has had a really troubled past in Linux due to various bugs introduced into the kernel driver just a few years ago (around 2020 and probably too late to affect LinuxCNC 2.8.x).
www.phoronix.com/news/Intel-i219-LM-Linux-60p-Fix
askubuntu.com/questions/1376155/intel-i2...ng-huge-package-loss
bugs.launchpad.net/ubuntu/+source/linux/+bug/1785171
These problems seem to have been fixed in later kernels as there has been a patch released as mentioned in this Ubuntu bug:
bugs.launchpad.net/ubuntu/+source/linux/+bug/1927925/
However that patch doesn't seem to have made it into the Debian kernels yet. I even tried installing the PREEMPT RT 6.3 kernel mentioned in the LinuxCNC 2.9 install guide and it improved the bad ping times a bit but the network card was still to unreliable to be used with LinuxCNC.
Instead of compiling my own kernel with patch I instead dug up an old DQ45EK Mini-ITX motherboard along with a Intel Q9550S quad core CPU. Everything installed smoothly on it and it had a latency/jitter that was excellent, around 14000 compared to the 60000 of the HP Elitedesk 800 G2.
After that things proceeded much smoother and I got the drives moving on the first attempt which felt great after all the work

Please Log in or Create an account to join the conversation.
- Unlogic
- Offline
- Elite Member
-
- Posts: 240
- Thank you received: 120
I used PNCconf utility for the initial setup and I'm very positively surprised of how good it worked both for generating the initial configuration but also for going back and changing it. I need buy whoever developed that utility a beer.
I'm manually going to add the following parts now initially but I'm sure there a more to come later.
- Connecting the alarm signals from the drives to the joint.X.amp-fault-in for each axis
- Modify the e-stop loop with the latch function so that LinuxCNC can trigger the external e-stop but it can only be reset using the physical button on the control panel (planing to use the example DSS kindly has posted here )
- Use the ready signal from the drives together with a 3-way AND component using logic component to prevent motion.enable from being enabled if the drives are not ready (thanks to andypugh for pointing me in the right direction in this thread )
- Add run/step pause/resume support using two buttons based on the example posted by BigJohnT here )
- Add a oneshot function to clear and codes on the drives when coming out of e-stop
Please Log in or Create an account to join the conversation.
- tommylight
-

- Offline
- Moderator
-

- Posts: 21734
- Thank you received: 7425
You will have to wait a bit for that till we find where our jaw dropped and put it back!This is my first LinuxCNC build so any feedback is very welcome both regarding the hardware and the software setup as I'm sure that I still have much to learn.
Magnificent work, thank you.
Please Log in or Create an account to join the conversation.
- Unlogic
- Offline
- Elite Member
-
- Posts: 240
- Thank you received: 120
My setup now behaves as follows:
- If LinuxCNC is not running the safety relay is stuck in e-stop and cannot be reset
- E-stop on the safety relay can be triggered both using the physical buttons and using software
- The only way to reset the e-stop is using the physical button
Here is the HAL code is added to the custom.hal file:
loadrt estop_latch
loadrt oneshot count=2
addf estop-latch.0 servo-thread
addf oneshot.0 servo-thread
addf oneshot.1 servo-thread
setp oneshot.0.width 1
setp oneshot.1.width 1
#Automatic e-stop reset in UI
net reset-trig oneshot.0.in <= hm2_7i96s.0.7i84.0.0.input-00
net reset-ui oneshot.0.out => halui.estop.reset
#Latching e-stop function
net estop-loopout iocontrol.0.emc-enable-in <= estop-latch.0.ok-out
net estop-loopin iocontrol.0.user-enable-out => estop-latch.0.ok-in
net estop-reset iocontrol.0.user-request-enable => estop-latch.0.reset
net remote-estop estop-latch.0.fault-in <= hm2_7i96s.0.7i84.0.0.input-00-not
#When e-stop is detected momentarily break e-stop circuit to trigger safety relay requiring external reset
net relay-in oneshot.1.in <= estop-latch.0.fault-out
net relayout oneshot.1.out-not => hm2_7i96s.0.7i84.0.0.output-00
I removed the following lines from the HAL file generated by PNCconf:
# --- ESTOP-EXT ---
net estop-ext <= hm2_7i96s.0.7i84.0.0.input-00
The trick to make this work which took a while to figure out was to use an inverted output on the oneshot component (oneshot.x.out-not). That enables me to use an output on the Mesa 7i84 board to power the e-stop loop which goes to the safety relay. When an e-stop is triggered by LinuxCNC it momentarily breaks the e-stop loop causing the safety relay to trigger just as if I had pressed a physical button. It also has the added bonus of preventing the e-stop from being reset if LinuxCNC is not running.
Please Log in or Create an account to join the conversation.
- DSS
-

- Offline
- Senior Member
-

- Posts: 40
- Thank you received: 18
Please Log in or Create an account to join the conversation.
- Unlogic
- Offline
- Elite Member
-
- Posts: 240
- Thank you received: 120
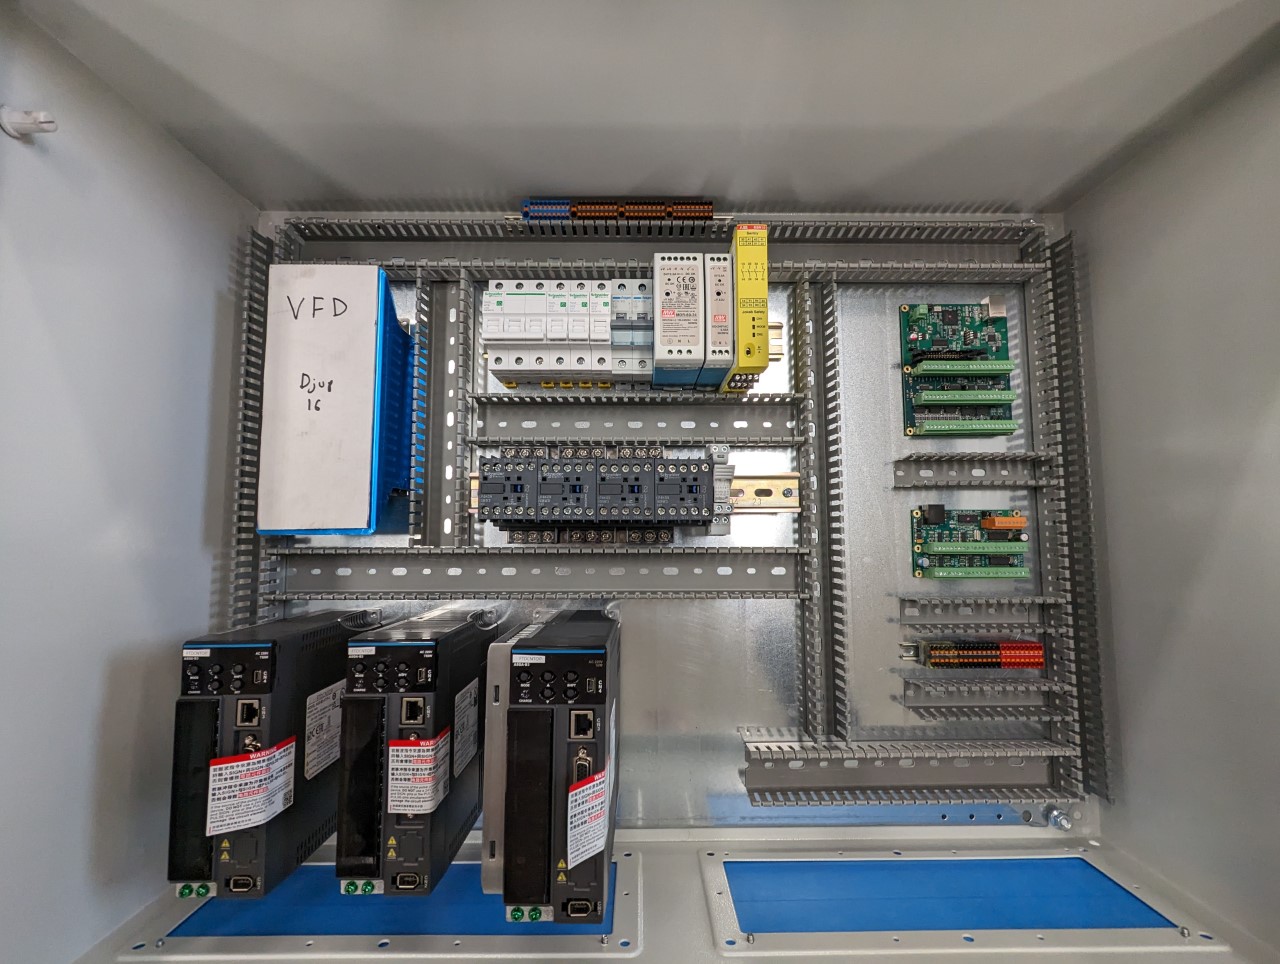
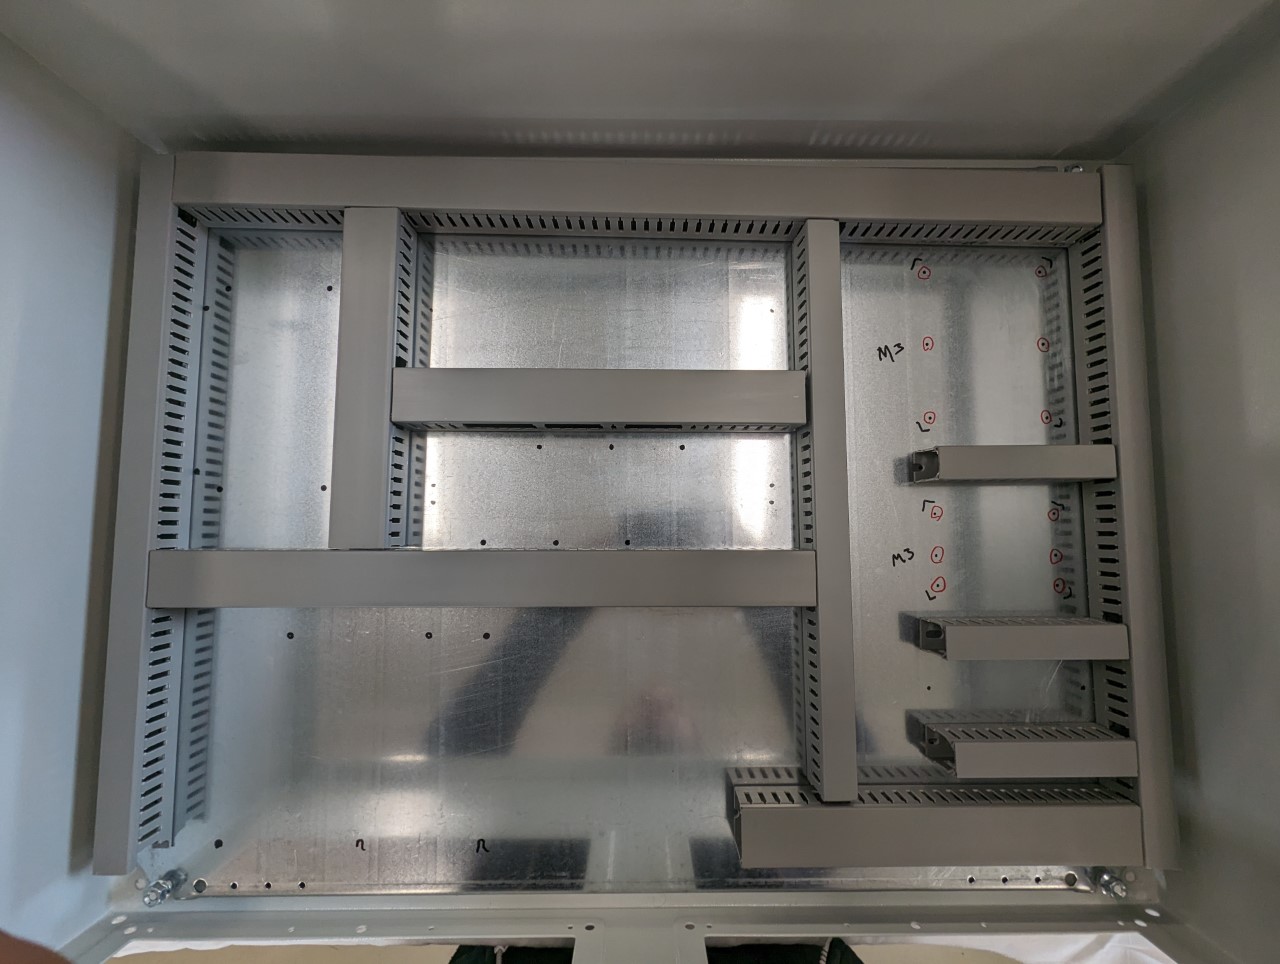
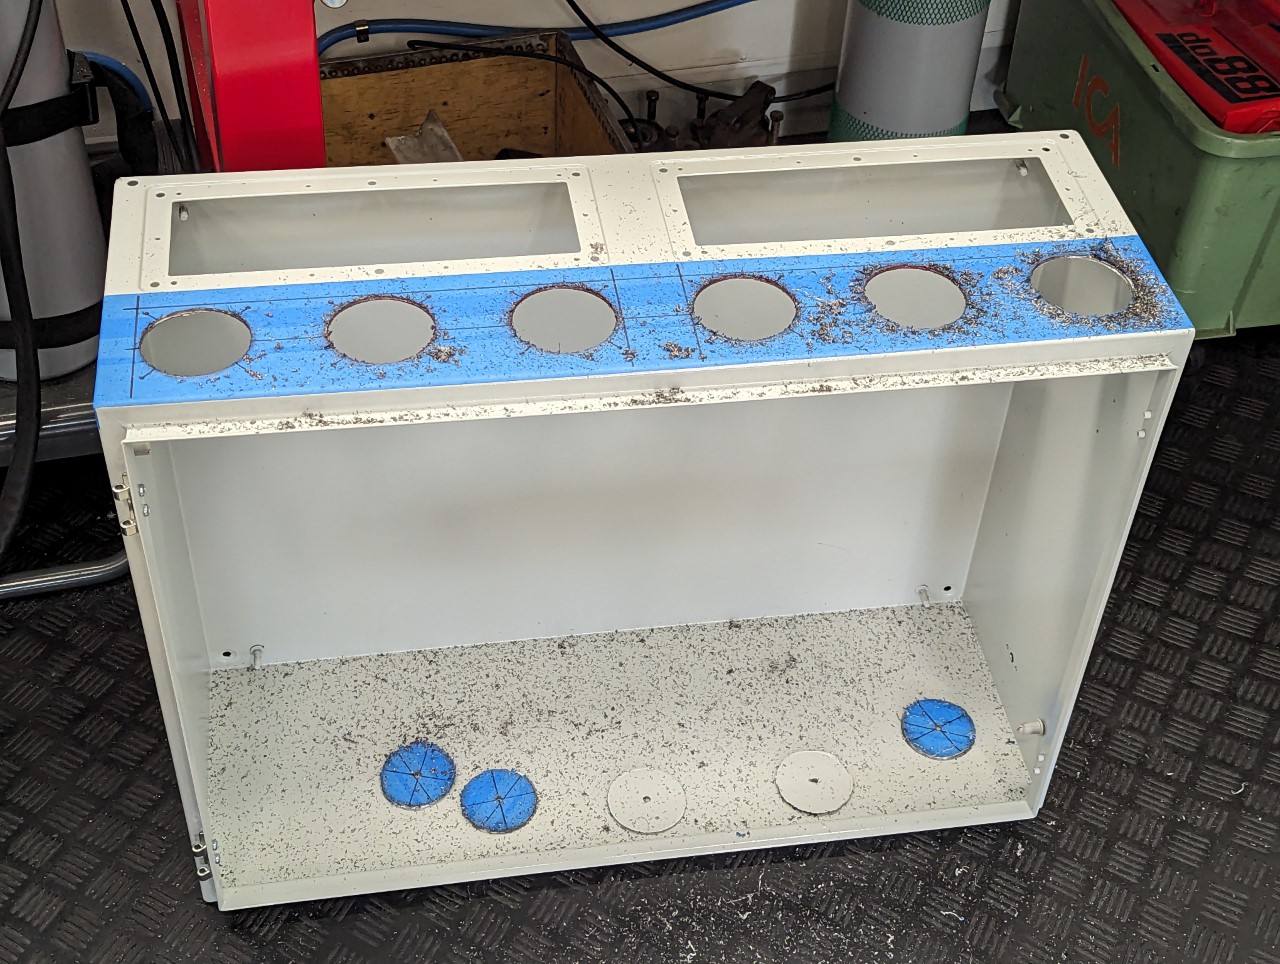
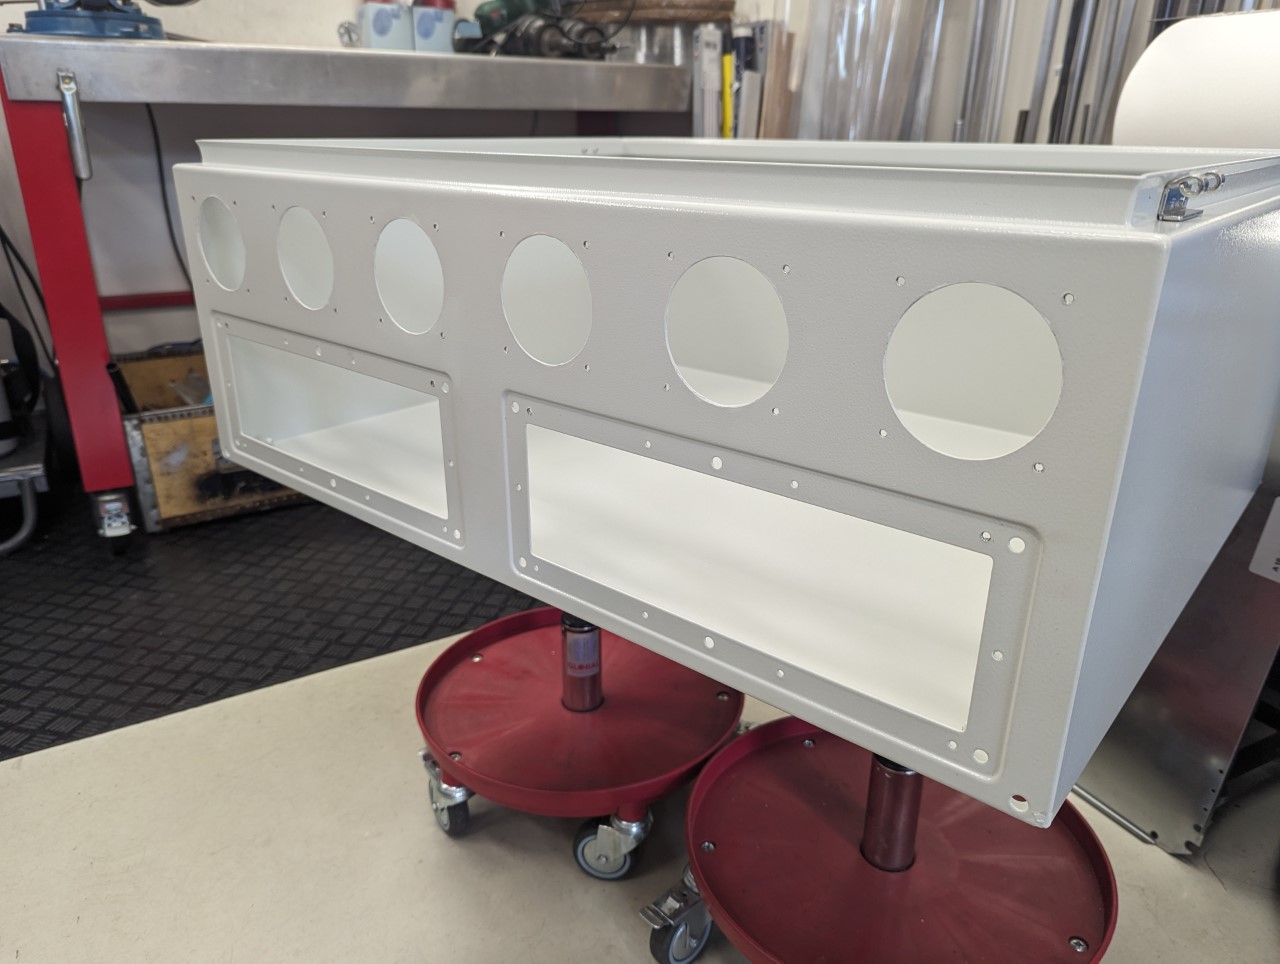
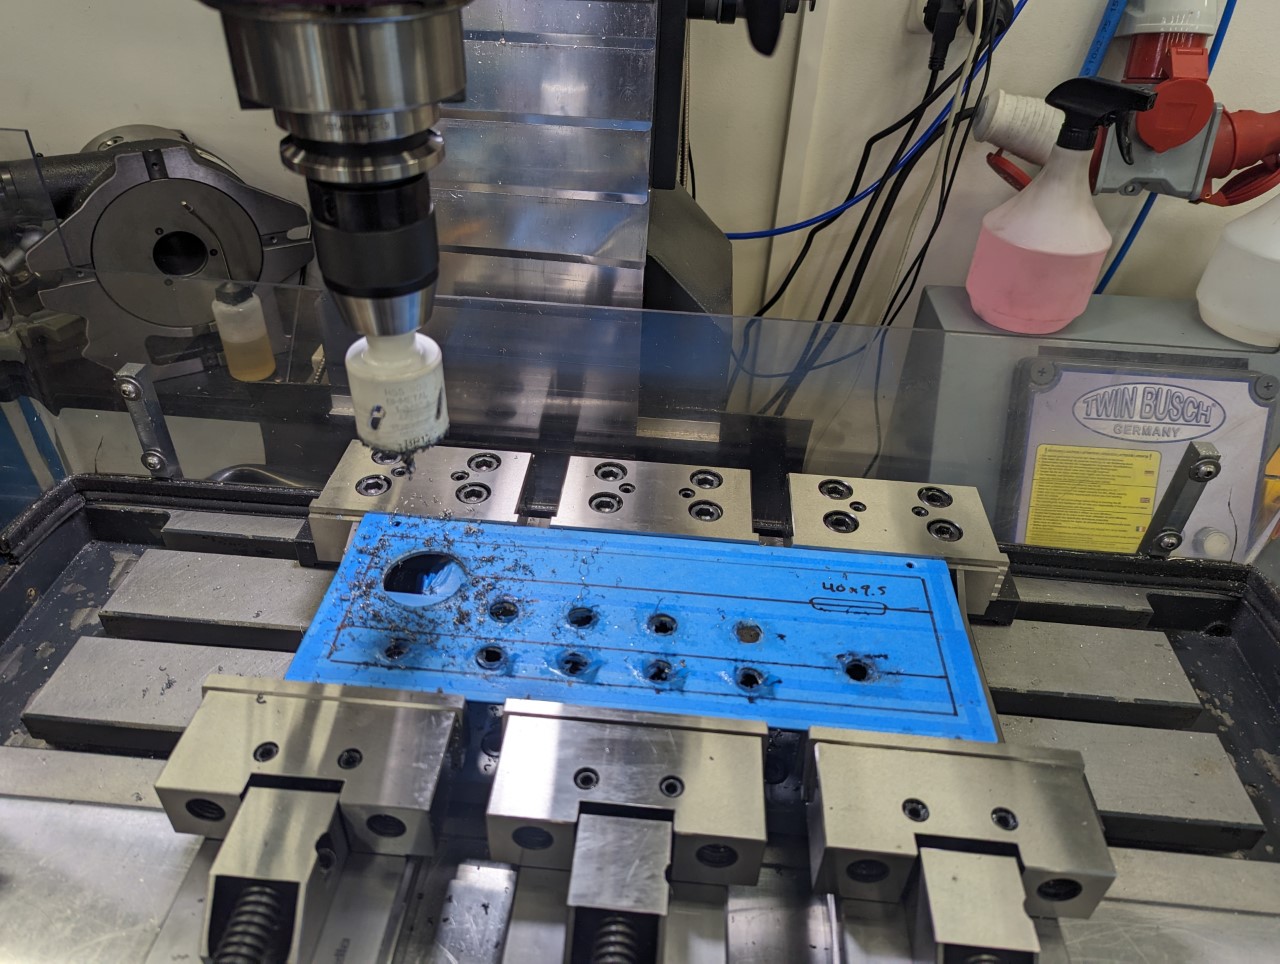
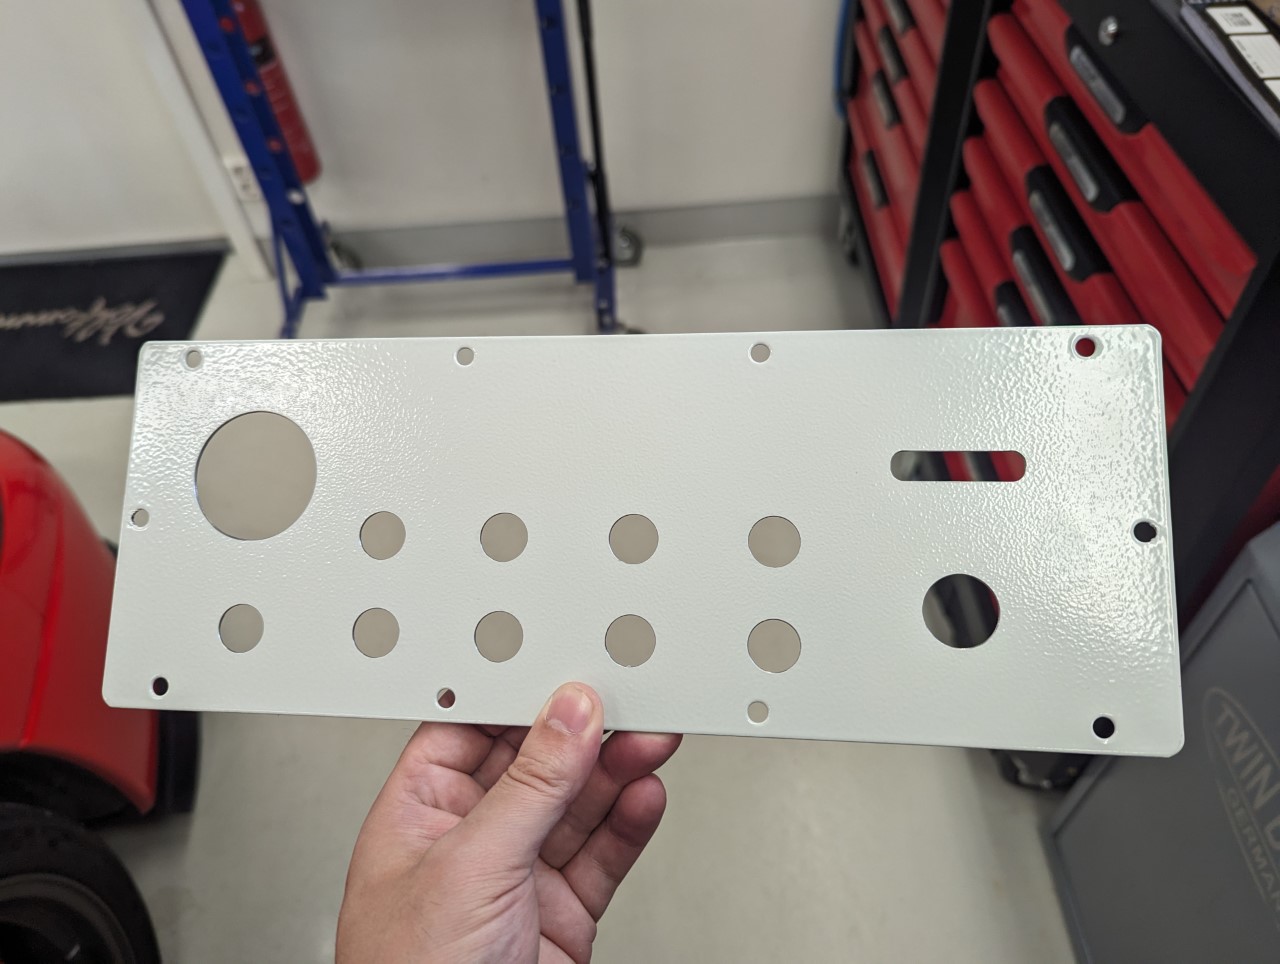
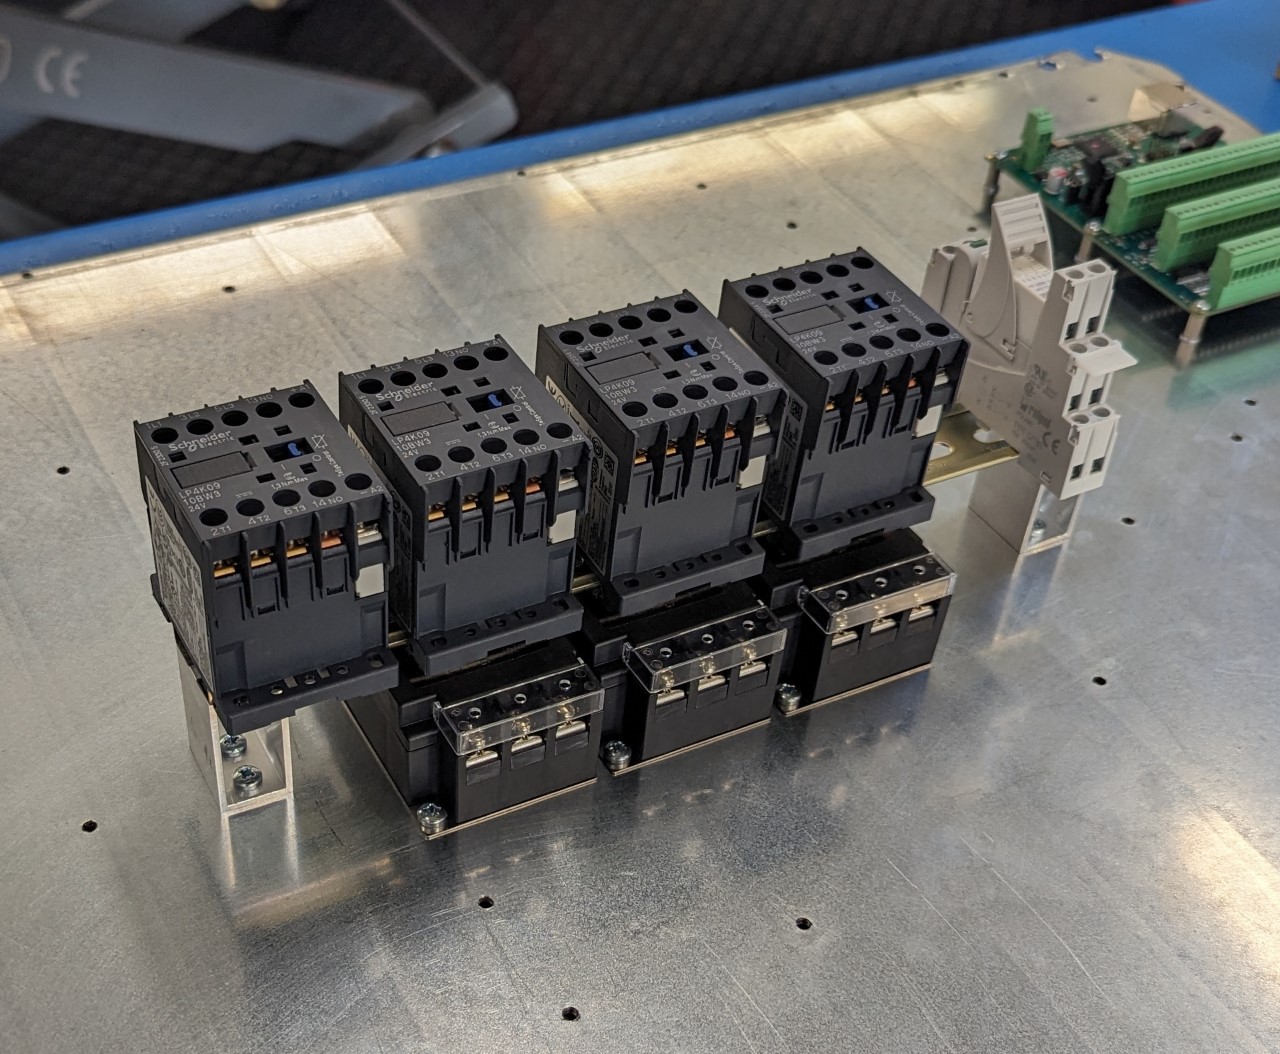
Still I had to do some unorthodox solutions in order to fit everything in the enclosure and still have space left for an eventual 4th axis servo drive. I had forgotten to take the size of the EMI filters into consideration when first planing the layout.
I solved this by raising one of the DIN rails on standoffs milled from a piece of extruded aluminum. This allowed me to "hide" the smaller EMI filters under neath the DIN rail. This also simplified the wiring a bit since the servo drives needs two power feeds. One permanent and one going through the e-stop controlled contactors but both of them needs to go through the EMI filter.
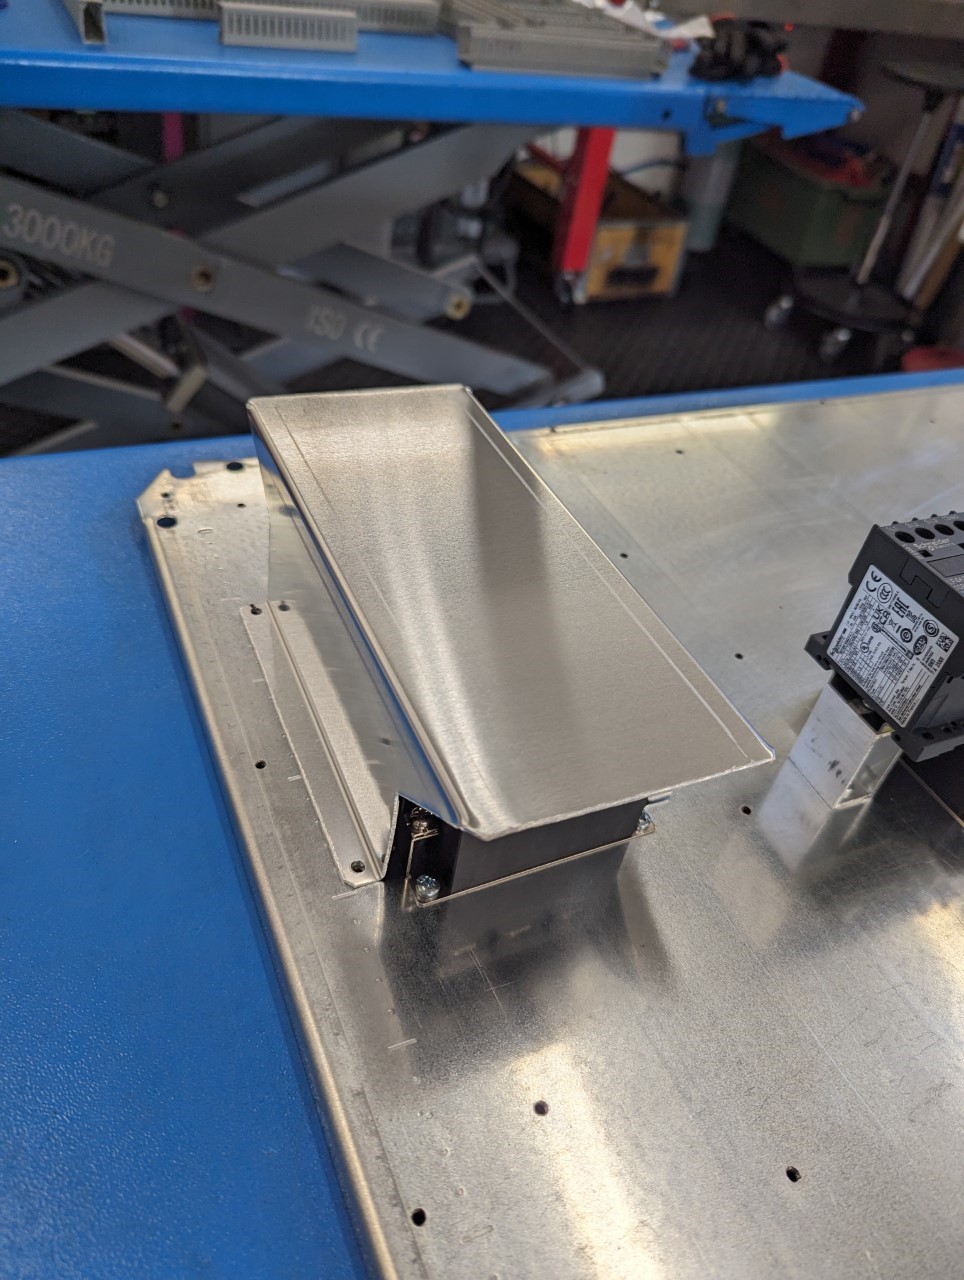
The gigantic EMI filter for the VFD was a bit trickier to hide so I made a shelf out of aluminum so that I can mount the VFD on top of the filter.
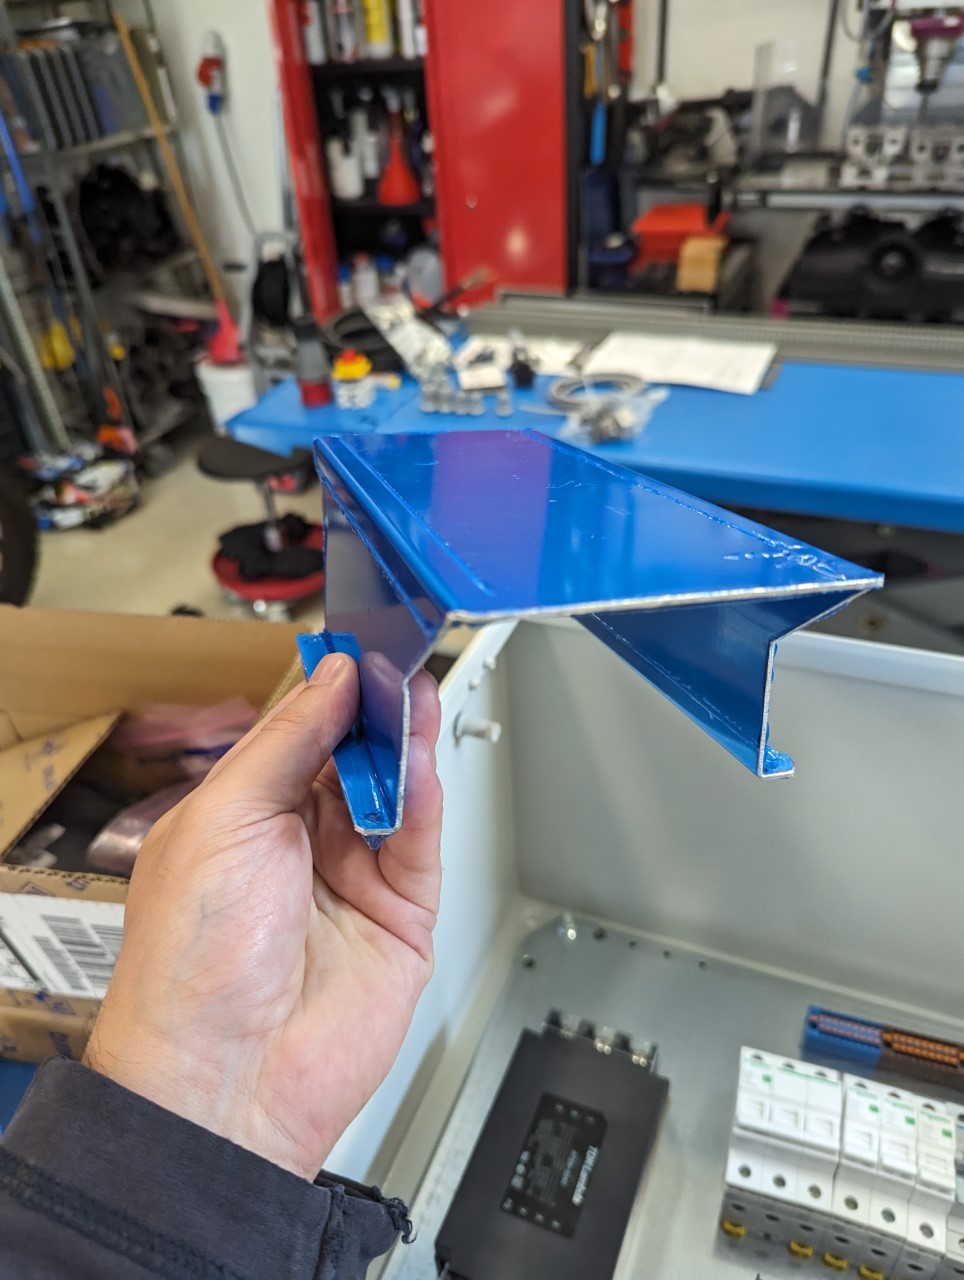
The VFD isn't installed yet as I'm planing to reuse the one that came with the mill and I'm still using the mill in manual mode so it will have to wait until the conversion is done before it can be moved over.
Attachments:
Please Log in or Create an account to join the conversation.