Planning - Bridgeport Interact 1 linuxCNC Retrofit

More
10 years 7 months ago - 10 years 7 months ago #71099 by cncnoob1979
csbrady,

What size potientiometer did you use? Did you go with 5v 12v or 24v source voltage?

I'm thinking a higher voltage would allow me to scale easier with better noise immunity.

What's your thoughts?

Also with the start / pause button I thought I would use a changed state function. I believe I can do it this way. But I'm not sure how to yet :)

Basically on a momentary switch NO:

If high - start
If high state again - pause

// repeat

Or

Which ever state on a latching switch is start and on a change state from high/low pause? Therefore my switch state is irrelevant.

Does that sound feasible?

It maybe easier to just add separate buttons!!

I'm still planning to purchase, I have not bought anything yet. So changes at this time would be easier.
Last edit: 10 years 7 months ago by cncnoob1979.

Please Log in or Create an account to join the conversation.
More
10 years 7 months ago #71106 by csbrady
cncnoob,

I used 5K pots with 24v. DigiKey #987-1329-ND. I also got the knobs from DigiKey #226-1022-ND. You will need to do some scaling to get the ranges to work correctly. I had to do some trial and error to get it right. You also will need to scale up the floating point value before converting it to an integer override value or you only get 24 steps. You will save a lot of time if you look at what I did in my hal file.

For the your pause/resume switch you will need to first debounce the input and then use and logic functions to get the desired behavior . Again look at my hal file to get started.

One switch would certainly work, but if you put in two you can copy my hal and might find it more convenient.

Please Log in or Create an account to join the conversation.

More
10 years 7 months ago - 10 years 7 months ago #71542 by cncnoob1979
csbrady,

Thanks for the part #'s. You made it very easy for me... so many different possibilities for pot's out there. I received the same pots that you purchased and I have already changed the panel layout a few times.

The buttons that I wanted I could not find for less that 20$ a piece. So I decided to change to cheaper 22mm buttons and try them out. Im sure I will end up changing them sooner or later... its not as clean looking as I would like. :)

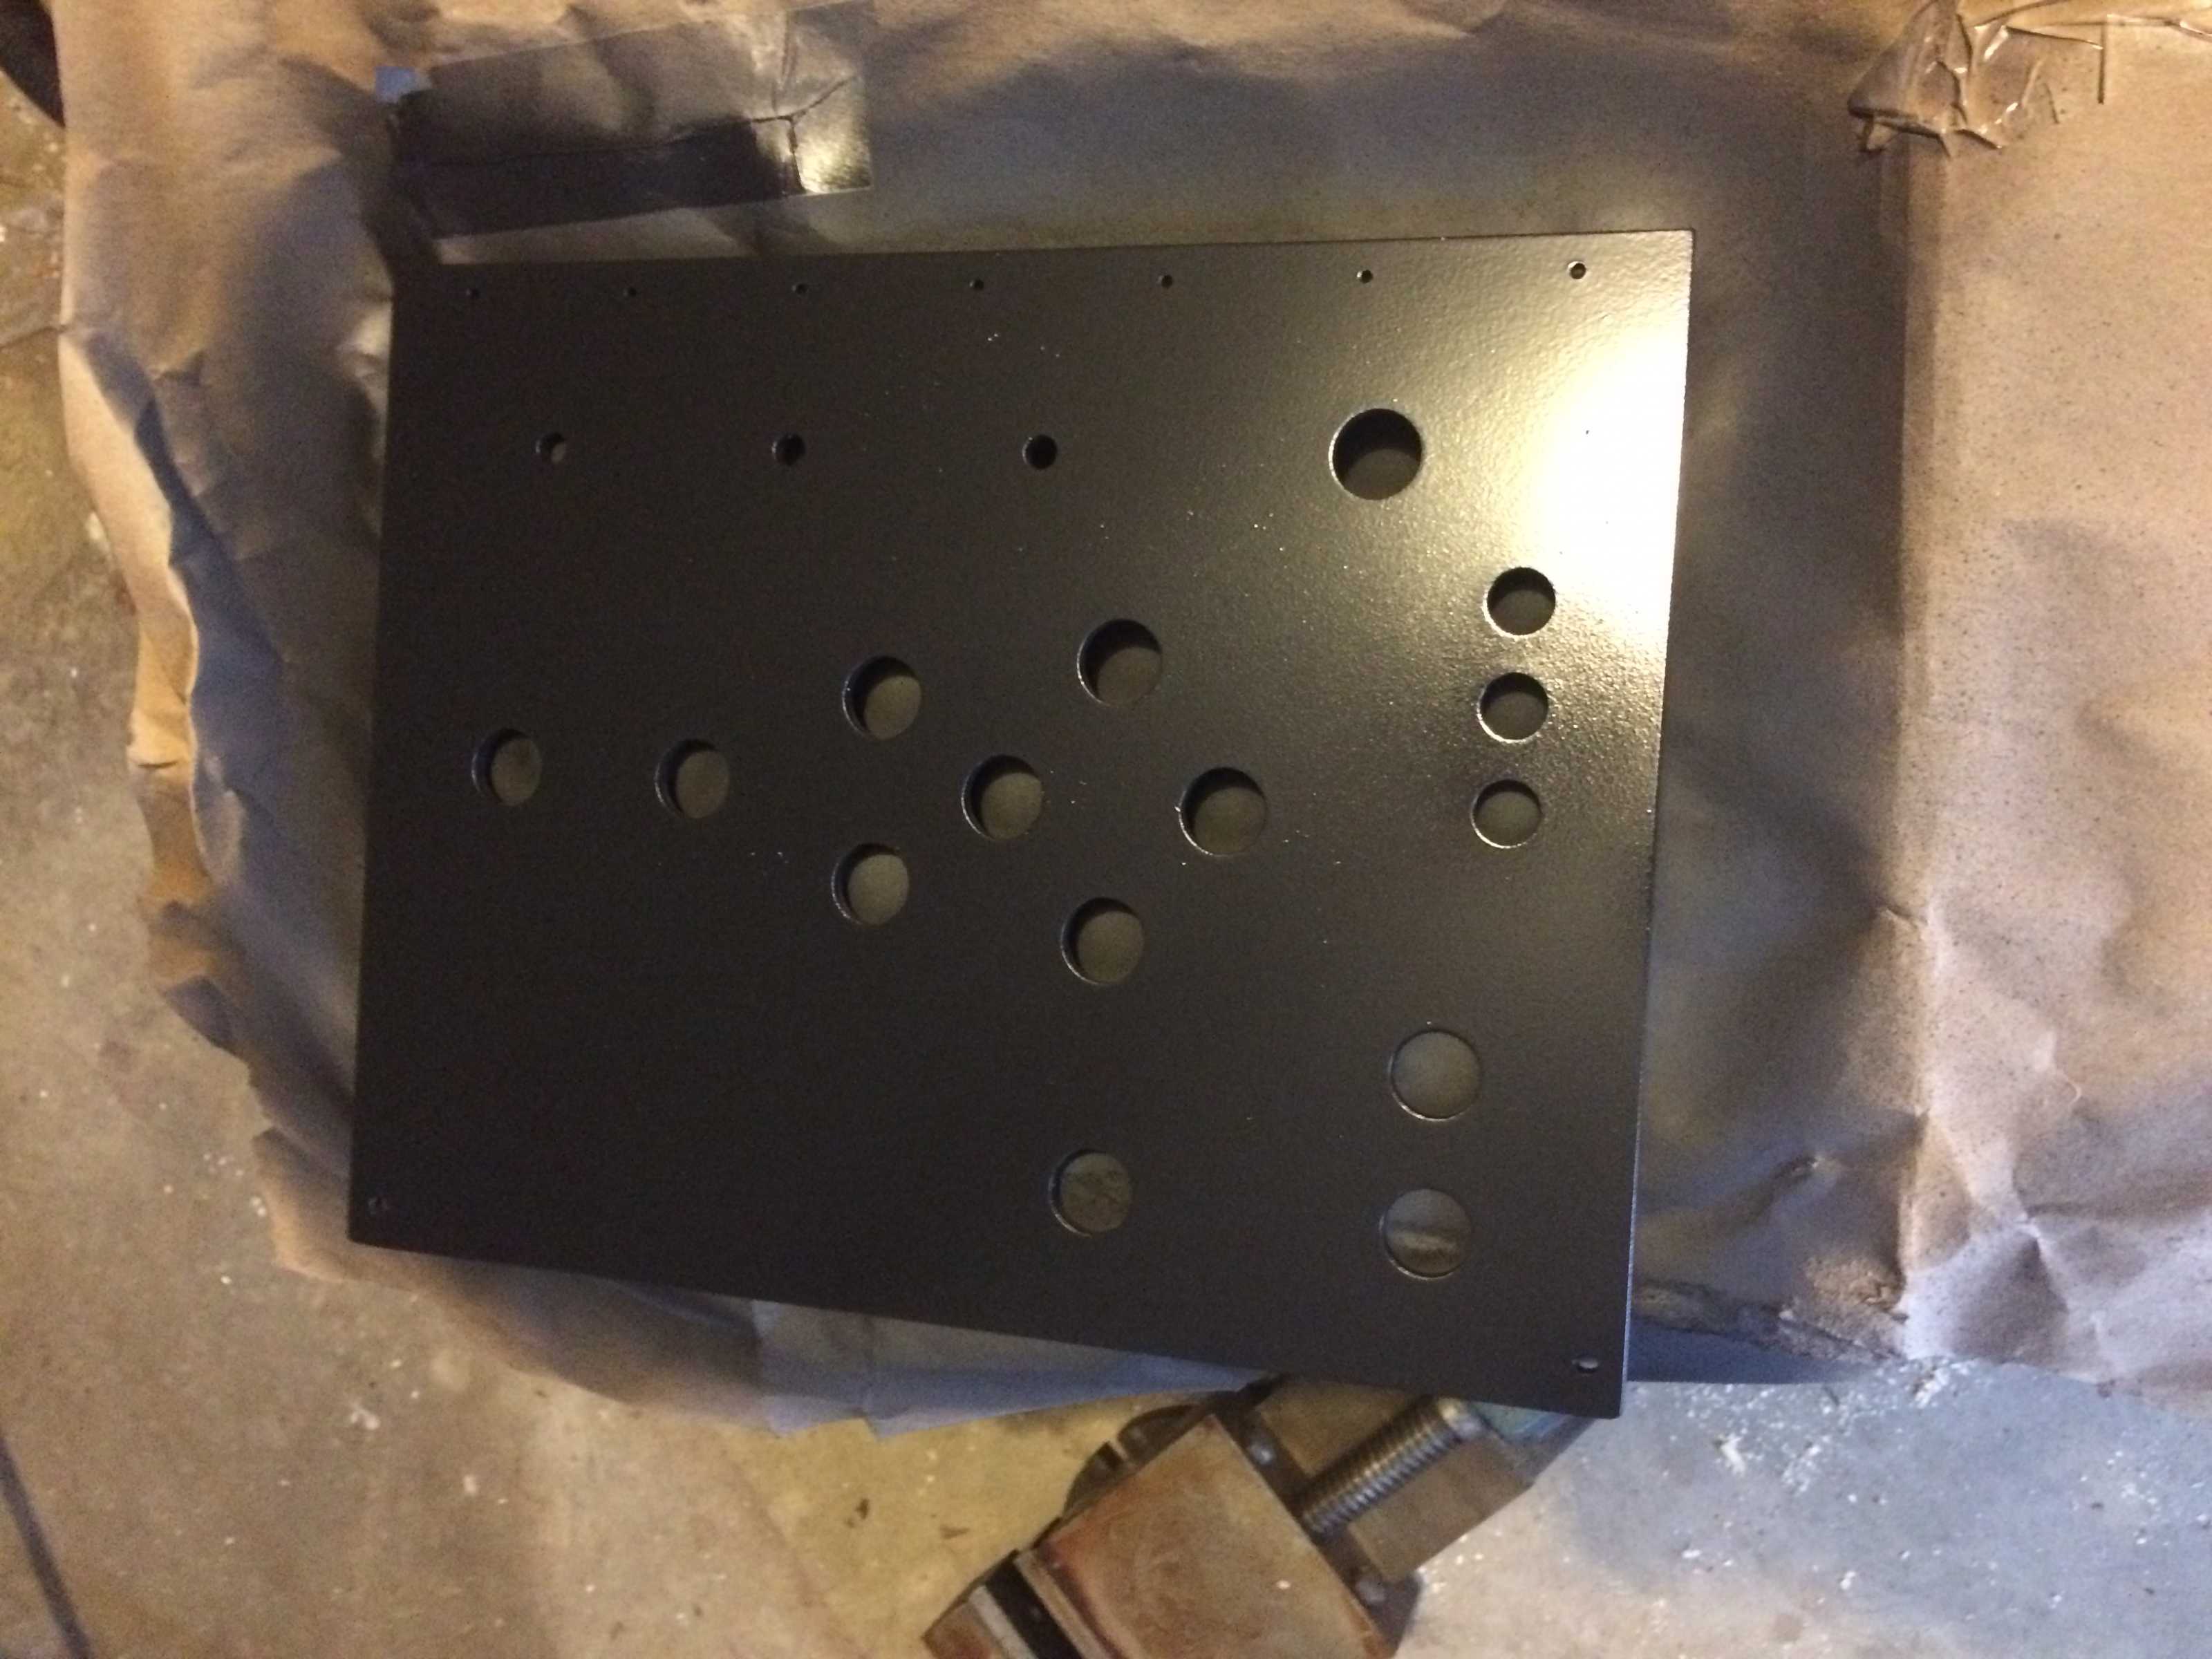
I used the CNC to mill a few panels out of wood looking at the placement and such. I'm glad I did, I did not like how it turned out. I cut the last panel in acrylic .25in. I'll sand and paint this one black to see if I am happy with the results, then perhaps I will engrave it and fill it in with white paint.

I broke my 1/8 and 3/16 end mill from the first plunge with the machine. lol At least now I know that that tool offsets in linuxcnc are overridden by the tool offsets in the CAM program. Plunged straight in at 30 ipm @ 1 1/2 depth... wasn't a purdy site. I had a few hiccups here and there figuring it out. You can see an example on the wooden panel below.

I decided to go with a pinao hinge front panel as well. I raised the hinge using .52 x .25 inch acrylic beneath so the panel can open and close flush. This will allow easier access and also easy to wire together. Tell me what you guys think about it. yeah I know the cheap big buttons aren't that great.

image missing http://i346.photobucket.com/albums/p431/swill008/2015-11/53F19F11-E2C2-4B8A-AF1F-7E0CC9BAE463_zpss8we9htx.jpg

image missing http://i346.photobucket.com/albums/p431/swill008/2015-11/442FBE07-8C52-41EC-8596-9A0BD6D0BED4_zpsbrhochgz.jpg

image missing http://i346.photobucket.com/albums/p431/swill008/2015-11/43AEF38B-2E20-466C-9547-8C3C03C36B6B_zpsnwti4bze.jpg


Last edit: 10 years 7 months ago by cncnoob1979.

Please Log in or Create an account to join the conversation.

More
10 years 7 months ago #71580 by andypugh
One tip for buttons, search eBay for "MAME"

It's an arcade machine emulator, and arcade machine builders need tough buttons.

Please Log in or Create an account to join the conversation.

More
10 years 7 months ago #71581 by andypugh
Painting and engraving transparent material from the back side could look pretty good, and would be super hard-wearing.

Please Log in or Create an account to join the conversation.

More
10 years 7 months ago - 10 years 7 months ago #71600 by cncnoob1979
Andy,

That is an awesome idea. I will definitely do that on the next panel I cut. I read your post too late for me to try it with this panel, but I will use that method for the next.

I decided to wire up my panel for now and try to get it going to see what extra buttons I would like or to remove.

I like the idea of using arcade style buttons also. I'm having fun with the project but I really want to get it buttoned up and clean looking.

Here is a shot of the panel and wiring so far. I need to buy a quick disconnect plug for the wiring for easy removal sometime.


image missing http://i346.photobucket.com/albums/p431/swill008/2015-11/D27B2841-B6A1-43F6-838A-7D2AF60189C2_zpsb6q0ufru.jpg

image missing http://i346.photobucket.com/albums/p431/swill008/2015-11/1C6C44C8-DE8A-4A3F-A427-94A76B664F90_zpss4iwbhhn.jpg
Last edit: 10 years 7 months ago by cncnoob1979.

Please Log in or Create an account to join the conversation.

Time to create page: 2.162 seconds
Powered by Kunena Forum
