Another plasma component...
- rodw
-

- Away
- Platinum Member
-

Less
More
- Posts: 12012
- Thank you received: 4096
25 Apr 2019 03:09 #131828
by rodw
John, Thanks. Short interlude resolving a wiring fault on the Y axis home switch... Poor eyesight = poor connection!
Ok, now I understand whats going on.
My machine's Max Z i(and shared home limit switch) s at the top of the Z axis. (0mm) The Min Z is at -84mm.
So after homing at the top of the Z axis, I need to add a G92 Z84 for it all to make sense and for Plasmac to like it.
I tried again to configure my Z axis homing so it was +84mm at the top but had no luck at all. I thought it could be done. I've attached my ini file if anybody has time to look at ti.
My probe height must have just made it by the skin of my teeth as I had never seen the nice slow probing happen before until I increased the probe height. So based on my experience, and to be more robust,I think plasmac should set the probe height to be (Z min - probe height) and that would get away with the need for any G92 offsets. So in the absence of a G92 in my case, that would be say -84.00mm + 30mm = -54mm.
Replied by rodw on topic Another plasma component...
Rod,
My slats are pretty level, say about +/- 1.5mm. So I just had my Z at machine Z 0 and took a tape measure and measured down to the top of the slats from the torch shield end. I used this measurement as my MIN_LIMIT and a little bit less for my G54 Z offset. The G54 Z offset is only so your DRO makes sense when cutting. Mine is close right now, close enough I don't need to do math in my head to tell what is happening in the cut.
John
John, Thanks. Short interlude resolving a wiring fault on the Y axis home switch... Poor eyesight = poor connection!
Ok, now I understand whats going on.
My machine's Max Z i(and shared home limit switch) s at the top of the Z axis. (0mm) The Min Z is at -84mm.
So after homing at the top of the Z axis, I need to add a G92 Z84 for it all to make sense and for Plasmac to like it.
I tried again to configure my Z axis homing so it was +84mm at the top but had no luck at all. I thought it could be done. I've attached my ini file if anybody has time to look at ti.
My probe height must have just made it by the skin of my teeth as I had never seen the nice slow probing happen before until I increased the probe height. So based on my experience, and to be more robust,I think plasmac should set the probe height to be (Z min - probe height) and that would get away with the need for any G92 offsets. So in the absence of a G92 in my case, that would be say -84.00mm + 30mm = -54mm.
Please Log in or Create an account to join the conversation.
- phillc54
-
 Topic Author
- Offline
- Platinum Member
-
Less
More
- Posts: 5711
- Thank you received: 2100
25 Apr 2019 03:20 - 25 Apr 2019 03:21 #131829
by phillc54
Replied by phillc54 on topic Another plasma component...
Rod,
Something like this should work:I really don't understand why you need the G92 offset, after homing jog Z down to just above slat level and use the Z touchoff button to set Z zero then jog back up to the top and give it a try. Make sure you have reset all offsets.
Cheers, Phill
Something like this should work:
[AXIS_Z]
MIN_LIMIT   = -0.001
MAX_LIMIT   = 84.001


[JOINT_3]
#********************
MIN_LIMIT   = -0.001
MAX_LIMIT   = 84.001
HOME_OFFSET = 84.0
HOME        = 80.0
Cheers, Phill
Last edit: 25 Apr 2019 03:21 by phillc54.
Please Log in or Create an account to join the conversation.
- islander261
- Offline
- Platinum Member
-
Less
More
- Posts: 757
- Thank you received: 216
25 Apr 2019 03:33 #131830
by islander261
Replied by islander261 on topic Another plasma component...
Rod
You don't need any G92 offsets to make it work if you have the correct .ini MIN_LIMIT set. I am in the house for the night so I can't check the shop. My G54Z offset is -2.6" (G54 DRO reads 2.6" when at machine (G53) Z 0). My Z has a combined home/limit switch at the top (away from the material) of the travel. Right now I am using a probe distance of .38" so about 10mm and when I probe the Z descends at the setup speed (150ipm) to about .25"(6mm +) above the material 14 ga (1.75mm) and lowers at probe speed. As you can see we aren't talking machinist precision here to have things working. Again, my machine started working correctly as soon as I started using the correct MIN_LIMIT in the .ini, the G54 Z offset made no difference. I actually tested by using the wrong sign. Don't use G92 offsets on your machine space, get it right so your soft limits are valid and then use G54 offsets to locate your work pieces.
John
Please Log in or Create an account to join the conversation.
- islander261
- Offline
- Platinum Member
-
Less
More
- Posts: 757
- Thank you received: 216
25 Apr 2019 03:40 #131834
by islander261
Replied by islander261 on topic Another plasma component...
Guys,
The boss is going to the mainland in the morning to drop off an order and powder coating so I will get out to the shop ASAP and get some estimated .ini values for Rod from my .ini ( they should be real close because we are doing the same thing). You may even still be awake if you stay up late. I am done for the night here.
John.
Please Log in or Create an account to join the conversation.
- rodw
-
- Away
- Platinum Member
-
Less
More
- Posts: 12012
- Thank you received: 4096
25 Apr 2019 04:19 #131836
by rodw
Yes, I am away and cutting! Now I've found the G54 offsets in Gmocappy. I've just put the Z offset in there
I still don't understand how to set G54 offsets from Gcode.
Anyway, I needed a unit number to put on the building So I've got this sandblasted and am waiting for the paint to dry... I cut this once before but the torch dragged on an earlier config as I did not have Ohmic sensing.... Very cool thanks Phill!
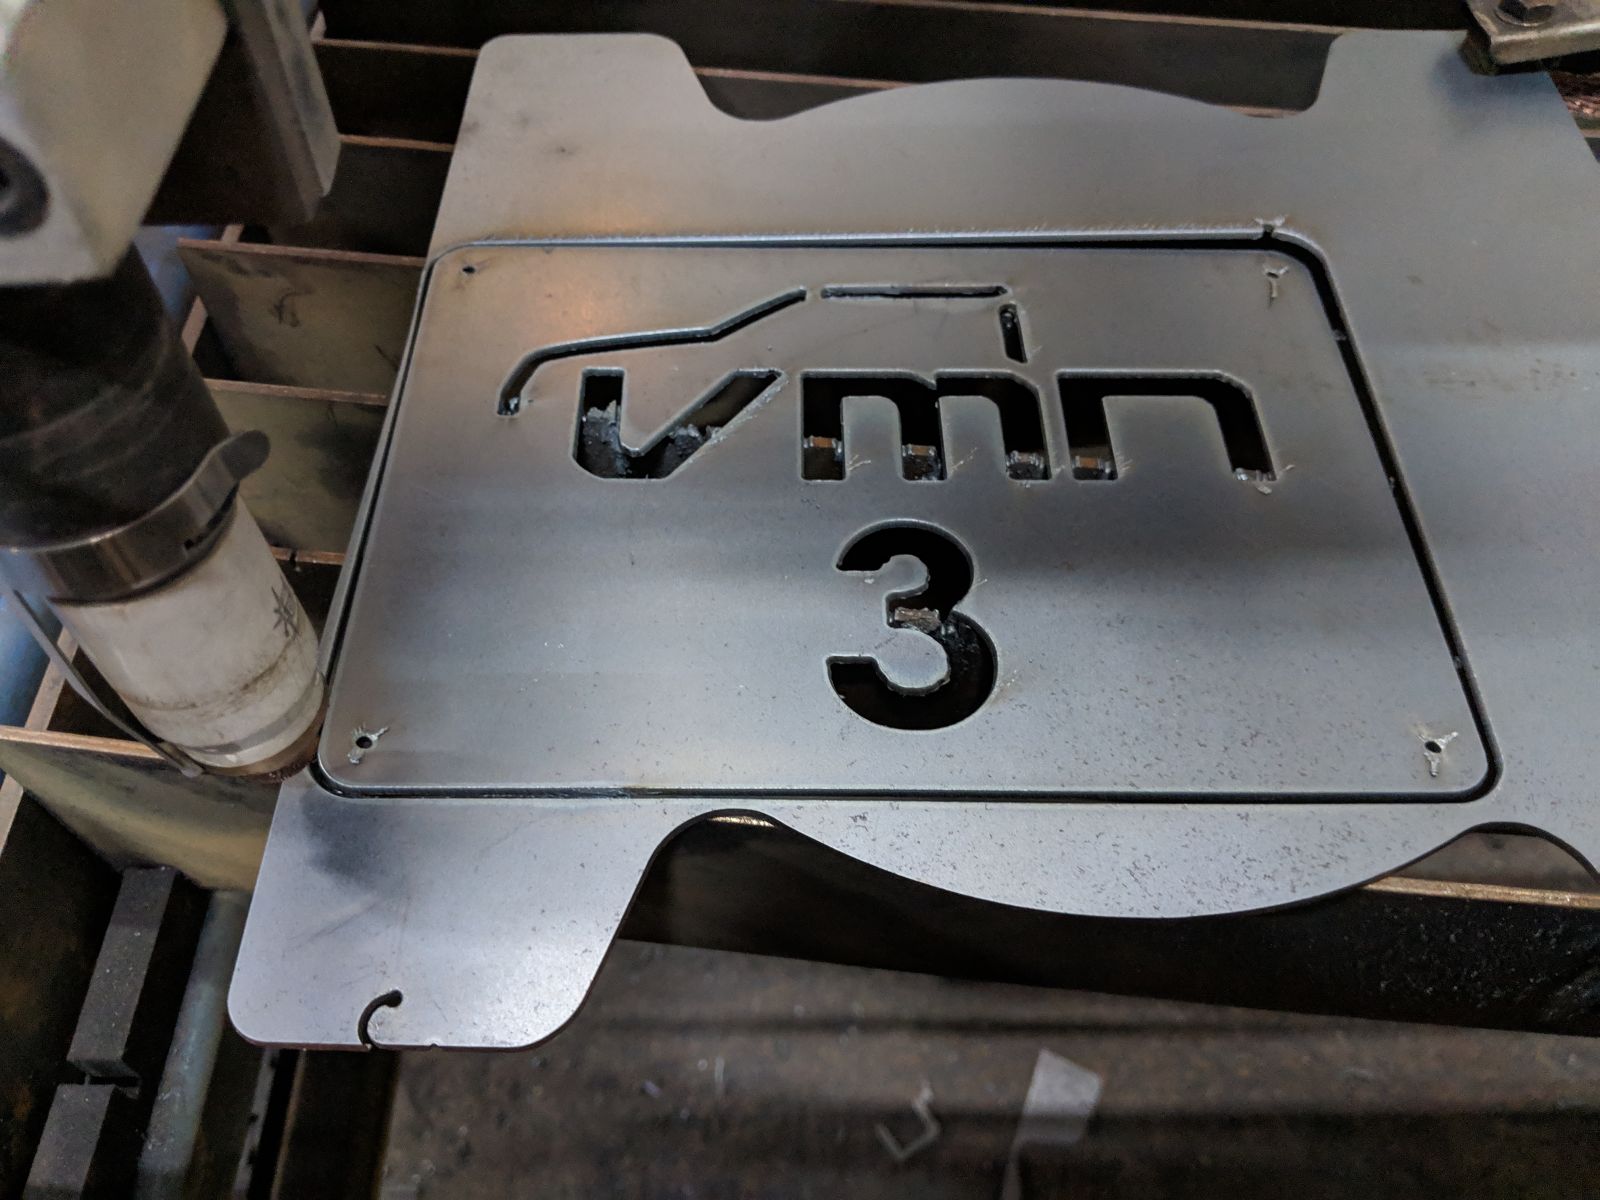
So next will be real parts.
Replied by rodw on topic Another plasma component...
Rod,
I really don't understand why you need the G92 offset, after homing jog Z down to just above slat level and use the Z touchoff button to set Z zero then jog back up to the top and give it a try. Make sure you have reset all offsets.
Cheers, Phill
Yes, I am away and cutting! Now I've found the G54 offsets in Gmocappy. I've just put the Z offset in there
I still don't understand how to set G54 offsets from Gcode.
Anyway, I needed a unit number to put on the building So I've got this sandblasted and am waiting for the paint to dry... I cut this once before but the torch dragged on an earlier config as I did not have Ohmic sensing.... Very cool thanks Phill!
So next will be real parts.
Attachments:
The following user(s) said Thank You: phillc54, Grotius
Please Log in or Create an account to join the conversation.
- phillc54
-
Topic Author
- Offline
- Platinum Member
-
Less
More
- Posts: 5711
- Thank you received: 2100
25 Apr 2019 04:25 #131837
by phillc54
Replied by phillc54 on topic Another plasma component...
Rod,
Check this out, I normally use G10 L2 in Section 3.2
Cheers, Phill.
BTW you really don't need to change Z, plasmac does all the motion required.
Check this out, I normally use G10 L2 in Section 3.2
Cheers, Phill.
BTW you really don't need to change Z, plasmac does all the motion required.
Please Log in or Create an account to join the conversation.
- rodw
-
- Away
- Platinum Member
-
Less
More
- Posts: 12012
- Thank you received: 4096
25 Apr 2019 09:39 #131843
by rodw
Replied by rodw on topic Another plasma component...
Phil thanks. I read that several times. Its just my lack of gcode experience showing through. I'll work it out.
I have to say you are truly the plasma wizard from Oz! Plasmac is Amazing! I'm sold!
I designed another prototype part this afternoon and came up with a very messy Sheetcam post for Plasmac so I could cut it. When I clean it up you may like to adopt it. In fact, maybe we can get Les to include a working post in his sheetcam distro once plasmac is a bit more stable.
The following user(s) said Thank You: phillc54
Please Log in or Create an account to join the conversation.
- docwelch
- Offline
- Senior Member
-

Less
More
- Posts: 58
- Thank you received: 25
25 Apr 2019 12:36 #131846
by docwelch
Replied by docwelch on topic Another plasma component...
Rod,
Thanks for the help with the man pages and the information. I've been playing around with the simulator and really like what I am seeing.
Steven
Thanks for the help with the man pages and the information. I've been playing around with the simulator and really like what I am seeing.
Steven
The following user(s) said Thank You: rodw
Please Log in or Create an account to join the conversation.
- islander261
- Offline
- Platinum Member
-
Less
More
- Posts: 757
- Thank you received: 216
25 Apr 2019 14:06 #131854
by islander261
Replied by islander261 on topic Another plasma component...
Rod
The only reason you will ever need to set G54 offsets from Gcode is if you start using multi work piece fixtures on your table, not the usual practice in plasma cutting.
The G54 offsets tell the machine the offsets from machine coordinates to them. If you look through the Gcodes you will see there are a number of offsets (Gcodes) available, we normally only need one for plasma cutting because we are not using fixtures or multiple vices like a milling machine. You actually could use any of the available ones if you want to. When we use the Gmoccapy touch off buttons to set the work piece zero it takes care of making the selected offsets active so you don't need to in the Gcode, if you switch offsets in mid program then you will need to switch in Gcode, no real reason unless you plan on multiple work pieces. The use of offsets to define the location of your work piece keeps your soft limits correct. Typically you want to keep your machine coordinate system unchanged after homing and define your work piece location with offsets. Your Gmoccapy DROs are set up this way with the abs value being the machine coordinates and the work piece coordinates displayed with the active offset.
Please find attached my hacked up PP for SheetCam, I left a lot of garbage behind waiting on passing control codes from Gcode. Right now all it does is allow control of THC enable if you have appropriately hacked you .hal. If using this be sure to set your GUI Cut Speed to 0 to allow feedrate from Gcode.
John
The following user(s) said Thank You: phillc54
Please Log in or Create an account to join the conversation.
- islander261
- Offline
- Platinum Member
-
Less
More
- Posts: 757
- Thank you received: 216
25 Apr 2019 17:16 #131870
by islander261
Replied by islander261 on topic Another plasma component...
Rod
Here is my typical work flow as it may help clear things up. Using Gmoccapy in the Plasmac branch.
1.Start terminal session.
2.Set Plasmac RIP environment
3. Start LinuxCNC
4. Pick configuration I want to run
5. Take program out of estop
6. Switch machine on with GUI button
7. Press the Homing button in bottom left corner of GUI
8. Press Home All button in bottom left corner of GUI and wait for homing to finish
9. Press Load Material button on buttons panel and wait for gantry to clear table
10. Place work piece on table and square to table motion using laser crosshairs
11. Jog to work piece origin
12. Press Touch Off button on bottom of GUI (second from left)
13. Press X Set button
14. In popup window set X offset to 0 (should be default choice)
15. Repeat 13 & 14 for Y axis
16. Press return button on bottom right of GUI to clear Touch Off Tab, you should see G54 offset label displayed in DRO
17. Check settings
18. Load program
19. Enable Torch
20. Start program
John
The following user(s) said Thank You: phillc54
Please Log in or Create an account to join the conversation.
Moderators: snowgoer540
Time to create page: 0.443 seconds