Work with probe
- mwidlok
- Offline
- Junior Member
-

- Posts: 38
- Thank you received: 15
I don't know about which icons You are talking, and also I know nothing about the ERR pin. I've just updated the code for newer python/gtk - it is very likely that You know much more about probing and this program then me
I will check the motion error more - in my case Estop/limit sw instantly stops movement, so I assume it is ok. I don't understand "pendent" problem form note 2 - could You please explain?
Attachments:
Please Log in or Create an account to join the conversation.
- jcdammeyer
-

- Offline
- Senior Member
-

- Posts: 73
- Thank you received: 8
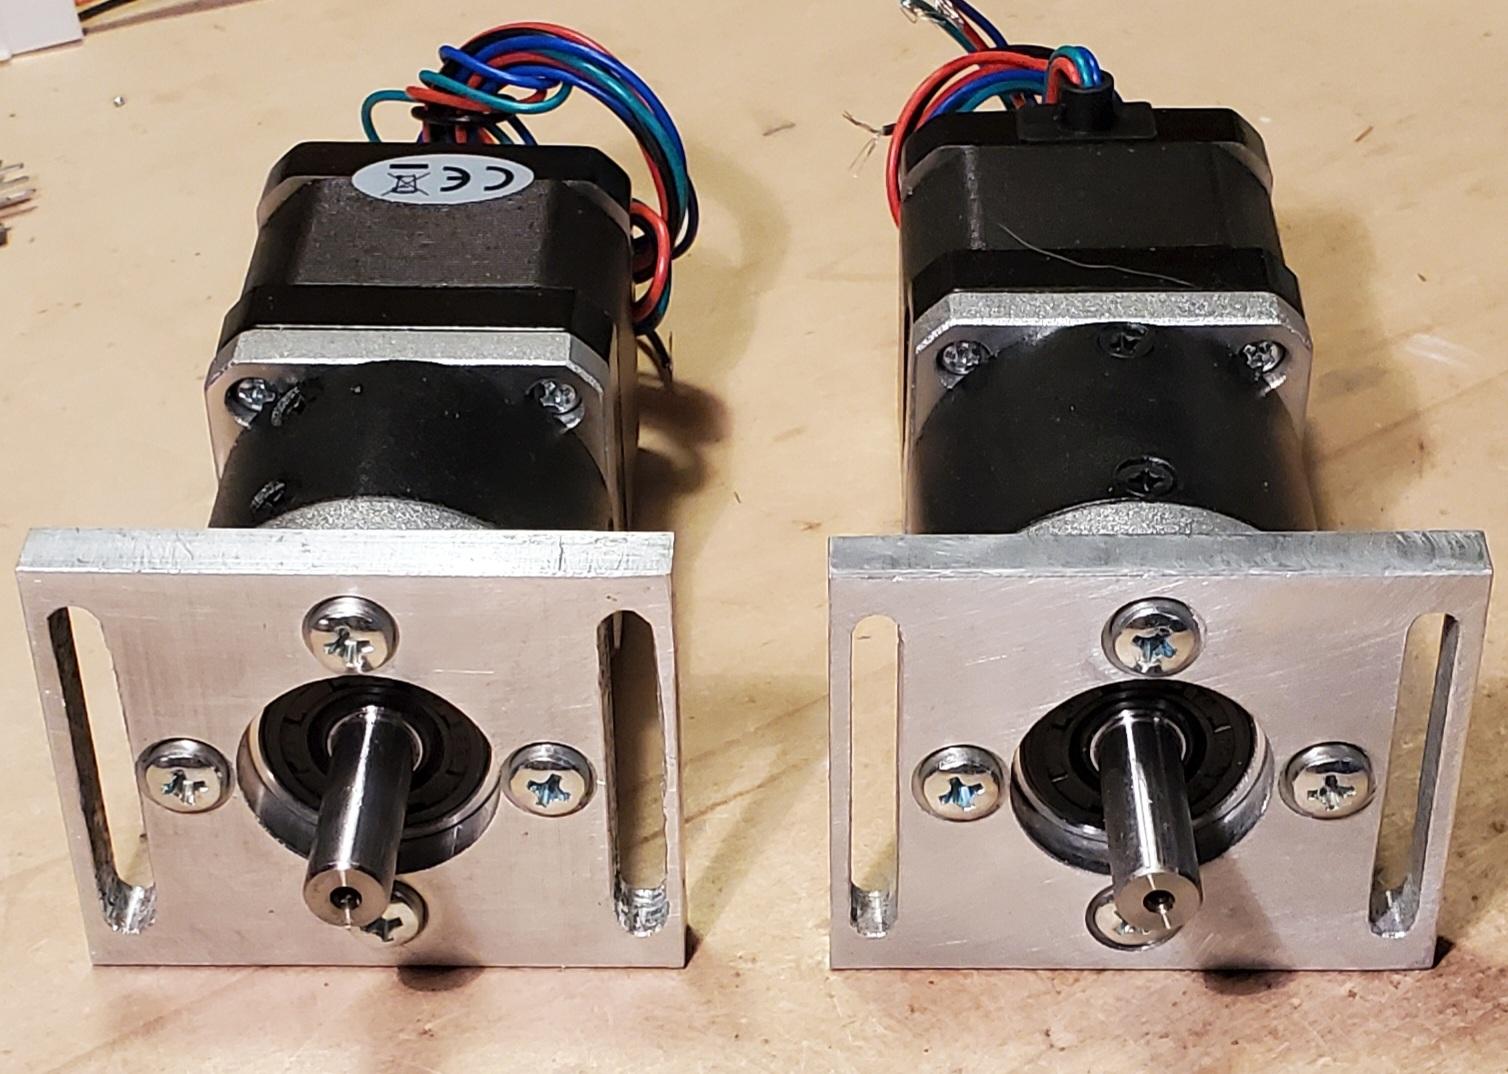
I've been using my fabricated Z touch probe and LED indicated edge detector along with my Shumatech DRO for determining edges and center position of the raw material. Once I got the feeds and speeds under control the second mount plate came out much better. No more high speed movement in the probe direction.
So far I've been using the modified tool change code and only the Z touch off button on the PSNG screen. The m6remap.ngc code uses the tool length in the tool table if it's non-zero or goes to the tool setter sensor to measure the tool if length is 0.
For example in the above photo I used a 0.125" 2 flute cutter for the slots, a center drill to create the hole positions, a 0.25" 2 flute cutter for the large holes and finally a 1/4" drill chuck with a 4.5mm drill for the holes. The center drill and 4.5mm holes were done first. Then the large hole. Finally the slots. Once I reduced the feed to 5 IPM instead of 14 IPM the slots turned out much better. The 4.5mm drill was probed with the tool setter each time. The others used the tool table so no probing. Nice!
An error in my drawing has the slots 1mm too close to one edge so I have to make new ones. Which is great because now I can use the replacement probe.
So why am I talking about all this? Well the checkbox for REMAP M6 doesn't really do anything anymore. So I've been looking into modifying the code so when checked a tool change will not only take the tool to the tool setter but will also install the length of the tool into the tool table. I'll rename it to be Measure Tool with M6.
I'm thinking the Button underneath the title should do "Measure Tool" with the tool number in the field that currently has the label TS Height. Or maybe leave that as Tool Setter Height value when tripped and add a box for tool #. The Work Piece height can just be the same as the other touch off button with the text filled with Machine Coordinate distance from 0.
I can't use the probe to determine the tool setter height since the probe trips before the tool setter does. Different spring strength.
Anyway. Enough of a ramble. More when I have something to show and the m6remap.ngc code is complete. Still all in the development state at the moment but at least it's usable.
Attachments:
Please Log in or Create an account to join the conversation.
- JohnnyCNC
-

- Offline
- Platinum Member
-

- Posts: 570
- Thank you received: 110
I use the following code to measure my tool setter trip height. I touch off the nose of the spindle on the tool setter. My m6remap uses the G59.3 location to measure the variable length tools.
%
(measure_toolsetter_inch v1.2)
G20 (Switch to Inch units)
M5 (Turn spindle off)
M61 Q99 (Select tool 99 so probe will work)
G49 (Cancel tool length offset)
G59.3 (switch to G59.3 coordinate system)
G91 (Incremental mode)
G38.2 Z-.25 F1 (Measure fine)
G10 L20 P9 Z0 (Set Coordinate System)
G0 Z1 (Move Z up 1 inch)
G54 (Switch to G54 coordinate system)
G90 (Switch to absolute mode)
M2
%
Please Log in or Create an account to join the conversation.
- jcdammeyer
-

- Offline
- Senior Member
-

- Posts: 73
- Thank you received: 8
Please Log in or Create an account to join the conversation.
- JohnnyCNC
-

- Offline
- Platinum Member
-

- Posts: 570
- Thank you received: 110
Please Log in or Create an account to join the conversation.
- andypugh
-

- Offline
- Moderator
-

- Posts: 19770
- Thank you received: 4600
Have you seen my design, using off-the-shelf dowel pins instead of balls? It doesn't need any fasteners, so can easily be made small.I'm waiting now for a Chinese probe (~40EUR with shipping, not sure how good/bad it will be). I've tried also to build my own version (render attached) that worked, but accuracy of 3d printers that I used was rather poor. I also had problems with finding springs and tuning it on the machine.
Please Log in or Create an account to join the conversation.
- Roguish
-

- Offline
- Elite Member
-

- Posts: 297
- Thank you received: 31
and does it truly work with the master branch ???
...
Please Log in or Create an account to join the conversation.
- rodw
-

- Away
- Platinum Member
-

- Posts: 11624
- Thank you received: 3911
Roguish, please revert to qtdragon probing where you have been working. This thread is based on the original versa probe routines which from what I can work out has never been updated for python 3. It's a shame all this recent work and effort on this thread has not been directed at the latest version of versa probing that is built into qtdragon in v 2.9ok, what version, exactly, is everyone referring to???
and does it truly work with the master branch ???
...
Please Log in or Create an account to join the conversation.
- Aciera
-

- Offline
- Administrator
-

- Posts: 4628
- Thank you received: 2049
We have a real meas with all the versions of "probe screen" floating around and I just added one more..... Anybody has any solution for this? My changes will not run on older systems, so I don't think that asking original author to push it to git is an option.
One option would be to ask the original author if ProbeScreen could be included in the LinuxCNC source code as a simulation configuration for the axis gui (and maybe another for gmoccapy).
This way it could actually be maintained in the context of the relevant LinuxCNC version branch on github.
[edit]
I think it would be a welcome addition to be able to add probing as an optional tab to axis and gmoccapy.
Please Log in or Create an account to join the conversation.
- Aciera
-

- Offline
- Administrator
-

- Posts: 4628
- Thank you received: 2049
Installing from github repo and applying patches as described here:ok, what version, exactly, is everyone referring to???
and does it truly work with the master branch ???
forum.linuxcnc.org/49-basic-configuratio...obe?start=640#276003
and here:
forum.linuxcnc.org/49-basic-configuratio...obe?start=640#276234
Seems to give me a running ProbeScreen config on a master RIP installation. However I cannot test actual probing since I do not have a probe.
Not sure what this patch does:
forum.linuxcnc.org/49-basic-configuratio...obe?start=640#276493
Please Log in or Create an account to join the conversation.


