Rods "Spaceship" Scratch built Plasma Cutter build
- rodw
-
 Topic Author
- Offline
- Platinum Member
-

- Posts: 11666
- Thank you received: 3930
I had a few wiring problems. First was that I had not plugged connector on the CNC side of the THCAD so it was not returning a voltage. I had also stuffed up wiring up my Plasma interconnect cable and one side of the Arc OK wire was soldered up to a pin that as not connected inside the plasma!
Its all a learning curve. I found out the reason why it skipped the beginning of the cut. I did not know that the Plasma machine tries multiple times to establish an arc. I was attempting to pierce too high. So what was happening was that the machine was turning off to try again just as we were taking off to cut a circle. So I dropped the pierce height to 3.0mm and it is working perfectly.
I have not enabled the THC yet, one thing at a time.
The torch voltage is showing 18 volts and remaining remarkably constant. I need to check the scaling parameters and maybe also change the limits in the plasma screens as the minimum is set to 55 volts.
I still have to check the ArcOK signals are working before I do to much more.
Anyway, once I get the basics in place, and I understand it a bit better, I'll start working with the THC and the external offset code.
If Dewey or anyone who reads this knows him, it would be great if we could get the external offsets rebased to master so it picks up a few recent bug fixes in Gmocappy. I'd really appreciate this.
Please Log in or Create an account to join the conversation.
- rodw
-
 Topic Author
- Offline
- Platinum Member
-

- Posts: 11666
- Thank you received: 3930
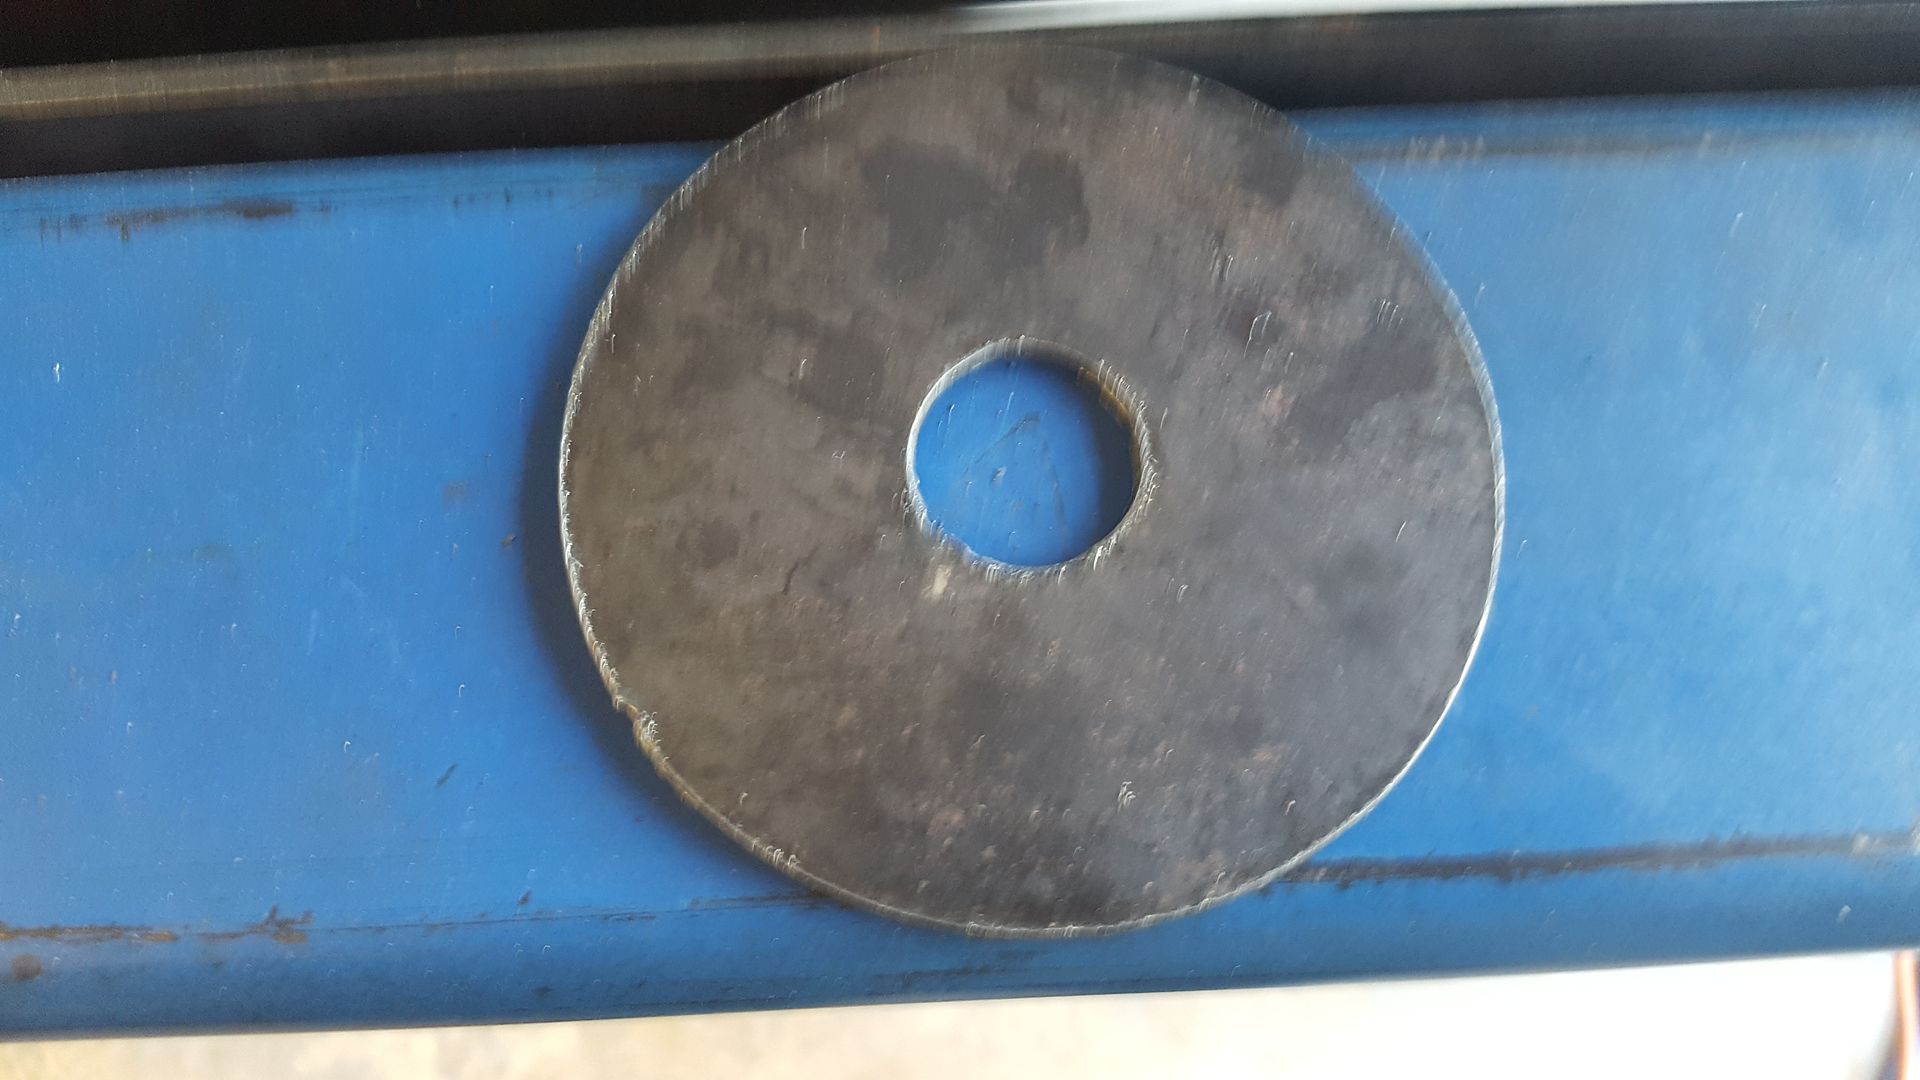
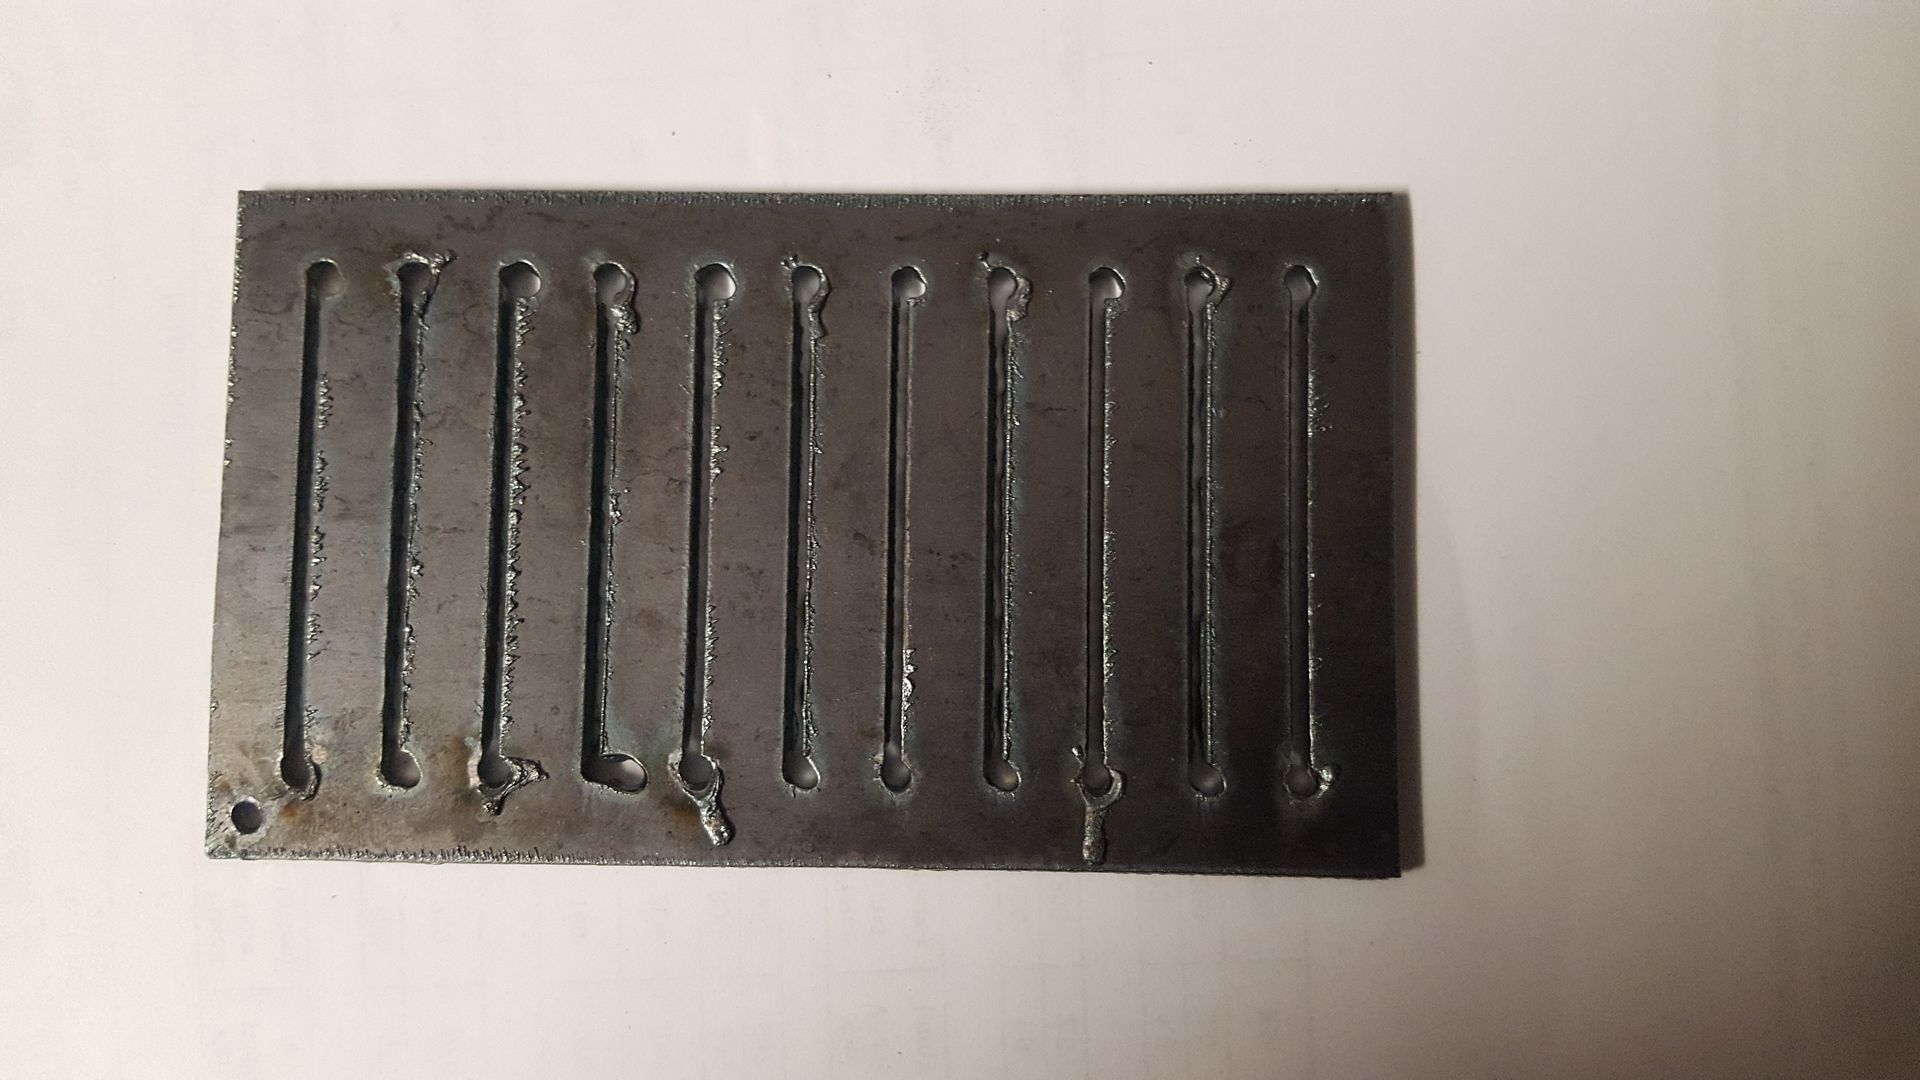
From my cuts last weekend, I had a bit of an idea about speeds so I did these 50mm long cuts ranging from 1500 to 2500 mm/min. I then picked the best looking cut at around 1900mm/min and bracketed it in increments of 10 mm/min. So I've settled on 1910mm per minute, 2mm cut height and 4mm pierce height. Kerf is 1.2mm wide.
I had this bright idea to use halstreamer to log the torch voltage (which is why I only made 50mm long cuts to limit the data). That certainly worked a treat but I forgot to turn it off at the end of the run as I'd intended and after cutting out a few of these, I ended up with an 8 gb text file!
I don't think I've got the THCAD calibrated correctly as its showing about 20 volts. I was certain I had it right previously when testing with a 5 volt signal. I need to do some more cuts and monitor the inputs with a multimeter. That might need some rewiring as I put the scaling resistor at the plasma end of the cable.
Its interesting watching the voltage, it starts up around 28 volts, fluctuates for a while around 25-26 volts and then bang, it drops to 19 volts and stays there!
Anyway, I debugged a couple of signals I could not do without a working plasma. I know I've got the torch on and the ArcOK signal working right, so I want to be confident I have the torch voltage monitoring set up correctly.
I spent a bit of time checking the external-offset THC signals and found I had a bug on the commanded volts. I sorted that out and once I get a bit more confidence everything is set up correctly, I'll move onto what everybody is waiting for PID based torch height control!
Please Log in or Create an account to join the conversation.
- rodw
-
 Topic Author
- Offline
- Platinum Member
-

- Posts: 11666
- Thank you received: 3930
The maximum scale of the THCAD-10 card is 10 volts. I extended this to with an external resistor to 20 volts, but it sounds like I need to change that to be 25 or even 30 volts. WIth a 16:1 divider in the plasma cutter that would be be 400 or 480 volts when the current maximum is 320 volts.
Until I get a moment to do some more test cuts and check the incoming divided voltage and the generated frequency, I won't be 100% sure what is going on. I think what was happening was that the THCAD-10 briefly showed readings past its maximum scale and than as the overload continued, it clamped it to the full scale reading. I know it can handle an overload situation without blowing up.
If PCW happens to be watching, I would appreciate his feedback on THCAD-10 performance in an overload situation.
Please Log in or Create an account to join the conversation.
- rodw
-
 Topic Author
- Offline
- Platinum Member
-

- Posts: 11666
- Thank you received: 3930
I think halsampler is the plasma machine builders best friend. I've got it set up to read x,y and z positions as well as torch voltage and encoder frequency. With the -t option you can add a line number which denotes every millisecond. The resulting text file can be imported into a spreadsheet where it can be analysed and graphed. Piercings are also easy to spot when looking at a graph of the Z height and torch voltage.
I was able to see that despite setting a 0.2 ms pierce delay, the machine did not start moving until about 0.6ms after starting the pierce. I thought my pierces were a bit big on my 2mm sample. I should be able to set the pierce delay to be zero on this plate thickness so already halsampler has taught me a lot!
I think from memory that I modified my hal file to add a torch off delay and I am pretty sure this is not necessary so I will set that to zero as well. I have not verified that in the data yet!
I'm hoping I'll get a few minutes tomorrow to check the divided voltage coming from the plasma cutter with a multimeter which will confirm I've got it all set up correctly.
I've managed to scrounge up some samples of 4mm, 6mm, 8mm mild steel plate and the tiniest piece of 10mm plate so I can dial in each thickness of mild steel I am likely to cut. By the weekend, I hope to have mild steel dialed in from 2mm through to 10mm thick plate.
Please Log in or Create an account to join the conversation.
- rodw
-
 Topic Author
- Offline
- Platinum Member
-

- Posts: 11666
- Thank you received: 3930
Can a plasma cutter possibly cut 2mm mild steel plate at a torch voltage of around 20 volts? Please give me your opinions. Here's why I ask....
Well, I found time to make one cut yesterday and of course the results was not what I was expecting but I did capture a new halsampler run that included the calculated voltage and the raw velocity reported by the THCAD-10. During the run I monitored the voltage on the THCAD-10 with a multimeter. It was only about 0.6 to 0.7 volts.
So I went back to basics and went right through everything and double checked I had the right value for my scaling resistor and double checked my maths to calculate the torch voltage using one of the hal sampler log values. This revealed that my original code was 100% correct and the machine was happily cutting at around 20 volts. I then calculated the sample voltage on the 0-10 volt scale of the THCAD-10 and came up with 1.45 volts. But then I remembered I had scaled the THCAD-10 to read a 0-20 volt scale so I had to halve this result before comparing with the reading from the voltmeter. This gave me 0.72 volts!. Finally I had a value that agreed with the multimeter! I am sure something is not right, so I went and rechecked that the resistor PCW told me to use to change the scale was correct and it was by the maths in the manual and byu confirmation with a multimeter..
So this plasma cutter is happily cutting at 20 volts! This still does not sound right to me. There is only one thing left to check and that is the plasma cutter internal divider is set correctly. There is a link on it to select between 50:1 and 16:1 voltage divider. I had pulled the machine apart previously and was sure it was set correctly.
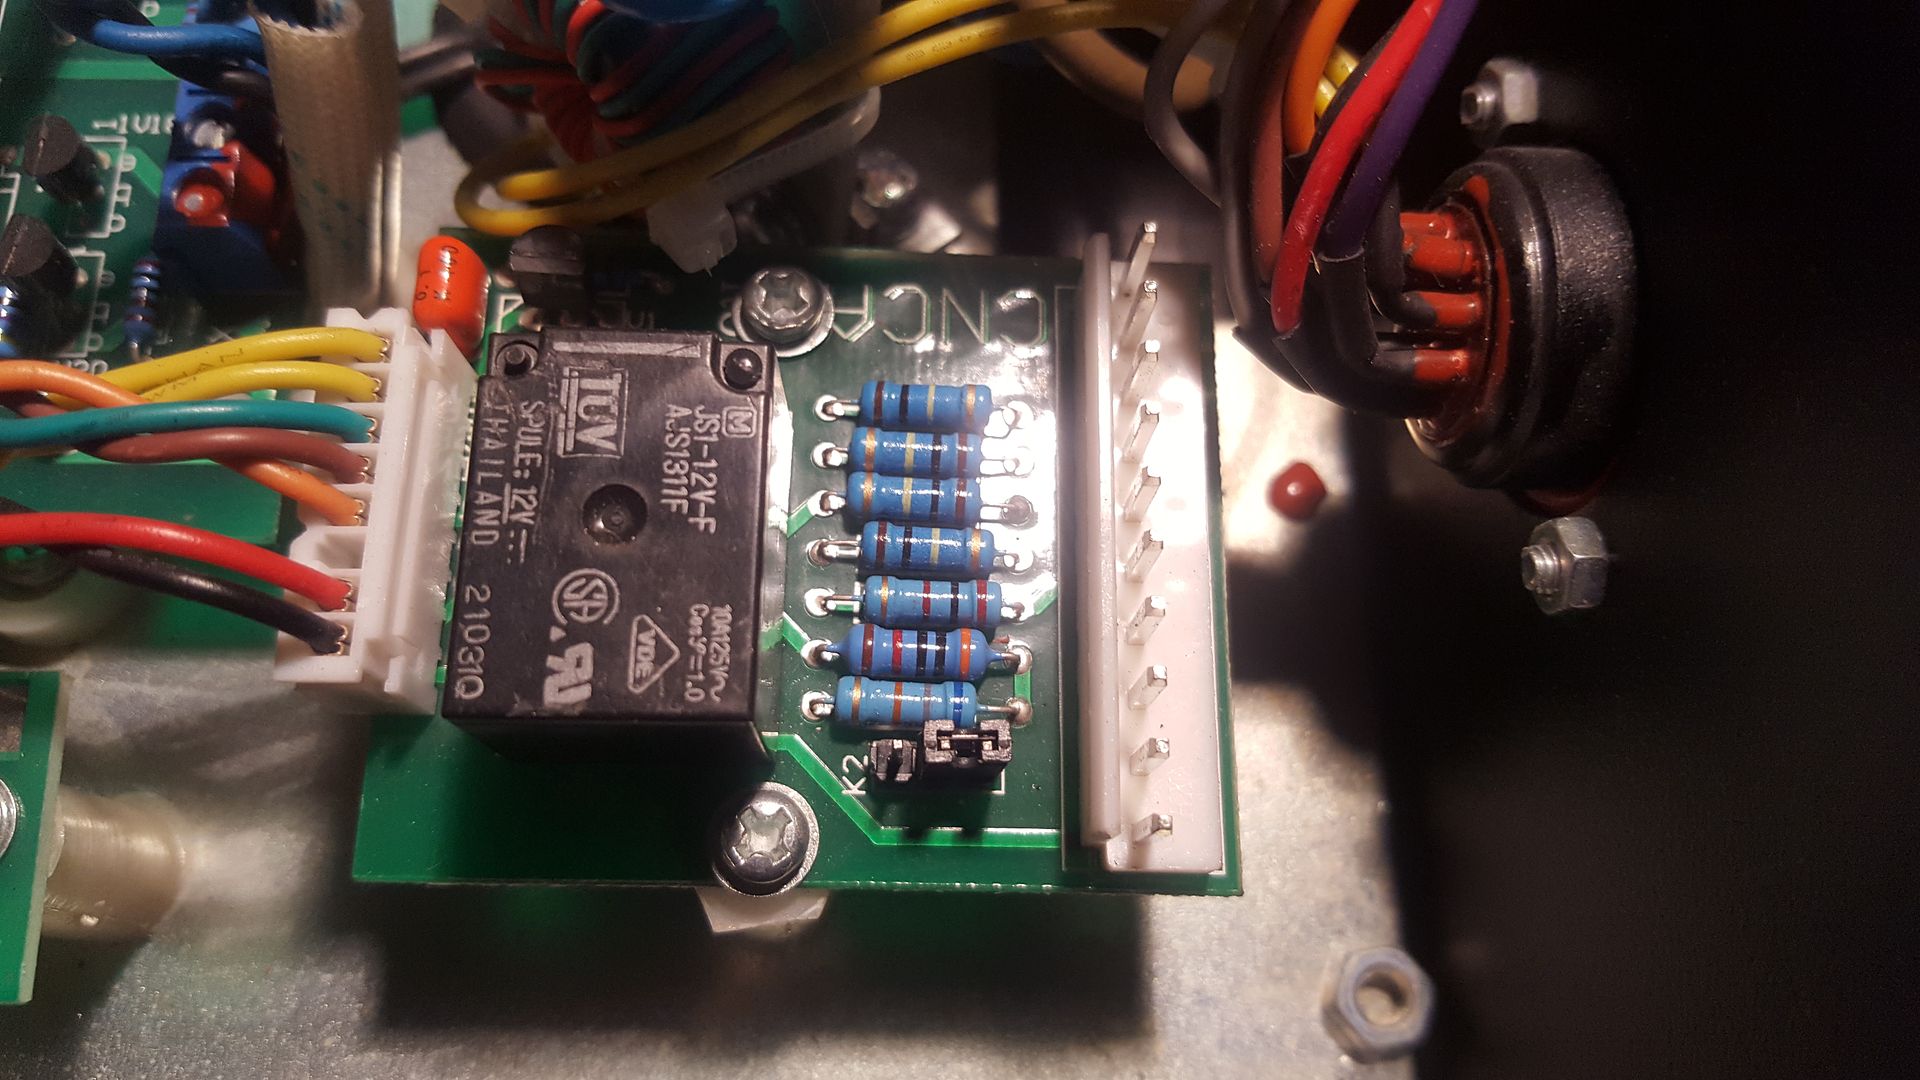
The Plasma CNC board is shown on page 25 of the manual
www.everlastgenerators.com/sites/everlas...owerPlasma%2050S.pdf
And I dug back through my photos to find the pic of the plasma CNC board
Aside from the drawing looking like it was of the reverse side of the board, the link appeared to be set correctly.
But taking the 1.45 volt reading and checking it out, the possible values are
50:1 divider = 72.5 volts
16:1 divider = 23.2 volts (which is what I've been reading)
So it seems to me that 72 volts seems more likely to be the right value. Perhaps the manual is wrong. I think the only thing left to do is to disassemble the plasma cutter (which is not easy) and swap the link over and see what I get. I really want to be using the 16:1 divider to ensure I have better resolution.
Please Log in or Create an account to join the conversation.
- rodw
-
 Topic Author
- Offline
- Platinum Member
-

- Posts: 11666
- Thank you received: 3930
The Everlast plasma cutter CNC connector brings out the raw arc voltage on pins 5 & 7 but I did not bring them into the cabinet as I did not want high voltage floating about.
But if I put a multimeter on these pins while I'm cutting, I might not need to disassemble the plasma cutter case.
If I am a good boy and knock over some parts I require for my online store in the morning, I might reward myself with a bit more plasma play time to explore this further .....
Please Log in or Create an account to join the conversation.
- rodw
-
 Topic Author
- Offline
- Platinum Member
-

- Posts: 11666
- Thank you received: 3930
I finally got to the bottom of things after hooking a multimeter up to the raw torch voltage on the CNC port.. The manual for the everlast plasma cutter is incorrect. The 2 links it says to use on the 3 pin header are actually tied together on the board so that moving the link made no difference! So when I thought I was using a 16:1 volt divider, it was still configured as a 50:1 divider.
But after changing the LinuxCNC config, i was still not happy becasue the volt meter was showing about 90 volts and LinuxCNC was only showing about 60 volts. I figured that if they had made so many errors in the documentation that the quoted voltage divider was probably wrong too. I went down to see my resident electronics expert who fortunately lives in my street and we sketched out the circuit on the CNC board. We were able to work out the resistance of one side of the voltage divider and this let me calculate the value of the other resistor given a 50:1 divider.
We calculated the voltage divider circuit was 33.256:1 but I was a bit worried about this as it seems that will put the voltage up around 120 volts when the voltage we observed on the multimeter was around 90 volts. Then it finally dawned on me that 120 volts put it slap bang in the middle of cutting charts for other machines out on the internet. So I rang my mate again and asked him if the 2 x 100k resistors included in the raw torch voltage might actually reduce the real voltage. After a bit of a discussion, we agreed this was quite possible and was more likely occurring.
So in the morning, I'm going to give it another go with the 33.256:1 voltage divider set in LinuxCNC and see what that looks like.
I will say its been very quiet on this thread so if you are following along, it would be nice to hear from you as I am beginning to think I'm talking to myself.
Please Log in or Create an account to join the conversation.
- tecno
-

- Offline
- Platinum Member
-

- Posts: 1850
- Thank you received: 127
Please Log in or Create an account to join the conversation.
- Clive S
- Offline
- Platinum Member
-

- Posts: 2203
- Thank you received: 482
I have been following and learning all the way, please keep it up especially the tutorials re the hal wizardry with the comments.I will say its been very quiet on this thread so if you are following along, it would be nice to hear from you as I am beginning to think I'm talking to myself.
Please Log in or Create an account to join the conversation.
- joel0407
-

- Offline
- Premium Member
-

- Posts: 95
- Thank you received: 22
I will say its been very quiet on this thread so if you are following along, it would be nice to hear from you as I am beginning to think I'm talking to myself.
www.forum.linuxcnc.org/38-general-linuxc...the-lack-of-activity
I'm no the only one.
My machine is up and running now. I still think it's about 3 weeks away from being finished but it's cutting at least.
Happy Days
Please Log in or Create an account to join the conversation.


