Rods "Spaceship" Scratch built Plasma Cutter build
- rodw
-
 Topic Author
- Offline
- Platinum Member
-

Less
More
- Posts: 11557
- Thank you received: 3877
22 Jun 2020 10:00 #172315
by rodw
Yeh but NEMA24 does not normally have a 50mm bolt hole pitch. The NEMA24 ones I looked at had the same pitch as the Nema 23 but a different diameter locating flange.
I can't wait to get this turning!
Replied by rodw on topic Rods "Spaceship" Scratch built Plasma Cutter build
Nema 23 = 56mm frame, Nema 24 = 60mm frame !
Yeh but NEMA24 does not normally have a 50mm bolt hole pitch. The NEMA24 ones I looked at had the same pitch as the Nema 23 but a different diameter locating flange.
I can't wait to get this turning!
The following user(s) said Thank You: tommylight
Please Log in or Create an account to join the conversation.
- tommylight
-

- Offline
- Moderator
-

Less
More
- Posts: 21053
- Thank you received: 7181
22 Jun 2020 10:09 #172318
by tommylight
Replied by tommylight on topic Rods "Spaceship" Scratch built Plasma Cutter build
I am not that lucky, all the Nema 24 i have have different pitch, just enough to not fit at all ! 
The following user(s) said Thank You: thefabricator03
Please Log in or Create an account to join the conversation.
- rodw
-
 Topic Author
- Offline
- Platinum Member
-

Less
More
- Posts: 11557
- Thank you received: 3877
23 Jun 2020 08:09 #172447
by rodw
Replied by rodw on topic Rods "Spaceship" Scratch built Plasma Cutter build
Well, this is what happens when you play with your machine. I found there was some tight spots on the X axis and when I had a look at it, I tightened up all the bolts holding the rack and linear rails and found one missing mounting bolt on the rack which I replaced.. I guess it was time to do some maintenance,
Then I found the X axis pinion shaft I made was quite loose with worn bearings so I spent the afternoon stripping down the pinion and ended up ordering another Flange bearing which is coming via airbag from Perth on the other side of the country. I was missing the correct retaining nut on the old one which is probably why it came loose and wore.
I don't think I totally fixed the tight spots but its a lot better now.
Then I went looking for a NEMA 24 mounting bracket to upgrade my Z axis. I finally found one and it looks a lot better than what I had. Except its 100 mm wide and it has to fit on a 60mm wide backing plate so an adapter is in order. Nothing is easy! Anyway, this is coming via DHL..
www.aliexpress.com/item/32969053665.html...1.0.0.4d634c4dGW7sFL
And I am so impressed with these Sanyo Denki motors, I bought out what was left so have another 15 coming. They just had no idea what they were really worth! (Or where to buy the wiring harnesses possibly!)
The following user(s) said Thank You: thefabricator03
Please Log in or Create an account to join the conversation.
- tommylight
-

- Offline
- Moderator
-

Less
More
- Posts: 21053
- Thank you received: 7181
23 Jun 2020 16:17 #172485
by tommylight

Replied by tommylight on topic Rods "Spaceship" Scratch built Plasma Cutter build
Welcome to the club !And I am so impressed with these Sanyo Denki motors,...
The following user(s) said Thank You: rodw
Please Log in or Create an account to join the conversation.
- rodw
-
 Topic Author
- Offline
- Platinum Member
-

Less
More
- Posts: 11557
- Thank you received: 3877
25 Jun 2020 02:23 #172673
by rodw
Replied by rodw on topic Rods "Spaceship" Scratch built Plasma Cutter build
Attachments:
The following user(s) said Thank You: tommylight, thefabricator03
Please Log in or Create an account to join the conversation.
- tommylight
-

- Offline
- Moderator
-

Less
More
- Posts: 21053
- Thank you received: 7181
25 Jun 2020 11:58 #172710
by tommylight
Replied by tommylight on topic Rods "Spaceship" Scratch built Plasma Cutter build
Yummy ! 
Please Log in or Create an account to join the conversation.
- my1987toyota
-

- Offline
- Platinum Member
-

Less
More
- Posts: 953
- Thank you received: 412
01 Jul 2020 22:50 #173357
by my1987toyota
Replied by my1987toyota on topic Rods "Spaceship" Scratch built Plasma Cutter build
well rodw since you took the the time to check out my machine I decided to reply in kind. That plasma table looks fantastic . Well done.
The following user(s) said Thank You: rodw
Please Log in or Create an account to join the conversation.
- rodw
-
 Topic Author
- Offline
- Platinum Member
-

Less
More
- Posts: 11557
- Thank you received: 3877
02 Jul 2020 08:59 #173385
by rodw
Well we Toyota drivers have to stick together regardless of where we are in the world! I'd like to think this thread will get interesting again!
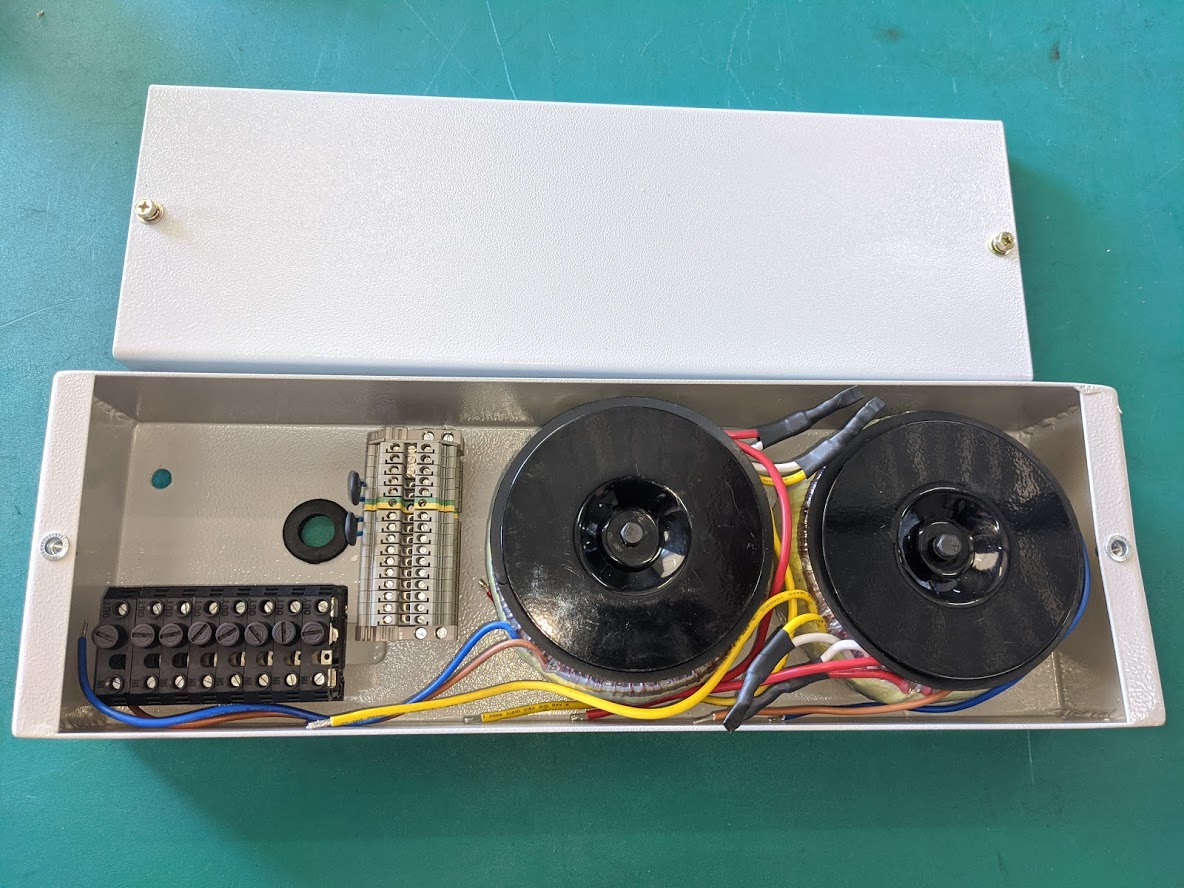
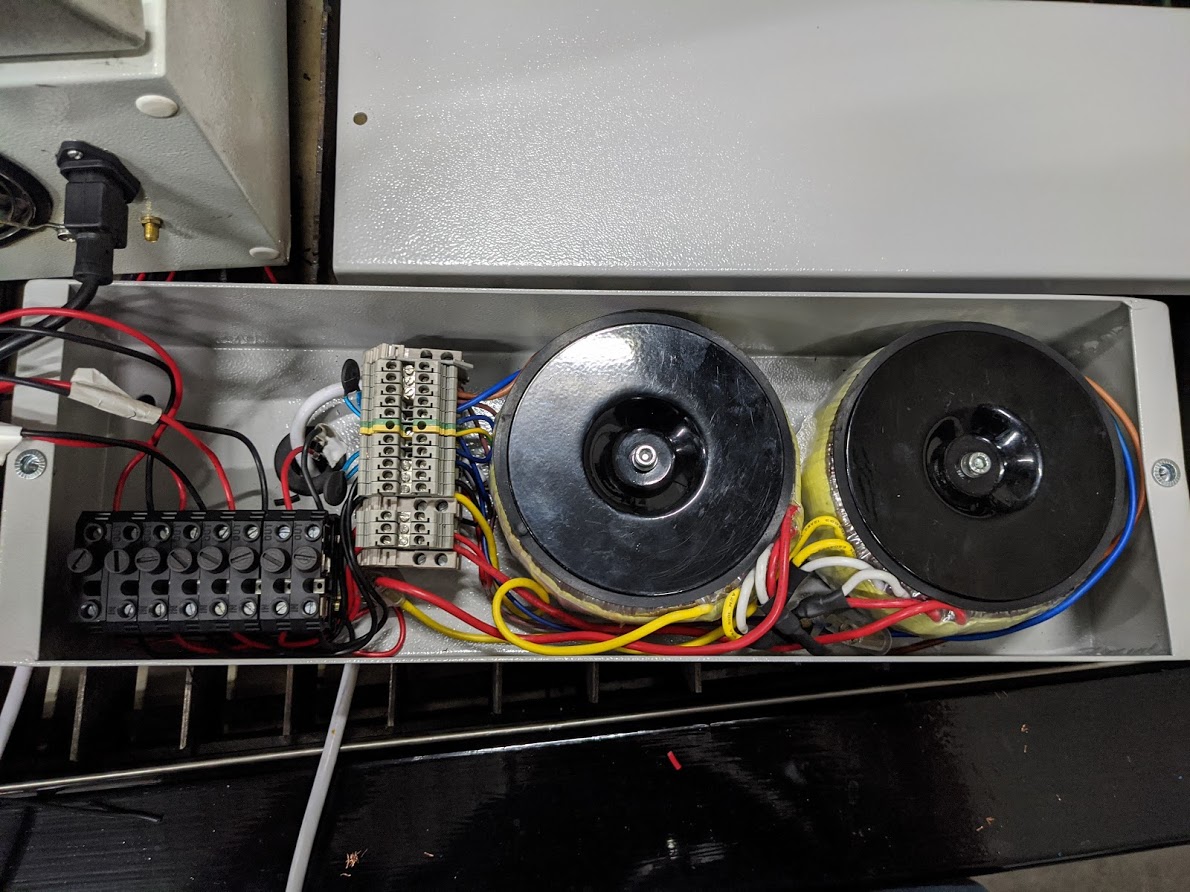
Finally this afternoon, I got the wiring pretty much done and I'm hoping my mate Chris will have time to give me a hand to refit the control box to the table tomorrow.
This box weighs about 17kg now. The wiring is just temporary and I'll have to disassemble it before it all comes together.
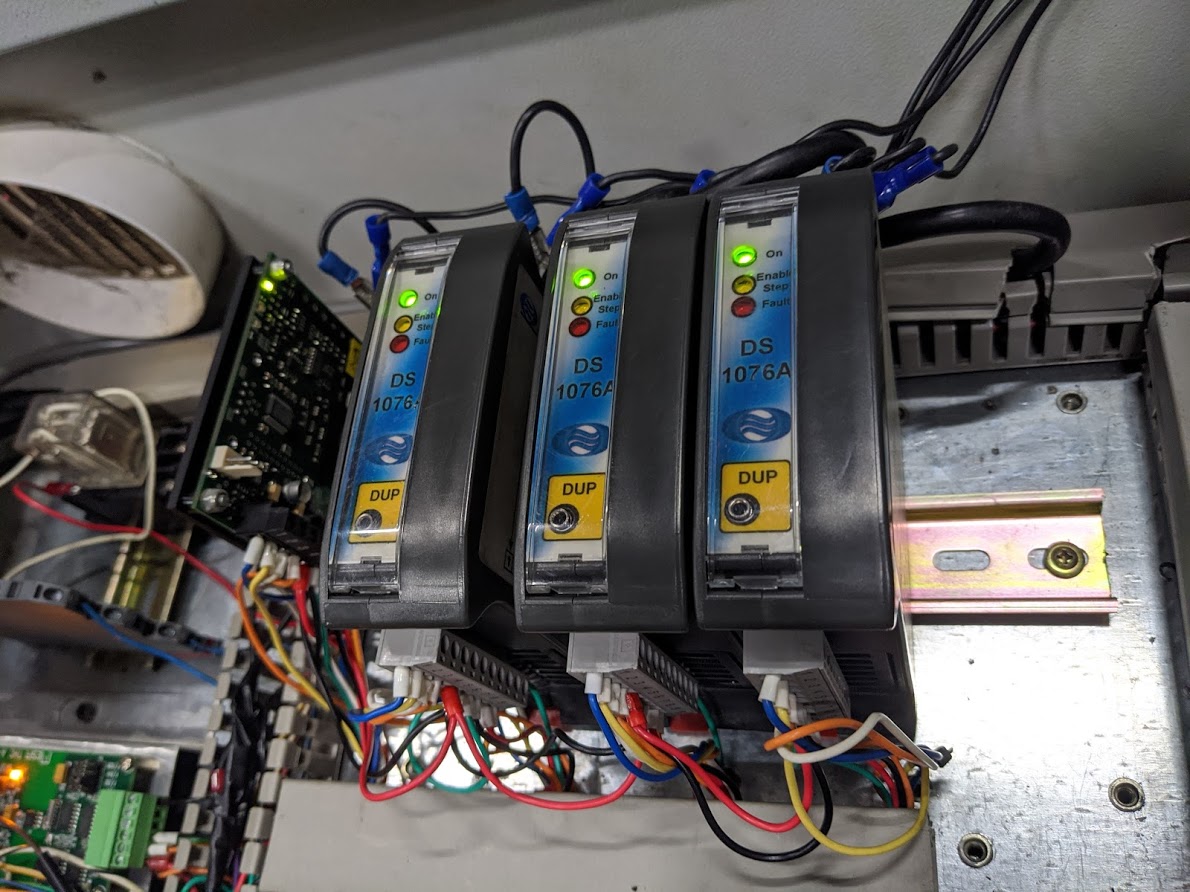
But finally, we have power lights on the Lam drivers! 90 volts wow!
A little bit tidier now
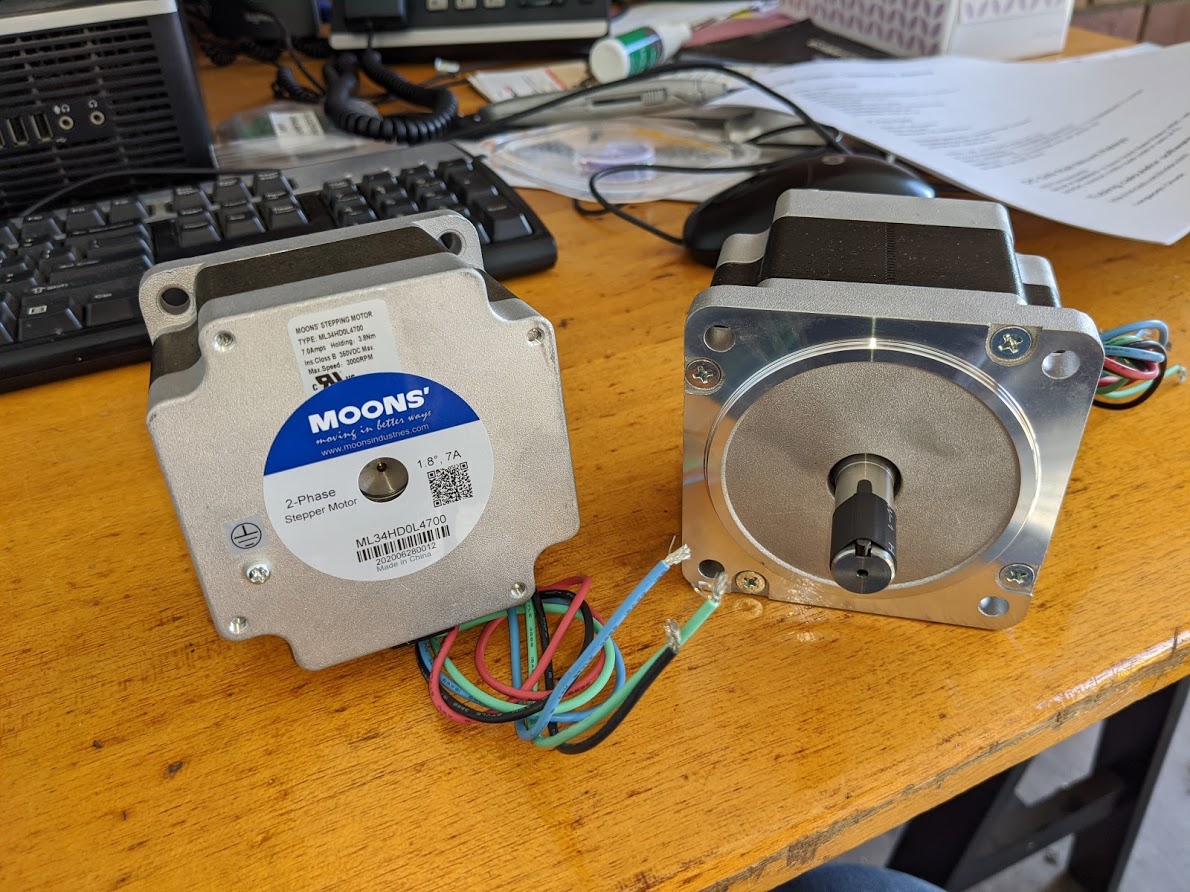
Just in time to becasue these arrived today as well
A NEMA 24 mounting bracket is also here so I can upgrade my Z axis with a Sanyo Denki motor. But to do that, I need my table back working again as I have to design and cut a mount for it.
Replied by rodw on topic Rods "Spaceship" Scratch built Plasma Cutter build
well rodw since you took the the time to check out my machine I decided to reply in kind. That plasma table looks fantastic . Well done.
Well we Toyota drivers have to stick together regardless of where we are in the world! I'd like to think this thread will get interesting again!
Finally this afternoon, I got the wiring pretty much done and I'm hoping my mate Chris will have time to give me a hand to refit the control box to the table tomorrow.
This box weighs about 17kg now. The wiring is just temporary and I'll have to disassemble it before it all comes together.
But finally, we have power lights on the Lam drivers! 90 volts wow!
A little bit tidier now
Just in time to becasue these arrived today as well
A NEMA 24 mounting bracket is also here so I can upgrade my Z axis with a Sanyo Denki motor. But to do that, I need my table back working again as I have to design and cut a mount for it.
Attachments:
The following user(s) said Thank You: thefabricator03
Please Log in or Create an account to join the conversation.
- thefabricator03
- Offline
- Platinum Member
-

Less
More
- Posts: 1131
- Thank you received: 533
02 Jul 2020 09:04 #173386
by thefabricator03
Replied by thefabricator03 on topic Rods "Spaceship" Scratch built Plasma Cutter build
What are the blue spade connectors on the back of the drives for? Earthing?
Please Log in or Create an account to join the conversation.
- rodw
-
 Topic Author
- Offline
- Platinum Member
-

Less
More
- Posts: 11557
- Thank you received: 3877
02 Jul 2020 09:13 #173387
by rodw
Yeh, originally, I used 5 pin connectors for the stepper cabling so I could pass the shield through on one pin and then I folded the shield back and added a male spade connector right at the stepper motors. Then they go up to an earth point just out of frame at the top right.
As it turned out, it was the right thing to do becasue the LAM's have a connector for the shield. Its a bit messy where the connectors are because I added piggy back spade connectors so I could terminate the shield on the driver and the enclosure. I'll try and remember to take a pic tomorow.
Replied by rodw on topic Rods "Spaceship" Scratch built Plasma Cutter build
What are the blue spade connectors on the back of the drives for? Earthing?
Yeh, originally, I used 5 pin connectors for the stepper cabling so I could pass the shield through on one pin and then I folded the shield back and added a male spade connector right at the stepper motors. Then they go up to an earth point just out of frame at the top right.
As it turned out, it was the right thing to do becasue the LAM's have a connector for the shield. Its a bit messy where the connectors are because I added piggy back spade connectors so I could terminate the shield on the driver and the enclosure. I'll try and remember to take a pic tomorow.
Please Log in or Create an account to join the conversation.
Time to create page: 0.304 seconds

