Rods "Spaceship" Scratch built Plasma Cutter build
- Mike_Eitel
-

- Offline
- Platinum Member
-

Less
More
- Posts: 1052
- Thank you received: 183
25 Oct 2020 07:59 #187174
by Mike_Eitel
Replied by Mike_Eitel on topic Rods "Spaceship" Scratch built Plasma Cutter build
Dont know if it has a functionaliy spindle.M.at−speed
Should stop (next? move) with a wait
Mike
Should stop (next? move) with a wait
Mike
The following user(s) said Thank You: rodw
Please Log in or Create an account to join the conversation.
- rodw
-
 Topic Author
- Offline
- Platinum Member
-

Less
More
- Posts: 11565
- Thank you received: 3882
25 Oct 2020 08:04 #187175
by rodw
Thats not a bad idea. I think Plasmac uses that signal but I could and2 it. I'll check it out. Thanks Mike!
Replied by rodw on topic Rods "Spaceship" Scratch built Plasma Cutter build
Dont know if it has a functionaliy spindle.M.at−speed
Should stop (next? move) with a wait
Mike
Thats not a bad idea. I think Plasmac uses that signal but I could and2 it. I'll check it out. Thanks Mike!
Please Log in or Create an account to join the conversation.
- rodw
-
 Topic Author
- Offline
- Platinum Member
-

Less
More
- Posts: 11565
- Thank you received: 3882
15 Nov 2020 04:19 - 15 Nov 2020 09:30 #189430
by rodw
Replied by rodw on topic Rods "Spaceship" Scratch built Plasma Cutter build
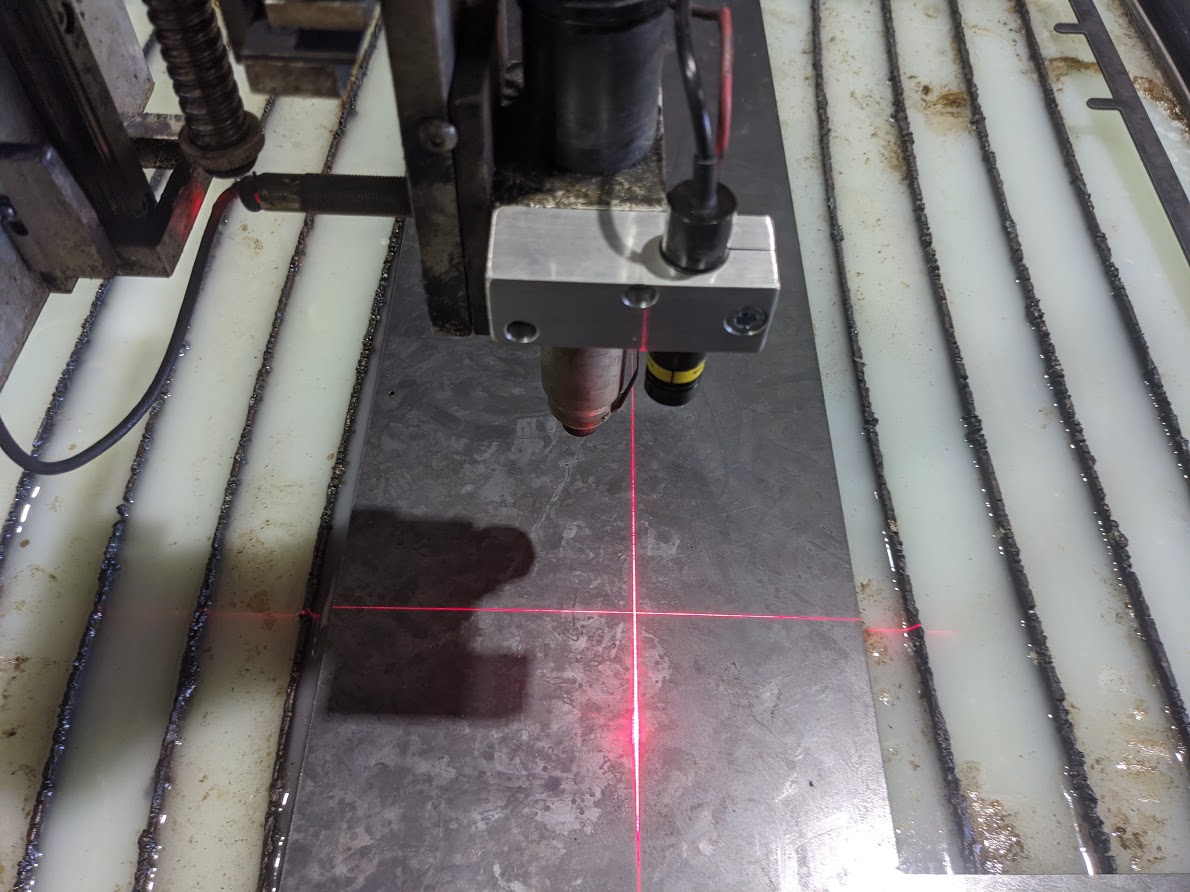
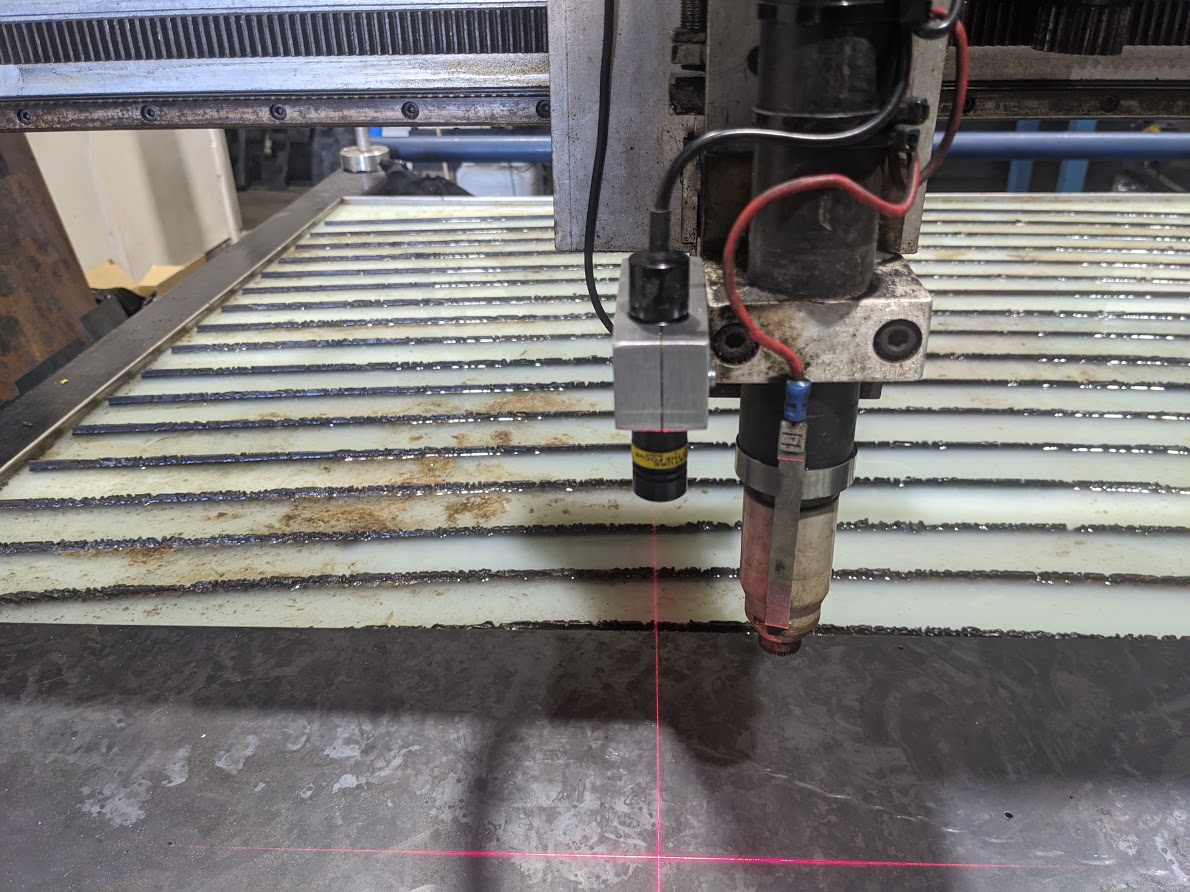
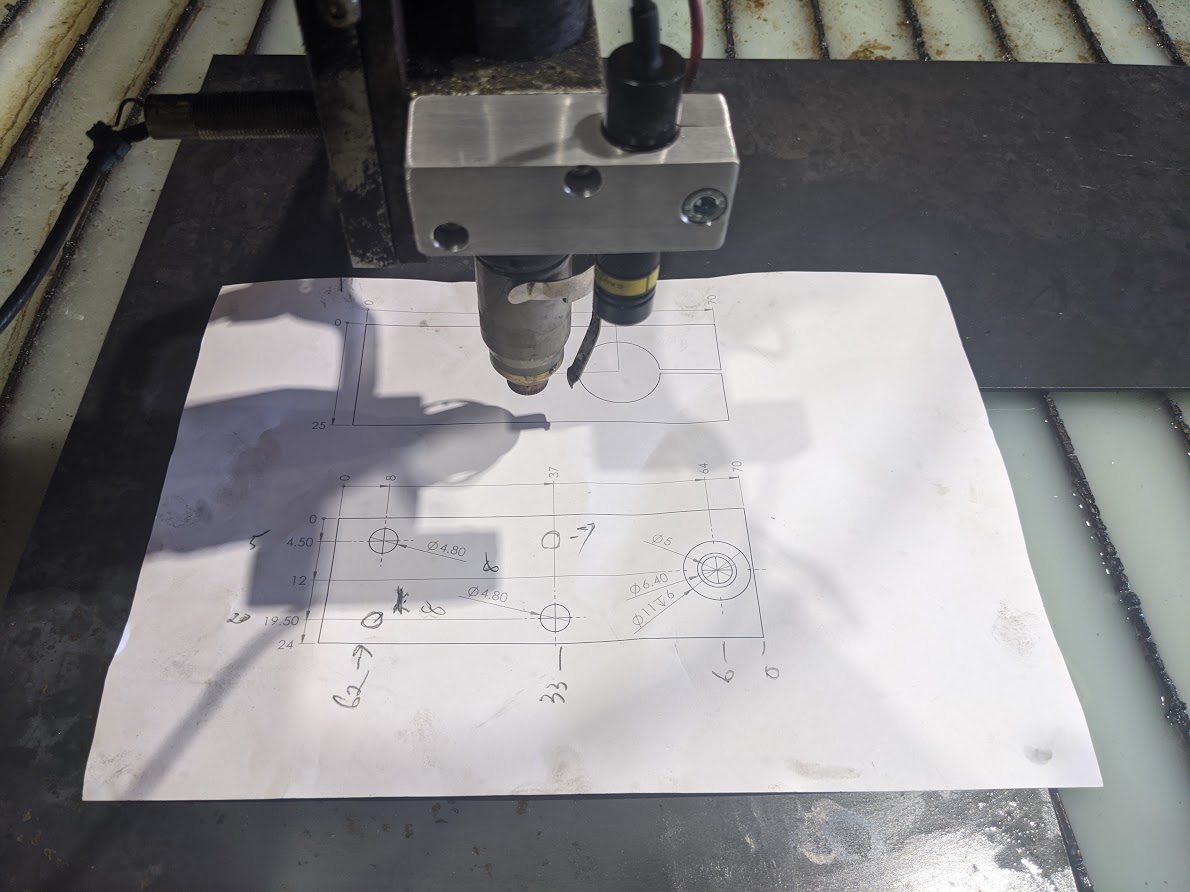
My laser pointer died. I think it was becasue it fell off with the torch and pulled the wires out of the back. This time I used a different one with a 16mm barrel
I made a new bracket for the laser and clamped it in after slitting the part and adding a clamping bolt.
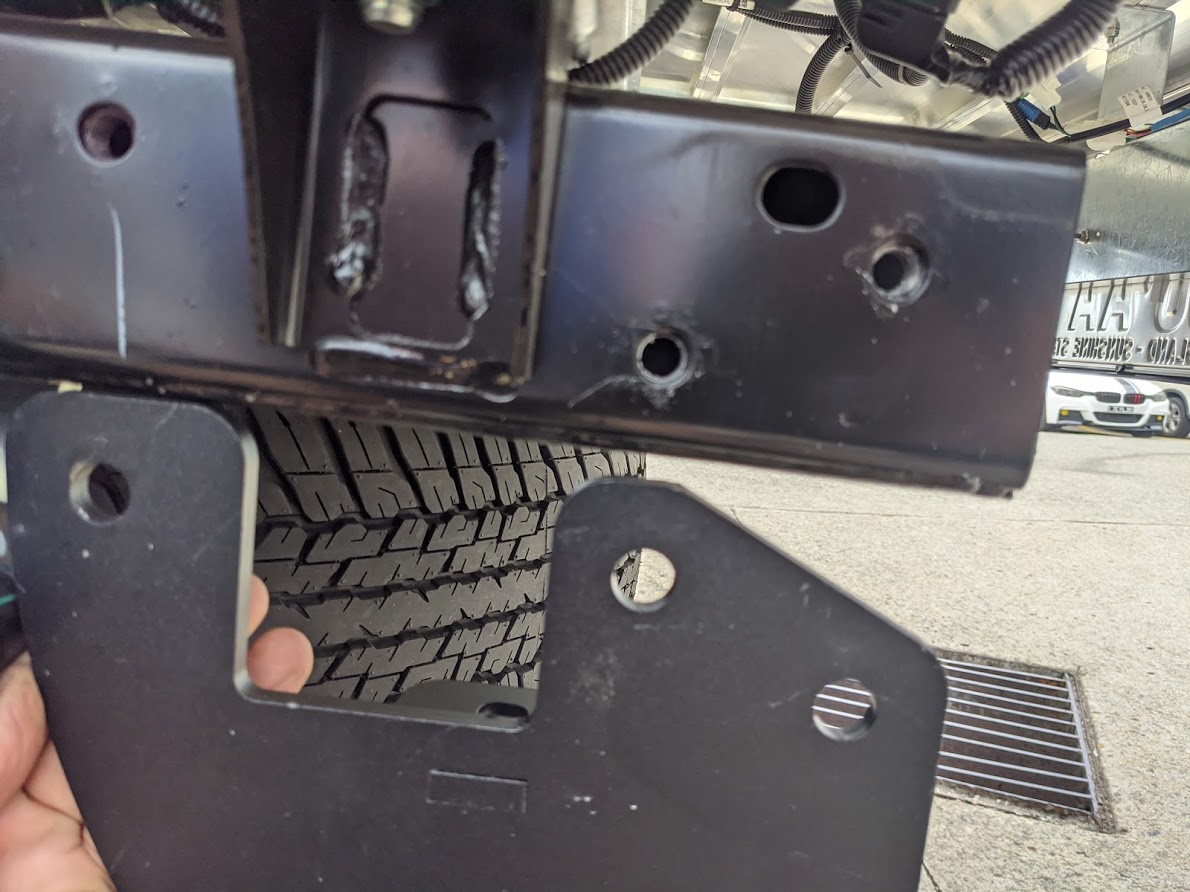
During the week, We sold a towbar for the new Isuzu Dmax which was the first available for the latest model. We would have sold the first one off the production line from this particular company.
They had drawn the part incorrectly. Luckily our customer took it in his stride and just drilled a couple of holes through the chassis!
Man, I nearly did it myself on this part as I had based my drawing on an earlier part with the bolt holes in position but I drew it up on the wrong side of the part. Lucky I saw it in time!
Just goes to show how easy it is to stuff something up even with 3D cad design.
Attachments:
Last edit: 15 Nov 2020 09:30 by rodw.
The following user(s) said Thank You: tommylight, thefabricator03, Himarc3D, pinder
Please Log in or Create an account to join the conversation.
- tommylight
-

- Online
- Moderator
-

Less
More
- Posts: 21069
- Thank you received: 7189
15 Nov 2020 09:21 #189445
by tommylight
Replied by tommylight on topic Rods "Spaceship" Scratch built Plasma Cutter build
Please do accept my sincere condolences ! 
Please Log in or Create an account to join the conversation.
- rodw
-
 Topic Author
- Offline
- Platinum Member
-

Less
More
- Posts: 11565
- Thank you received: 3882
30 Nov 2020 08:38 #190659
by rodw
Replied by rodw on topic Rods "Spaceship" Scratch built Plasma Cutter build
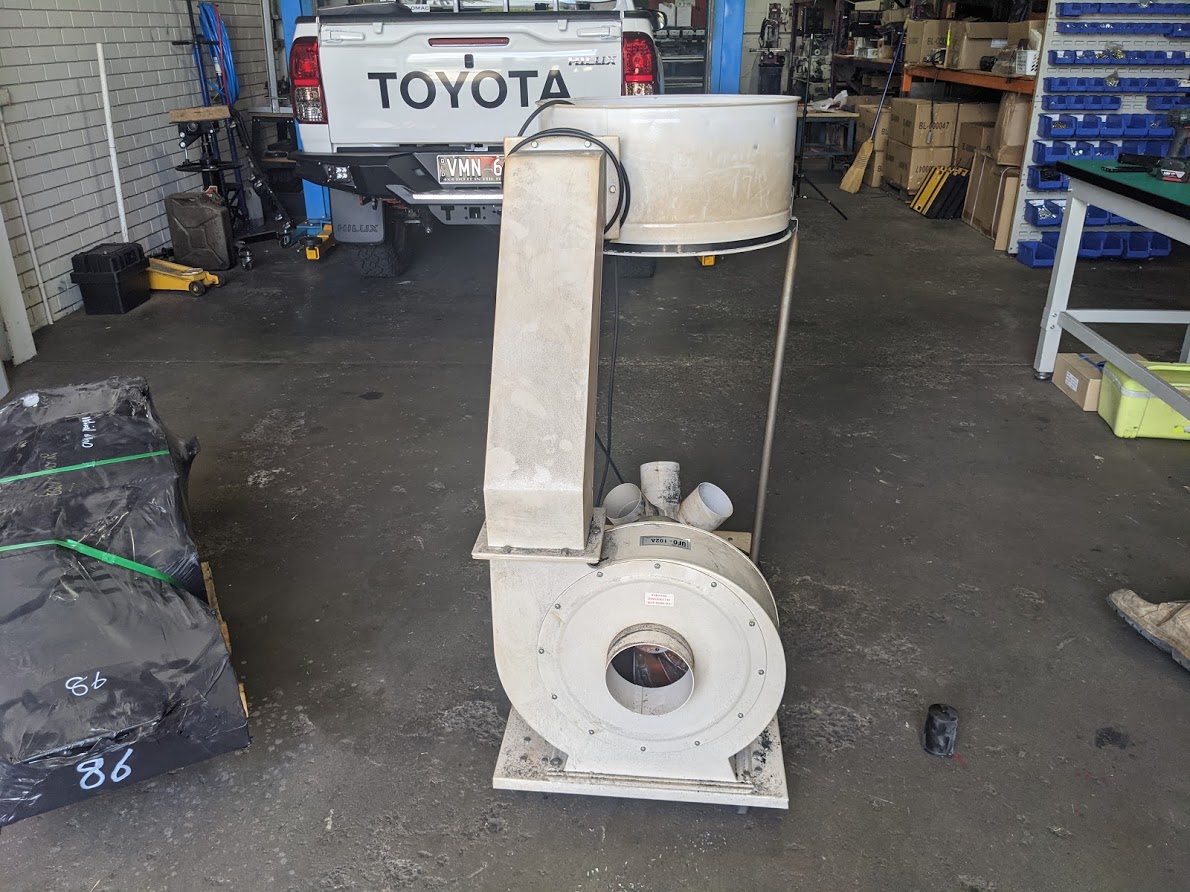
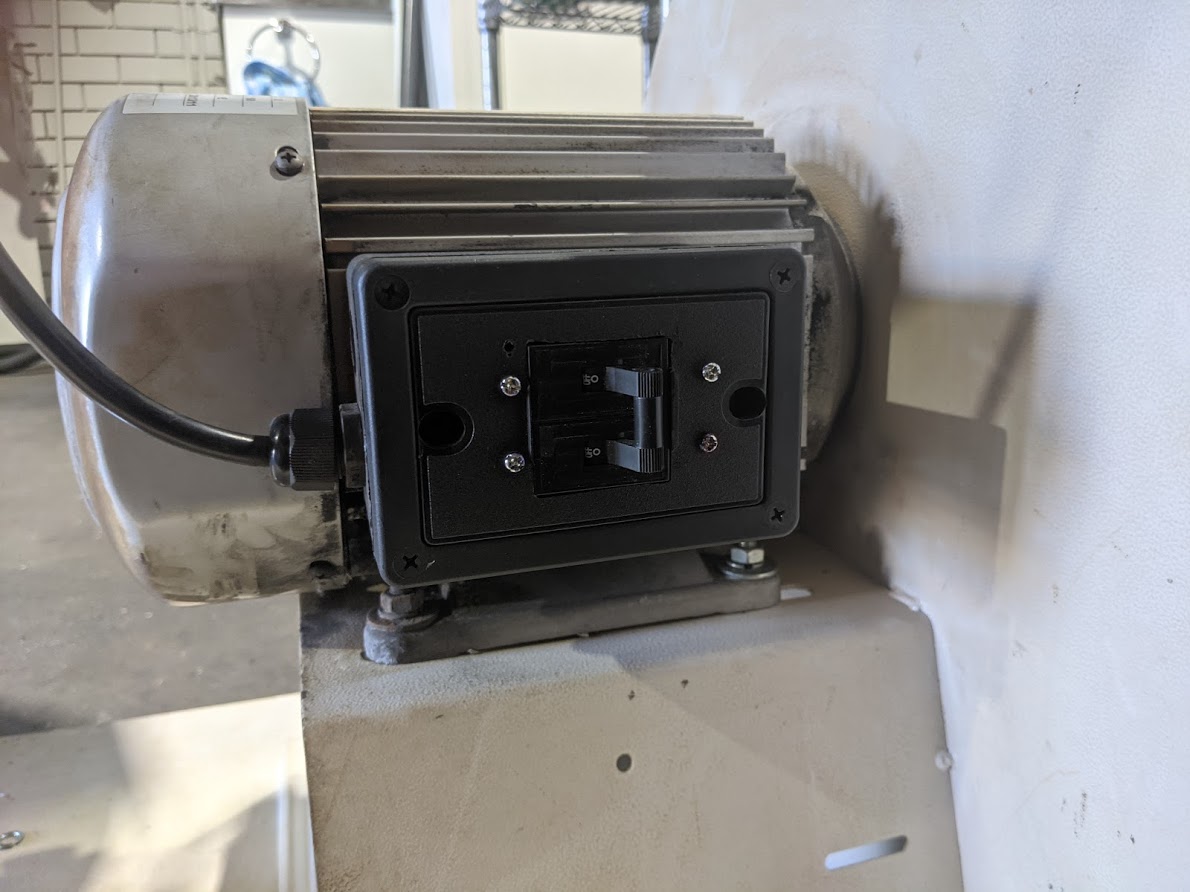
Well, it looks like the spaceship is getting a downdraft table. I always wanted to go that way. I scored a free multicam router dust extraction fan which supposedly had a burnt out motor at the business next door.
But 15 minutes after we got it the 10 metres home back into our workshop, we diagnosed the fault as being a burnt out switch! Sure enough when we bypassed it,it sprang to life. I had a big heavy duty switch at home which we managed to install into the existing switch housing so we have a permanent repair!
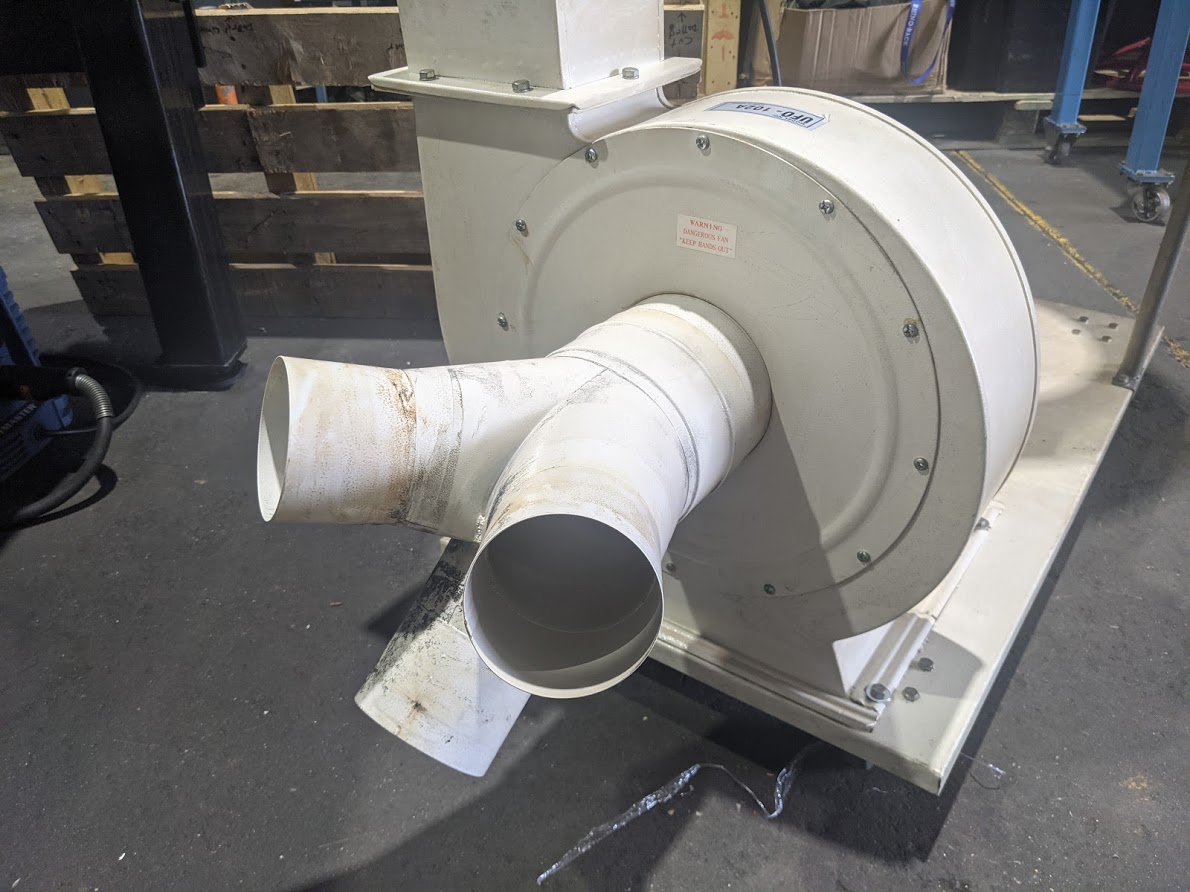
This is a metal fan with a 3 hp 15 amp single phase motor with about 2000 CFM and a 6" inlet
It also has a 3 way 4" inlet splitter but I don't think we will use it.
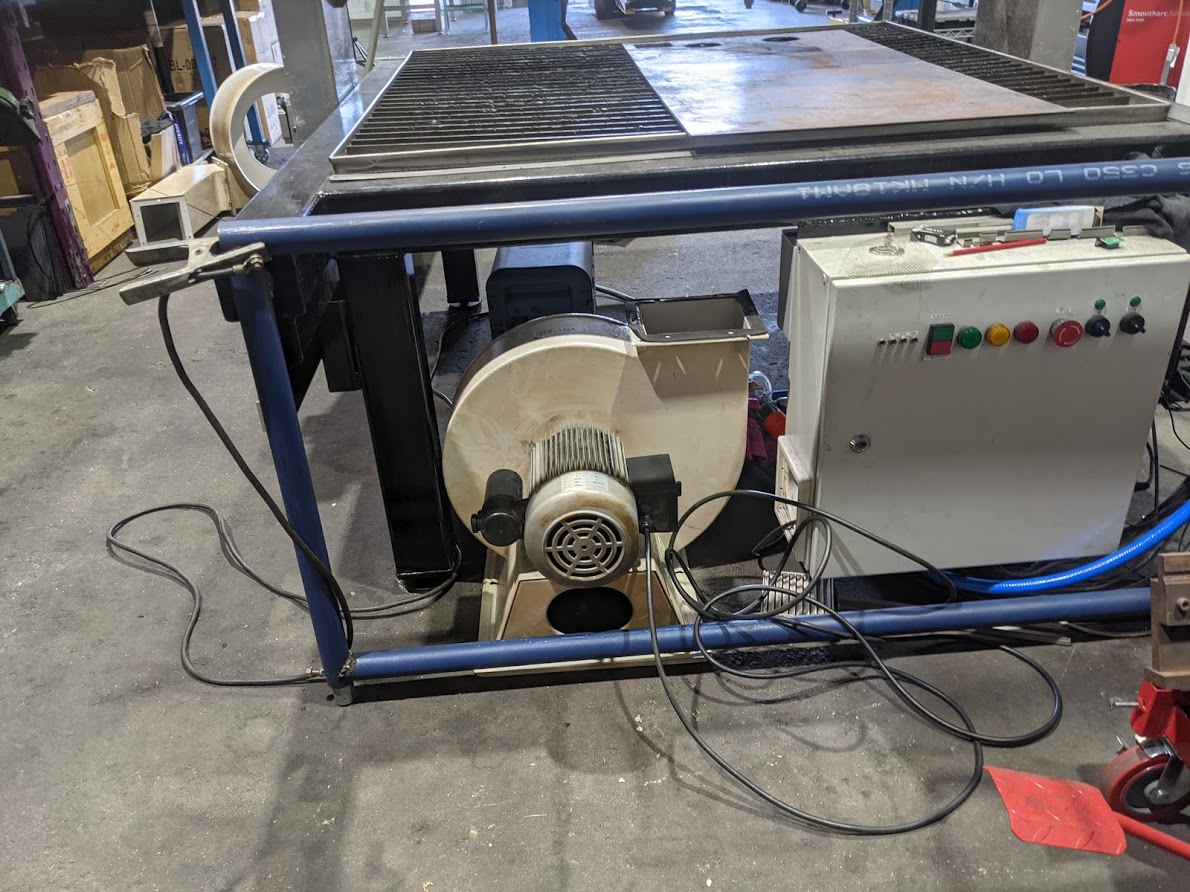
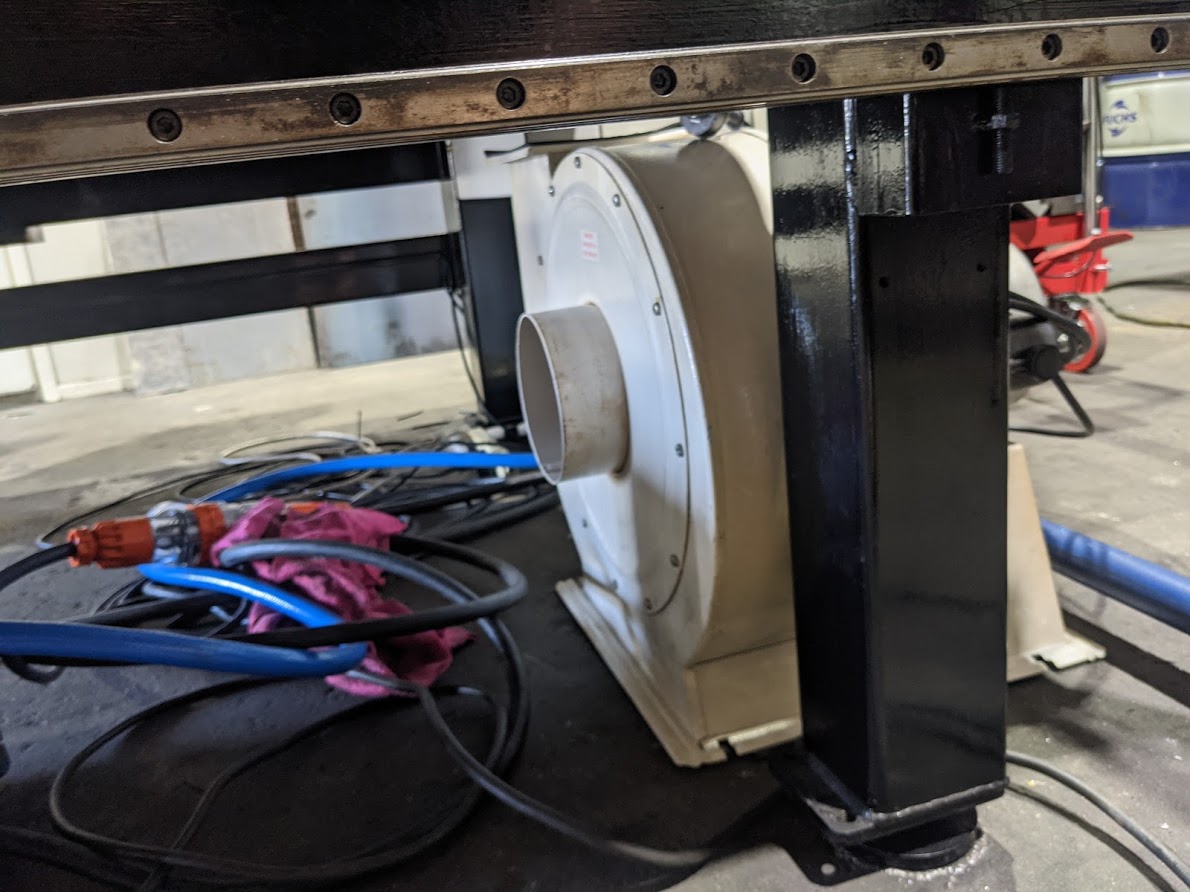
Today I thought I better get it over near the plasma and see how it might go together.
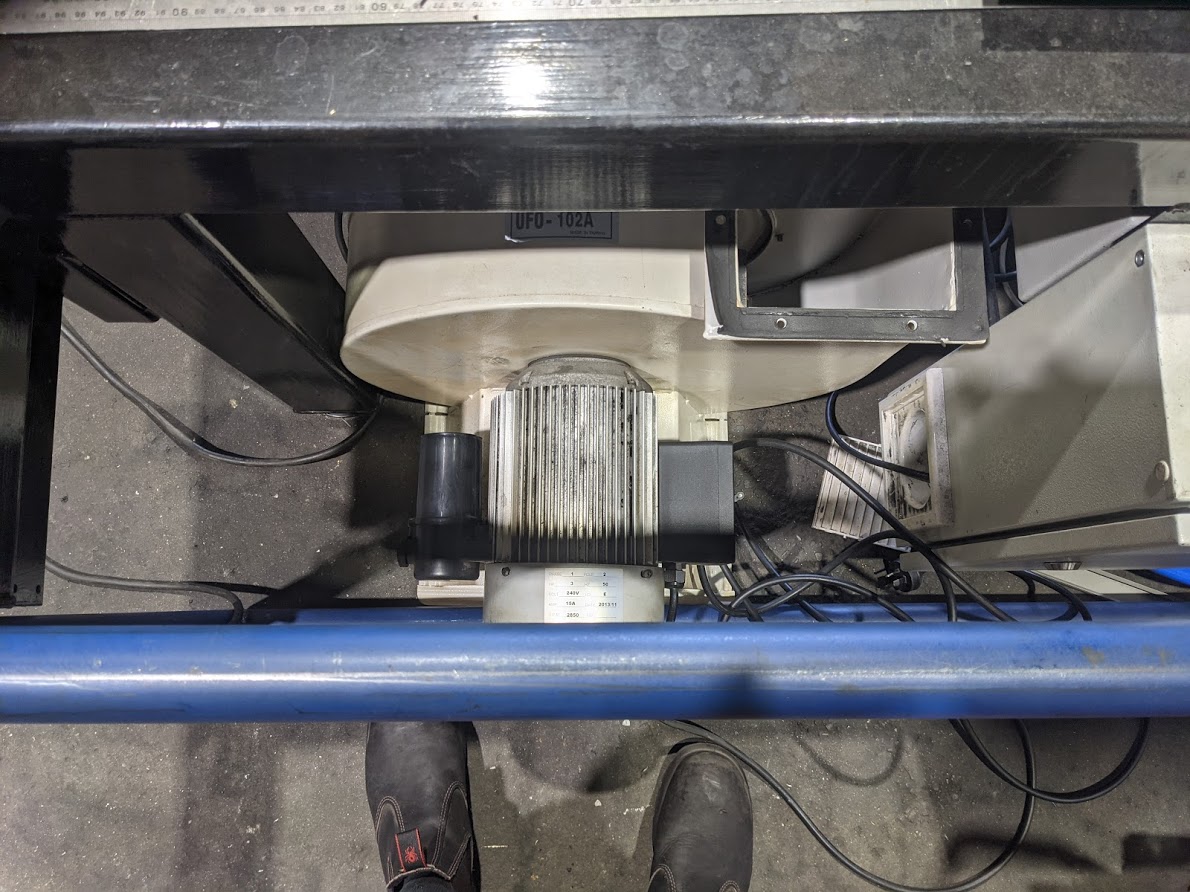
This might actually fit in OK. There is just enough room to get the outlet out from under the table but I have no clue what to do then!
So under the table it looks like this
I think if I make up a manifold out of some 6" tube that includes a T piece part way along and terminated by an elbow, I should be able to make a zoned downdraft table and keep all of the mechanisms outside of the dirty area.
I need to do a bit of thinking about this...
The following user(s) said Thank You: thefabricator03
Please Log in or Create an account to join the conversation.
- Mike_Eitel
-

- Offline
- Platinum Member
-

Less
More
- Posts: 1052
- Thank you received: 183
30 Nov 2020 11:39 #190663
by Mike_Eitel
Replied by Mike_Eitel on topic Rods "Spaceship" Scratch built Plasma Cutter build
If you turn 90 degree along the motor axle and mount from the side the outlet will have enough room for the exhaust
The following user(s) said Thank You: rodw
Please Log in or Create an account to join the conversation.
- rodw
-
 Topic Author
- Offline
- Platinum Member
-

Less
More
- Posts: 11565
- Thank you received: 3882
30 Nov 2020 12:15 - 30 Nov 2020 12:43 #190665
by rodw
Yeh I've thought about that which is why I put it down beside the plasma cutter so I can see different ways to do it. There is a bit to consider to keep the duct work easy to fabricate.
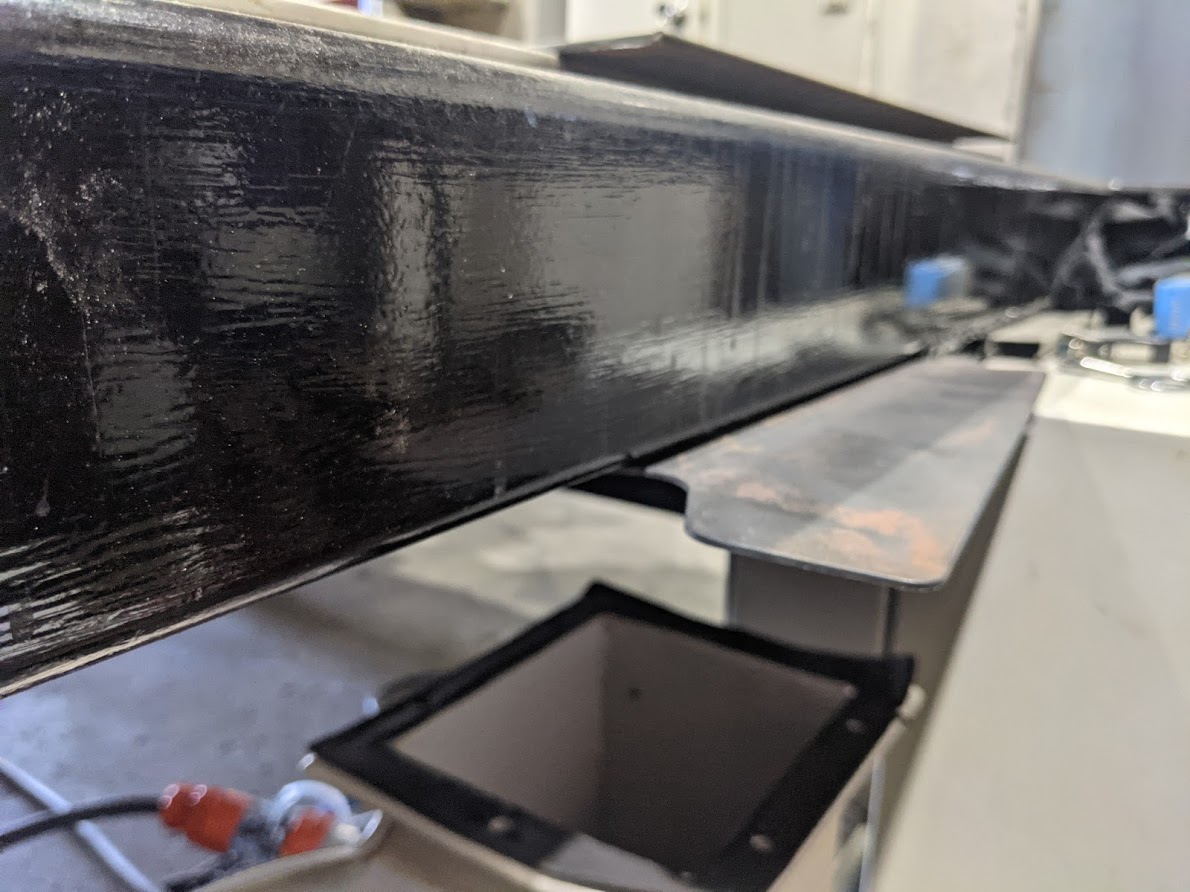
As an aside and its not a very good photo but this pic shows a 30mm square piece of 2mm steel held hard against the table frame by air pressure. Its 160mm above the outlet so the fan shifts some air!
Replied by rodw on topic Rods "Spaceship" Scratch built Plasma Cutter build
If you turn 90 degree along the motor axle and mount from the side the outlet will have enough room for the exhaust
Yeh I've thought about that which is why I put it down beside the plasma cutter so I can see different ways to do it. There is a bit to consider to keep the duct work easy to fabricate.
As an aside and its not a very good photo but this pic shows a 30mm square piece of 2mm steel held hard against the table frame by air pressure. Its 160mm above the outlet so the fan shifts some air!
Last edit: 30 Nov 2020 12:43 by rodw.
The following user(s) said Thank You: tommylight
Please Log in or Create an account to join the conversation.
- Mike_Eitel
-

- Offline
- Platinum Member
-

Less
More
- Posts: 1052
- Thank you received: 183
30 Nov 2020 12:34 #190667
by Mike_Eitel
Replied by Mike_Eitel on topic Rods "Spaceship" Scratch built Plasma Cutter build
Looking on the picture with text "This might... ". Turn 90 degree conter clockwise. You have posibilities enough to go either straight to the left or via 90 tubes along table etc..
m5c
Mike
m5c
Mike
The following user(s) said Thank You: rodw
Please Log in or Create an account to join the conversation.
- tommylight
-

- Online
- Moderator
-

Less
More
- Posts: 21069
- Thank you received: 7189
30 Nov 2020 13:50 #190676
by tommylight
Replied by tommylight on topic Rods "Spaceship" Scratch built Plasma Cutter build
And they use supercooled stuff to levitate things .... 
The following user(s) said Thank You: rodw
Please Log in or Create an account to join the conversation.
- rodw
-
 Topic Author
- Offline
- Platinum Member
-

Less
More
- Posts: 11565
- Thank you received: 3882
14 Dec 2020 09:54 #191950
by rodw
Replied by rodw on topic Rods "Spaceship" Scratch built Plasma Cutter build
Well had a strange thing happen today when doing a quick cut of a prototype. I noticed the torch voltage was fluctuating wildly. I checked the encoder velocity pin in halshow and it was doing likewise. I grabbed a multimeter to check the plasma cutter voltage input at the THCAD when not cutting and noticed the plasma interconnect cable shield had become dislodged from the THCAD. The voltage seemed stable by the multimeter. I connected the shield and things seemed to settle down. Proceeded to cut and then had a massive crash into the material and I noticed it was fluctuating wildly again. I went to grab my phone to take a quick video and when I came back it was stuck on 44 volts (or was that -44). Checked the encoder velocity and it was zero. Rebooted the machine and power cycled the control box as well. Also disconnected and reconnected the THCAD input. Then checked the encoder velocity and it was perfect on the zero volt frequency.
That was at the end of the day so I will review all the connections again tomorrow when I have a bit more time. I have a spare THCAD here so I might try that if it continues. I think its definitely an electronic issue so will investigate further to get to the bottom of it.
I vaguely recall someone reporting a similar issue recently. If you have any ideas, please let me know.
Please Log in or Create an account to join the conversation.
Time to create page: 0.292 seconds

