Optimum Optimill MH50V CNC conversion

More
2 years 2 months ago #308411 by mkudlacek
Hello, I would like to thank you for the E-Stop routine HAL. It saved me good couple of hours of head scratching:) Your build looks amazing! M.
The following user(s) said Thank You: pommen, Unlogic

Please Log in or Create an account to join the conversation.
More
2 years 1 month ago #309823 by Unlogic
I've finished the removal of the gearbox on the mill and replaced it with 1:1 belt drive using the 2kw 6000 rpm Delta B3 servo I purchased earlier this summer.

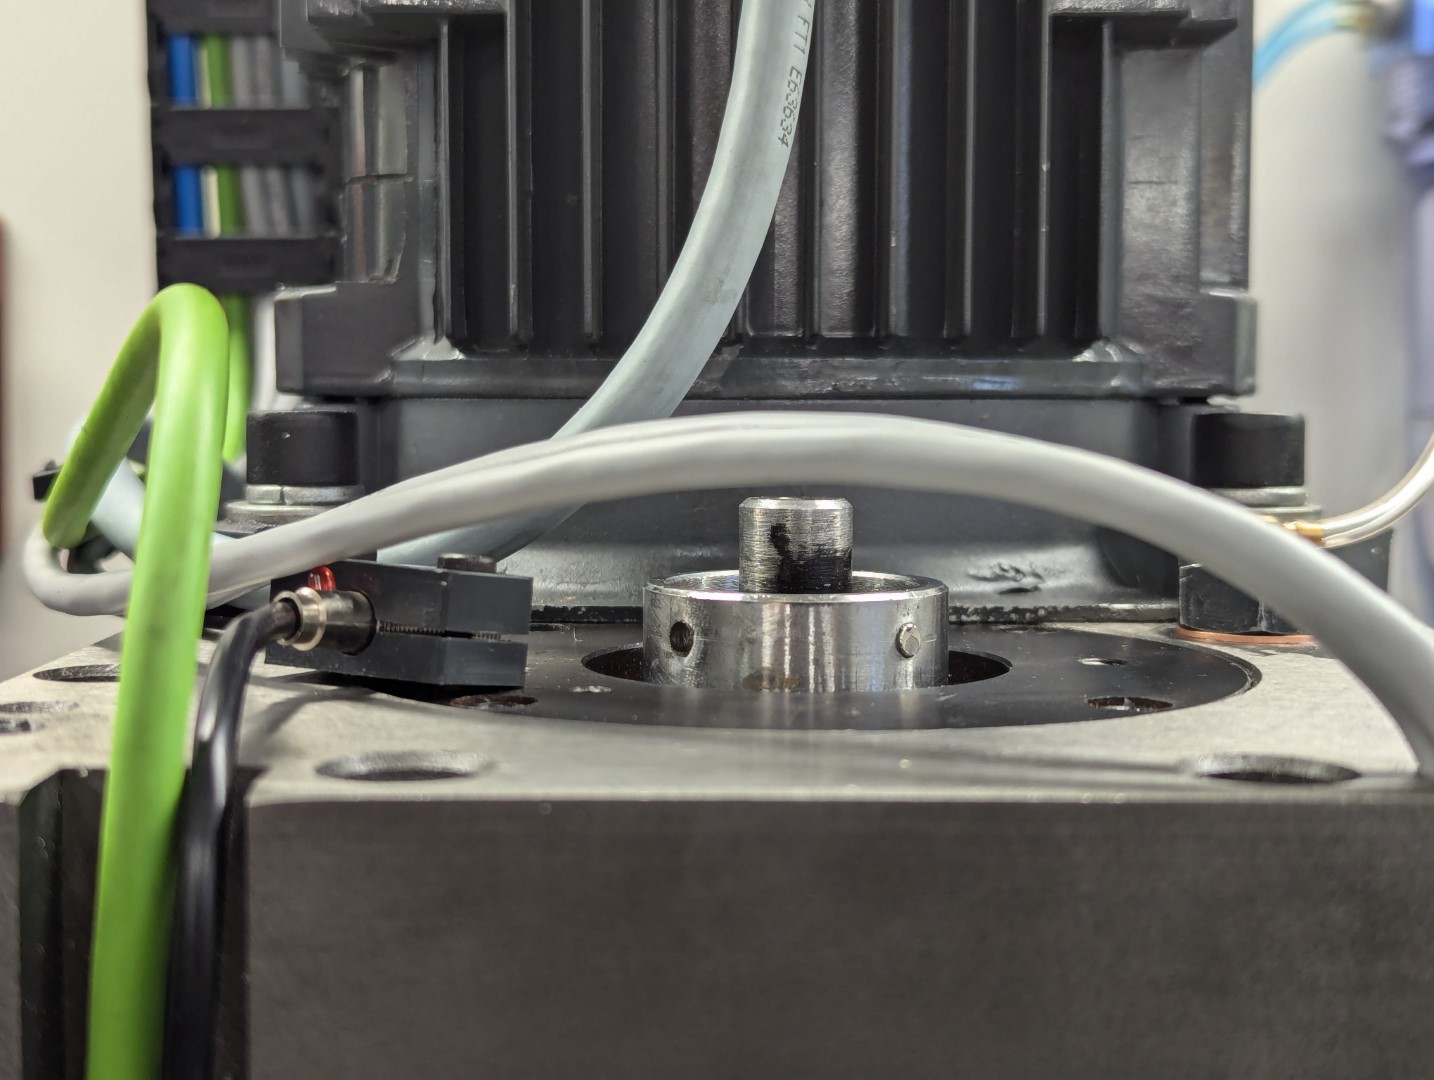
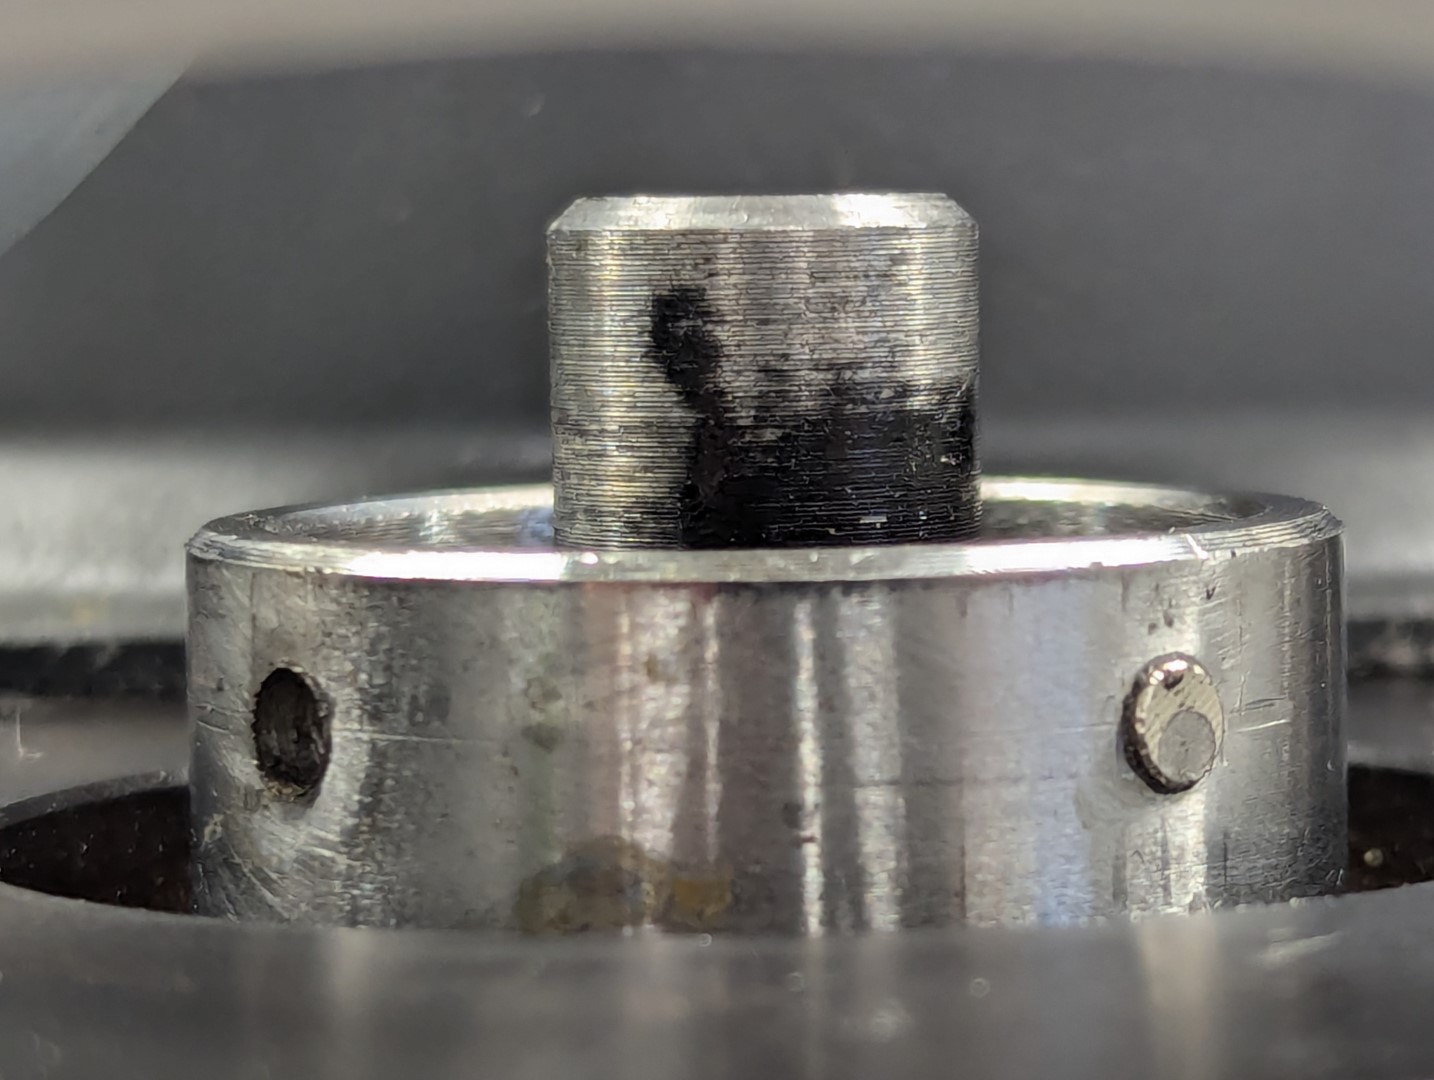
The first step of the process was to remove the magnets for the RPM sensor that came with the mill from factory.


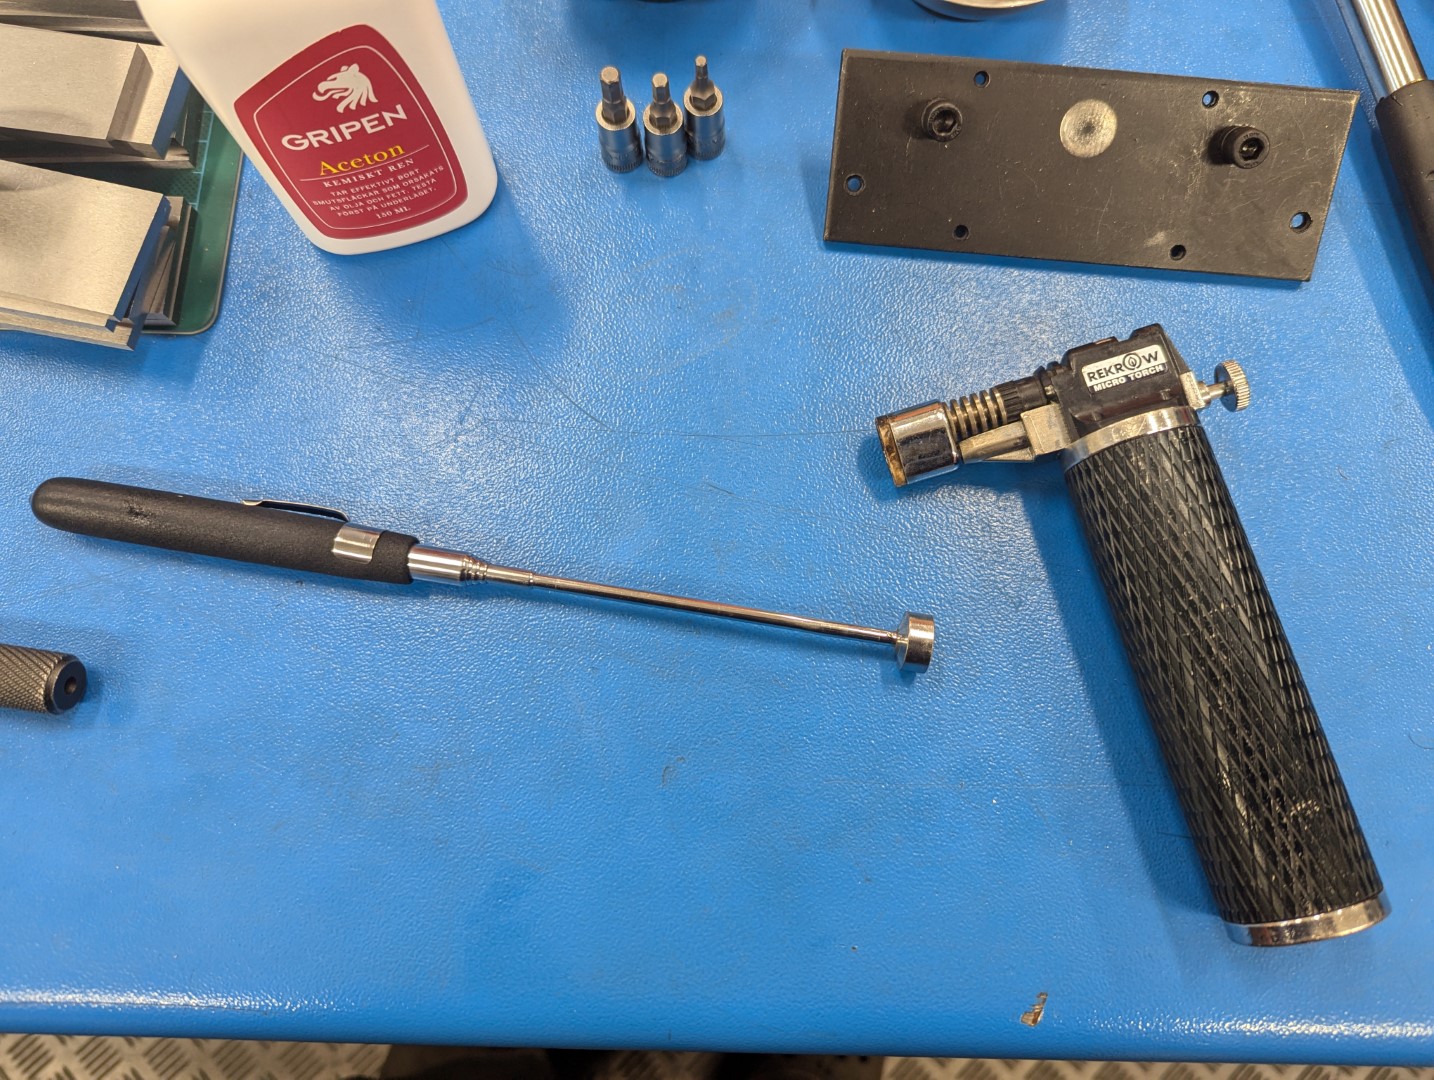
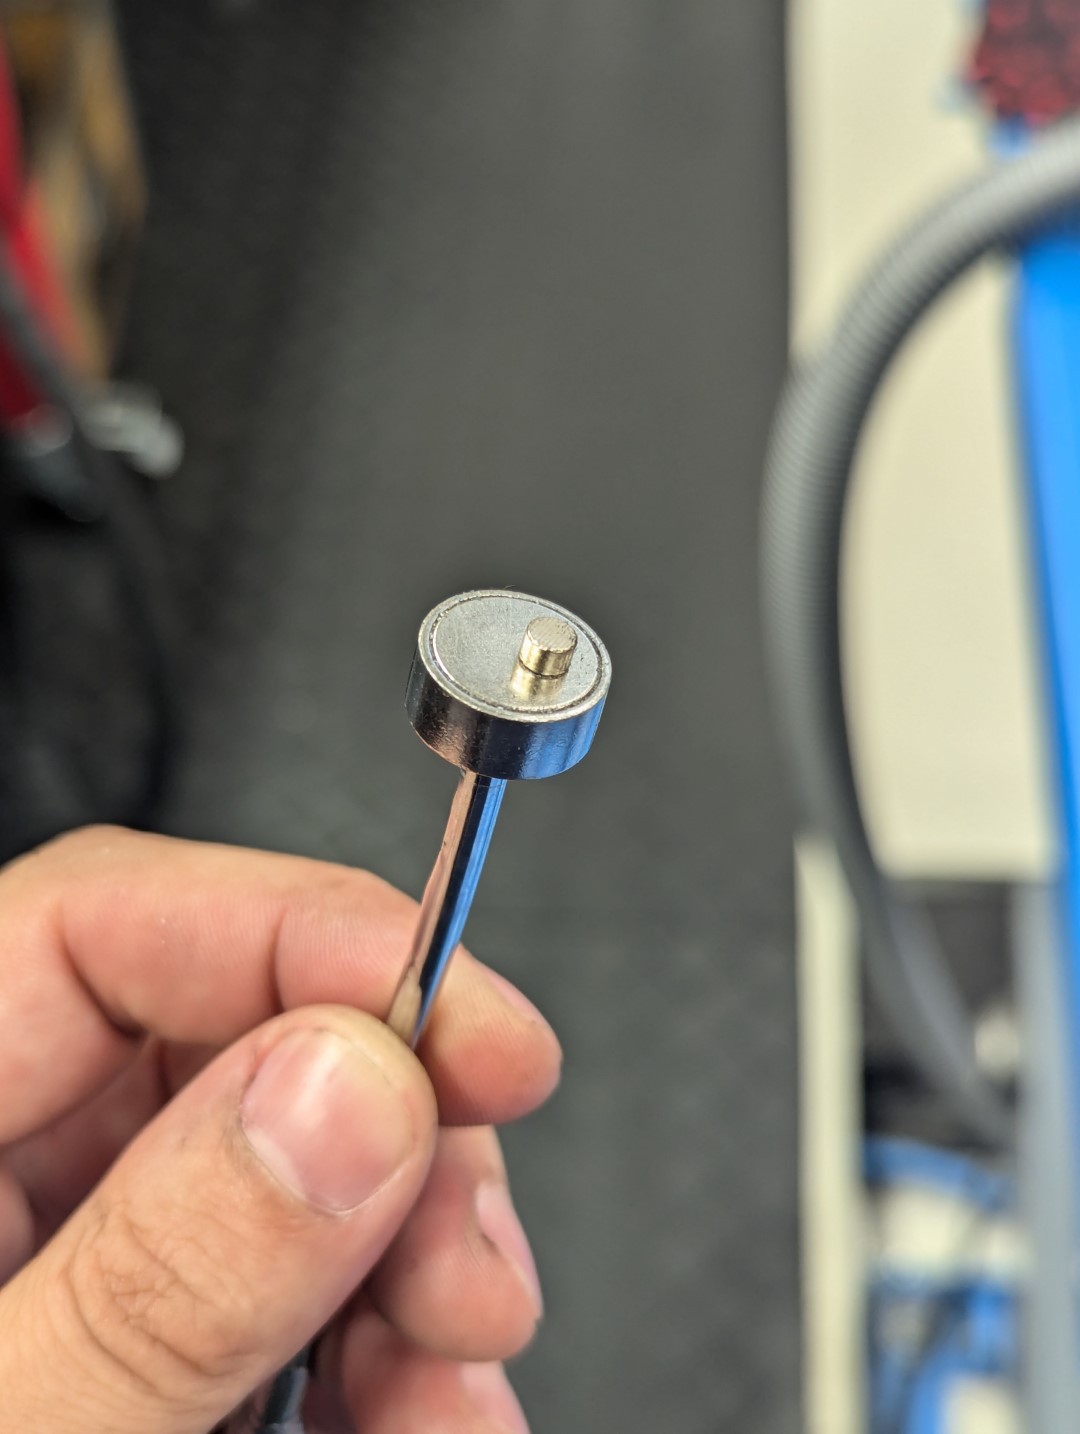
The magnets were not just pressed in but also glued in place which made them a bit tricky to remove. What ended up working best in the end was heat from a small gas torch and a strong magnet to pull them out while hot.


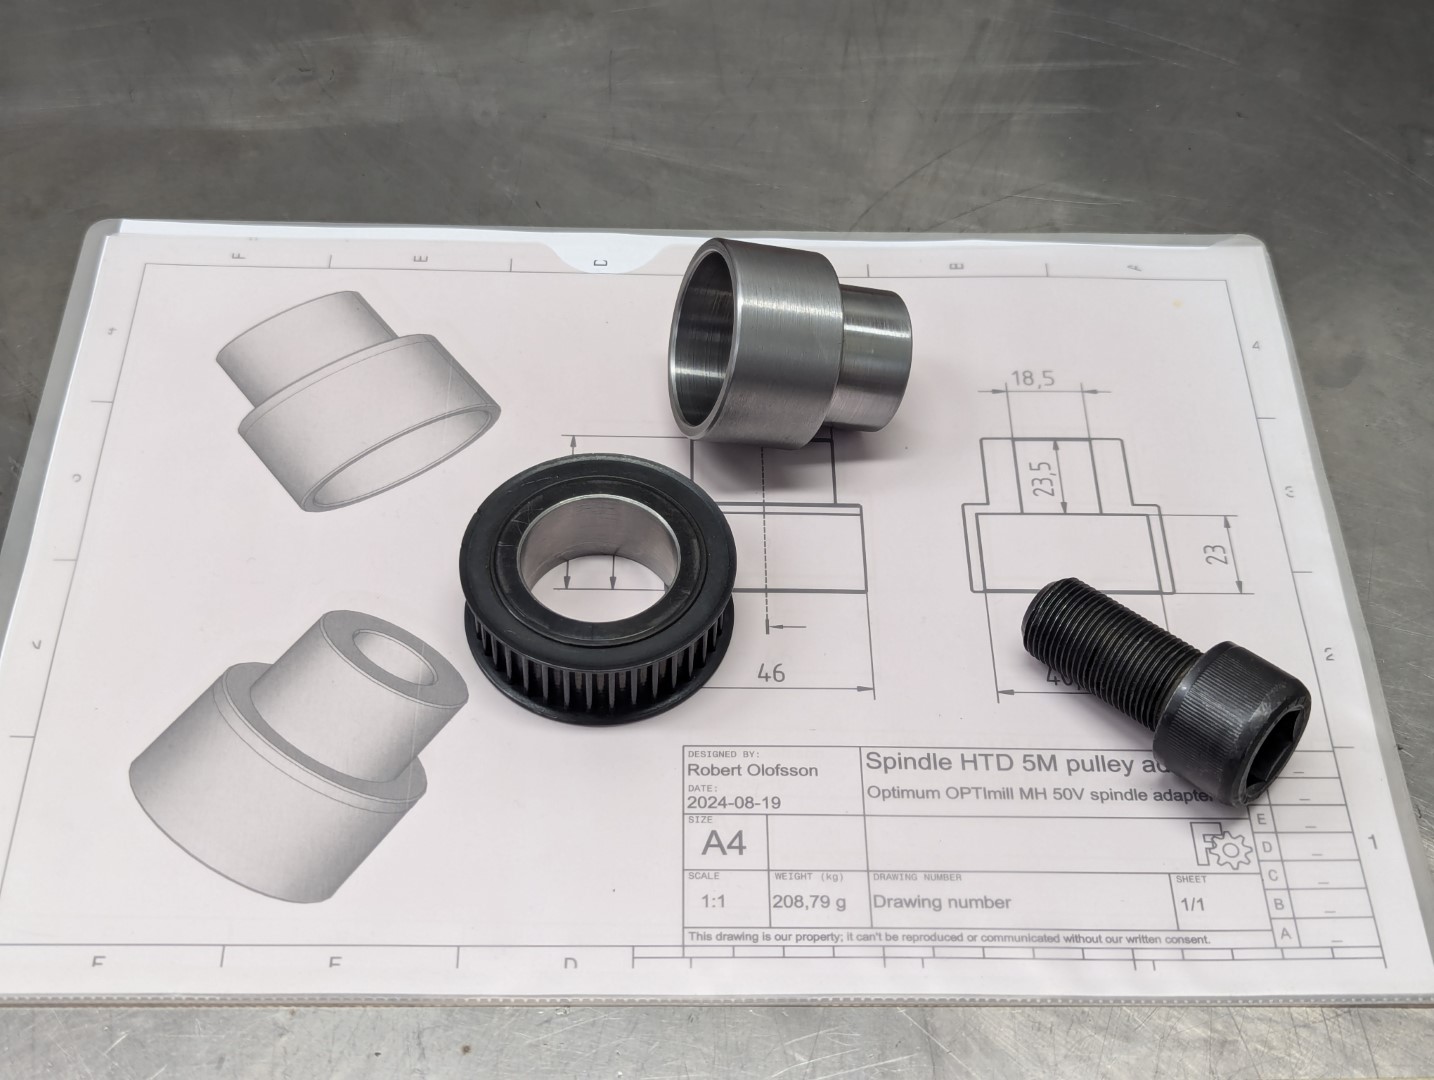
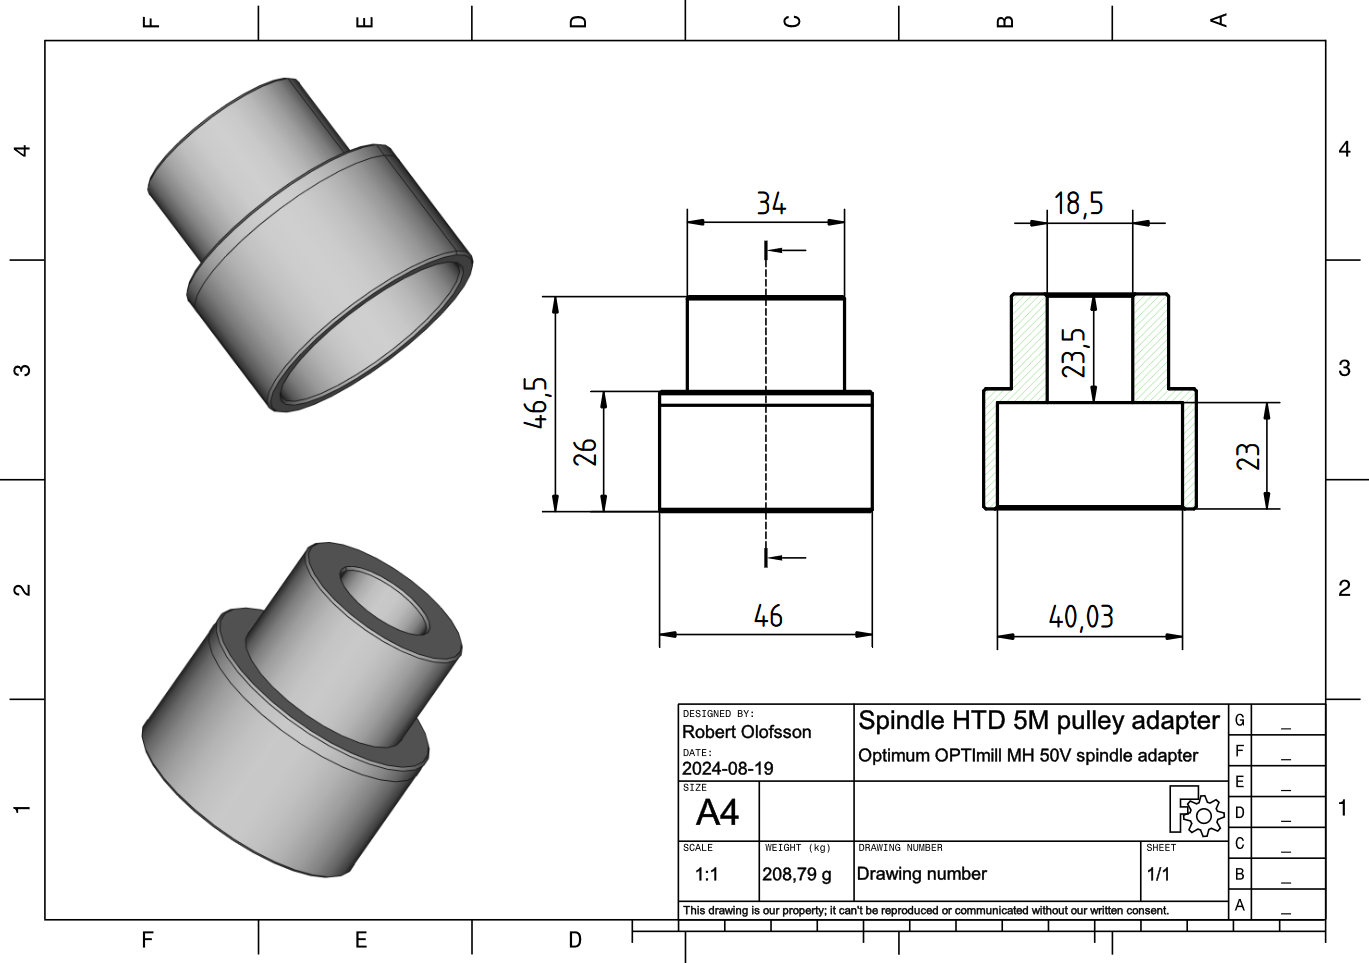
Next up was the design of an adapter in FreeCAD so that I could attach a tooted pulley to the end of the shaft.


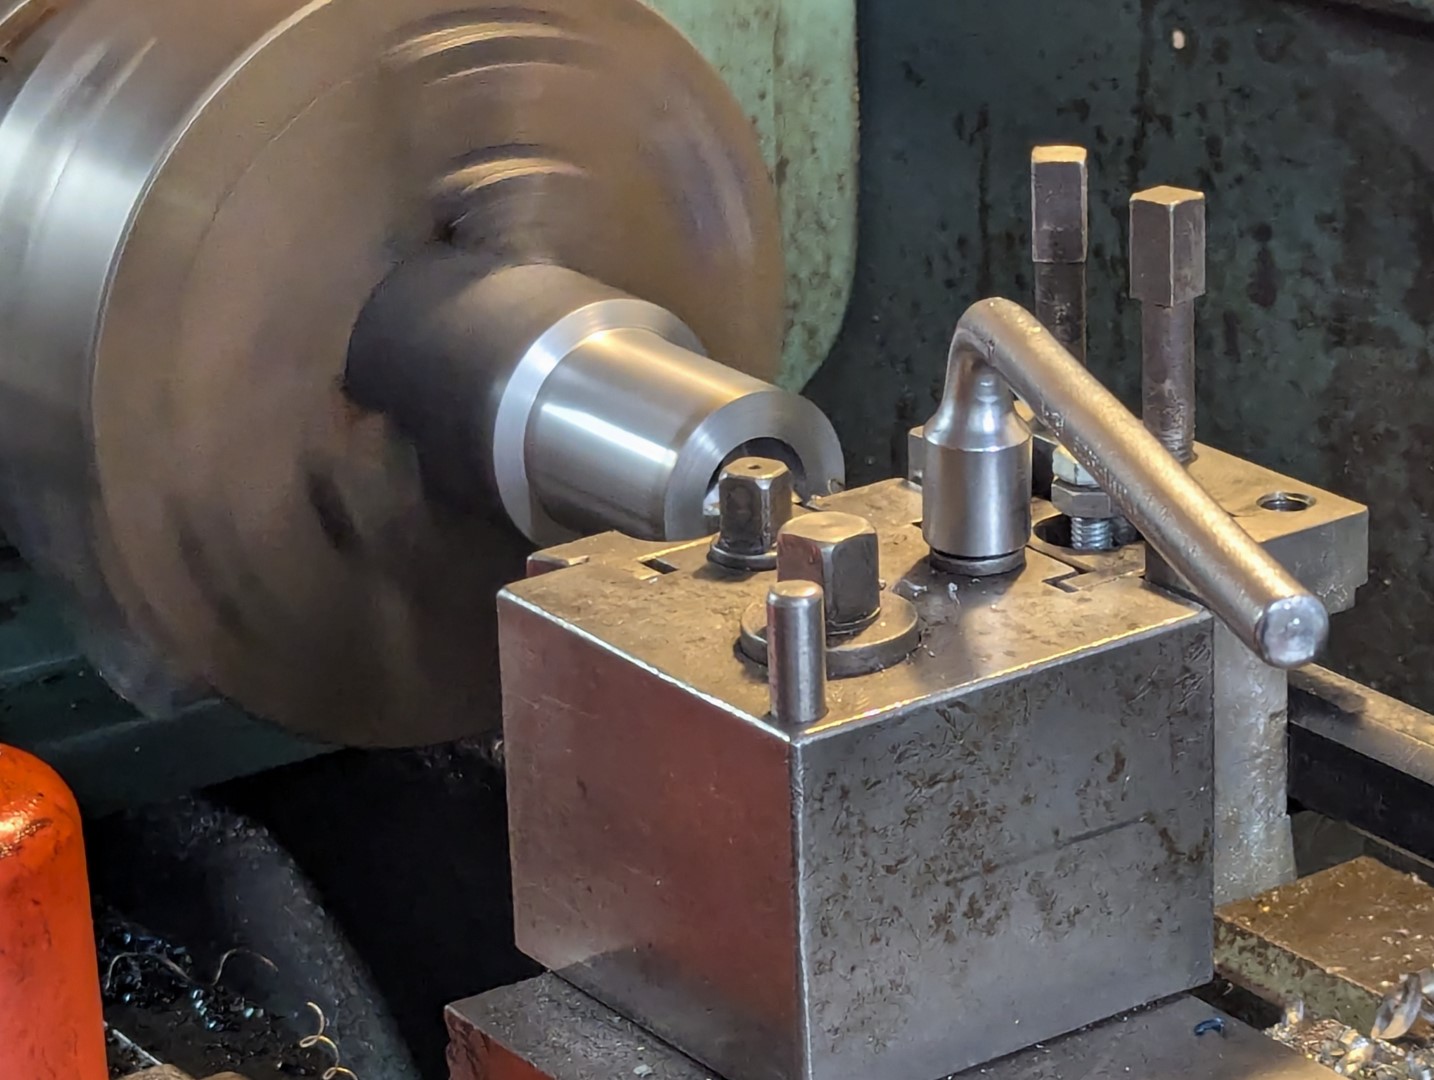
Bought some S355 steel and a steel pulley and had a friend machine them for me on his lathe.


Please Log in or Create an account to join the conversation.
More
2 years 1 month ago #309824 by Unlogic
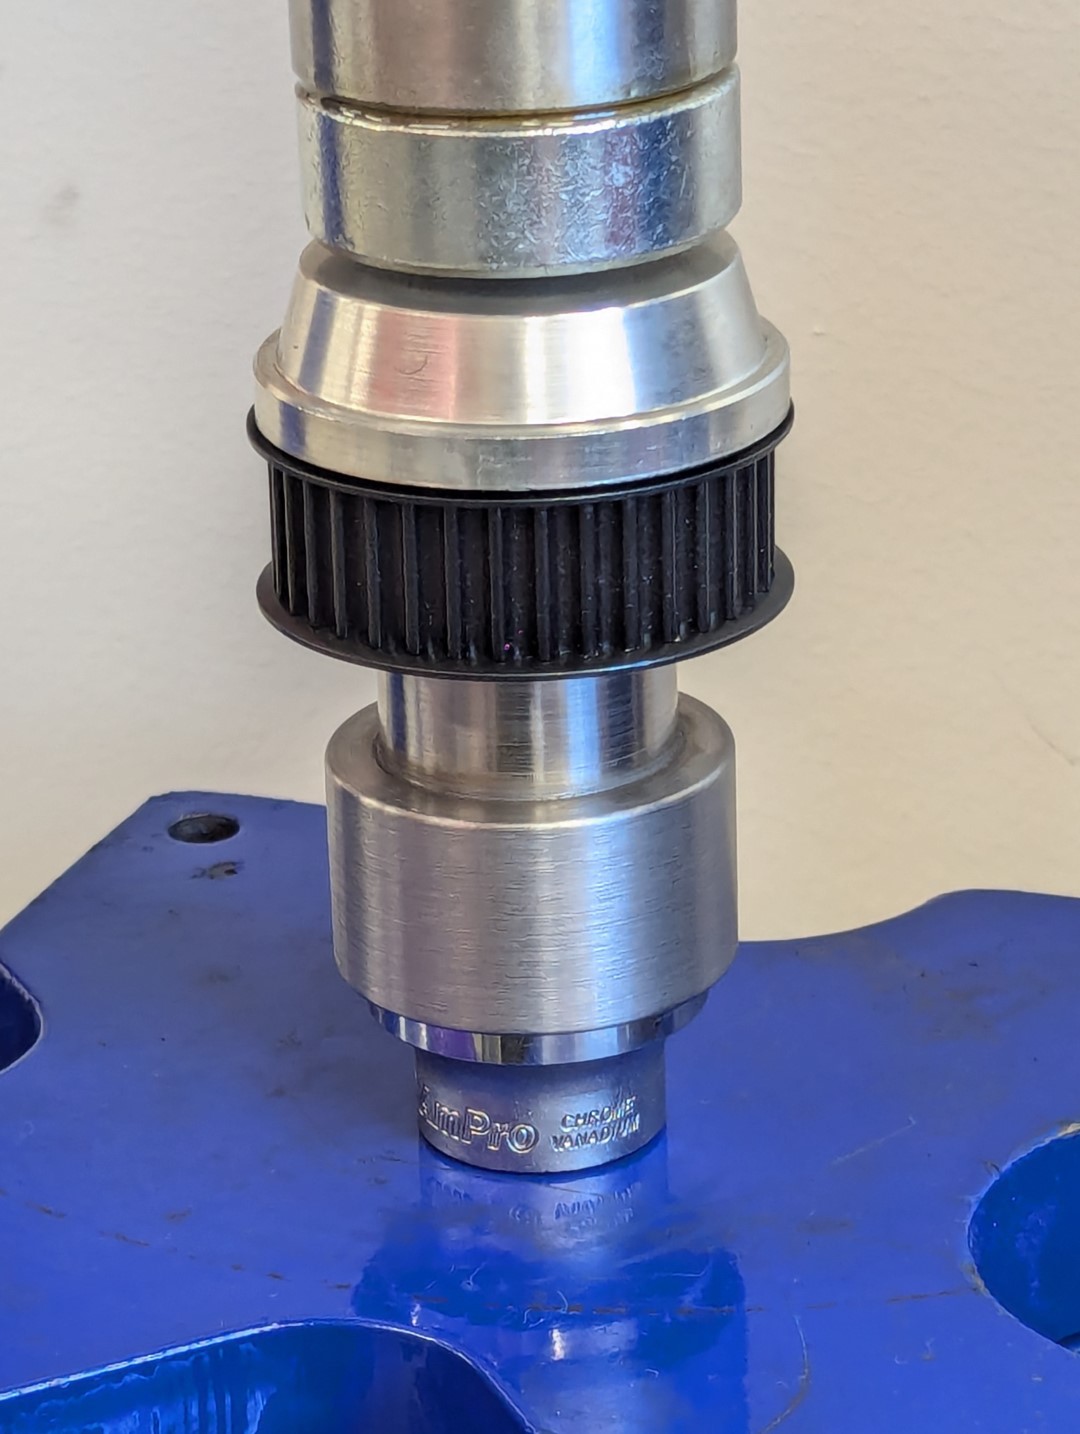
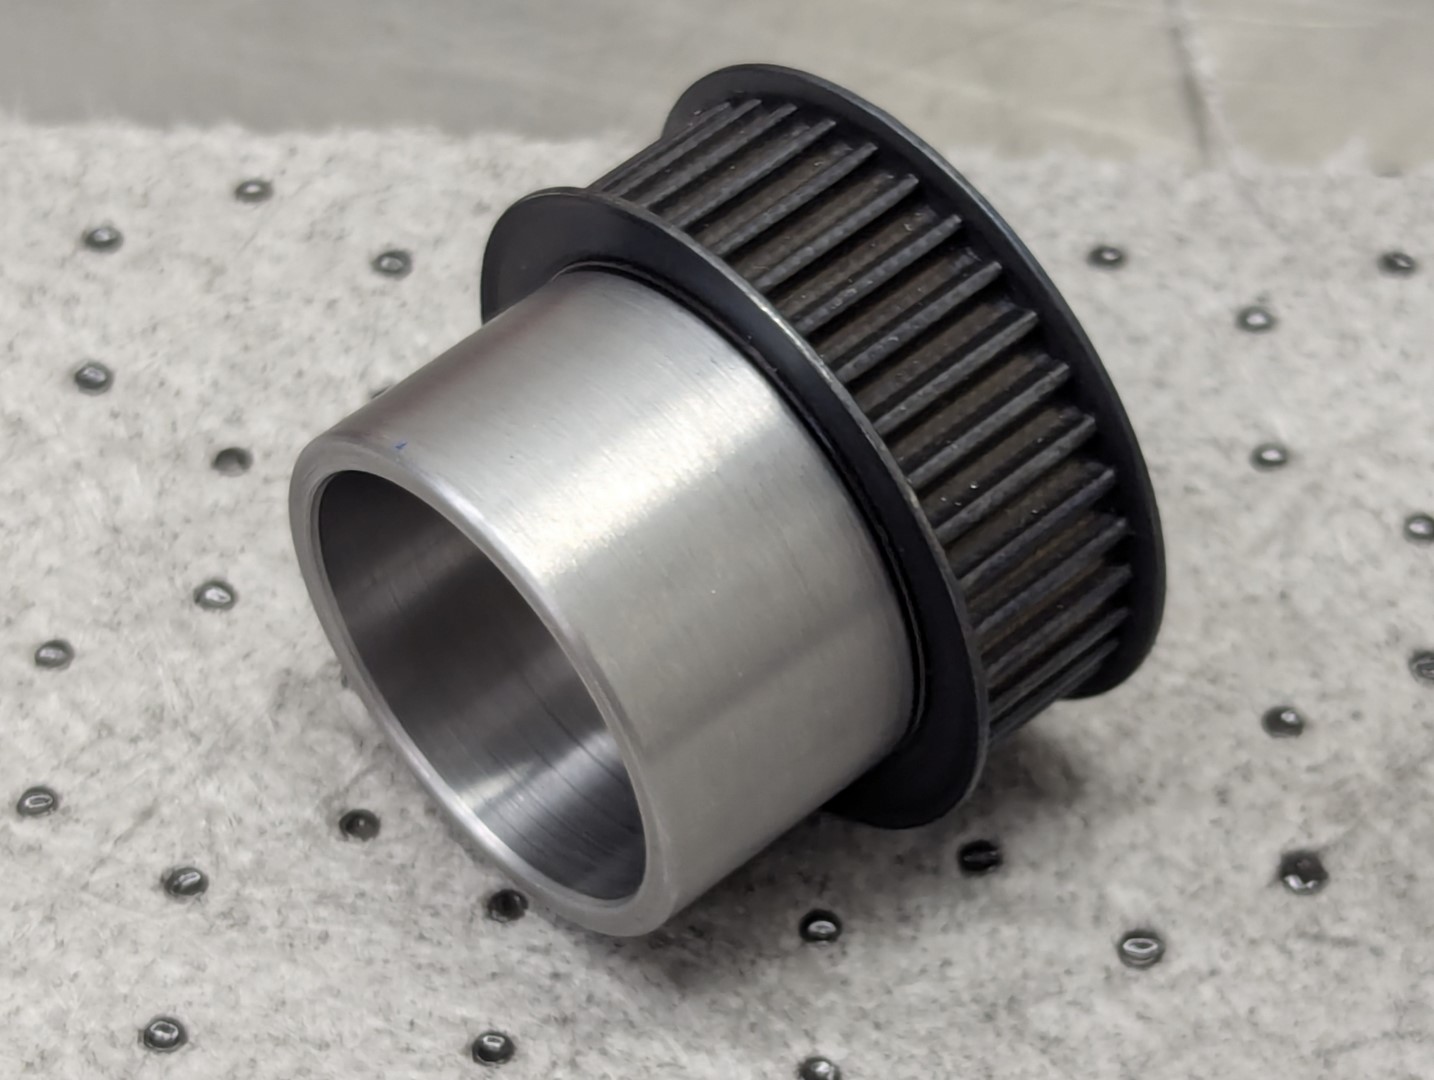
The hole in the pulley is 0.02 mm smaller than the top of the adapter which should hopefully be enough to hold it in place without slipping when used together with some Loctite 638.


Here is a video showing how it fits on the shaft:


The hole at the top of the adapter is threaded M20x1 so that I can attach a puller if I ever need to remove the adapter in the future.

Please Log in or Create an account to join the conversation.
More
2 years 1 month ago #309826 by Unlogic
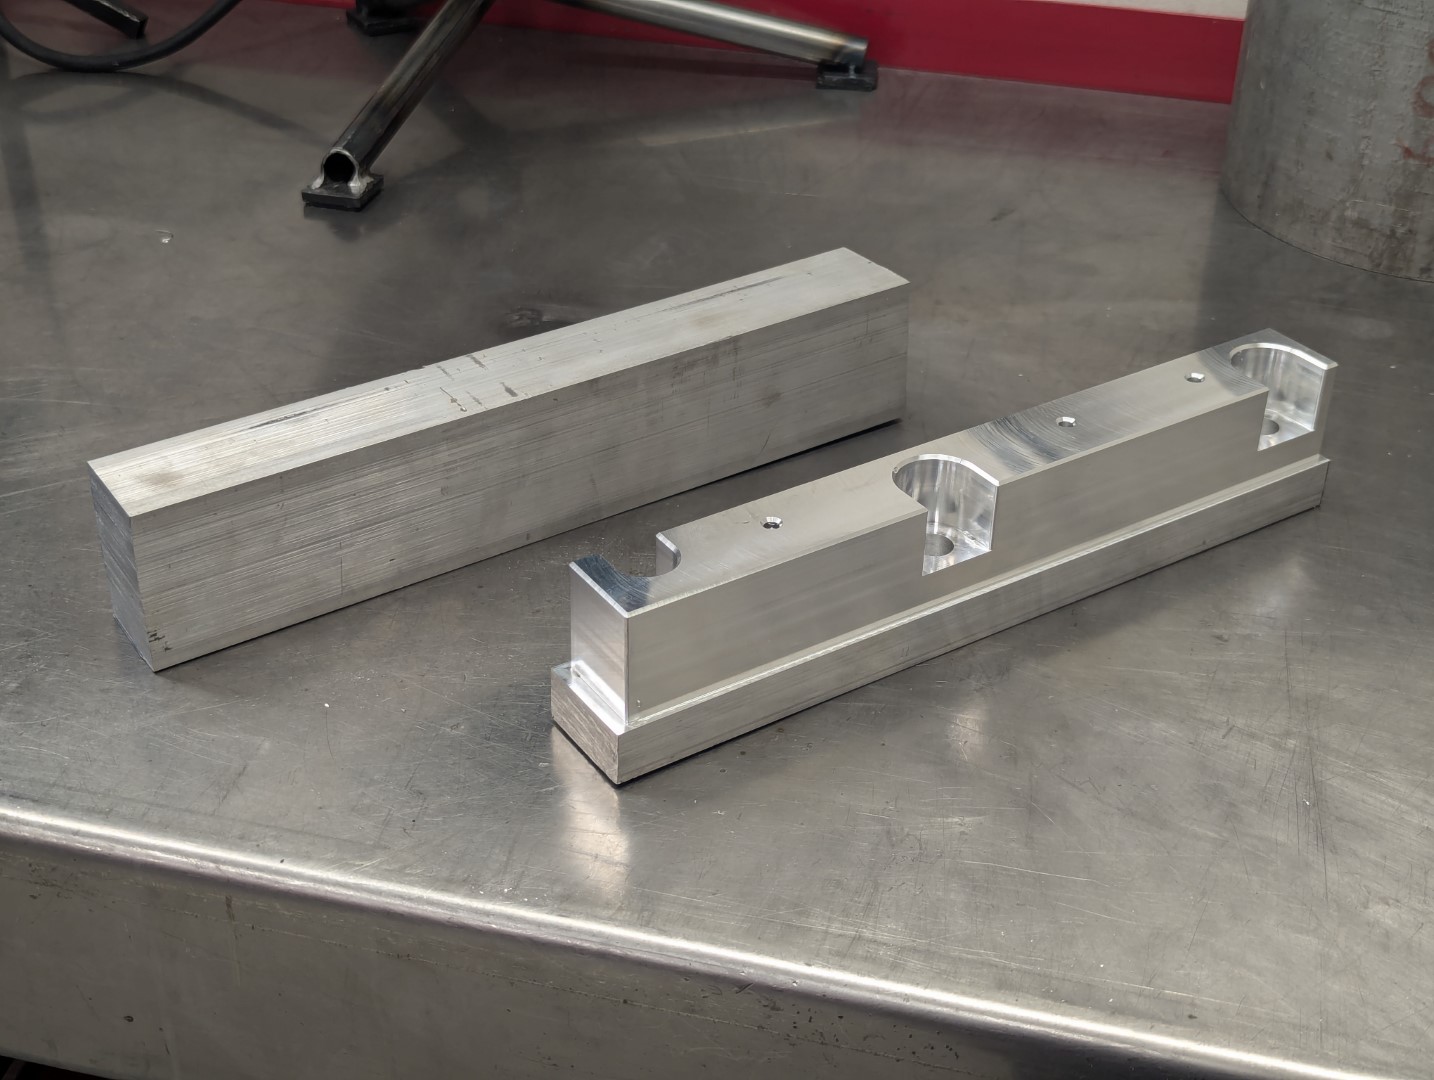
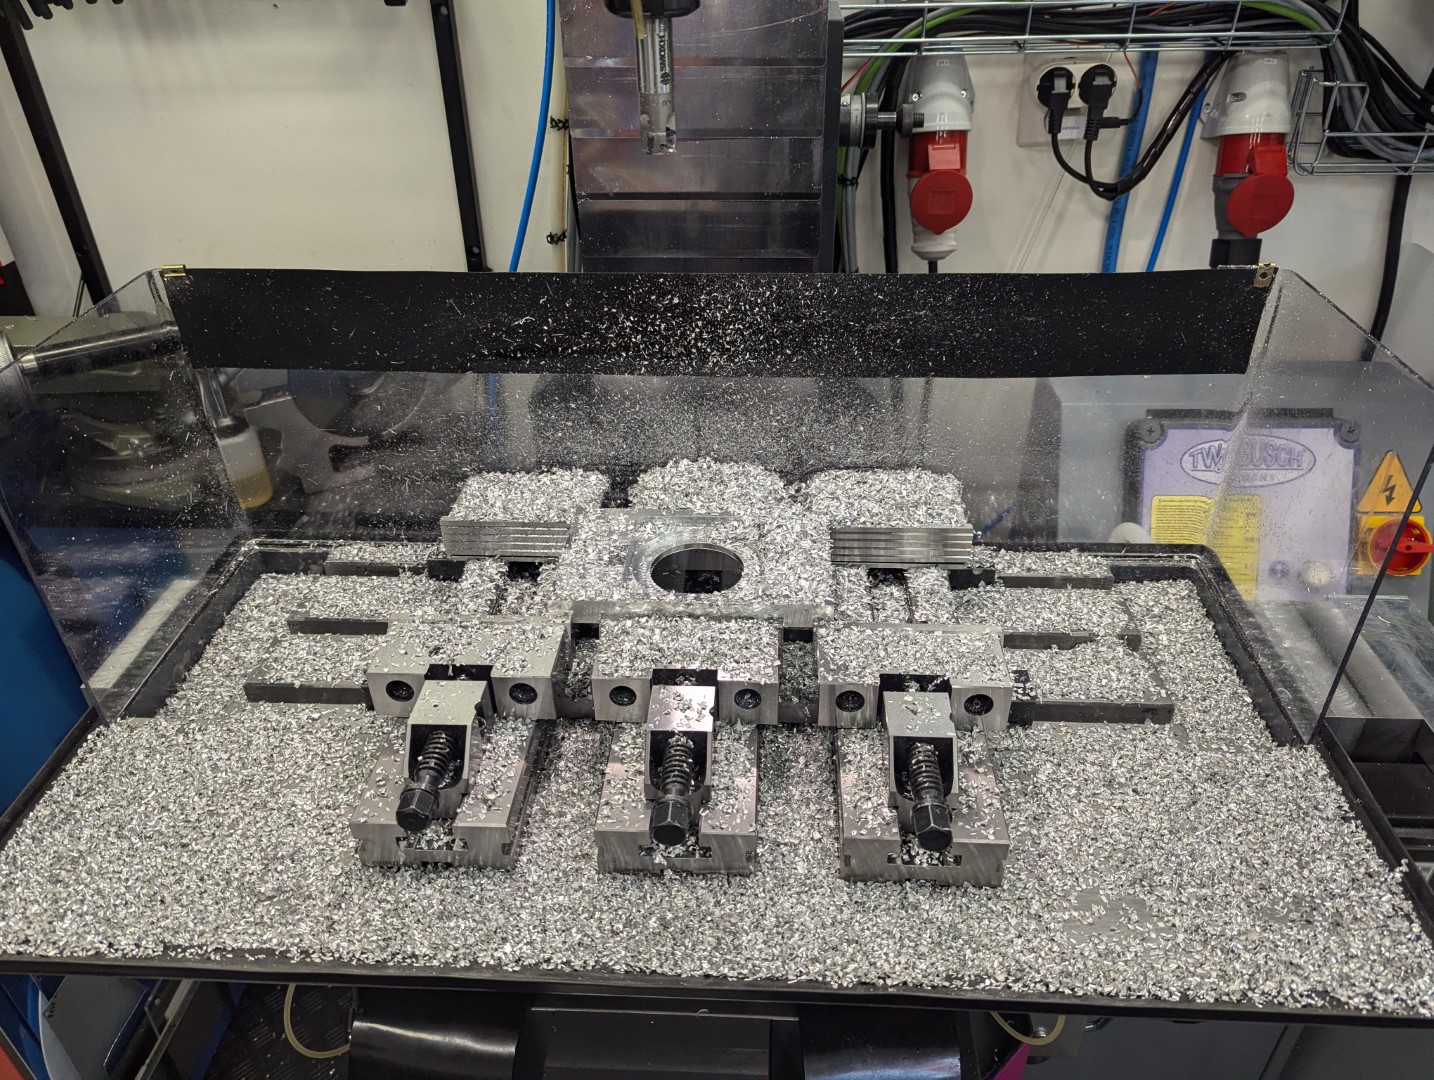
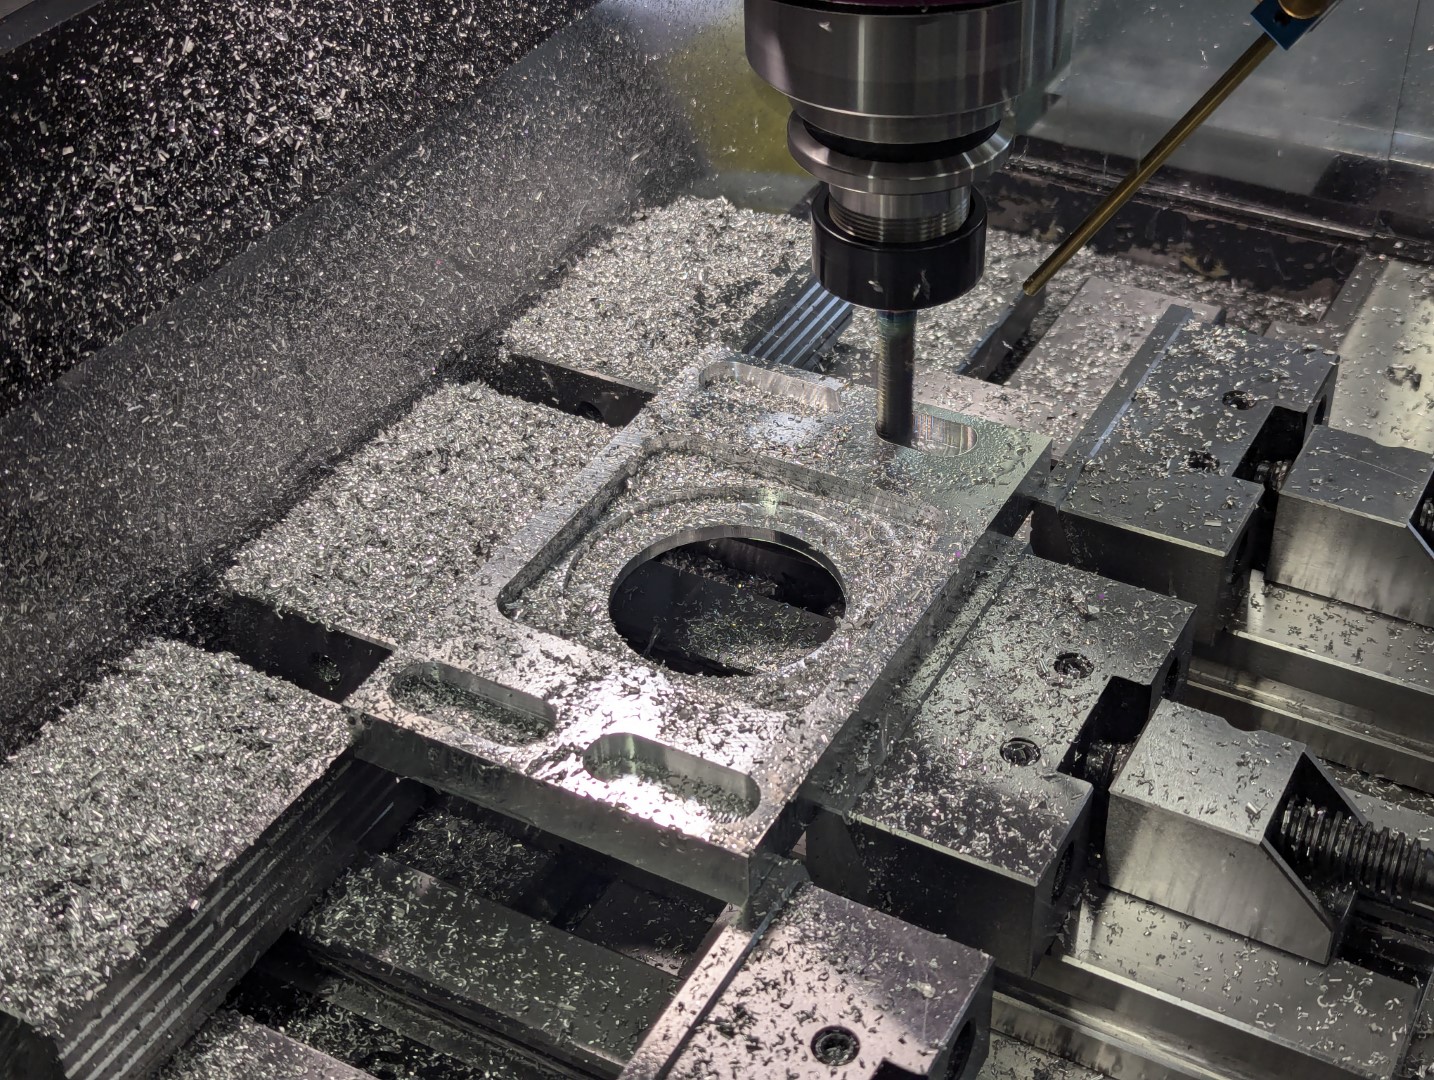
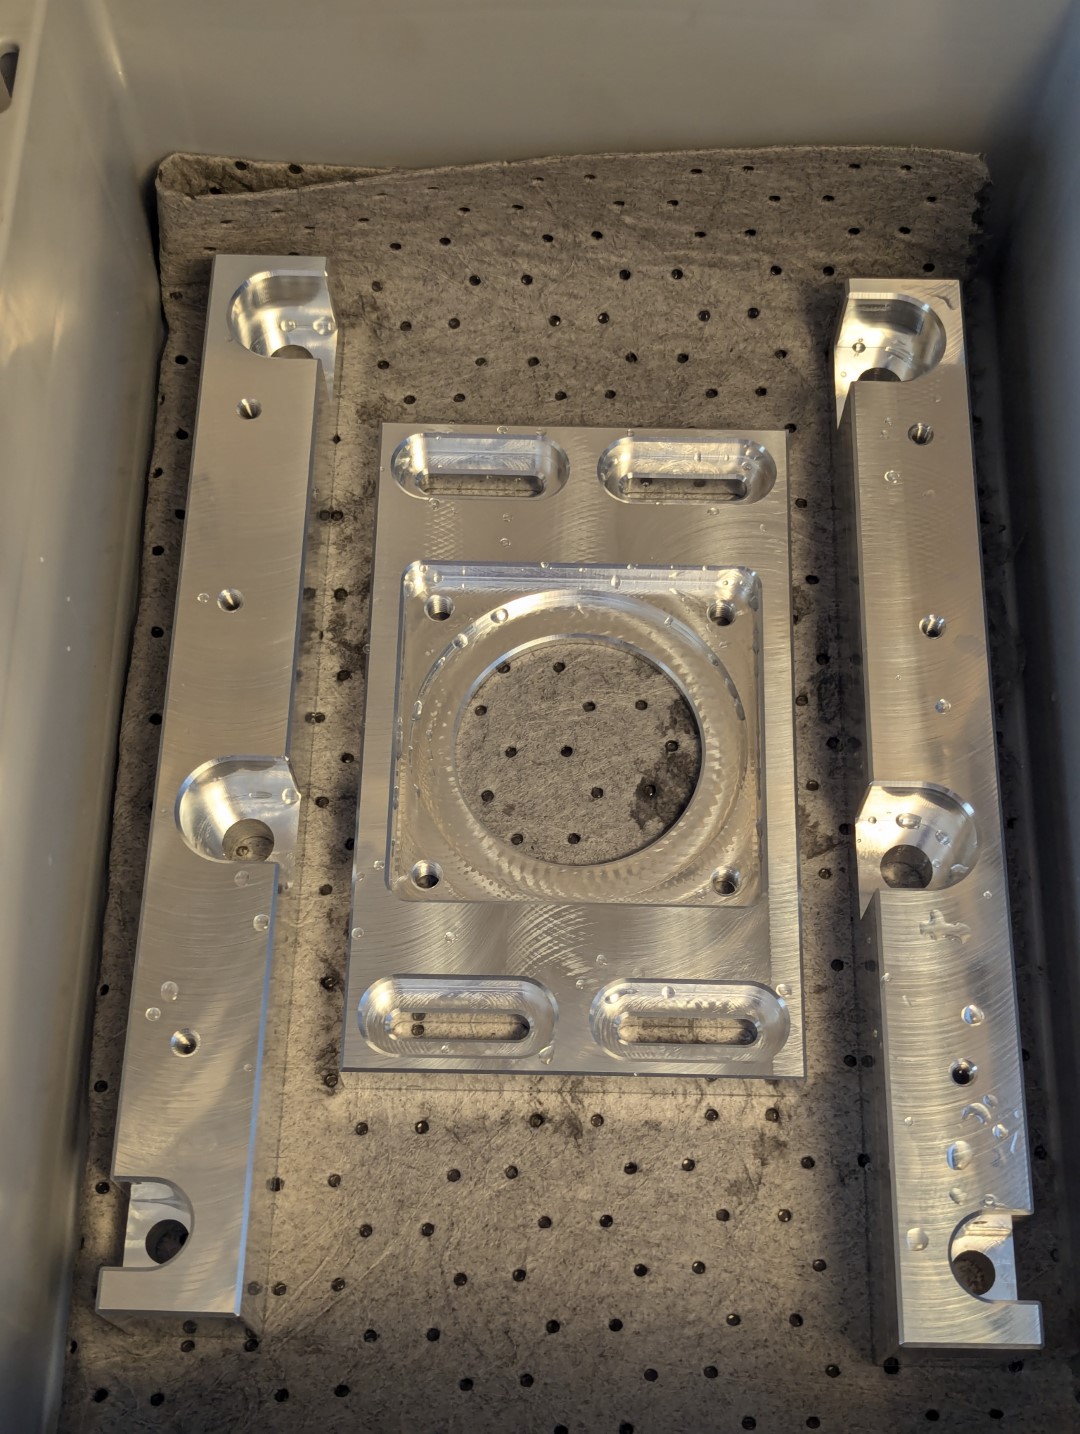
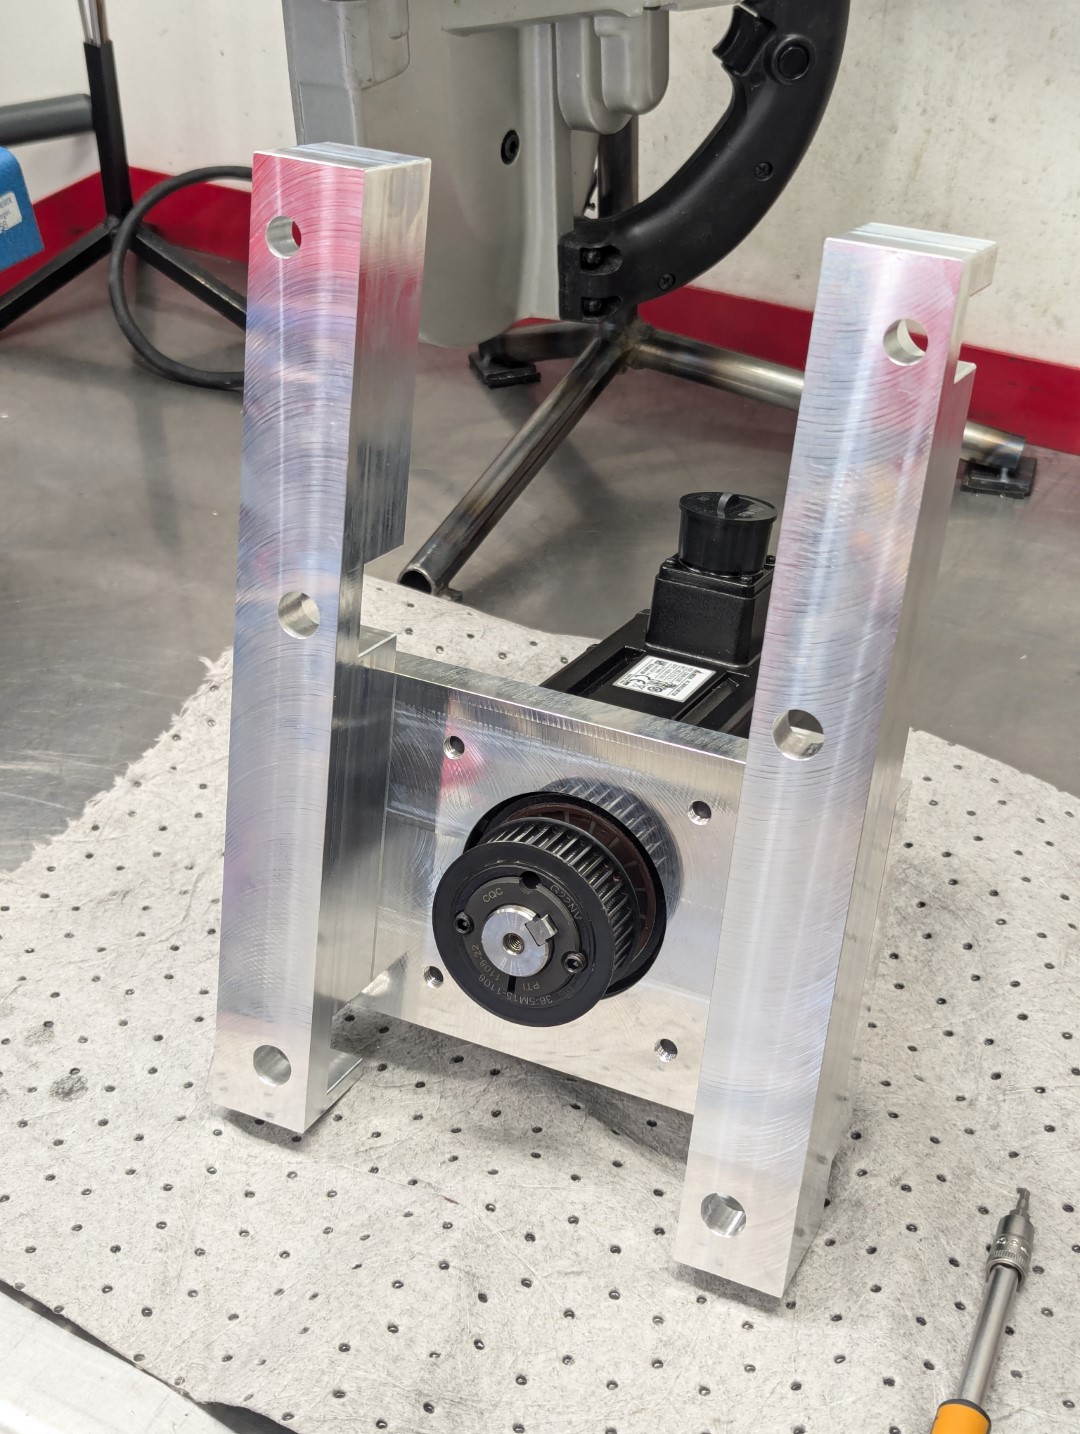
With the adapter done I turned my attention to the mount for the new servo motor. These were also designed in FreeCAD and I then milled them on the mill using tool paths generated by the CAM/Path workbench in FreeCAD.


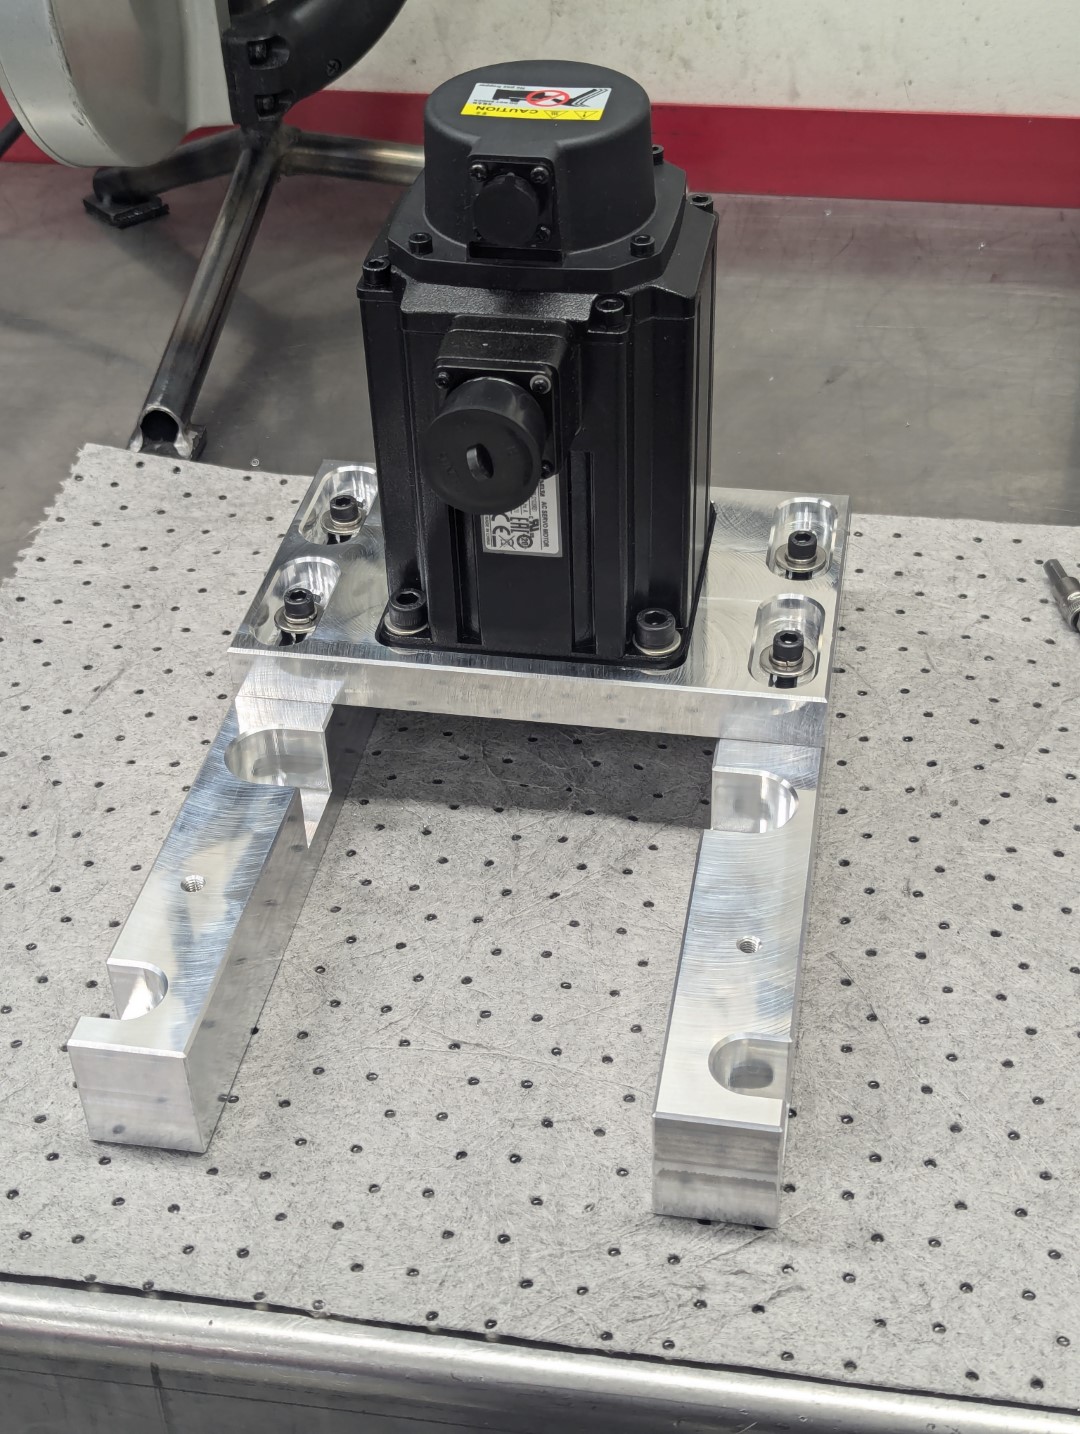
Here is the mount fully assembled with the servo motor installed.


The following user(s) said Thank You: tommylight, besriworld

Please Log in or Create an account to join the conversation.
More
2 years 1 month ago #309827 by Unlogic
With all the parts manufactured it was time for the scary bit, taking apart the gearbox and removing all the parts that will no longer be needed.

First thing to be removed was the huge 2kw induction motor.


Next up was the top cover for the gearbox which to to my great delightment had two threaded holes where long bolts could be inserted to gently lift the cover.


Getting the cover off and removing all the gears however was a bit tricky as the gears and gear change mechanism had to be removed in a particular way in order to not get all tangled up.


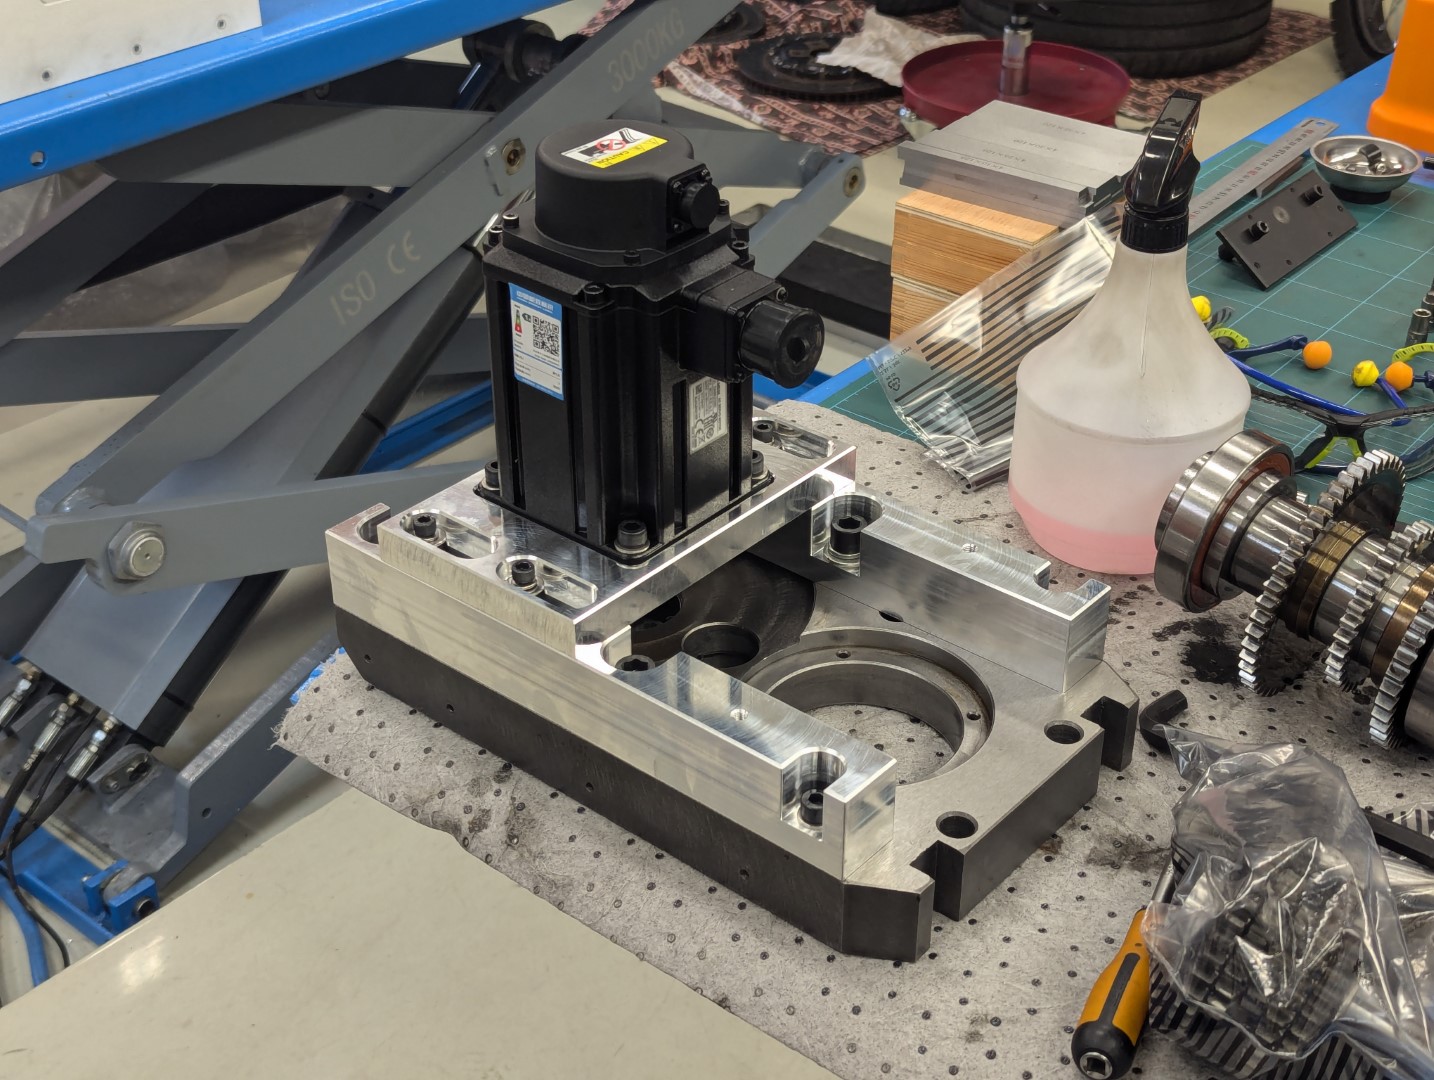
Here is a test fit of the servo mount on the top cover of the gearbox.


After verifying that the mount actually fit I removed two of the three shaft in the gearbox. On the final shaft I pressed off all the gears that could be removed from it and installed new steel caged SKF bearing rated for 12k+ RPM


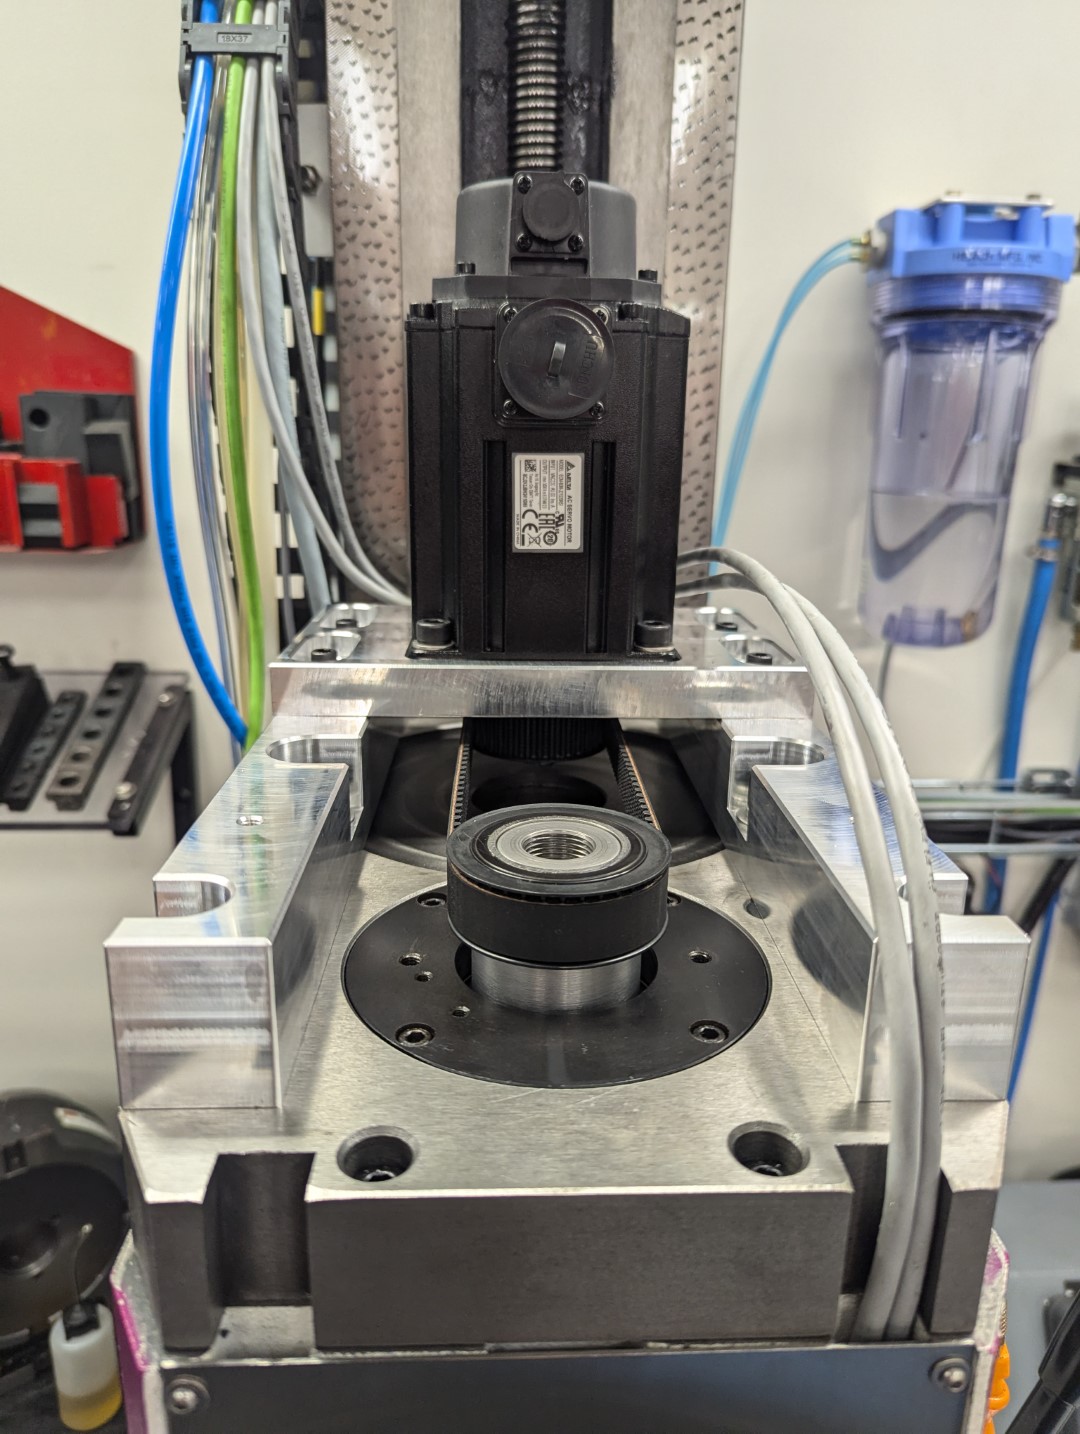
Here is how the shaft looks with the pulley adapter on top (just loosely installed at this time).


The following user(s) said Thank You: besriworld

Please Log in or Create an account to join the conversation.
More
2 years 1 month ago #309829 by Unlogic
With the gearbox emptied of unnecessary parts I installed the new servo and turned my attention to the electrical stuff.


Last time I soldered the cables myself for the DB-44 connectors on the Delta B3 servo drives. This was very tedious as the DB-44 connectors are very densely packed and a small mistake where two cables had their insulation melt slightly during soldering caused a short circuit on humid day which partially fried one of the stepper outputs on the 7i96S board.

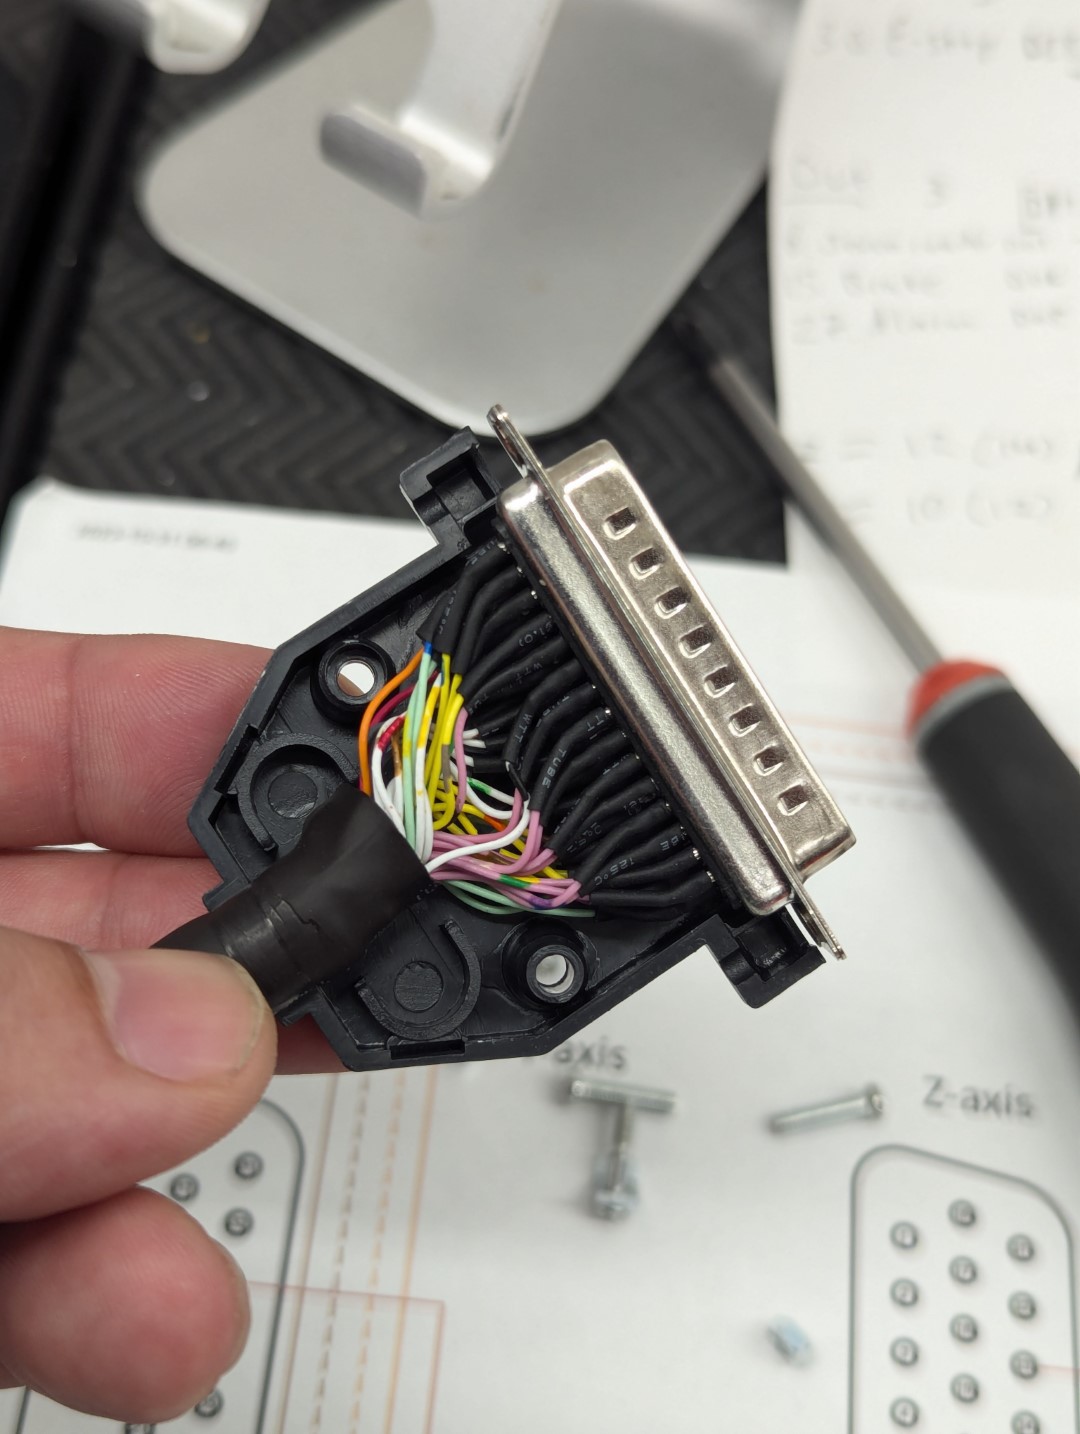
To avoid similar problems this time I bought a DB-44 cable from AliExpress for 39$ including shipping. It took a while to get the cable but when it finally arrived it looked okay and seems fairly well made.


I cut it down a bit including the shielding before installing it in the cabinet and cutting the individual cables to length.


The following user(s) said Thank You: besriworld

Please Log in or Create an account to join the conversation.
Time to create page: 0.385 seconds
Powered by Kunena Forum