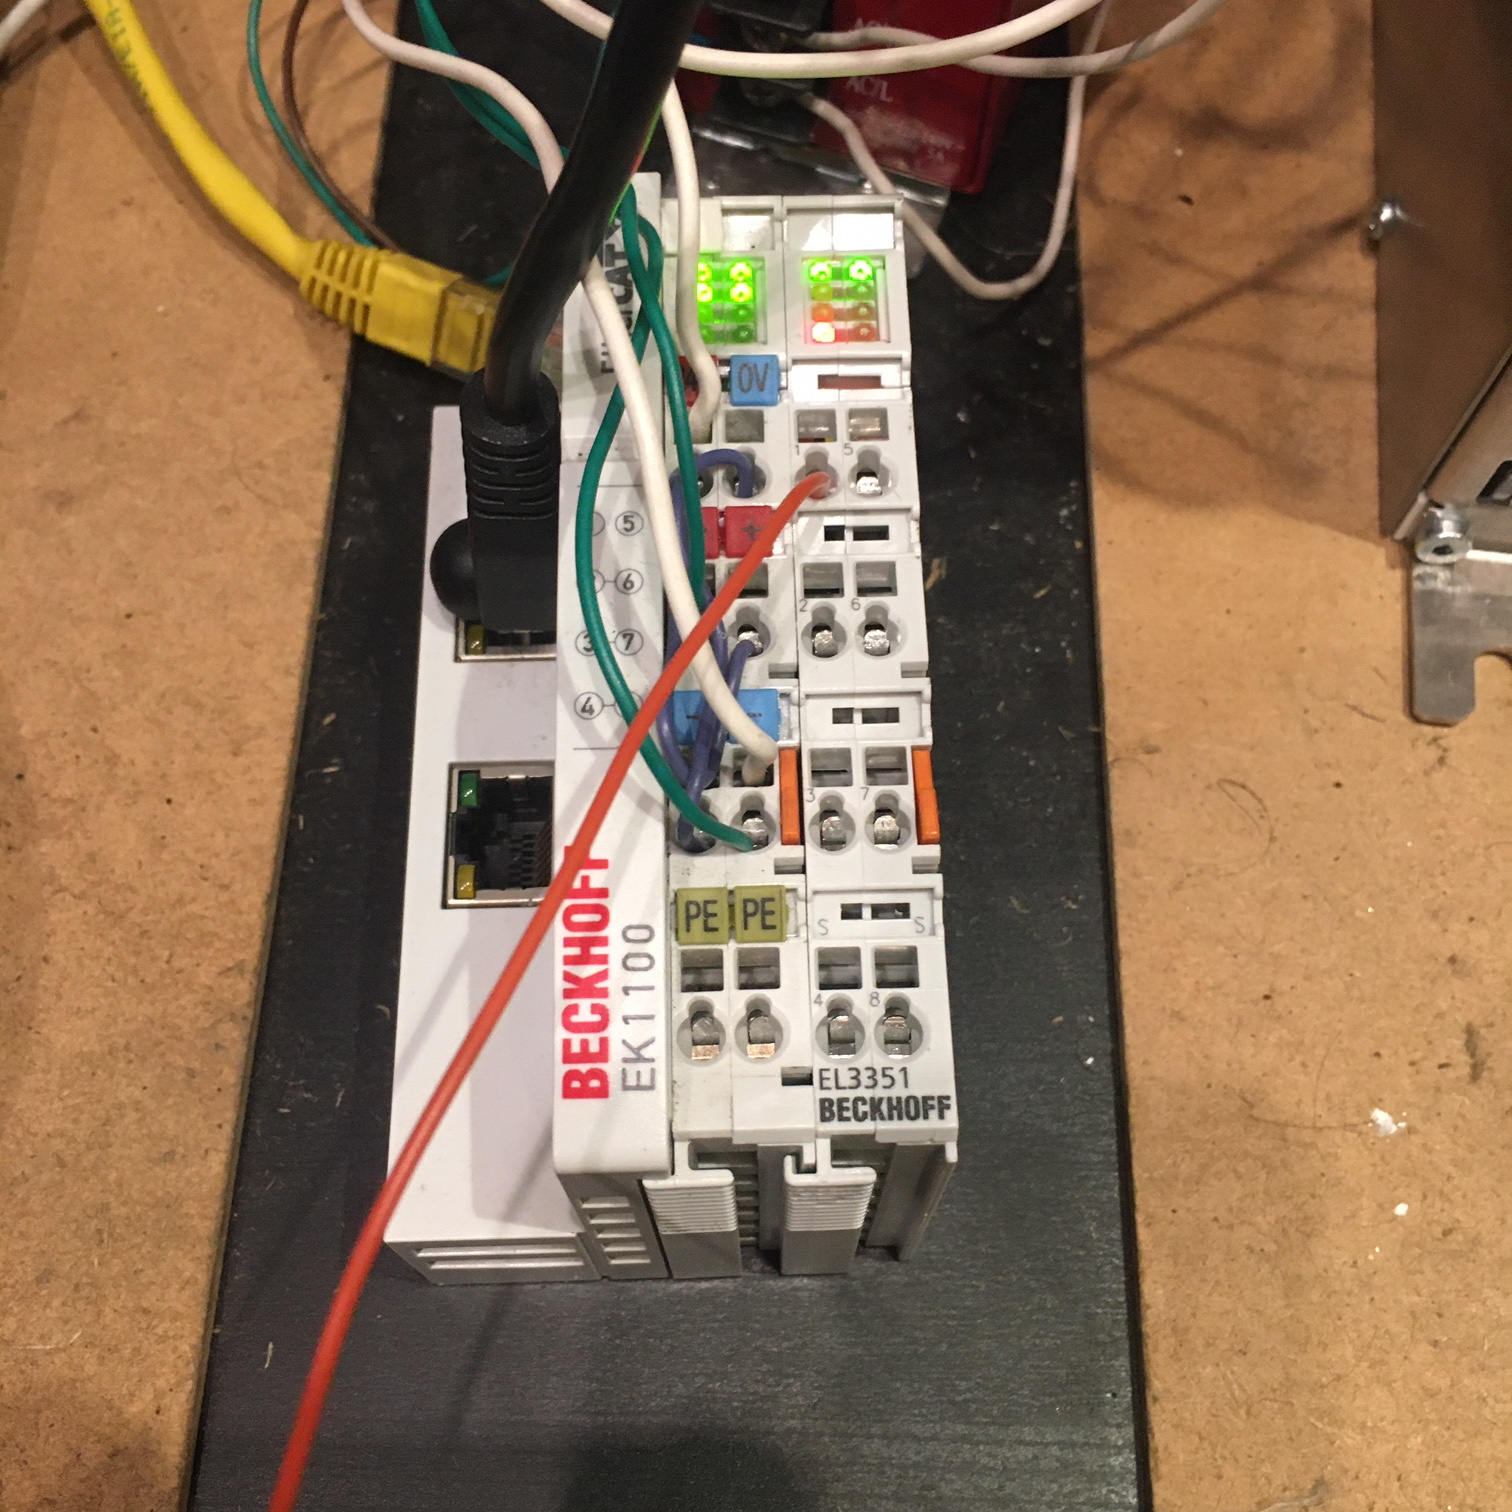
Ethercat HAL driver
- JKAVS
- Offline
- Junior Member
-

- Posts: 22
- Thank you received: 0
Are there any requirements with the Ethercat driver that I should take into consideration now? Like if the Ethercat driver needs specific Linux or LinuxCNC version then it might be smart to use it right from the beginning.
Please Log in or Create an account to join the conversation.
- jhandel
- Offline
- Premium Member
-

- Posts: 158
- Thank you received: 7
What is the preferred control method for EtherCat Servos between velocity and position based control?
Followup questions:
- If you control a EtherCat servo with position, how do you manage velocity? wanting to go to encoder position 1000 is very much dependent on WHEN i want to get to position 1000
- how are commands sent & received from a servo? in a single loop of the Servo thread? (does it run off the servo thread?)... Reason I ask is because if its one action/ms then in paper the max speed you could go to maintain positional accuracy to .01mm would be 6cm/m... That seems super slow, makes me think I am missing something.
I did notice in the samples that motor-pos-cmd was pointed at the servos target location.. and If I am understanding that correctly then the servo "speed" is fixed and actual target speed is managed via controlling how far is being asked to go for each cycle of the servo thread?
am I interpreting that perception correctly or am I missing something important that is at play in all of this?
Sorry for the question of ignorance... I really did hunt for answers before I asked
Please Log in or Create an account to join the conversation.
- CORBETT
-

- Offline
- Elite Member
-

- Posts: 286
- Thank you received: 113
Ok if you are going to do the easier DEB install like talked about under "Installation" on this page: wiki.linuxcnc.org/cgi-bin/wiki.pl?EtherCatDriver Then stick with 2.6 as I think 2.7 and above still has a problem as it has not been updated... this is only for the easy install version, as the RIP "Run in Place" version should not matter.
Please Log in or Create an account to join the conversation.
- arvidb
-

- Offline
- Platinum Member
-

- Posts: 459
- Thank you received: 158
What is the preferred control method for EtherCat Servos between velocity and position based control?
Followup questions:
- If you control a EtherCat servo with position, how do you manage velocity? wanting to go to encoder position 1000 is very much dependent on WHEN i want to get to position 1000
- how are commands sent & received from a servo? in a single loop of the Servo thread? (does it run off the servo thread?)... Reason I ask is because if its one action/ms then in paper the max speed you could go to maintain positional accuracy to .01mm would be 6cm/m... That seems super slow, makes me think I am missing something.
I did notice in the samples that motor-pos-cmd was pointed at the servos target location.. and If I am understanding that correctly then the servo "speed" is fixed and actual target speed is managed via controlling how far is being asked to go for each cycle of the servo thread?
am I interpreting that perception correctly or am I missing something important that is at play in all of this?
I don't think it matters much if you close the position loop in the servo or in LinuxCNC.
Yes, a new position is sent to the amps once every servo period. The servos cannot move instantly to the new position; they have a response time of more than 1 ms, so the commands gets filtered "by the physics of it" (and perhaps even by the amp itself) to give an even speed.
So yes, I think you have interpreted it correctly: the end result is that the speed is controlled by how far the servo is asked to move each servo period.
Thinking about it some more, you do raise an interesting question. E.g. the Omron's Accurax G5 Drives have a specified frequency response of 2 kHz. Maybe it is better to run them at 2 kHz servo and EtherCAT bus frequency in position mode? Or, if using the default 1 kHz, run them in velocity control mode?
Please Log in or Create an account to join the conversation.
- JKAVS
- Offline
- Junior Member
-

- Posts: 22
- Thank you received: 0
If so, it seems that I have to look for a specific network card and use maximum Linux kernel version of 3.4.
Please Log in or Create an account to join the conversation.
- Nico2017
- Offline
- Premium Member
-

- Posts: 153
- Thank you received: 26
as far as I understand the page shows you the network card which would present the best performance if compatible with the linux kernel as indicated onto those tabs for different version of the EtherCAT driver. However you could use the driver with an option called generic. EtherCAT should work but maybe not to the highest performance you could expect from the Ethernet hardware shown onto the page.
The page indicates:
Generic Ethernet Driver
Since version 1.5, there is a generic Ethernet driver among the native ones, that spans all Ethernet devices supported by the Linux kernel. Although it is not usable with realtime patches like RTAI (because it uses the lower network stack layers), it runs perfectly with realtime preemption.
So with realtime preemption you should not even have any issue, but I think you still have slower performance when using generic compared to the other ethernet card presented.
For the EtherLab driver installed through the sittner/ec-debianize method, the generic driver is specified by the DEVICE_MODULES="generic" instruction as in:
Identify your MAC address for the ethernet connexion linked to your Ethercat bus. To do so you can use
sudo gedit /etc/default/ethercat
then modify the MASTER0_DEVICE="" to MASTER0_DEVICE="MACADRESS" with MACADRESS the value obtain with ifconfig. Also change DEVICE_MODULES="" to DEVICE_MODULES="generic" then save.
(see post forum.linuxcnc.org/27-driver-boards/3559...tall?start=30#135811 for full installation process.)
It is also good practise to keep an eye on hg.code.sf.net/p/etherlabmaster/code as this shows you the Ethercat master update installed with the sittner/ec-debianize method. I had some issue with one version installed (drop in the master slave communication) and an update was posted some day and re installing corrected my issue.
I hope this helps.
Nicolas
Please Log in or Create an account to join the conversation.
- chimeno
- Offline
- Elite Member
-

- Posts: 295
- Thank you received: 125
Please Log in or Create an account to join the conversation.
- chimeno
- Offline
- Elite Member
-

- Posts: 295
- Thank you received: 125
Hi @Nico2017,
YES - I will create a quick guide until end of thia week. Do you already have an working Hal-config for ethercat (are you migrating from previous version)?
It took me weeks and several retries to get all steps together. Did you already have a look here?
forum.linuxcnc.org/27-driver-boards/3559...uxcnc-how-to-install
This was helpful but copying files around is not my style..
So, stay tuned
This is my how-to guide on LinuxCNC 2.8 @ Debian 9 Stretch 64 Bit:
!! Before we start, please be adviced that I don't explain every single step in detail.
!! I assume that you are experienced linux user and you know what you are doing.
!! I don't want to discuss why I am installing this or that, and/or doing what I am doing.
!! If you think you can make this better, then simply do it and don't blame on me.
!!
!! Regarding network:
!! - Build-in wifi is used to connect to my network
!! - Lan-Port will be used as ethercat master
!! Ethercat components:
!! - 2x EK1100 (Laptop -> 1. inside cabinet -> 2. mounted on back of Z-axis gantry)
!! - 4x EL4071 (X-Y-Z-A) [A is needed for extruder in 3D-printer mode or rotary axis in mill-mode]
!! - 1x EL3202 (used to get temperature from extruder hotend)
!! - 2x EL1008
!! - 2x EL2008
!! - 1x EL6021 to control 2.2KW spindle (still under development)
!! Objective:
!! - We are using a HP8440P Laptop.
!! - Rather than using LinuxCNC as run in place setup, we are building ".deb"-files and apply them to the operating system.
!!
!! I would like to thank the guys from #linuxcnc-devel@irc.freenode.net - you guys are awesome B)
!! My special thanks are going to
!! - "rmu"
!! - "pcw_home"
!!
01. Get install media from link below and install it on your machine.
www.linuxcnc.org/testing-stretch-rtpreem...uspace-amd64-r13.iso
02. Perform basic setup of Operating System
- wifi config
- enable root account- change to user rootsudo passwd root- configure repository list (see wiki.debian.org/SourcesList)su - root- update operating system:nano /etc/apt/sources.list- create "/install" directory (we will store some of install resources)apt-get update && apt-get upgrade -y && apt autoremove- install some toolsmkdir /install cd /install- create "/git" dir and initialize itapt-get install geany \ ufw \ clamav \ clamtk \ git \ curl \ mercurial \ htop \ mplayer \ net-tools- activate firewallmkdir /git cd /git git init- determine mac address of lan portsystemctl start ufw systemctl enable ufw ufw enable- configure lanip link show
"nano /etc/network/interfaces""nano /etc/network/interfaces"# This file describes the network interfaces available on your system # and how to activate them. For more information, see interfaces(5). source /etc/network/interfaces.d/* # The loopback network interface auto lo iface lo inet loopback allow-hotplug eth0 iface eth0 inet static address 10.0.0.1 netmask 255.255.255.0- avoid wait time due to startup of network servicesauto lo iface lo inet loopback allow-hotplug eth0 iface eth0 inet static address 10.0.0.1 netmask 255.255.255.0
"nano /lib/systemd/system/networking.service" (change here "TimeoutStartSec=5min" to "TimeoutStartSec=1sec")
- install some reseources required for build process later onapt-get install docbook-xsl \ dvipng \ graphviz \ groff \ inkscape \ python-lxml \ source-highlight \ texlive-extra-utils \ texlive-font-utils \ texlive-fonts-recommended \ texlive-latex-recommended \ w3c-linkchecker \ xsltproc \ asciidoc-dblatex \ python-dev \ libxmu-dev \ libglu1-mesa-dev \ libgl1-mesa-dev apt-get install libgtk2.0-dev \ gettext \ intltool \ autoconf \ libboost-python-dev \ netcat \ libmodbus-dev \ libusb-1.0-0-dev \ yapps2 \ tcl8.6-dev \ tk8.6-dev \ libreadline-gplv2-dev \ asciidoc \ devscripts \ build-essential \ lintian \ texlive-lang-cyrillic \ texlive-lang-french \ texlive-lang-german \ texlive-lang-polish \ texlive-lang-spanish \ devscripts \ build-essential \ quilt
03. Remove pre-installed linuxcncapt-get purge linuxcnc-doc-en linuxcnc-uspace-dev linuxcnc-uspace
04. Setup LinuxCNC 2.8cd /git git clone git://github.com/linuxcnc/linuxcnc.git linuxcnc-dev cd linuxcnc-dev/debian ./configure uspace cd .. dpkg-buildpackage -b -uc cd /git apt install ./linuxcnc-doc-en_2.8.0~pre1_all.deb apt install ./linuxcnc-uspace_2.8.0~pre1_amd64.deb apt install ./linuxcnc-uspace-dev_2.8.0~pre1_amd64.deb mkdir /git/linuxcnc-dev/deb/ mv linuxcnc_* /git/linuxcnc-dev/deb/ mv *.deb /git/linuxcnc-dev/deb/ reboot
05. Setup "ec-debianize"cd /git git clone https://github.com/sittner/ec-debianize ec-debianize ./get_source.sh cd etherlabmaster dpkg-checkbuilddeps dpkg-buildpackage (the output error "failed to sign .dsc file" is no issue) sudo dpkg -i /git/ec-debianize/etherlabmaster_1.5.2+20180317hg9e65f7-2_amd64.deb sudo dpkg -i /git/ec-debianize/etherlabmaster-dev_1.5.2+20180317hg9e65f7-2_amd64.deb nano /etc/default/ethercat (change mac-address [MASTER0_DEVICE=""] e.g. [MASTER0_DEVICE="11:22:33:44:55:66"]) nano /etc/default/ethercat (change [DEVICE_MODULES=""] to [DEVICE_MODULES="generic"]) sudo update-ethercat-config usermod -a -G ethercat linuxcnc reboot
06. Setup "LinuxCNC-Ethercat"cd /git git clone http://github.com/sittner/linuxcnc-ethercat.git linuxcnc-ethercat" nano /git/linuxcnc-ethercat/src/lcec_main.c (add here [#include "rtapi_mutex.h"] below [#include "rtapi_app.h"]) cd /git/linuxcnc-ethercat make -j4 make install sudo make install
07. Further things to consider
- if you experience issues when starting linuxcnc (cpu high load), then try to change "BASE_PERIOD=0" within your ini-file (config of your machine)
08. .. this is know the part where I guess I can end this guide now.
.. further steps (setting up ethercat.xml, machine config, ... can be seen within the forum).
.. hope this helped you - thanks for reading.
.. please leave a comment whether you managed it to get your system running.
Best Regards,
Ben
Hello @Hawkeye
I wonder if you can share your EL6021 code to see how you have programmed it, thank you very much
Chimeno
Please Log in or Create an account to join the conversation.
- Grotius
-

- Offline
- Platinum Member
-

- Posts: 2419
- Thank you received: 2345
Thanks for your guide. The step for installing linuxcnc as .deb is interesting.
The fastest way for new users is to download & install debian 10 ethercat iso : github.com/grotius-cnc/LINUX_RTOS
This saves hours of time.
Your step 8 is already done inside the iso.
Please Log in or Create an account to join the conversation.
- chimeno
- Offline
- Elite Member
-

- Posts: 295
- Thank you received: 125
Sorry, I did not explain myself well, the guide is not mine, I only ask how the EL6021 device has been programmed, I am not very clear how I should approach it.
Greeting
Chimeno
Please Log in or Create an account to join the conversation.

