Rods "Spaceship" Scratch built Plasma Cutter build
- rodw
-
 Topic Author
- Offline
- Platinum Member
-

Less
More
- Posts: 11691
- Thank you received: 3942
28 Jan 2017 01:26 #86817
by rodw
Replied by rodw on topic Rods "Spaceship" Scratch built Plasma Cutter build
Well, I found out the problem why my gantry limit switches were shorting out.
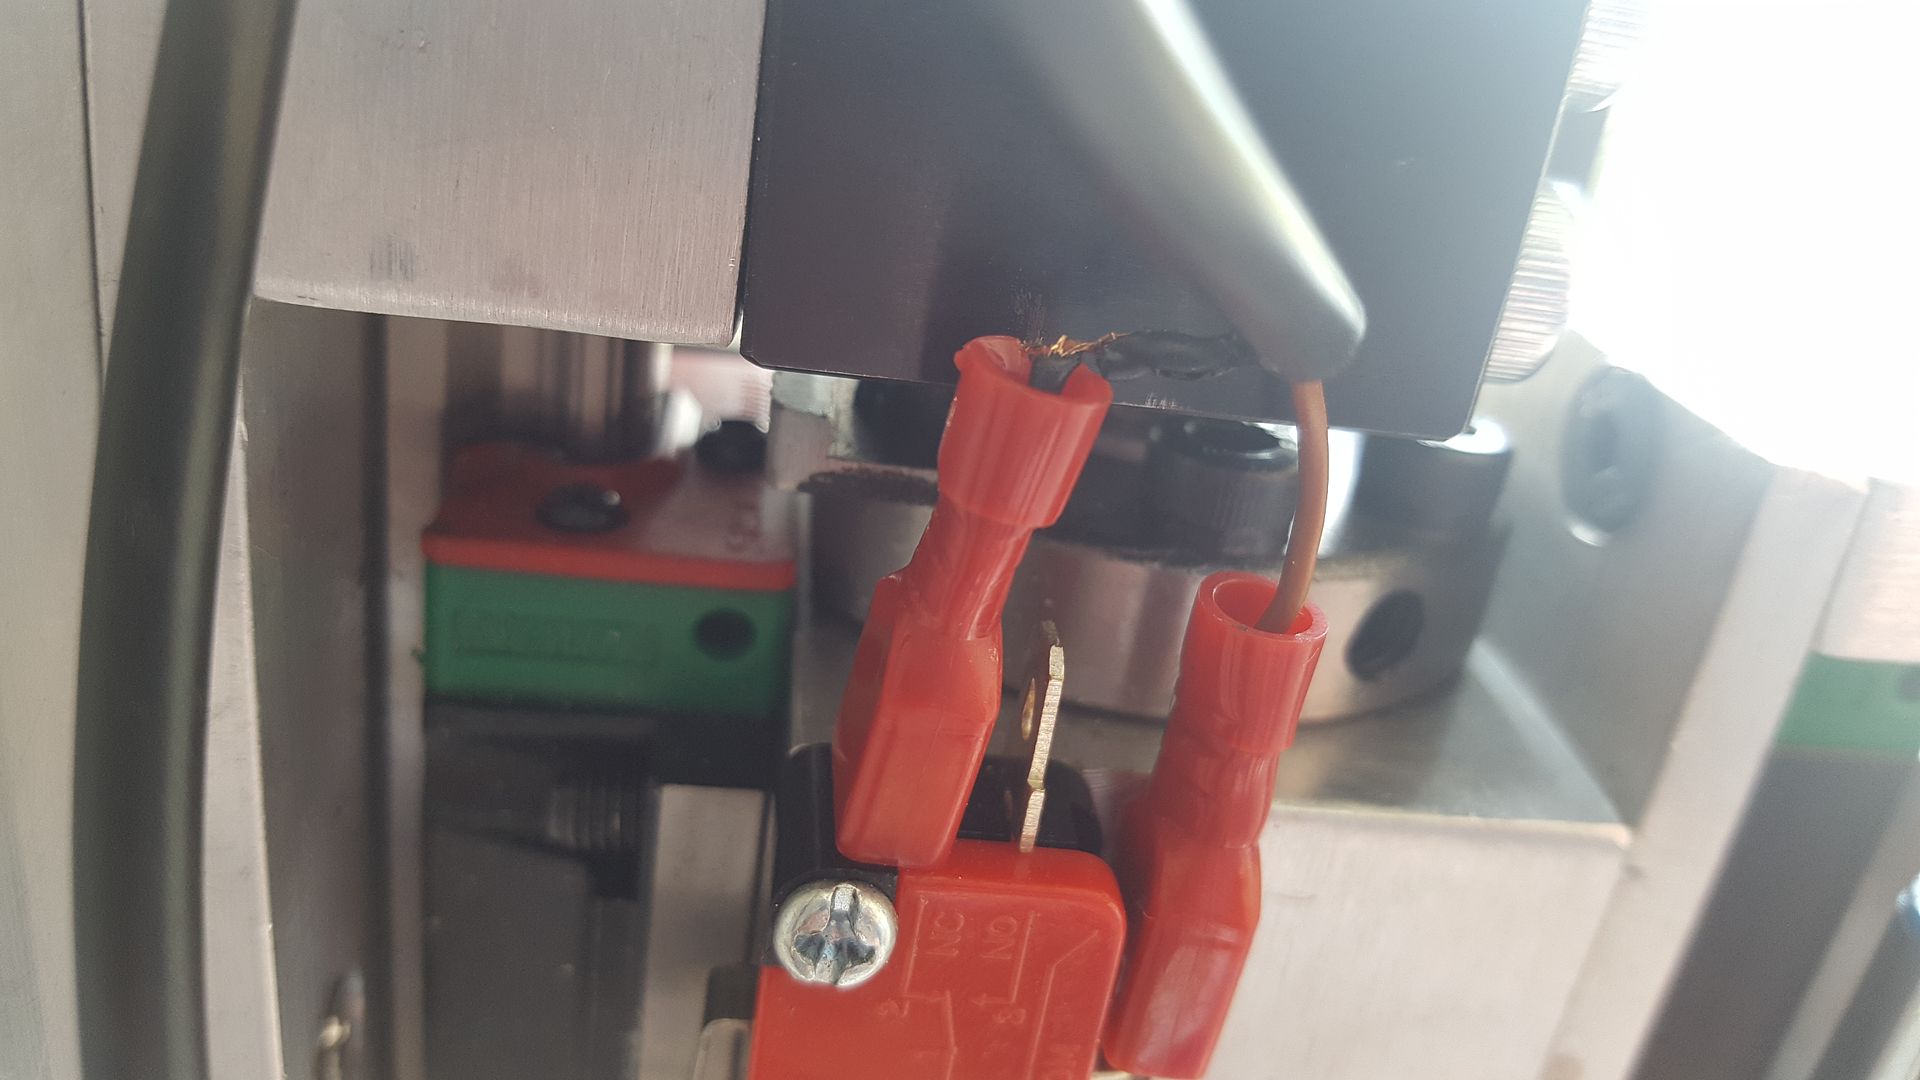
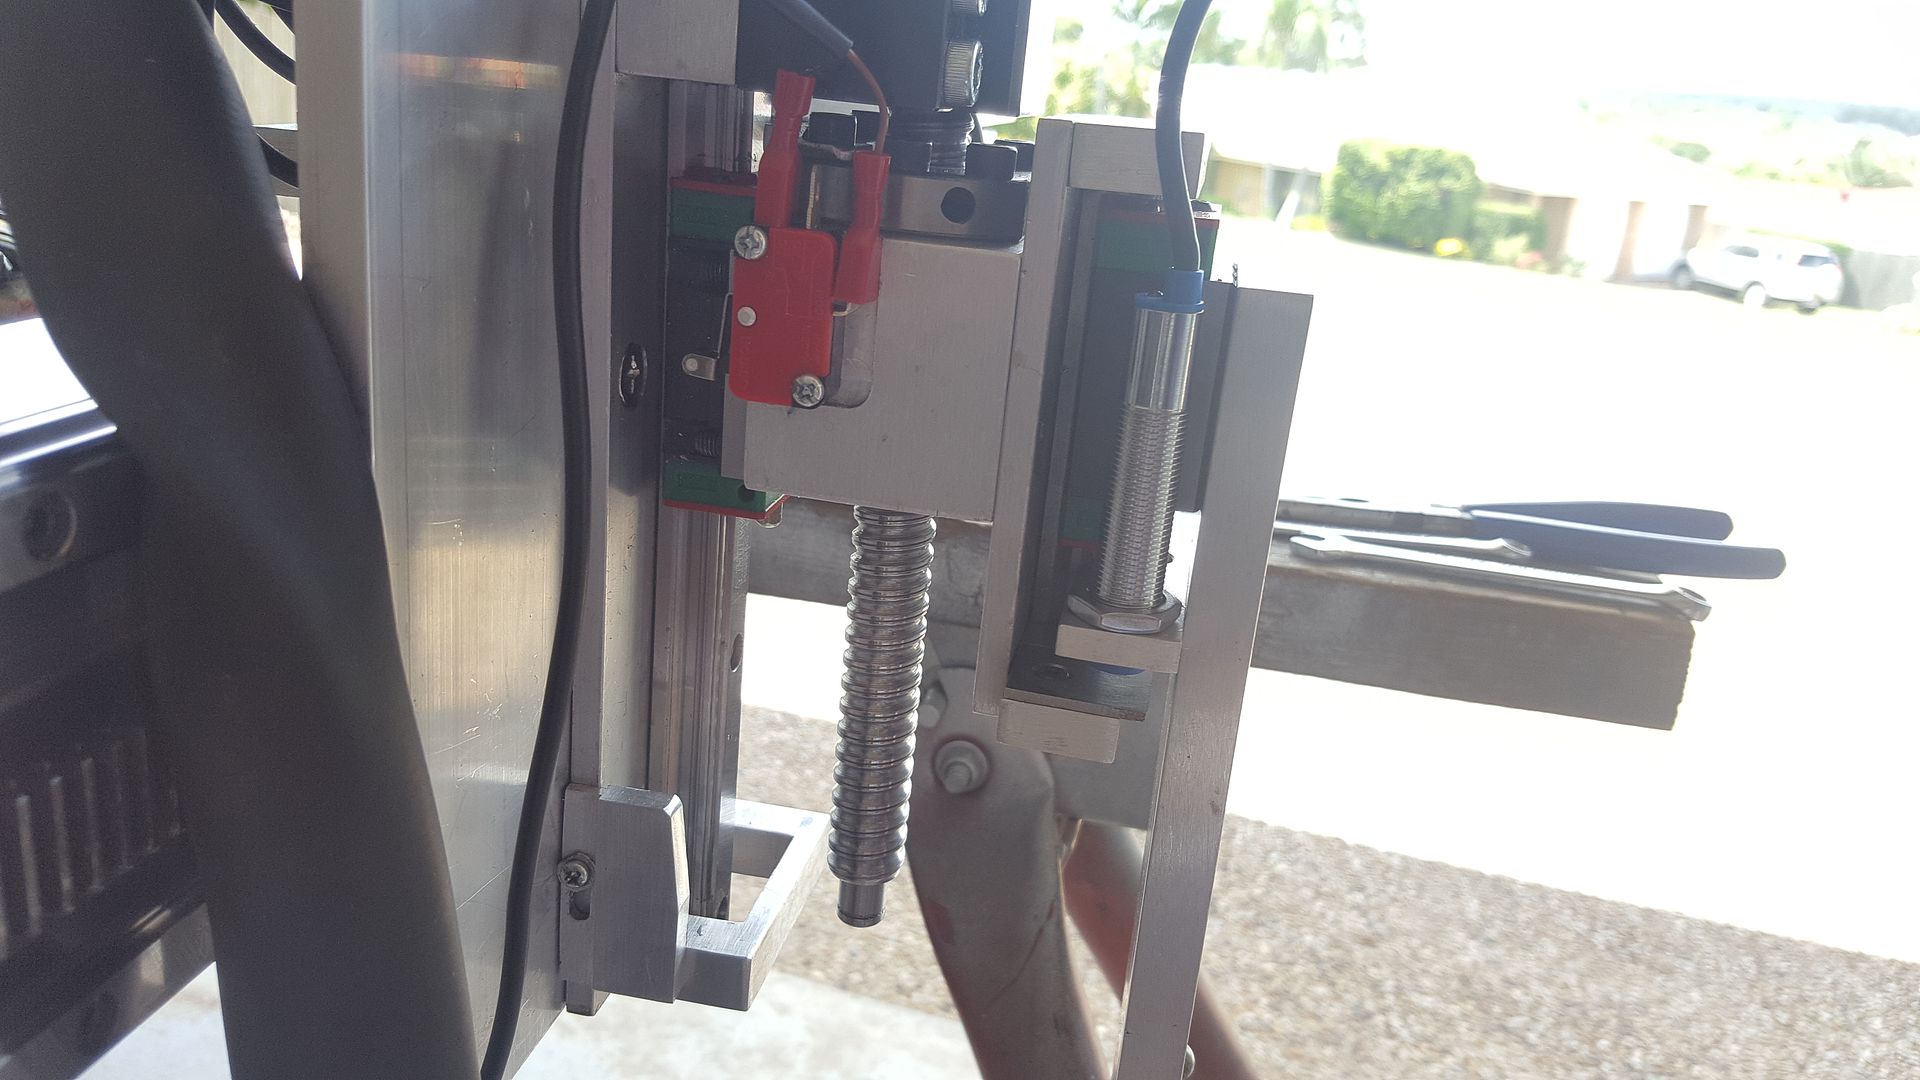
I caught sight of some sparks in the homing sequence early this morning when there was not much light around. One of the wires on my lower z axis limit switch was being caught on the bearing support.
I have known for a while I needed to swap the microswitch with the trigger so the wiring was never moving.
I had put it off becasue I wanted to get something moving! Looks like I'll be doing it sooner than later...
I've also found a bug in gmocappy GUI when Joint Axis machines are in use which I reported on this thread
forum.linuxcnc.org/gmoccapy/32227-bug-re...mode-in-master#86816
Gmocappy allows individual homing of a joint. Before we had the new Joint Axis feature in LCNC, the joints mapped directly to an Axis
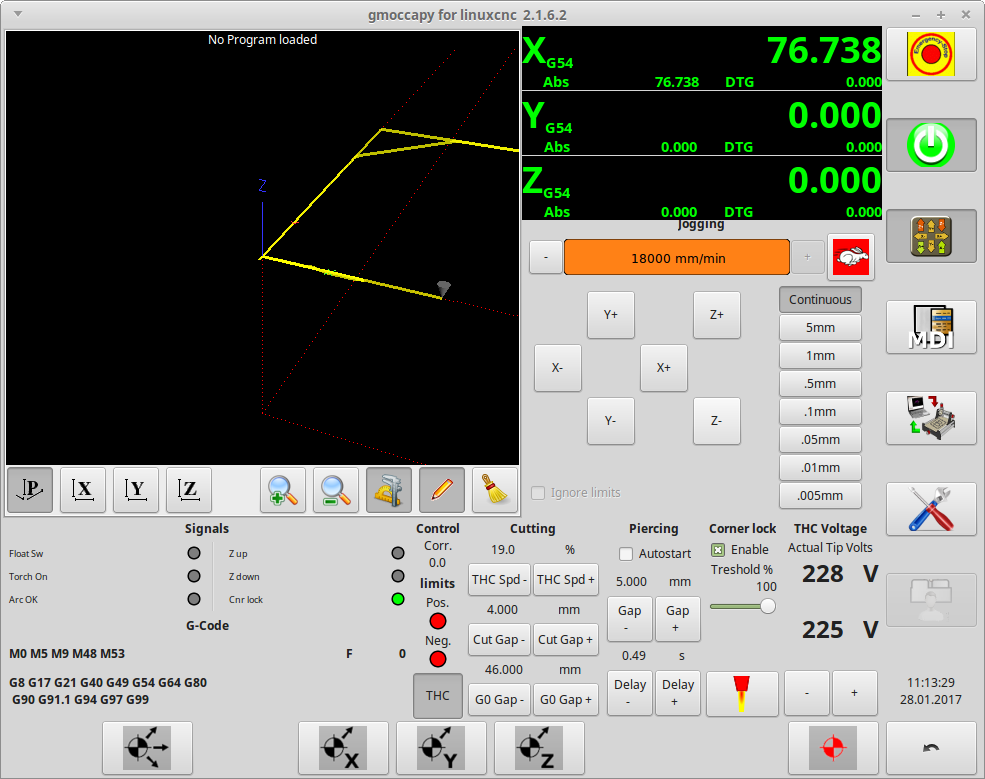
So the buttons at the bottom of the screen above are meant to HOME ALL, HOME X, HOME Y and HOME Z.
But in reality they act as follows: HOME ALL, HOME JOINT 0, HOME JOINT 1, HOME JOINT 2
In my setup, JOINT 0 and JOINT 1 are paired together to operate the X axis. This means that
HOME X and HOME Y buttons are homing opposite sides of the gantry. Only the stepper on one side runs. This is a bit scary if one is selected in error as it will twist the gantry.
Then everything is out of step so HOME Z homes the Y axis and the poor old Z axis misses out altogether.
From what I can see, There is no way to home an axis on its own, only a joint and home all.. So I need to disable the individual homing buttons somehow. Preferably without editing the main Gmocappy source files as my changes would get overwritten on an upgrade.
Please Log in or Create an account to join the conversation.
- rodw
-
 Topic Author
- Offline
- Platinum Member
-

Less
More
- Posts: 11691
- Thank you received: 3942
09 Feb 2017 08:45 #87641
by rodw
Replied by rodw on topic Rods "Spaceship" Scratch built Plasma Cutter build
Well, its all happening. Norbert has promised to work on the gmocappy bug I found and finally I have 120 kg of parts for my gantry and table ready for collection in the morning from my laser cutter. Its been over a month.
Rs-components are letting the team down as the 9 core cable I ordered that was due at the end of Feb has been pushed out to the 27th of this month. I need it for the Plasma interface wiring and also would be helpful to wire in the limit switches on the X axis.
Other small things that have arrived include my signal tower traffic/warning lights and a few Arduino parts that I hope to use to sample arc voltage.
Please Log in or Create an account to join the conversation.
- rodw
-
 Topic Author
- Offline
- Platinum Member
-

Less
More
- Posts: 11691
- Thank you received: 3942
10 Feb 2017 09:42 #87751
by rodw
Replied by rodw on topic Rods "Spaceship" Scratch built Plasma Cutter build
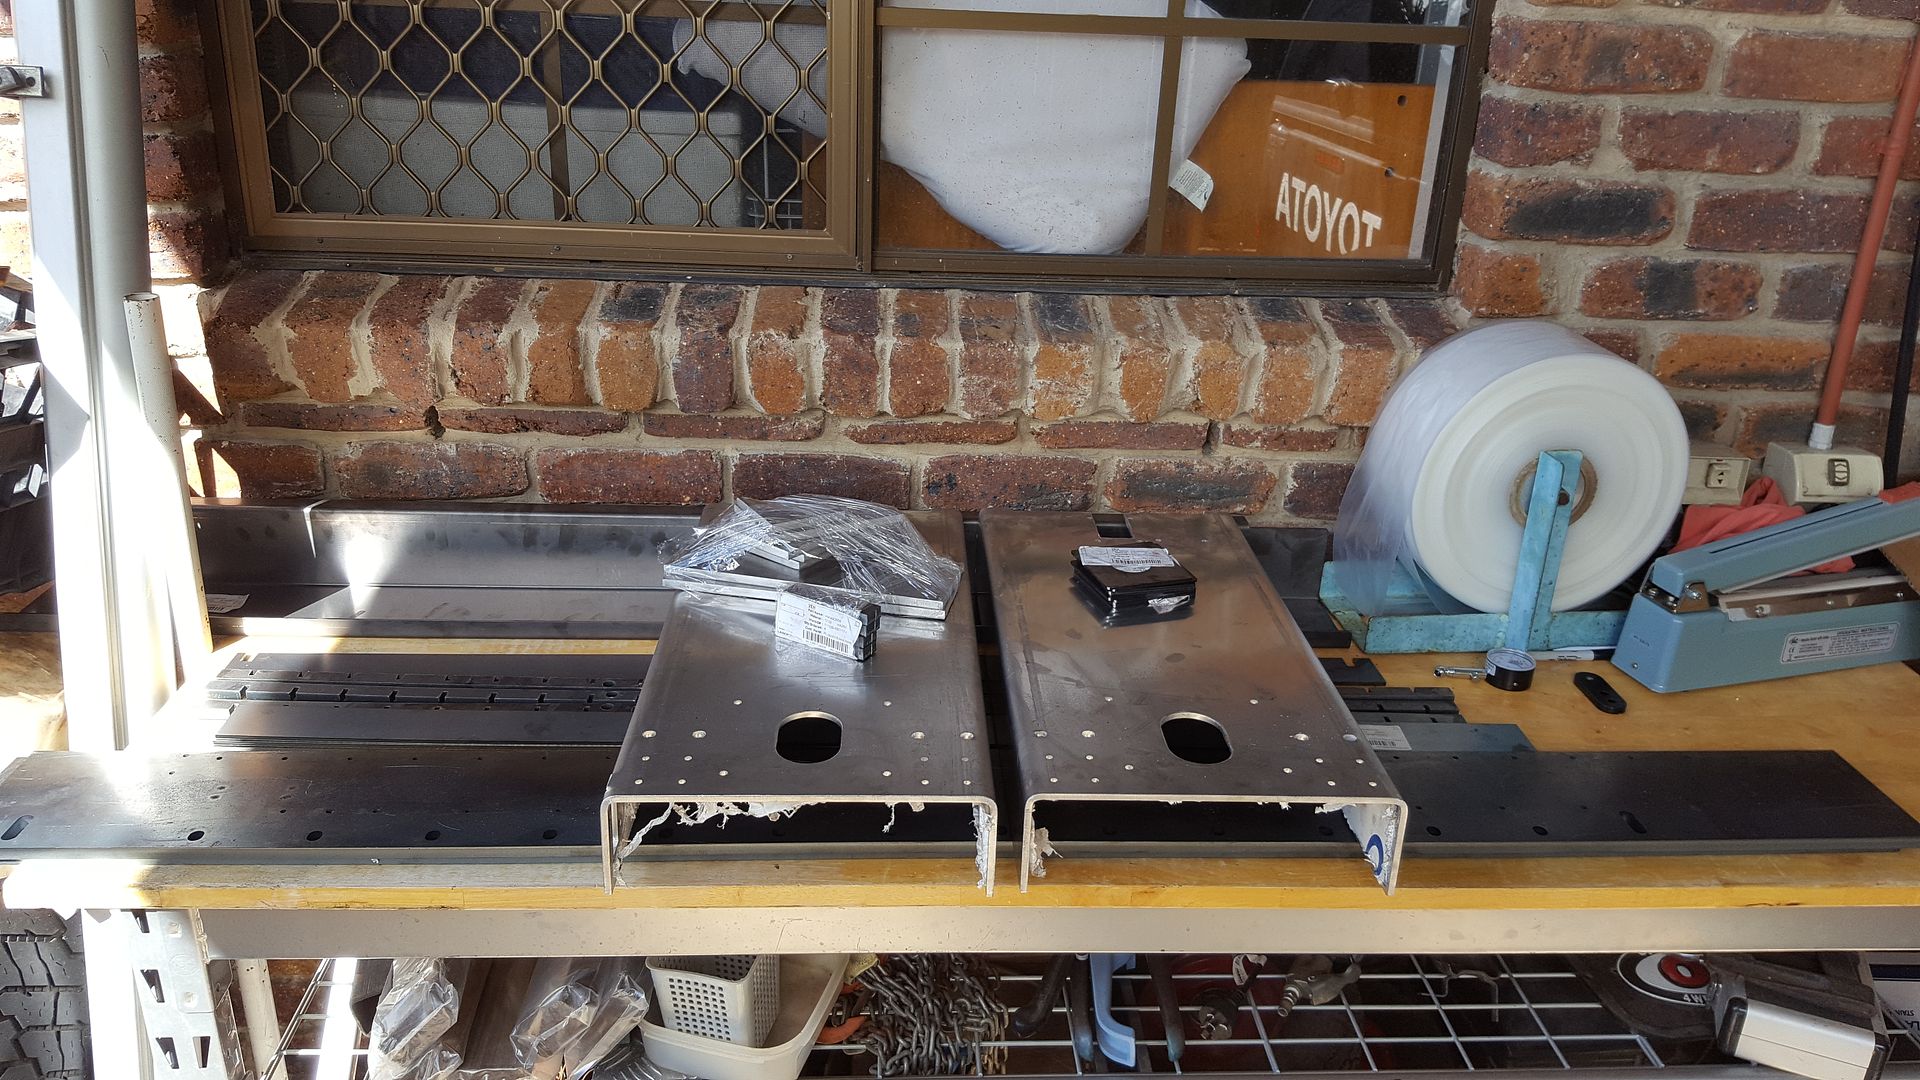
Well, I finally have my self designed gantry kit at home, all 120 kilos of it!
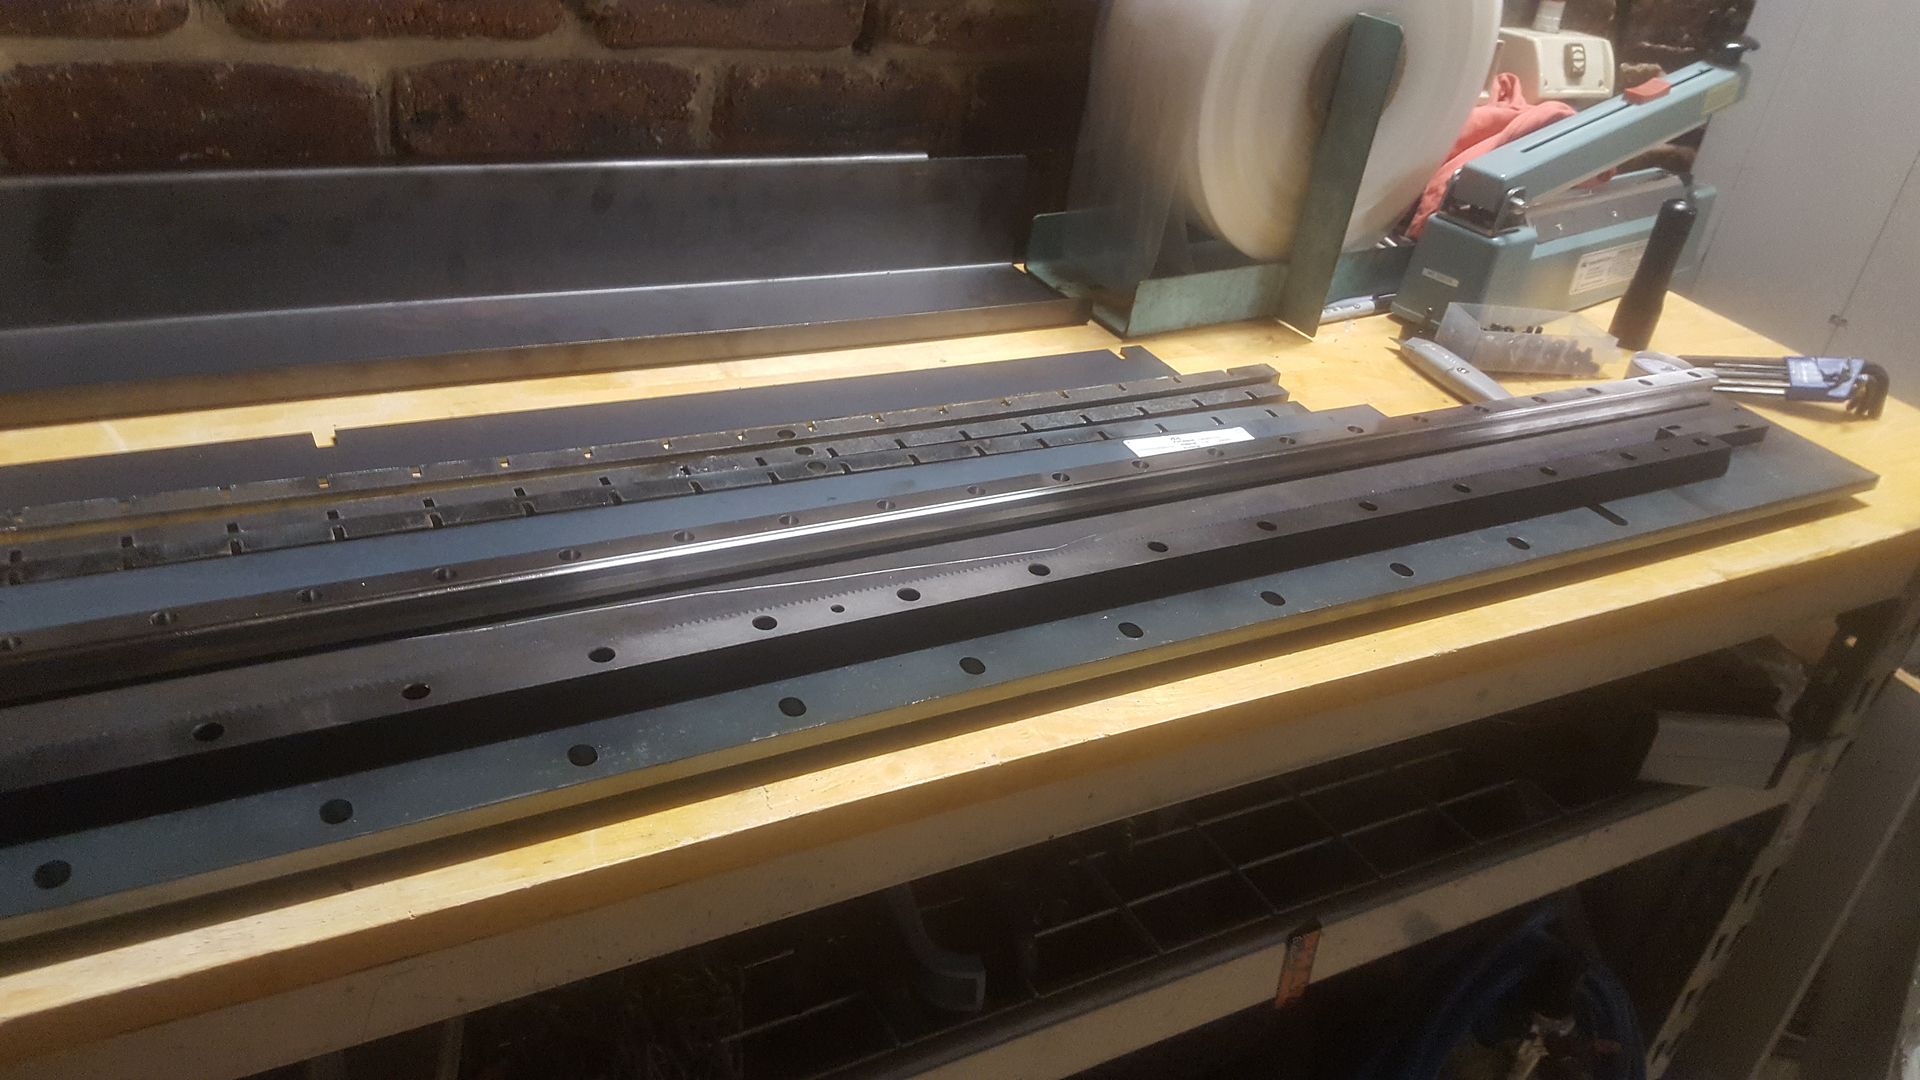
Its a bit hard to understand whats going on. You can see the 2 aluminium gantry ends with the protective plastic film hanging down. making them look untidy. The ends closest to the camera are where the motors are mounted. The large long rails are to mount the linear rails to. There is a few other long parts and they are to make the cradle that holds the slats in and the folded rail right at the back is to support the drag chain. I have 16 M4 holes to drill and tap and they spotted them as they were too fine to laser cut in steel that thick. But all of the M6 holes should be laser cut to size. All in all, I will have plenty of practice using the tapping tool Andy talked me into buying!
I won't have much time this weekend, but hopefully, I will be able to make a start on the finishing. There is just over $1k sitting on that bench so I really hope I got all of the holes in the right spot!
Please Log in or Create an account to join the conversation.
- rodw
-
 Topic Author
- Offline
- Platinum Member
-

Less
More
- Posts: 11691
- Thank you received: 3942
10 Feb 2017 12:12 #87757
by rodw
Replied by rodw on topic Rods "Spaceship" Scratch built Plasma Cutter build
Well, I could not stop myself or I am sure I would never had slept tonight......
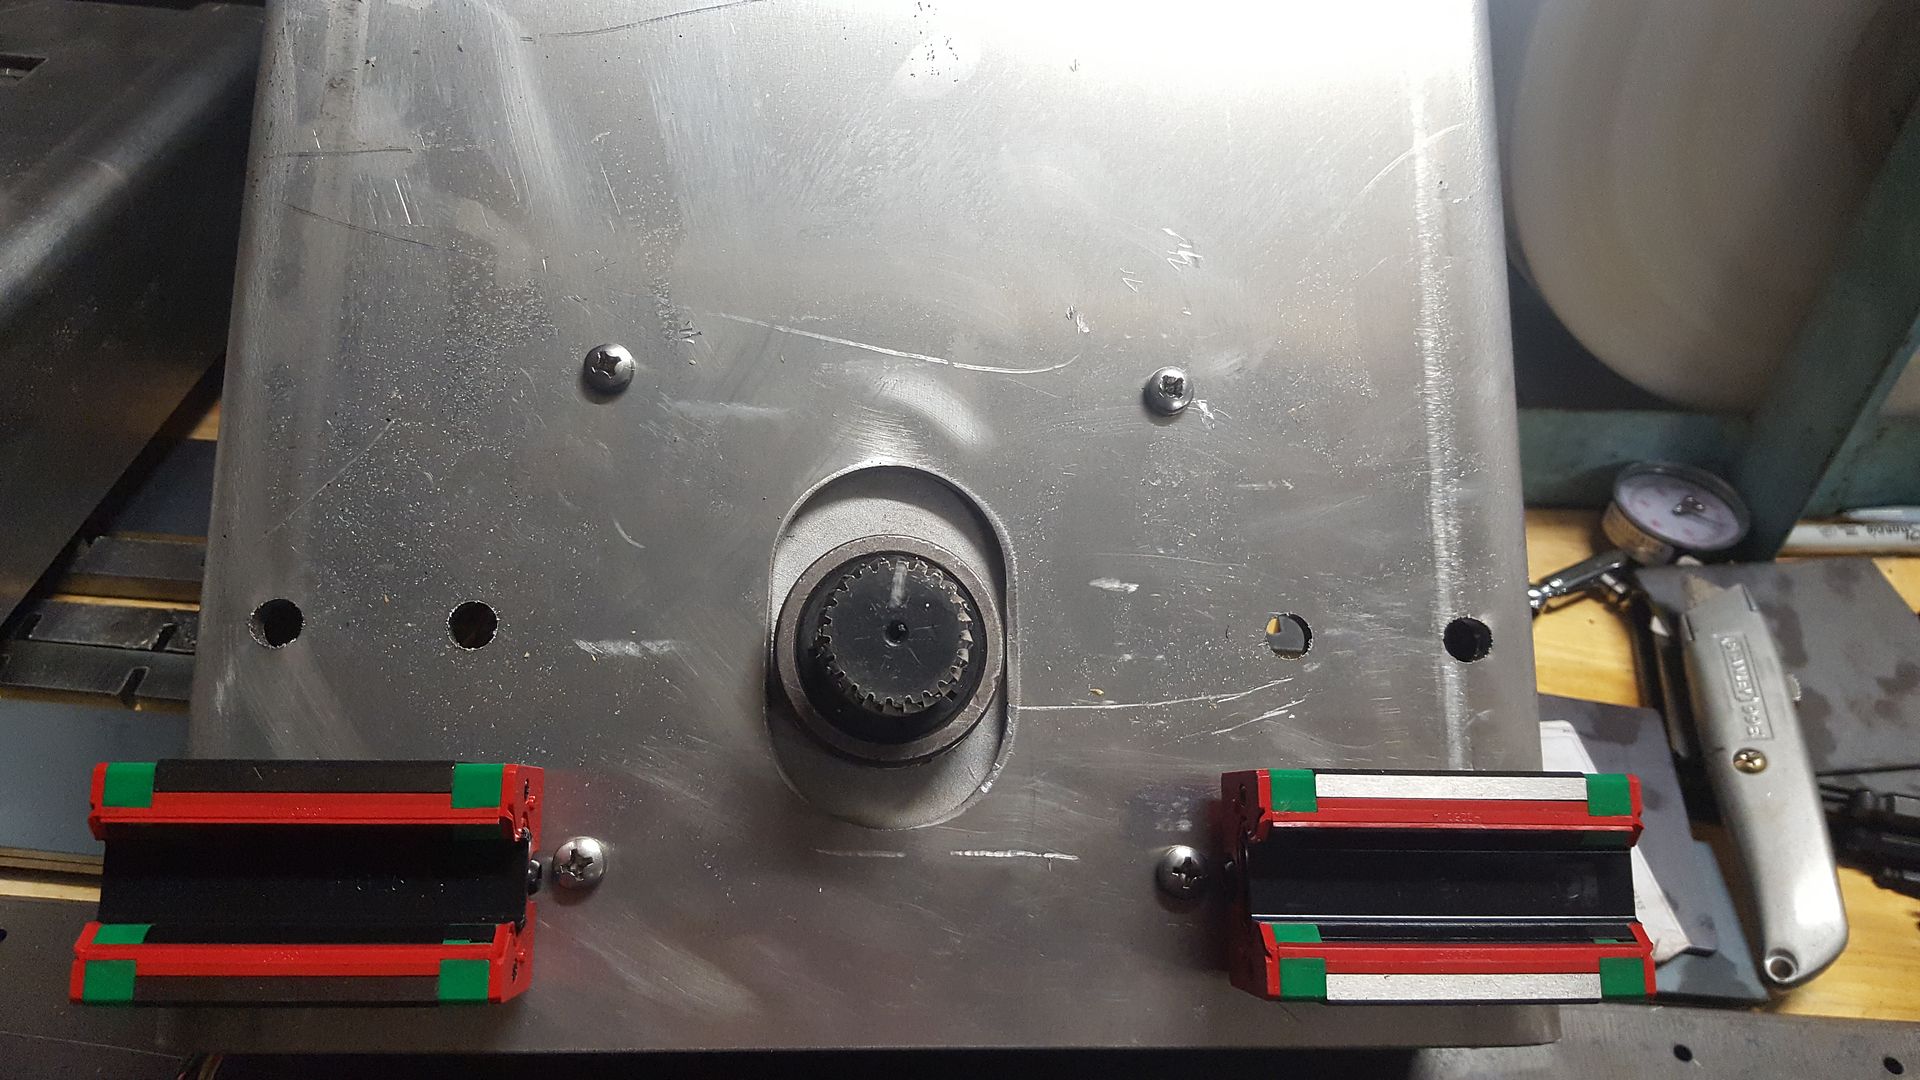
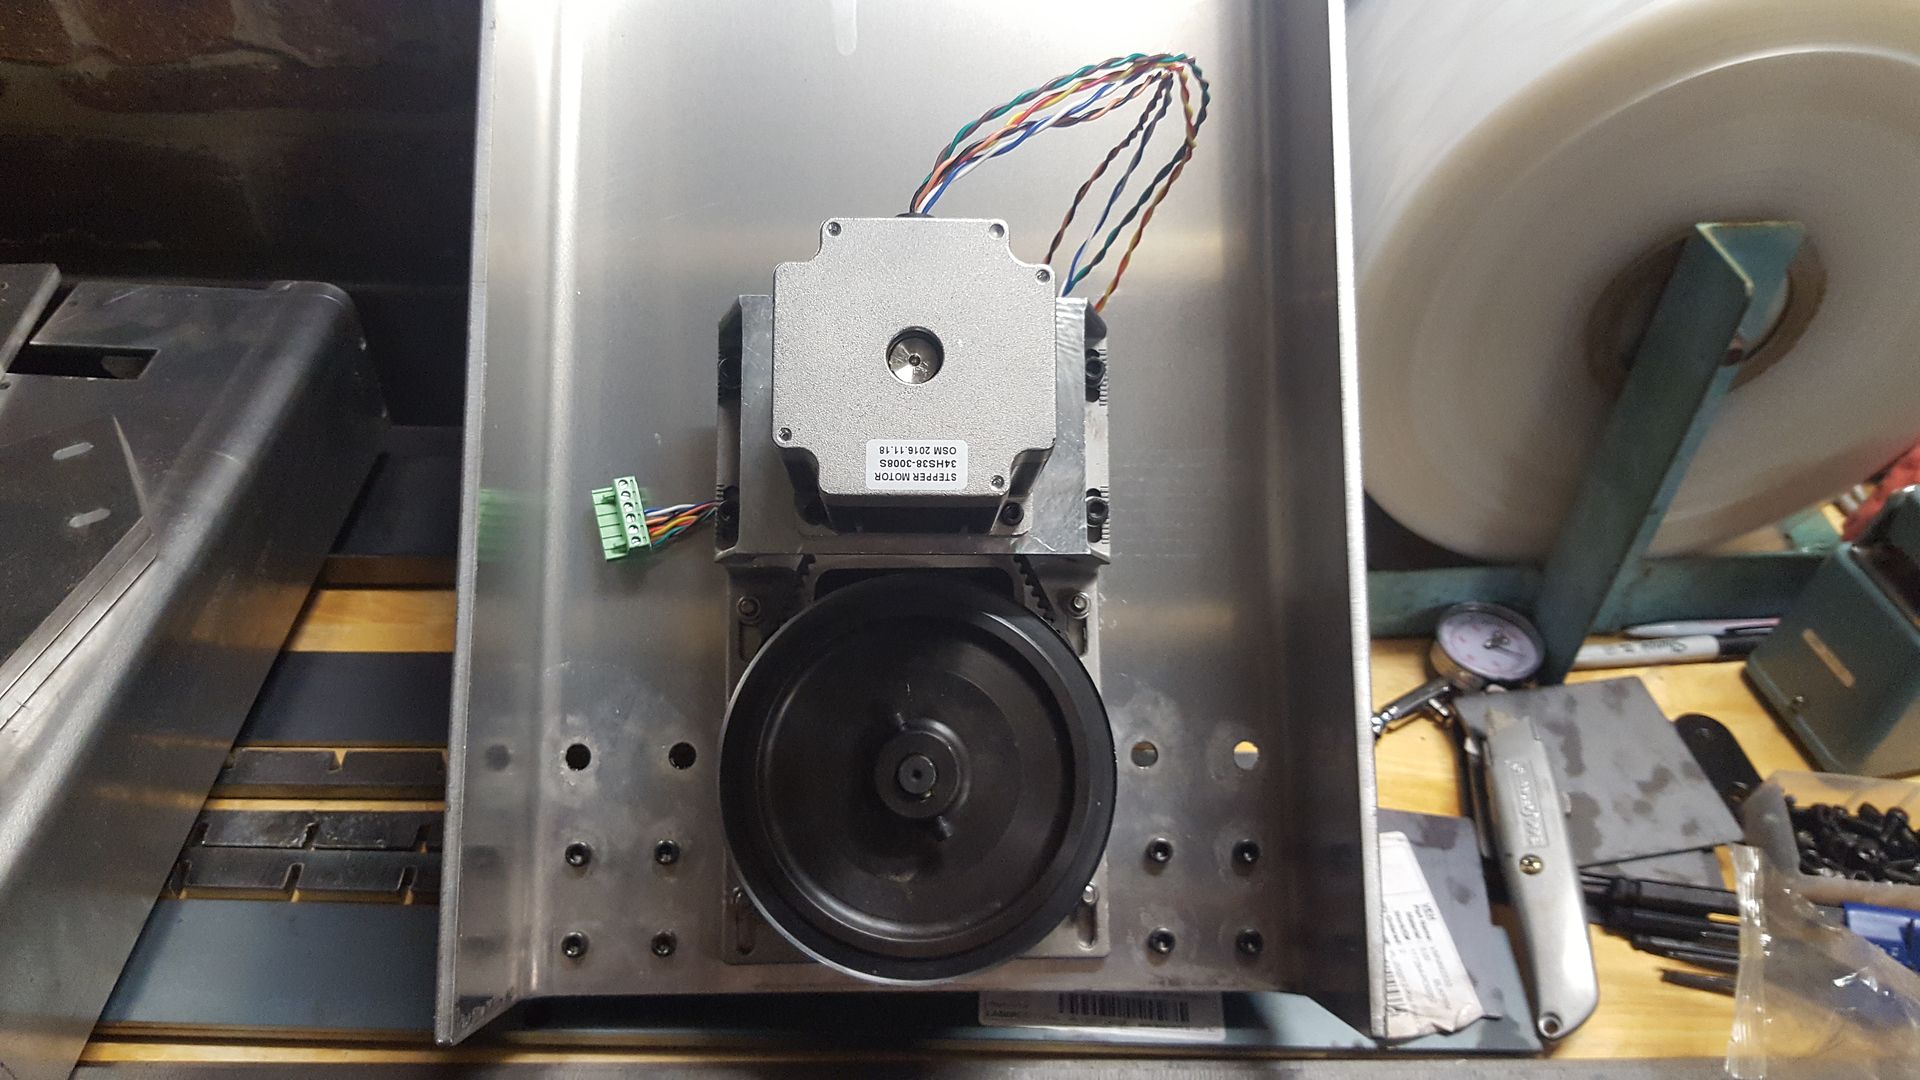
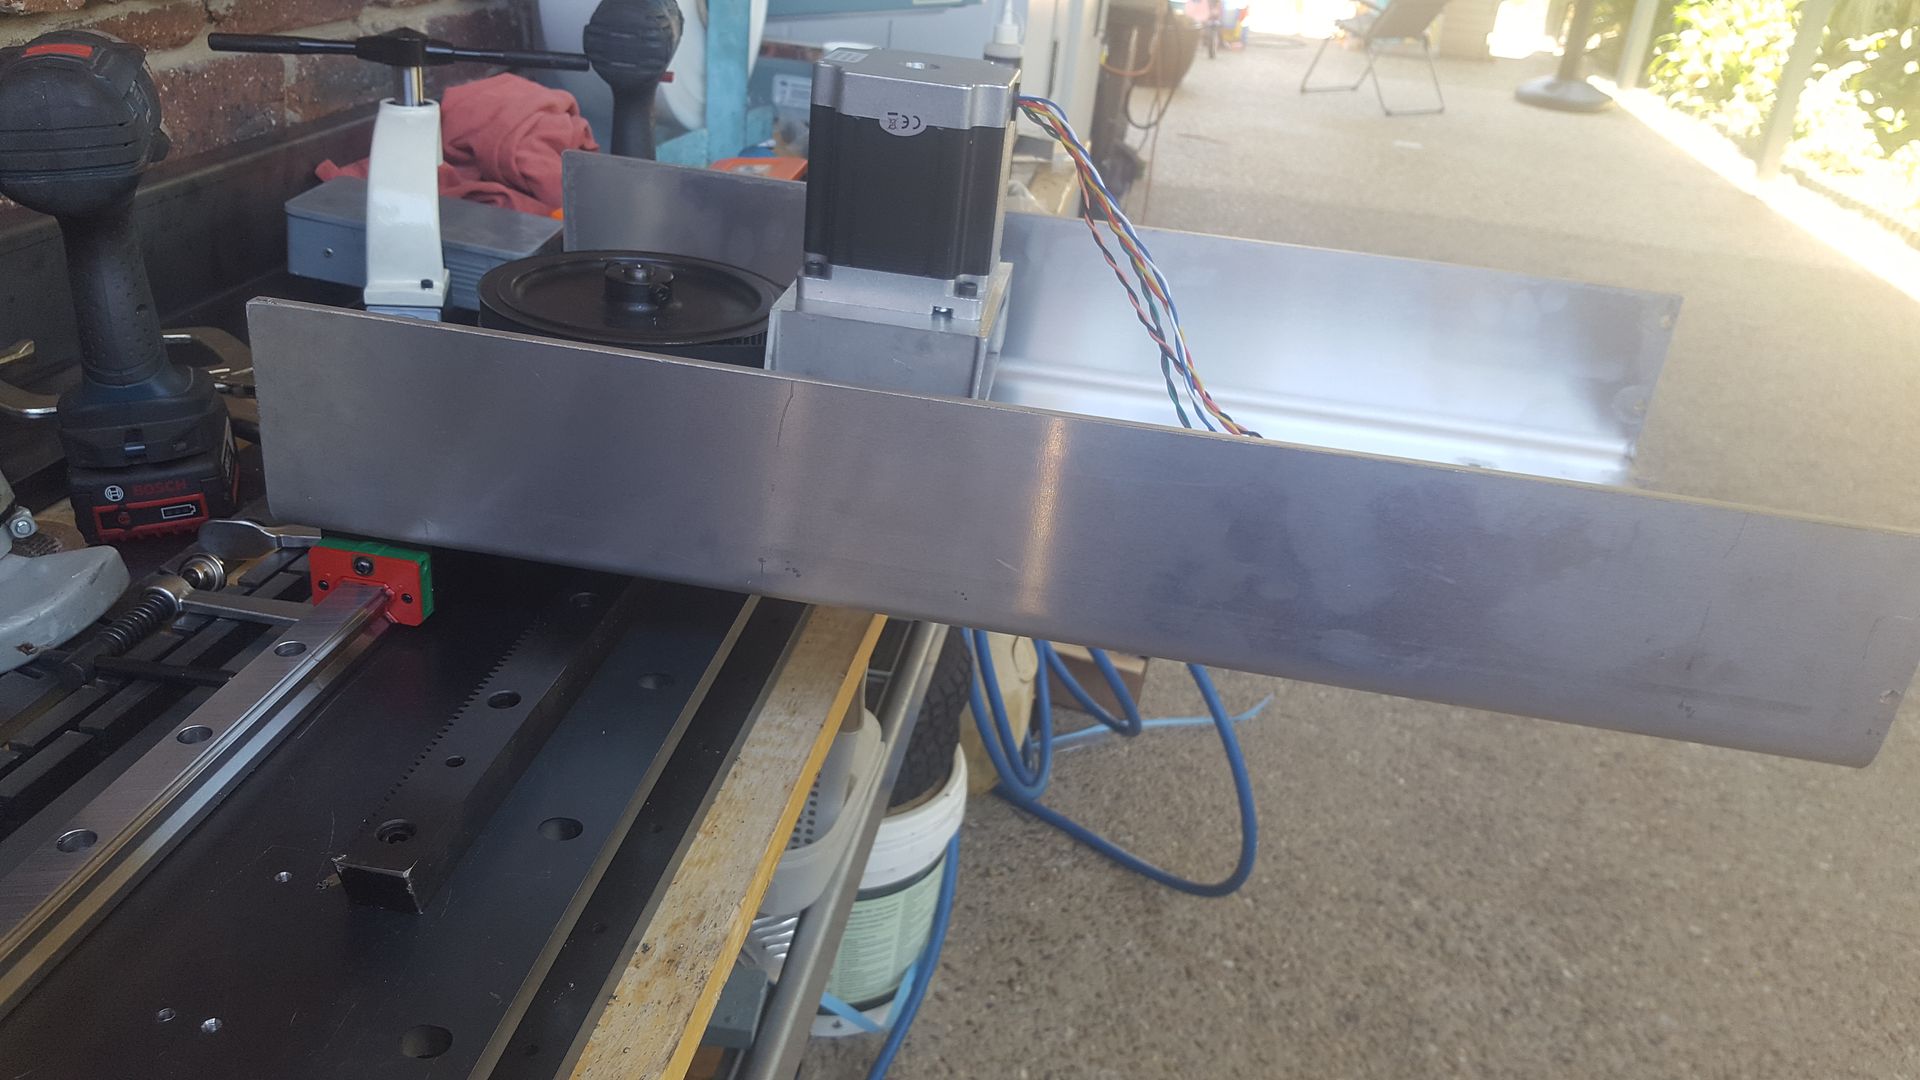
It looks like the linear rails and stepper motors fit
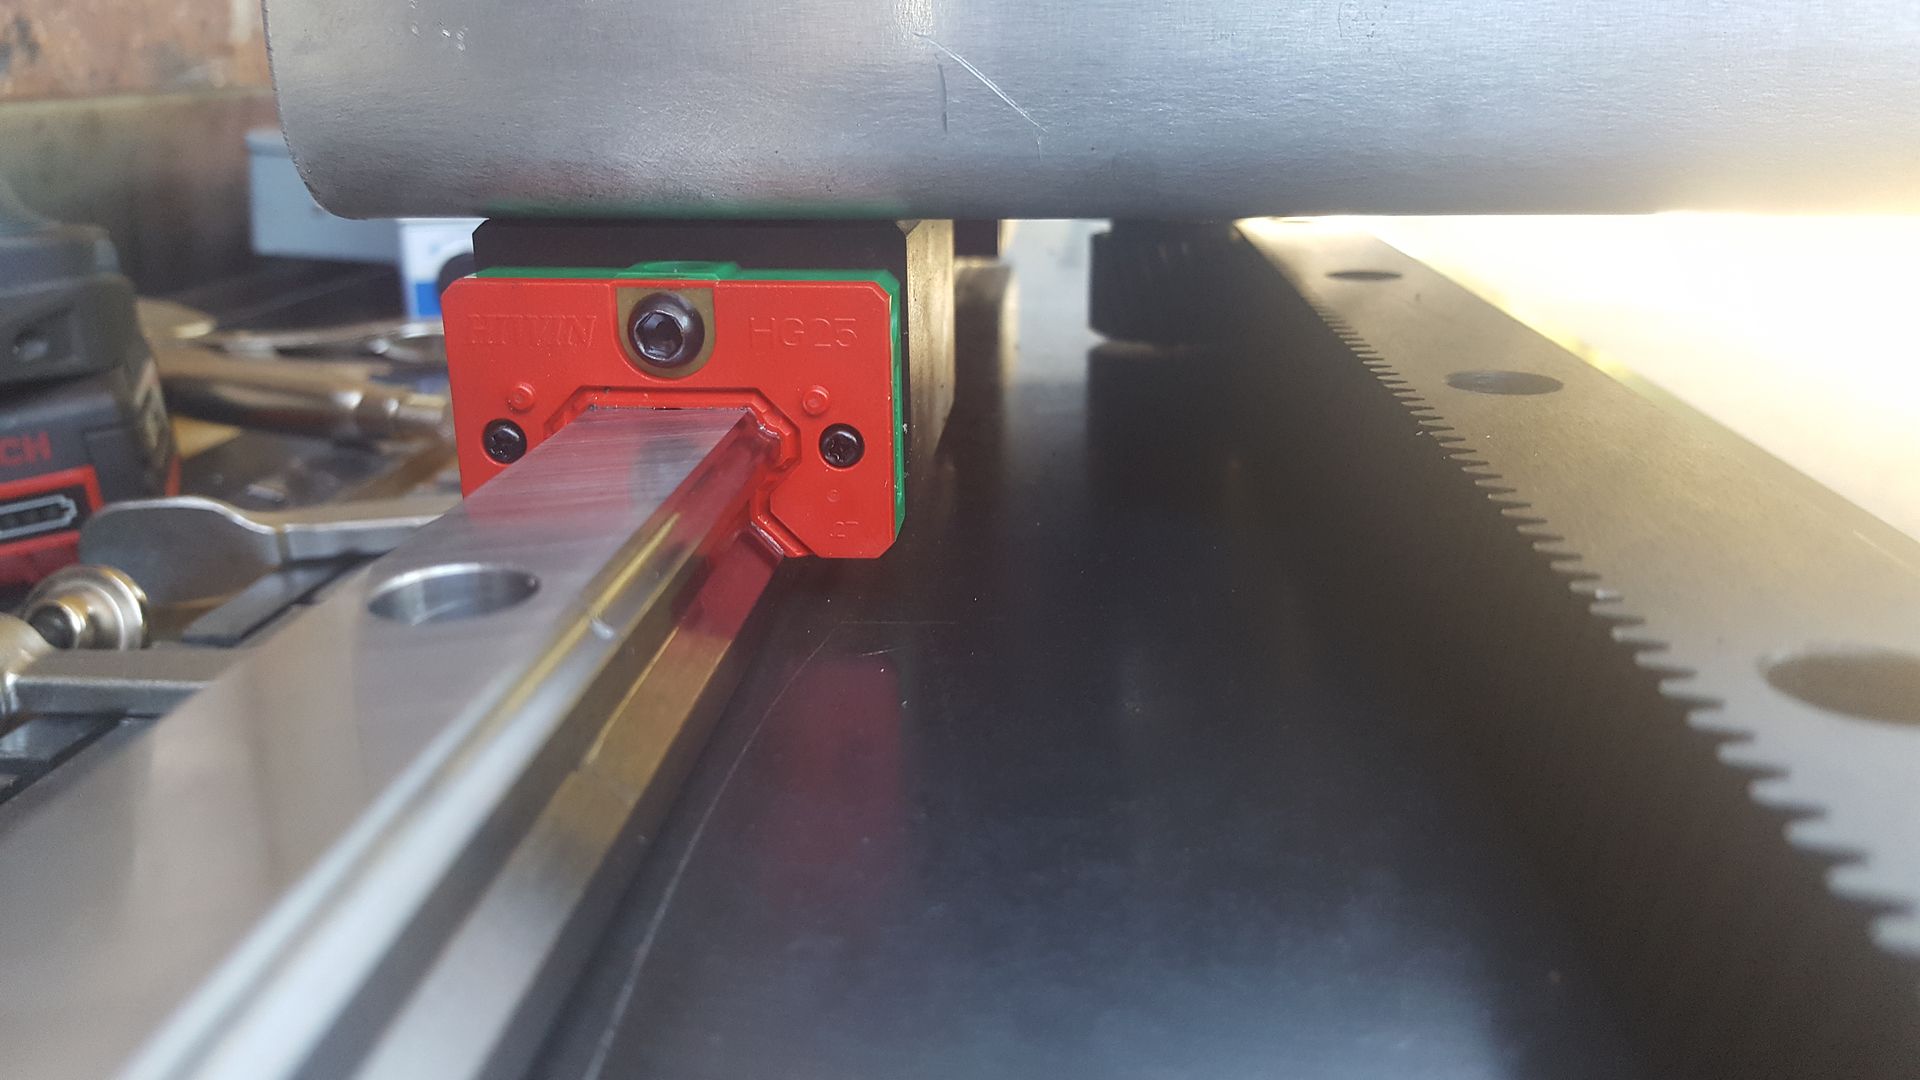
Funny the carriages have different colour inserts.
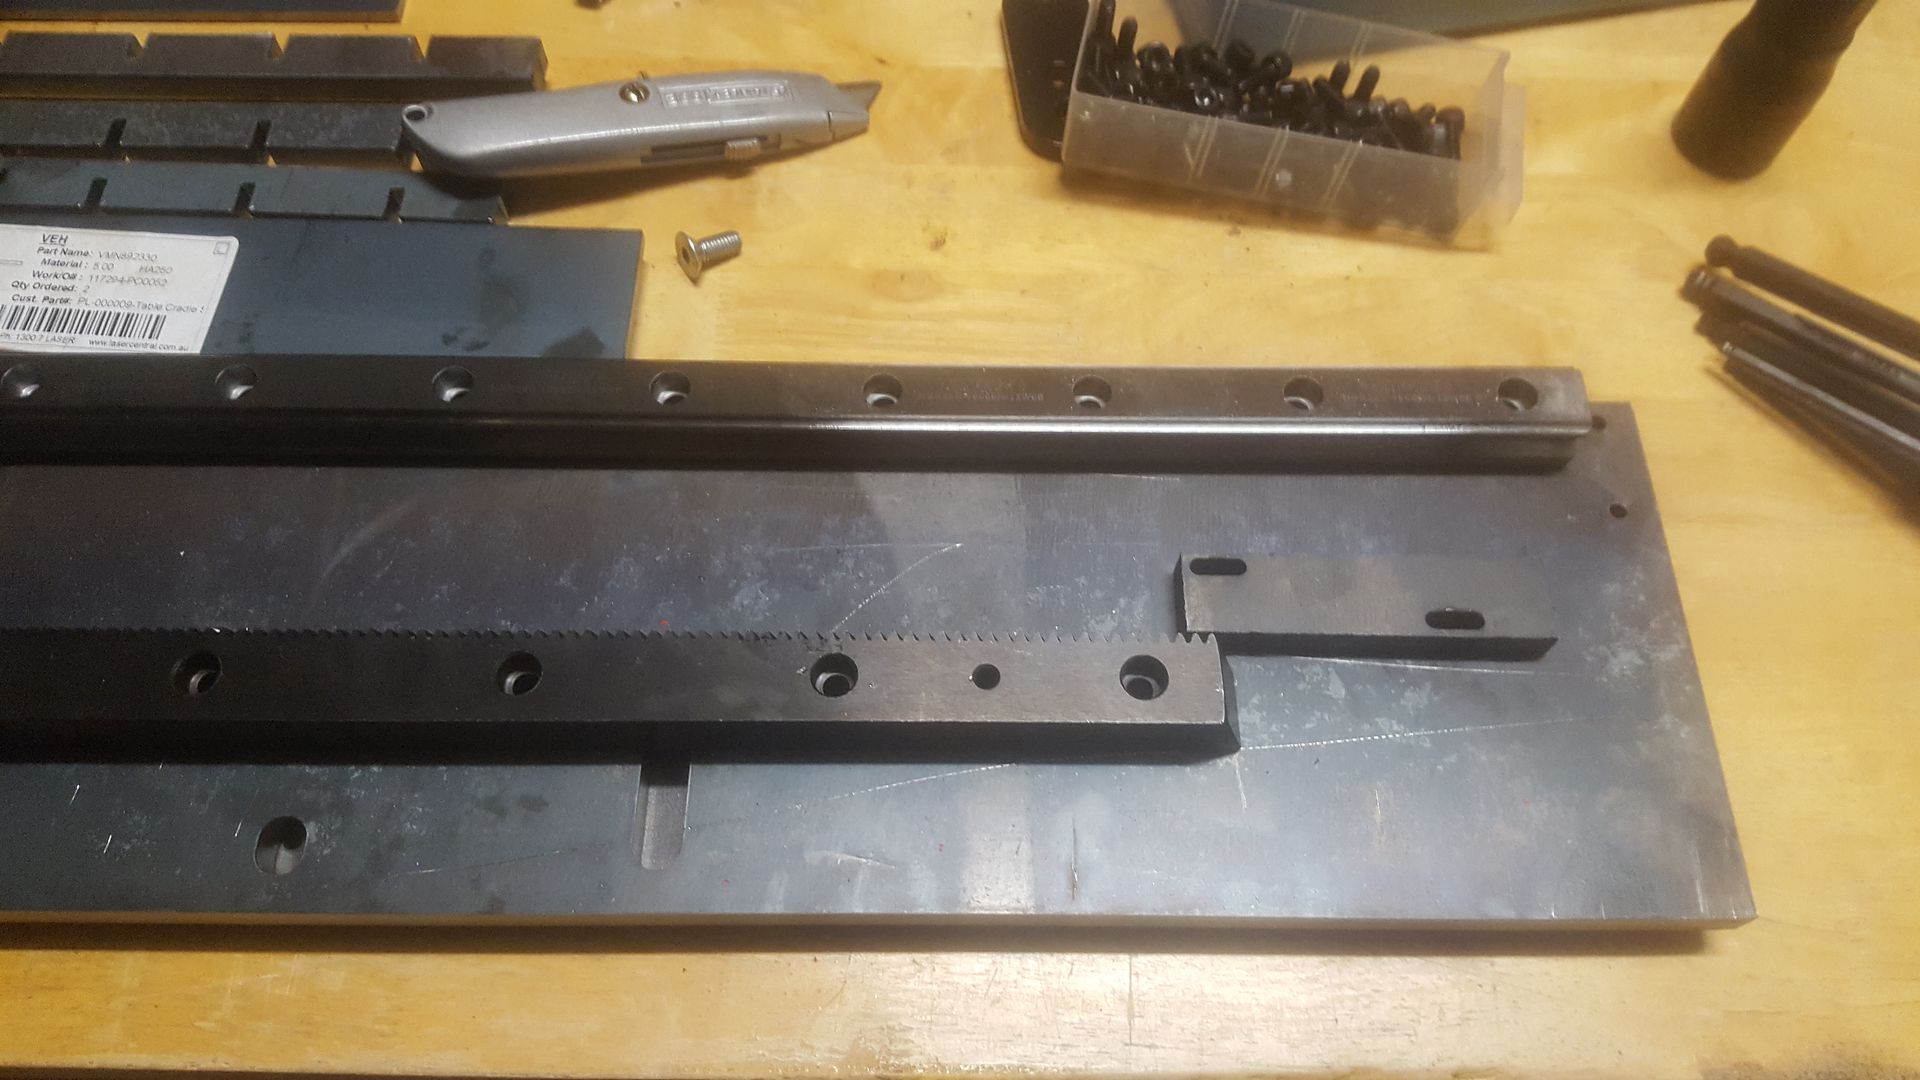
And the holes for the linear rails and rack are also in perfect alignment
The top of these mounting rails are closest the camera. I've got a large slotted hole each end and hope to be able to add some adjustment screws below the plate at each end so it can be adjusted for level. Then there are a heap of other holes to mount this assembly to the table.
This pic shows the limit switch plates in position. There will be some 10mm square bar welded to one end just as I did on the gantry. The slots need to be countersunk and the M4 holes were too small to laser cut so they etched their position for me. They also did this for some of the holes in the aluminium
So far so good, I also checked the top plate of the gantry ends for fit and they are also fine. The only thing I'm a bit worried about is that there was a fair bit of a gap between the rails and the mounting plate so I will have to work out what part is not straight.The rails or the laser plate
So from here, I have a few holes to drill and a gazillion holes to tap before this stuff can get bolted up to the yet to be built table frame.
Please Log in or Create an account to join the conversation.
- rodw
-
 Topic Author
- Offline
- Platinum Member
-

Less
More
- Posts: 11691
- Thank you received: 3942
11 Feb 2017 02:46 #87792
by rodw
Replied by rodw on topic Rods "Spaceship" Scratch built Plasma Cutter build
Well, I am happy the laser cut mounting rails are straight now. Don't tell my wife but early this morning while she was still in bed, I put one on our marble topped kitchen bench! Anyway, clearly, the plate is not warped or bent so I am very happy with that!. After that, I spent the morning tapping holes over 50 holes and have finished 1 mounting rail.
After that, I bolted on the rack and 25mm linear rail on quickly for a bit of a test
And the good news is that after 7 months of effort, I can now announce that this machine is actually going to work! I for one am very pleased about that! I The rack and pinion will engage perfectly
Thats as much as I have time for today.
Please Log in or Create an account to join the conversation.
- bevins
-
- Offline
- Platinum Member
-

Less
More
- Posts: 1942
- Thank you received: 338
11 Feb 2017 02:52 #87793
by bevins
Replied by bevins on topic Rods "Spaceship" Scratch built Plasma Cutter build
Nice Work. Coming along......
The following user(s) said Thank You: rodw
Please Log in or Create an account to join the conversation.
- rodw
-
 Topic Author
- Offline
- Platinum Member
-

Less
More
- Posts: 11691
- Thank you received: 3942
12 Feb 2017 08:13 #87860
by rodw
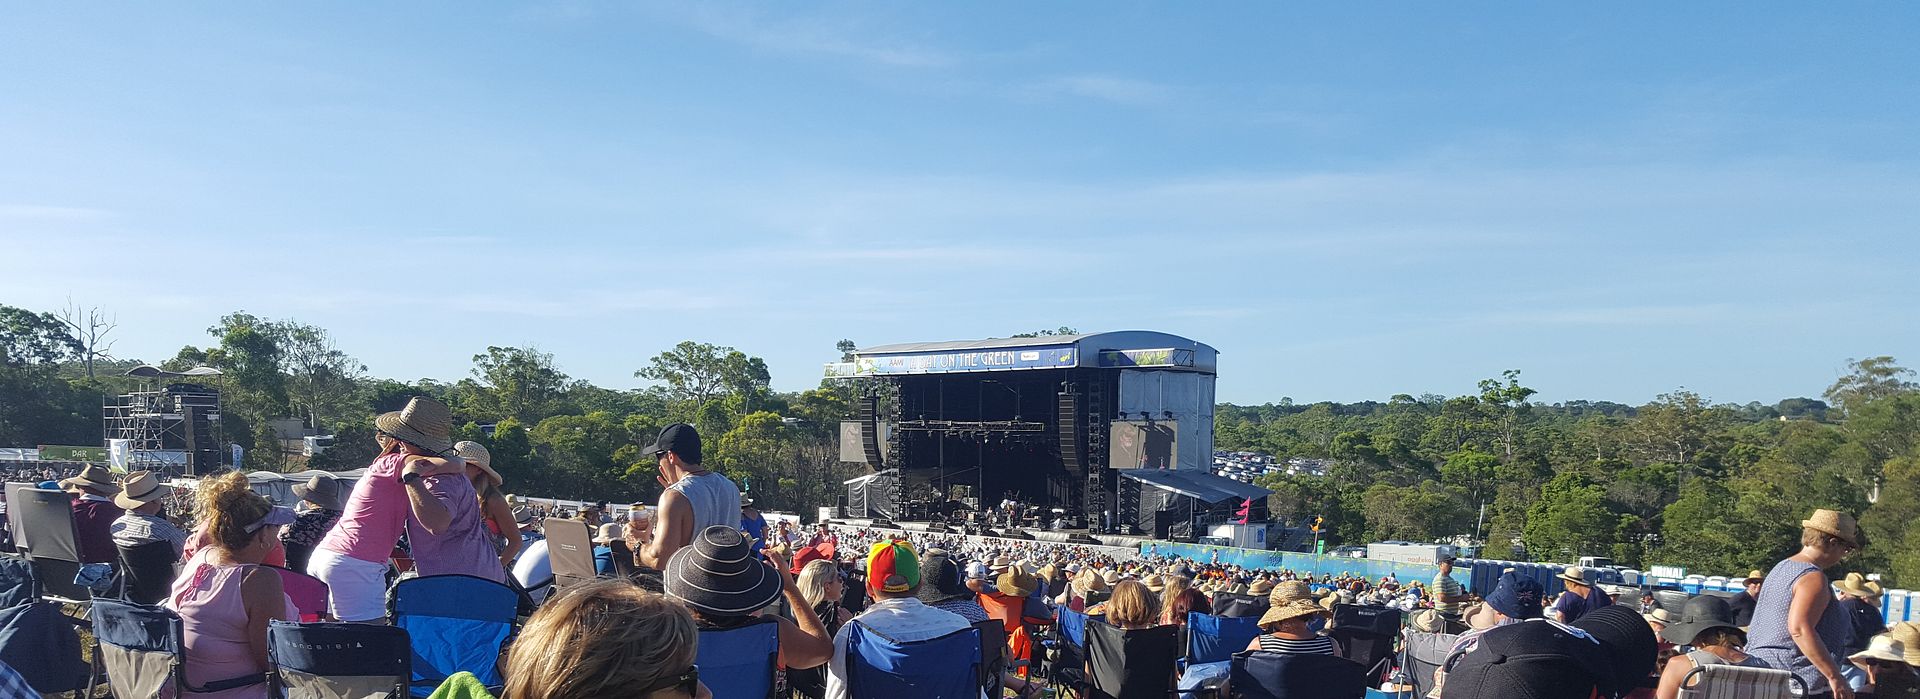
Thanks Bevins, yesterday afternoon and evening we went to Siromet winery to watch James Taylor and local artists Kasey Chambers and Bernard Fanning perform so Plasma making was pushed aside for the afternoon.
Well today, I have not got much to show for my efforts for today. I thought yesterday was hot but today hit 40.2 degrees C as you can see on my wunderground weather station just above my shed.
www.wunderground.com/personal-weather-st...board?ID=IQUEENSL561
But I did manage to finish off all the drilling and tapping on the side rails which means the most time consuming part of this section of the build build is done. Hopefully, it won't be long before its all together!
Replied by rodw on topic Rods "Spaceship" Scratch built Plasma Cutter build
Nice Work. Coming along......
Thanks Bevins, yesterday afternoon and evening we went to Siromet winery to watch James Taylor and local artists Kasey Chambers and Bernard Fanning perform so Plasma making was pushed aside for the afternoon.
Well today, I have not got much to show for my efforts for today. I thought yesterday was hot but today hit 40.2 degrees C as you can see on my wunderground weather station just above my shed.
www.wunderground.com/personal-weather-st...board?ID=IQUEENSL561
But I did manage to finish off all the drilling and tapping on the side rails which means the most time consuming part of this section of the build build is done. Hopefully, it won't be long before its all together!
Please Log in or Create an account to join the conversation.
- Joco
-

- Offline
- Platinum Member
-

Less
More
- Posts: 531
- Thank you received: 327
12 Feb 2017 08:17 #87861
by Joco
Replied by Joco on topic Rods "Spaceship" Scratch built Plasma Cutter build
Great to see the plan coming together Rod.
Please Log in or Create an account to join the conversation.
- tommylight
-

- Away
- Moderator
-

Less
More
- Posts: 21243
- Thank you received: 7251
12 Feb 2017 08:49 #87863
by tommylight
Replied by tommylight on topic Rods "Spaceship" Scratch built Plasma Cutter build
Please send some of that weather towards me, it is -2 c here.
Regards,
Tom
Regards,
Tom
Please Log in or Create an account to join the conversation.
- rodw
-
 Topic Author
- Offline
- Platinum Member
-

Less
More
- Posts: 11691
- Thank you received: 3942
12 Feb 2017 09:36 #87866
by rodw
Tom, I thought of you as I wrote that post.
Your current retrofit project has been amazing to follow..
Replied by rodw on topic Rods "Spaceship" Scratch built Plasma Cutter build
Please send some of that weather towards me, it is -2 c here.
Regards,
Tom
Tom, I thought of you as I wrote that post.
Your current retrofit project has been amazing to follow..
Please Log in or Create an account to join the conversation.
Time to create page: 0.559 seconds

